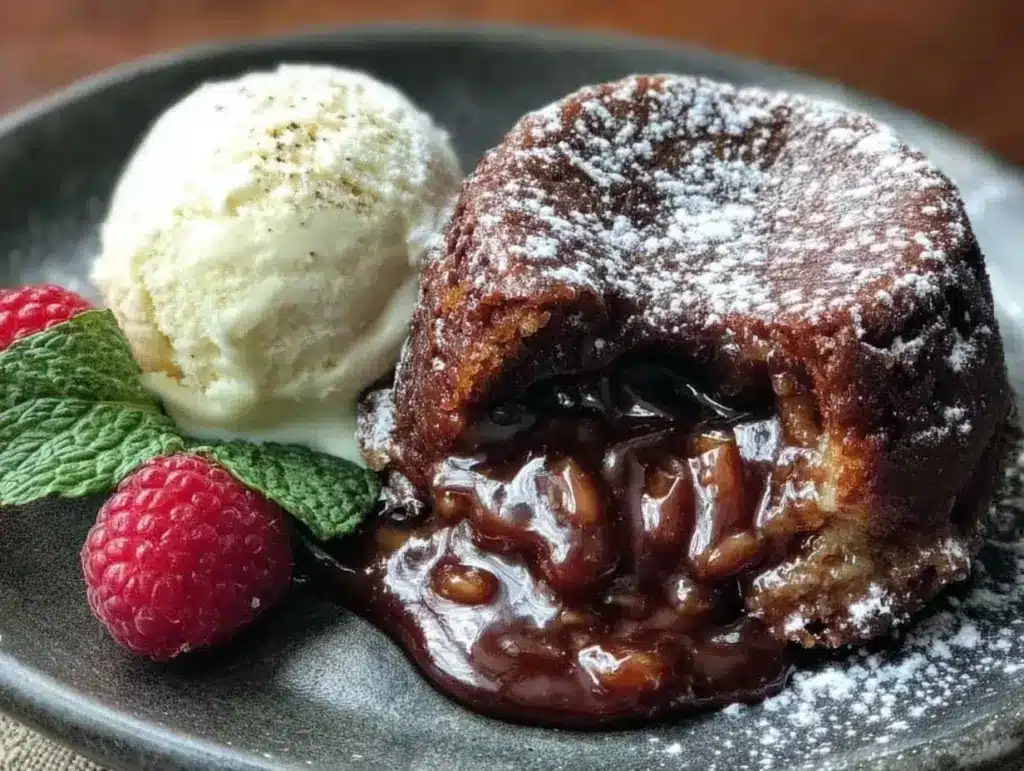
Let’s be real for a second. I used to think making chocolate lava cakes at home was one of those things reserved for fancy restaurants with white tablecloths and waiters who nod seriously at your wine choice. You know the type. The ones where you spend $18 on a dessert the size of a hockey puck, and you’re too intimidated to ask for seconds.
Then, about three years ago, I was trying to impress a date (spoiler: it didn’t work) and attempted a “fancy” dessert. I set the oven timer, walked away to check my phone, and came back to a baked, dense chocolate brick. It was edible, sure, but it wasn’t the molten center I had promised. I felt like a fraud. My date just ate it politely and went home.
But here’s the thing—after five more failed attempts, I finally cracked the code. And honestly? The version I make now is so good, so cheap, and so fast that I’ve stopped going out for dessert entirely. I’ve made this chocolate lava cake at least twenty times in the last year. It’s become my secret weapon for quick date nights, last-minute dinner party guests, or just when I need to convince my kids that homemade is better than anything from a drive-thru.
This isn’t just a recipe; it’s a confidence booster. It uses pantry staples you probably already have. It costs about $2 to make per serving (seriously, I’ve done the math). And when you cut into that warm, gooey center and drop a scoop of vanilla ice cream on top? You’ll forget all about those expensive restaurant versions. This is the kind of dessert that makes people stop talking and just stare at their plates in awe.
Why You’ll Love This Chocolate Lava Cake
I know what you’re thinking. “Another chocolate dessert? I have enough recipes.” But hear me out. This chocolate lava cake is different because it respects your time and your wallet. It’s not some complicated soufflé that collapses if you look at it wrong. It’s reliable, it’s indulgent, and it’s surprisingly simple.
- Stupid Simple Ingredients — You don’t need exotic flours or expensive chocolate bars. High-quality semi-sweet chocolate, butter, eggs, sugar, and flour. That’s it. If you can melt chocolate, you can make this.
- Lightning Fast — From start to finish, it’s about 20 minutes. The prep takes 10, the bake takes 12-14. I make this on weeknights when I want something special but don’t want to spend hours in the kitchen.
- Impressively Fancy — It looks like you spent hours on it. The molten center? The dusting of powdered sugar? It looks restaurant-quality. But it’s just you, your oven, and a few ramekins.
- Budget-Friendly — Restaurant versions run $12-$15 each. Making this at home costs pennies per cake. I can make four for the price of one restaurant dessert. This is homemade treat everyone loves without the markup.
- Kid-Approved — My kids are picky. They usually turn their noses up at “fancy” food. But chocolate? Warm chocolate? They ask for this weekly. It’s the perfect bridge between “junk food” and “actual cooking.”
This is my go-to when I need to feel like a pro chef but don’t want the stress. It’s comforting, it’s rich, and it brings the whole family together around the table.
Ingredients You’ll Need
Here’s the best part: you probably have most of this already. I’m not asking you to run to the store for anything weird. This chocolate lava cake relies on good basics, not fancy add-ins.
For the Chocolate Centers
Semi-sweet chocolate chips (6 ounces / 170g) — Don’t buy the cheapest stuff, but you don’t need valrhona either. I use Ghirardelli 60% Cacao. It melts smoothly and has that classic chocolate flavor. Avoid chocolate bars with nuts or caramel in them.
Unsalted butter (6 tablespoons / 85g) — This adds richness and helps the cake rise. Use real butter, not margarine. It makes a huge difference in texture. Cut it into cubes before melting so it melts evenly.
Eggs (2 large + 2 yolks) — This is the secret weapon. The extra yolks add fat and richness, which helps create that gooey, custard-like center. Room temperature eggs mix better, so take them out of the fridge 30 minutes before you start.
Granulated sugar (½ cup / 100g) — Standard white sugar. It helps create the crisp outer shell while keeping the inside soft.
All-purpose flour (2 tablespoons / 15g) — Just a little bit. This provides structure but not enough to make it a full cake. If you sift it, you’ll avoid lumps, but it’s not strictly necessary.
Salt (¼ teaspoon) — A pinch of salt balances the sweetness and enhances the chocolate flavor. Don’t skip it.
Vanilla extract (1 teaspoon) — Pure vanilla, not imitation. It adds a warm aroma that pairs perfectly with the chocolate.
For the Vanilla Ice Cream
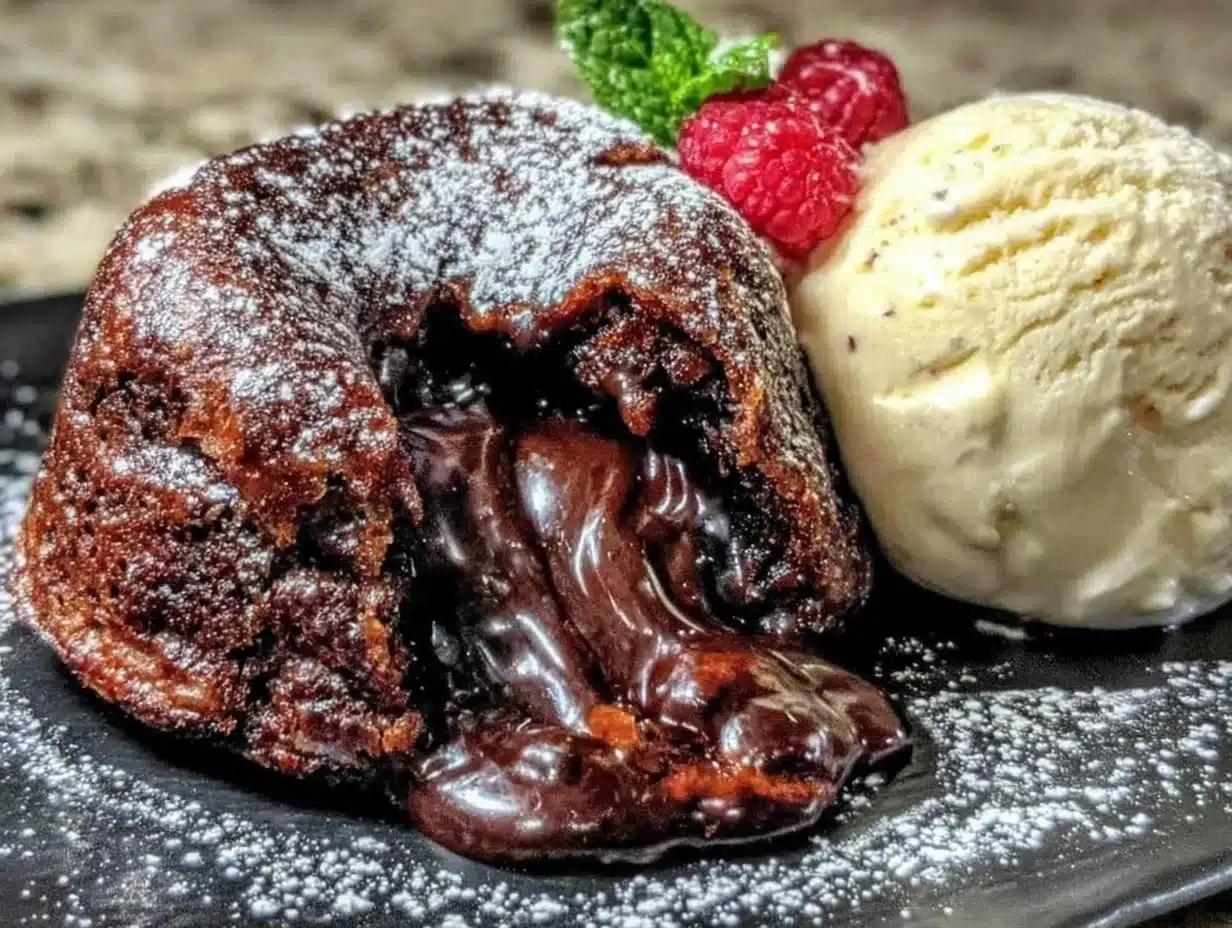
Vanilla ice cream (4 scoops) — This is non-negotiable. The cold, creamy ice cream contrasts with the hot, gooey cake. I use store-bought vanilla bean ice cream because it’s convenient and tastes great. If you want to splurge, get a premium brand like Ben & Jerry’s or Häagen-Dazs, but honestly, standard works fine.
For Garnish
Powdered sugar — For dusting. It looks elegant and adds a tiny bit of sweetness.
Fresh mint leaves — Optional, but adds a nice pop of color and freshness.
Mini chocolate chips — Sprinkle on top for extra chocolatey goodness.
Equipment Needed
You don’t need fancy gadgets. Here’s what I actually use.
Ramekins (6-ounce capacity, 4 of them) — These are the little ceramic dishes you bake in. I use Pyrex ramekins because they’re durable and easy to clean. Make sure they’re 6 ounces; if they’re too big, the cakes won’t set properly in the center.
Microwave-safe bowl or double boiler — For melting the chocolate and butter. I use the microwave because it’s faster. Just heat in 30-second intervals, stirring in between.
Mixing bowls — Two medium bowls. One for the chocolate mixture, one for the eggs and sugar.
Whisk — A simple balloon whisk works best for beating the eggs.
Spatula — Silicone spatula for folding the batter gently. You don’t want to overmix.
Cooking spray or butter — To grease the ramekins. I spray them with non-stick cooking spray and then dust with a little cocoa powder to prevent sticking.
Baking sheet — To hold the ramekins. It makes it easier to move them in and out of the oven.
Timer — Crucial. This recipe relies on precise timing. Set a timer and don’t walk away.
How to Make It: Step-by-Step
Alright, let’s make this! I’m walking you through exactly how I do it, including the little tricks I’ve picked up.
Step 1: Prep Your Ramekins (5 minutes)
Preheat your oven to 425°F (220°C). This needs to be hot to create that crisp exterior while keeping the inside soft. Grease your four 6-ounce ramekins generously with butter or non-stick spray. I like to dust them with a little cocoa powder or powdered sugar after greasing. This helps the cake release easily and adds a nice finish. Set them on a baking sheet.
Step 2: Melt the Chocolate and Butter (2 minutes)
Chop the semi-sweet chocolate into small pieces if they aren’t already. Place them in a microwave-safe bowl with the cubed butter. Microwave on high for 30 seconds, then stir. If it’s not fully melted, microwave for another 15-20 seconds. Stir until smooth and glossy. Let it cool slightly for about 5 minutes. You don’t want it hot when you add the eggs, or they’ll scramble.
Step 3: Whisk the Eggs and Sugar (2 minutes)
In a separate bowl, whisk together the whole eggs, egg yolks, and granulated sugar. Whisk vigorously for about 2 minutes until the mixture is pale and slightly thickened. This incorporates air and helps the cakes rise. Add the vanilla extract and salt. Whisk again to combine.
Step 4: Combine the Mixtures (1 minute)
Pour the melted chocolate mixture into the egg mixture. Stir gently with a spatula until just combined. Be careful not to overmix; you want to keep some air in the batter.
Step 5: Add the Flour (1 minute)
Sift the flour over the batter and gently fold it in. Fold until no streaks of flour remain. The batter will be thick and glossy. If you overmix here, the cakes will be dense.
Step 6: Fill and Bake (12-14 minutes)
Divide the batter evenly among the four prepared ramekins. They should be about ¾ full. Place the baking sheet in the preheated oven. Bake for 12-14 minutes. The edges should be set and firm, but the center should still be soft and jiggly when you gently shake the ramekin. This is the most critical step. If you bake them for 16 minutes, they’ll be fully baked cakes, not lava cakes. If you bake them for 10 minutes, they might be too runny. Trust your eyes, not just the clock.
Step 7: Serve Immediately
Let the cakes cool for just 1 minute. Then, run a knife around the edge to loosen them. Place a small plate upside down over each ramekin, flip it over, and lift the ramekin off. The cake should slide out cleanly. Top with a scoop of vanilla ice cream and dust with powdered sugar. Serve immediately while the center is warm and gooey.
Expert Tips & Tricks
Here’s everything I’ve learned from making this dozens of times. These tips will save you from my mistakes.
Timing is Everything
I cannot stress this enough. The difference between a perfect lava cake and a chocolate brick is 2 minutes. Start checking at 12 minutes. The top should look set, but if you tap the center, it should jiggle like Jell-O. If it doesn’t jiggle at all, it’s done. If it’s liquid, give it another minute.
Room Temperature Eggs
Always use room temperature eggs. Cold eggs can cause the batter to seize up when mixed with the warm chocolate. Take them out of the fridge when you start prepping.
Don’t Overmix
Once you add the flour, fold gently. Overmixing develops gluten, which makes the cakes tough instead of tender. You want a smooth, silky batter, not a dough.
Grease Well
Chocolate sticks. Make sure your ramekins are thoroughly greased. I spray with non-stick spray and then dust with cocoa powder. This creates a non-stick layer that helps the cake slide out easily.
Make Ahead Option
If you’re hosting a dinner party, you can fill the ramekins with batter up to 6 hours ahead. Cover them tightly with plastic wrap and refrigerate. When ready to serve, let them sit at room temperature for 15 minutes, then bake as directed. You may need to add 1-2 minutes to the baking time if baking from cold.
Use a Thermometer
If you’re unsure, use an instant-read thermometer. The center should be around 160°F (71°C) for a gooey center. If it’s over 170°F, it’s fully set.
Variations & Substitutions
Once you’ve nailed the basic version, here’s how you can mix it up. I’ve tried all of these.
Peanut Butter Lava Cake
Add a tablespoon of peanut butter to the center of each ramekin before pouring the batter. It creates a creamy, salty-sweet center. My kids love this variation.
Espresso Lava Cake
Add 1 teaspoon of instant espresso powder to the melted chocolate. It enhances the chocolate flavor without tasting like coffee. Perfect for coffee lovers.
Chai Spice Lava Cake
Add ½ teaspoon of chai spice mix to the flour. It adds a warm, aromatic flavor that’s great for fall.
Gluten-Free Version
Substitute the all-purpose flour with a 1:1 gluten-free flour blend. The texture is slightly denser but still delicious. I use Bob’s Red Mill 1-to-1 blend.
Dairy-Free Version
Use dairy-free chocolate chips and vegan butter. The texture is slightly different, but it still works. Serve with dairy-free vanilla ice cream.
Single Serving
If you’re cooking for one, use a mug instead of a ramekin. Bake in the microwave for 60-90 seconds. It’s not as elegant, but it satisfies the craving quickly.
Serving & Storage
These cakes are best served immediately. They lose their molten center quickly as they cool.
How to Serve:
I serve these straight out of the ramekin (or flipped onto a plate) with a generous scoop of vanilla ice cream. The contrast of hot and cold is key. I also add a dusting of powdered sugar and a mint leaf for presentation. It looks fancy but takes seconds.
Side Dishes:
These are rich, so they don’t need much else. I sometimes serve them with a light fruit salad or whipped cream. But honestly, the ice cream is enough.
Storage:
Leftover batter can be stored in the fridge for up to 24 hours. Fill the ramekins when you’re ready to bake. Do not store baked cakes in the fridge; they will lose their texture. If you have leftover baked cakes, reheat them in the microwave for 15-20 seconds to soften the center. They won’t be quite as gooey, but they’re still good.
Freezing:
You can freeze the batter in the ramekins for up to 1 month. Thaw in the fridge overnight before baking. Add 2-3 minutes to the baking time.
Nutrition Information
I’m not a nutritionist, but here’s the breakdown if you’re tracking. These are rich desserts, so portion control is key.
Per Serving (1 cake with 1 scoop ice cream):
- Calories: 450
- Protein: 8g
- Carbs: 42g
- Fiber: 2g
- Sugar: 32g
- Fat: 28g
- Saturated Fat: 16g
- Cholesterol: 150mg
- Sodium: 120mg
These are indulgent treats. I make them for special occasions or when I want to treat myself. They’re not everyday food, but they’re worth the splurge. If you’re watching sugar, you can reduce the sugar in the batter by 25% without affecting the texture too much.
Final Thoughts
So that’s my go-to chocolate lava cake! I’ve probably talked your ear off at this point, but when you make a recipe this often, you have a lot to say about it.
This has saved me from boring desserts more times than I can count. It’s my answer to “what’s for dessert?” when I want something special but don’t want to order takeout. My kids are happy, my partner is happy, and I’m happy because I’m not stressed about cooking.
Make it yours! Try different add-ins, swap in your favorite ice cream, or adjust the baking time to your preference. The best recipes are the ones you adapt to your family’s tastes.
If you make this, drop a comment and let me know what you think! I love hearing how recipes turn out in your kitchen. And if something doesn’t work, tell me that too—I’m here to help troubleshoot.
Happy cooking! And I hope your kitchen smells half as good as mine does right now.
Frequently Asked Questions
Q: Can I make these ahead of time?
A: Yes! You can prepare the batter and fill the ramekins up to 6 hours ahead. Cover them with plastic wrap and refrigerate. When ready to serve, let them sit at room temperature for 15 minutes, then bake as directed. You may need to add 1-2 minutes to the baking time if baking from cold.
Q: Why did my lava cakes turn out fully baked?
A: This usually means they were baked too long. The key is to pull them out when the edges are set but the center is still soft and jiggly. Start checking at 12 minutes. Every oven is different, so trust your eyes over the clock.
Q: Can I use milk chocolate instead of semi-sweet?
A: You can, but the cakes will be sweeter and less rich. Semi-sweet or bittersweet chocolate provides a better balance with the sugar in the batter. If you use milk chocolate, reduce the sugar in the recipe by 2 tablespoons.
Q: Do I need to grease the ramekins?
A: Yes, absolutely. Chocolate sticks. Grease them thoroughly with butter or non-stick spray. I also dust them with cocoa powder or powdered sugar to ensure they release easily.
Q: Can I make this in a muffin tin?
A: Yes, but you’ll need to adjust the baking time. Use a greased muffin tin and bake for 10-12 minutes. The cakes will be smaller, so keep an eye on them.
Q: What if I don’t have ramekins?
A: You can use oven-safe mugs or small ceramic bowls. Just make sure they’re the right size (about 6 ounces). The baking time may vary slightly, so check them early.
Q: Can I freeze the baked cakes?
A: It’s not recommended. The texture changes when frozen and reheated. They won’t have the same gooey center. It’s best to make them fresh. If you must freeze, freeze the batter and bake from frozen, adding a few minutes to the baking time.
Pin This Recipe!
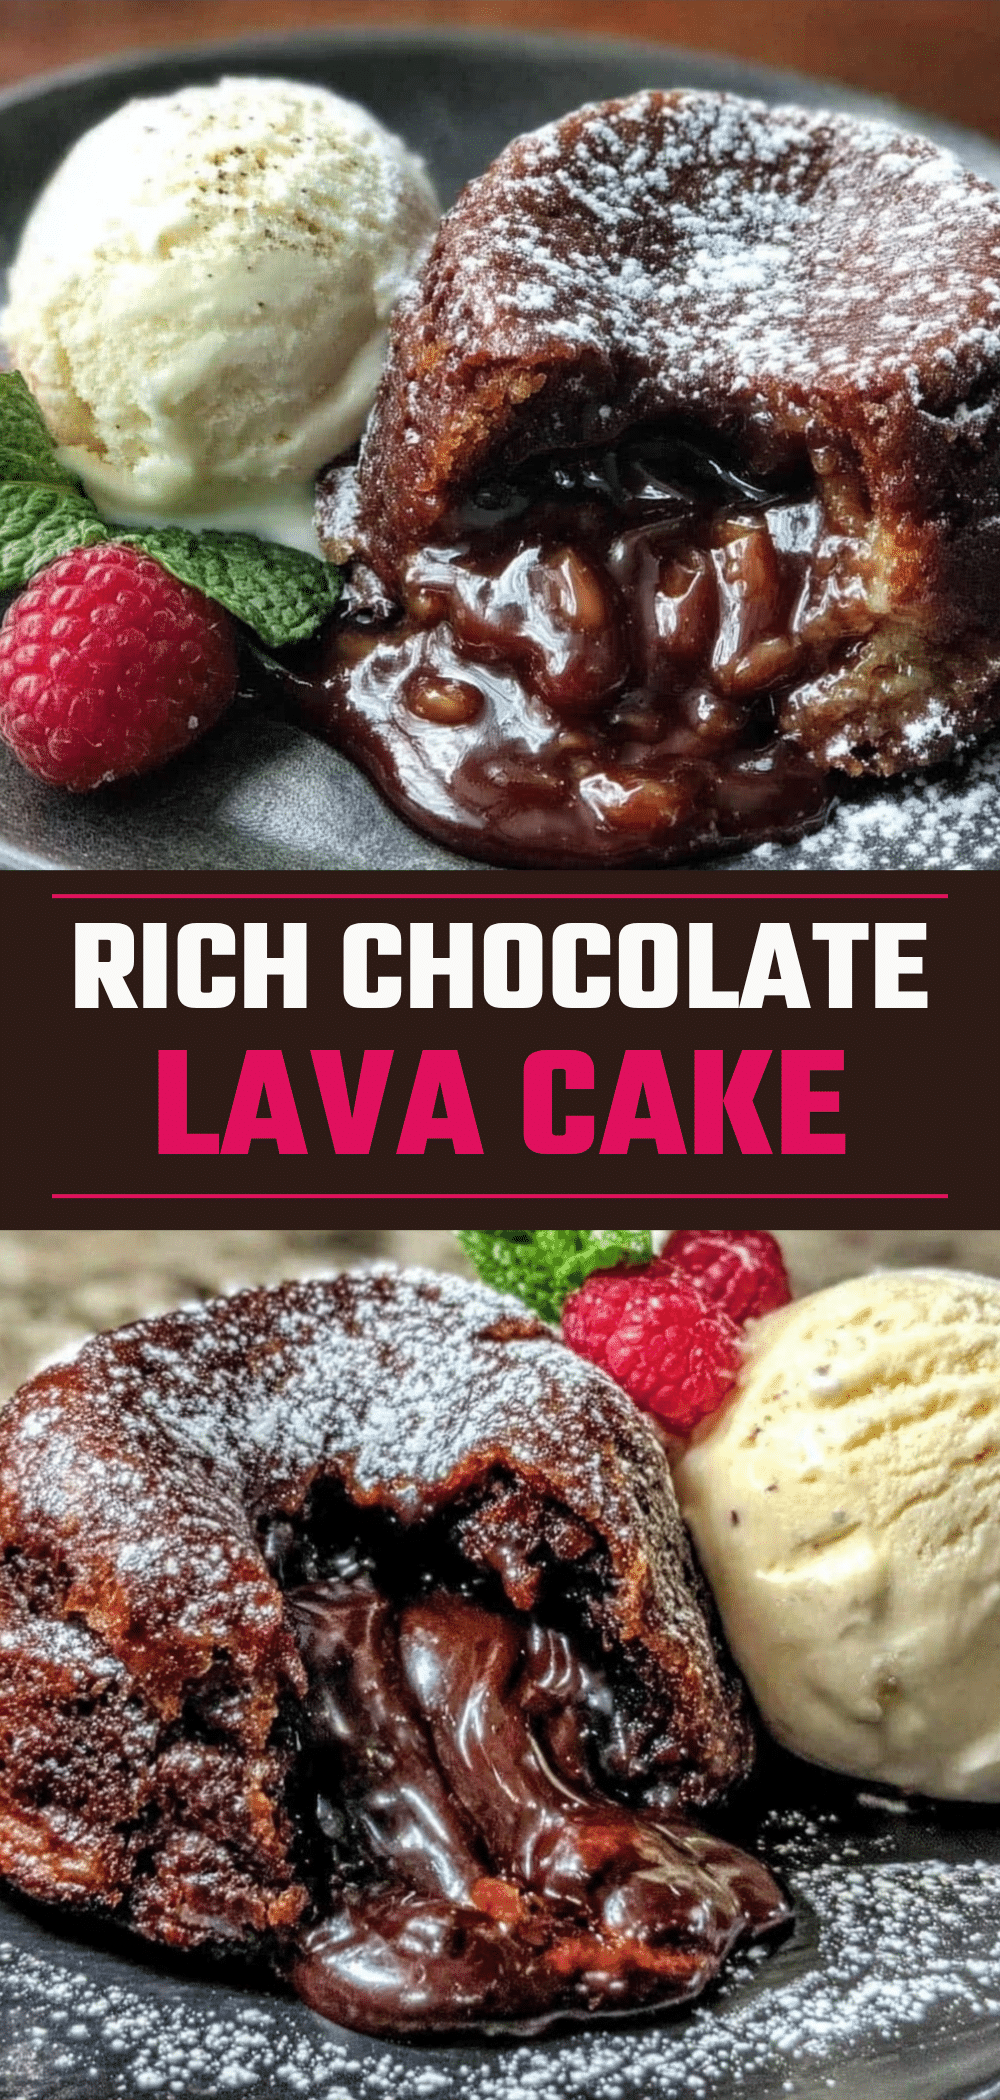
Chocolate Lava Cake: Best Budget Dessert for Kids
- Total Time: 20 minutes
- Yield: 4 servings 1x
Description
A simple, budget-friendly chocolate lava cake that delivers a molten center and restaurant-quality taste in just 20 minutes. Made with pantry staples, this dessert is perfect for impressing guests or satisfying a sweet craving.
Ingredients
- 6 ounces (170g) semi-sweet chocolate chips
- 6 tablespoons (85g) unsalted butter, cubed
- 2 large eggs, room temperature
- 2 egg yolks, room temperature
- ½ cup (100g) granulated sugar
- 2 tablespoons (15g) all-purpose flour
- ¼ teaspoon salt
- 1 teaspoon vanilla extract
- 4 scoops vanilla ice cream
- Powdered sugar, for dusting
- Fresh mint leaves, optional
- Mini chocolate chips, optional
Instructions
- Preheat oven to 425°F (220°C). Grease four 6-ounce ramekins generously with butter or non-stick spray, then dust with cocoa powder or powdered sugar. Place ramekins on a baking sheet.
- In a microwave-safe bowl, combine chopped chocolate and cubed butter. Microwave on high for 30 seconds, stir, then microwave in 15-20 second intervals until smooth. Let cool for 5 minutes.
- In a separate bowl, whisk eggs, egg yolks, and sugar vigorously for 2 minutes until pale and thickened. Add vanilla extract and salt; whisk to combine.
- Pour the melted chocolate mixture into the egg mixture and stir gently with a spatula until just combined.
- Sift flour over the batter and gently fold in until no streaks remain. Do not overmix.
- Divide batter evenly among prepared ramekins (filling them about ¾ full).
- Bake for 12-14 minutes. Edges should be set, but the center must remain soft and jiggly.
- Let cakes cool for 1 minute. Run a knife around the edge to loosen, place a plate upside down over the ramekin, flip, and lift off the ramekin.
- Serve immediately topped with vanilla ice cream, powdered sugar, and optional mint or mini chocolate chips.
Notes
Timing is critical; check at 12 minutes. The center should jiggle like Jell-O. Use room temperature eggs to prevent the batter from seizing. For make-ahead, fill ramekins up to 6 hours ahead and refrigerate; add 1-2 minutes to baking time if baking from cold. Do not store baked cakes in the fridge as they lose texture.
- Prep Time: 10 minutes
- Cook Time: 12-14 minutes
- Category: Dessert
- Cuisine: American
Nutrition
- Serving Size: 1 cake with 1 scoop
- Calories: 450
- Sugar: 32
- Sodium: 120
- Fat: 28
- Saturated Fat: 16
- Carbohydrates: 42
- Fiber: 2
- Protein: 8
Keywords: chocolate lava cake, budget dessert, easy dessert, kid-friendly dessert, molten chocolate cake, quick dessert, homemade dessert


