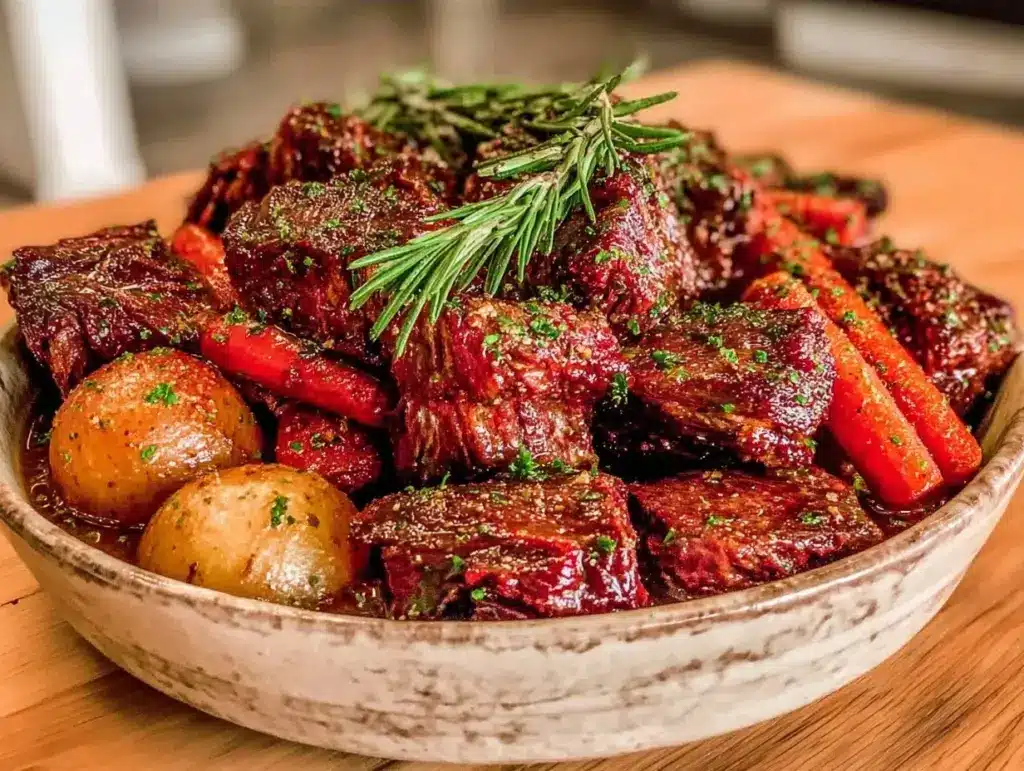
I still remember the first time I made a pot roast that didn’t taste like shoe leather. I was a brand-new parent, exhausted, running on three hours of sleep, and staring at a $30 cut of meat that I was terrified to mess up. I had read a dozen recipes that promised “tender, fall-apart beef” but delivered something chewy enough to use as a whetstone. I burned my tongue trying to cut it, and my toddler threw a tantrum because the gravy was too thin.
That was a low point. But it was also the turning point. I spent the next year tweaking methods, reading about collagen breakdown, and testing different temperatures. I learned that a classic beef pot roast isn’t about fancy techniques or expensive cuts—it’s about patience, low heat, and knowing exactly when to pull it from the oven.
Now, this classic beef pot roast is the backbone of our weekly meal plan. It’s the dish I make when I need to feed a hungry family without spending hours over a stove or breaking the bank. It’s the meal that smells like comfort the moment I walk into the kitchen, and it’s the one my kids actually ask for by name. I’ve made this at least fifty times, and I’ve finally nailed the method that guarantees tender, juicy beef every single time.
If you’re tired of dry, expensive steaks and complicated weeknight dinners, you need this in your rotation. It’s budget-friendly, it stretches leftovers into amazing sandwiches, and it practically cooks itself while you handle the chaos of family life. Here’s how to make a pot roast that actually lives up to the hype.
Why You’ll Love This Recipe
This isn’t just another beef recipe. This is the one that saves your dinner plans when you’re too tired to think. Here’s why this classic beef pot roast has earned its spot as our most-repeated family dinner:
- Stupid Simple — Seriously, if you can chop vegetables and put a lid on a pot, you can make this. I’ve made this while helping my kids with homework. No fancy skills required.
- Budget Champion — Chuck roast is one of the most affordable cuts of beef if you buy it right. It feeds 6-8 people for under $20, depending on sales. That’s less than $3 per person for a hearty, homemade meal.
- Set It and Forget It — Once you sear the meat and toss it in the oven, you’re done for the day. It cooks for 3-4 hours on low heat. I can do laundry, clean the kitchen, or just sit down with a cup of coffee.
- Kid-Approved — My picky eater who usually turns his nose up at “slow-cooked” food devours this. The beef is so tender it doesn’t even need a knife, and the vegetables are sweet and soft.
- Leftover Goldmine — This is the best part. The leftovers taste even better the next day. I make beef sandwiches with the leftovers, and they are legendary. You’ll likely end up making this twice just to have enough for the next day.
It’s reliable. It’s affordable. And it makes your whole house smell like a warm hug. That’s why I keep coming back to it week after week.
Ingredients You’ll Need
Here’s the best part: you probably have most of these ingredients already. This recipe relies on pantry staples and one good cut of meat. I’m not using any weird spices or hard-to-find items. Just good, simple food.
For the Meat
Beef Chuck Roast (3-4 pounds / 1.5-2 kg) — This is the star. Look for a “boneless chuck roast” or a “center-cut chuck roast.” You want marbling—that white fat running through the meat. That fat turns into gelatin during the long cook, making the meat tender. Avoid lean cuts like round roast; they’ll be dry. I usually grab this when it’s on sale for $3-4 a pound.
Vegetable Oil (2 tablespoons) — For searing. I use a neutral oil like canola or vegetable oil. Olive oil works, but it can burn at high heat. You just need enough to coat the bottom of the pan.
Kosher Salt and Black Pepper — Generous amounts. You want to season the meat well before it hits the pot. I use about 1 tablespoon of salt and 1 teaspoon of pepper for a 3-pound roast.
For the Veggies
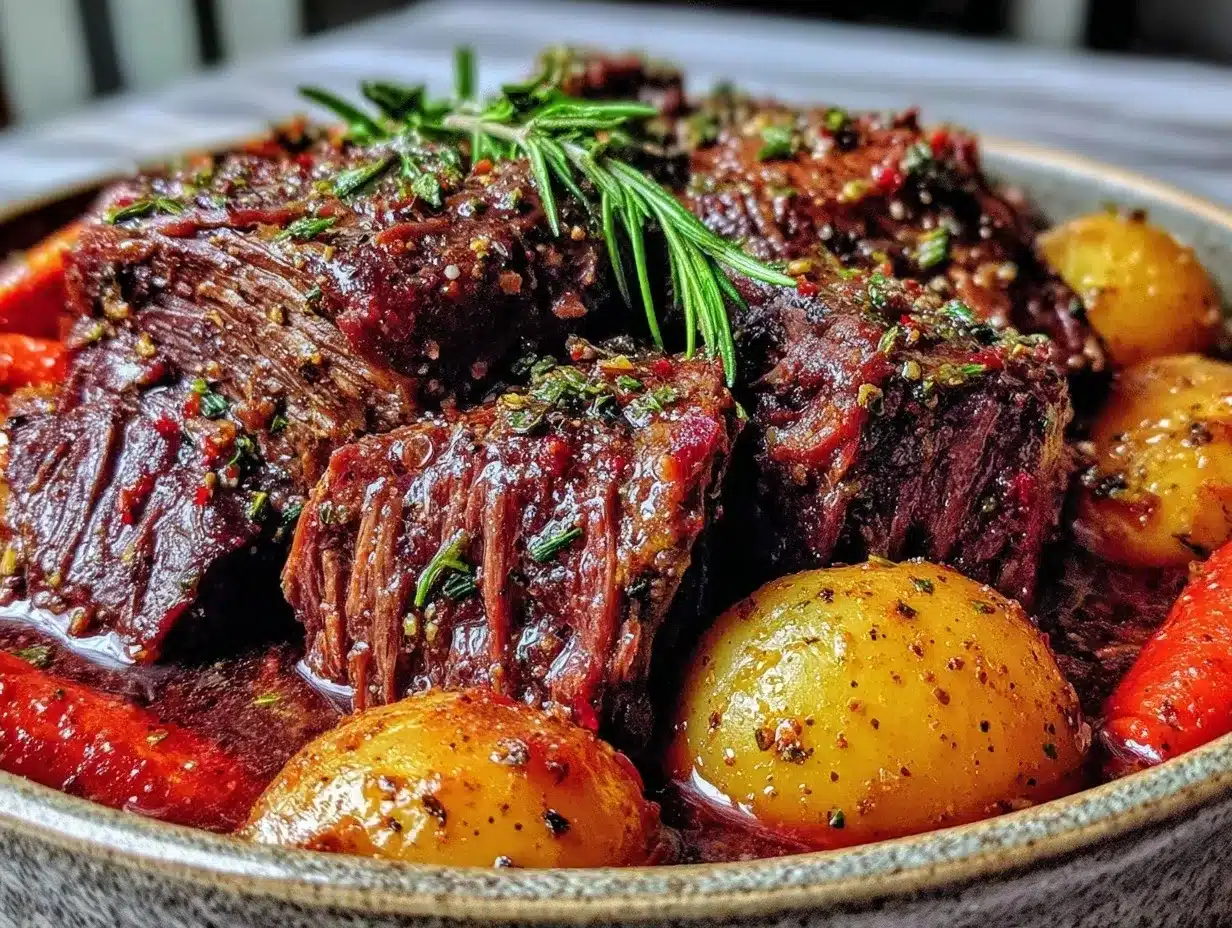
Yellow Onions (2 large, chopped / about 400g) — Onions add sweetness and body to the gravy. I chop them roughly; they’ll break down into the sauce. Don’t use sweet onions unless you’re in season; yellow gives better depth.
Carrots (4 large, cut into 2-inch chunks / about 300g) — Classic pot roast veggies. I peel them and cut them into thick chunks so they don’t turn to mush. If you hate carrots, swap them for parsnips or just add more potatoes.
Red Potatoes (1.5 pounds / 700g, quartered) — I use red potatoes because they hold their shape better than russets. You don’t even need to peel them. Just wash and quarter. They absorb all that beefy gravy and are the best part of the meal.
Garlic (6 cloves, minced / about 2 tablespoons) — Yes, six cloves. Don’t be shy. Fresh garlic is non-negotiable here. Jarred garlic has a metallic taste that ruins the depth of the gravy.
For the Gravy
Beef Broth (2 cups / 480ml) — Use low-sodium broth so you can control the saltiness. I buy the cartons, not the cubes, for a cleaner flavor. If you don’t have broth, water with a bouillon cube works in a pinch.
Tomato Paste (2 tablespoons) — This adds richness and color. It’s not for tomato flavor; it’s for umami. It helps thicken the gravy and gives it that deep, dark color.
Dried Thyme and Rosemary (1 teaspoon each) — These herbs stand up to the long cooking time. Fresh herbs will turn to mush, so dried is better here. If you only have fresh, use half the amount and add it in the last hour.
Bay Leaves (2 leaves) — Essential for that classic savory flavor. Remember to fish them out before serving!
Worcestershire Sauce (1 tablespoon) — This is my secret weapon. It adds a savory, tangy depth that makes the beef taste more “beefy.” You won’t taste it directly, but you’ll miss it if it’s gone.
Flour (2 tablespoons) — To thicken the gravy. I mix this with a little water to make a slurry, which is easier than sprinkling it in.
Equipment Needed
You don’t need fancy equipment for this. Here’s what I actually use:
Large Dutch Oven (6-quart) — I use a Le Creuset, but any heavy-bottomed pot with a lid works. Cast iron is great because it holds heat well. A regular roasting pan works too, but you’ll need to cover it tightly with foil.
Large Skillet — For searing the meat. If your Dutch oven is big enough, you can sear right in it. Saves on dishes.
Chef’s Knife and Cutting Board — For chopping veggies. Sharp knives are safer and make the job faster.
Measuring Cups and Spoons — Standard stuff. Dollar store versions work fine.
Aluminum Foil — If your pot doesn’t have a tight-fitting lid, you’ll need heavy-duty foil to seal it in.
How to Make It: Step-by-Step
Alright, let’s make this! I’m walking you through exactly how I do it, including the little tricks I’ve picked up over the years.
Step 1: Prep the Meat (5 minutes)
Take your chuck roast out of the fridge and let it sit on the counter for 30 minutes while you chop veggies. Cold meat sears poorly. Pat it completely dry with paper towels—this is crucial for a good sear. Season the entire roast generously with salt and pepper. I mean really go for it. If the outside isn’t seasoned, the inside won’t be either.
Step 2: Sear the Roast (5-7 minutes)
Heat your Dutch oven or skillet over medium-high heat. Add the oil. Once it shimmers, carefully place the roast in the pan. Do not crowd the pan. Sear for 3-4 minutes per side until you have a deep brown crust. This step adds flavor through the Maillard reaction. Don’t rush it. If you pull it too early, it’ll be pale and tasteless. Flip it once. You’re done.
Step 3: Sauté the Aromatics (3 minutes)
Push the roast to the side (or remove it to a plate). Add the chopped onions and carrots to the same pan. Cook for 3-4 minutes, scraping up the brown bits from the bottom of the pot. Those bits are liquid gold. Add the garlic and tomato paste. Cook for 1 minute, stirring constantly. The paste will darken slightly. This builds the flavor base for the gravy.
Step 4: Deglaze and Simmer (2 minutes)
Pour in the beef broth and Worcestershire sauce. Scrape the bottom of the pot again to release all those flavorful bits. Add the thyme, rosemary, and bay leaves. Stir to combine.
Step 5: Add the Potatoes and Return the Meat (2 minutes)
Nestle the potatoes into the liquid. They should be mostly submerged. Place the seared roast on top of the vegetables. It doesn’t need to be fully covered by liquid, but it should sit in the juices. If you have a roasting pan, you can place the roast on a rack over the veggies.
Step 6: The Long Cook (3-4 hours)
Cover the pot with a tight-fitting lid. If using foil, seal it tightly. Place it in a 325°F (165°C) oven. Cook for 3 to 4 hours. Check at the 3-hour mark. The meat is done when you can pierce it easily with a fork and it starts to pull apart. If it’s still tough, give it another 30-45 minutes. Low and slow is the key. Do not increase the heat to speed it up; you’ll get tough meat.
Step 7: Make the Gravy (10 minutes)
Once the meat is tender, remove the pot from the oven. Carefully remove the roast and vegetables to a serving platter. Cover the meat with foil to keep it warm. Place the pot back on the stove over medium heat. If the gravy is too thin, mix 2 tablespoons of flour with 2 tablespoons of cold water to make a slurry. Whisk this into the simmering liquid. Cook for 2-3 minutes until thickened. Taste and add more salt or pepper if needed.
Step 8: Serve
Spoon the gravy over the meat and vegetables. Serve immediately. This classic beef pot roast is best eaten with crusty bread to soak up every drop of sauce.
Expert Tips & Tricks
Here’s everything I’ve learned from making this dozens of times. These tips will save you from my mistakes.
Don’t Skip the Sear
I know it’s extra work. But searing the meat creates a flavor layer that boiling just doesn’t get. It’s the difference between “okay” and “amazing.” Trust me.
Pat the Meat Dry
Wet meat steams. Dry meat sears. If your roast is wet, it won’t brown. Use paper towels. A lot of them.
Check for Tenderness, Not Time
Ovens vary. Some run hot, some run cold. Don’t set a timer and walk away. Check the meat at 3 hours. If it’s not fork-tender, keep cooking. It’s better to overcook slightly than to undercook tough meat.
Save the Fat
After you skim the fat from the top of the gravy, don’t throw it away. That’s liquid gold for cooking potatoes or roasting veggies another day.
Make-Ahead Strategy
This tastes even better the next day. The flavors meld overnight. Make this on Sunday, store in the fridge, and reheat on Monday. It’s the ultimate meal prep win.
Variations & Substitutions
Once you’ve nailed the basic version, here’s how you can mix it up. I’ve tried all of these.
Mushroom Lovers
Add 8oz of sliced mushrooms with the onions. They soak up the gravy like sponges. My kids love them.
Red Wine Version
Swap 1 cup of the broth for 1 cup of dry red wine (like Cabernet or Merlot). It adds a deeper, richer flavor. I use this for dinner parties.
Potato Swap
Use russet potatoes if you want them to break down and thicken the gravy. Use red or Yukon Gold if you want them to hold their shape.
Slow Cooker Version
You can make this in a slow cooker. Sear the meat first (don’t skip this!), then put everything in the slow cooker. Cook on low for 8 hours. It’s less hands-off than the oven method, but very convenient.
Serving & Storage
How to Serve
I usually serve this straight from the skillet at the dinner table—it looks rustic and stays warm. But here are other ways I’ve enjoyed it:
- Crusty Bread — Essential for mopping up the gravy.
- Green Beans — A simple side of steamed green beans with lemon balances the richness.
- Mashed Potatoes — If you want to double down on comfort food.
Wine Pairing
A medium-bodied red wine like Pinot Noir or a dry Cabernet works great. My husband likes a cheap bottle of Bordeaux that I buy at the grocery store. It doesn’t have to be fancy.
Storage Instructions
Refrigerator:
Store in an airtight container for up to 4 days. The meat and gravy will keep well together.
Reheating:
Best method: Add to a skillet with a splash of broth or water over low heat. Stir until heated through.
Microwave method: Heat in 30-second intervals, stirring between. Add a splash of water if it’s too thick.
Freezing:
Yes, you can freeze this! Freeze the meat and gravy separately from the potatoes (potatoes get grainy when frozen). Freeze in portion-sized containers for easy lunches. It keeps for 3 months.
Leftover Idea:
Shred the leftover beef and make beef and cheese sandwiches on toasted buns with caramelized onions. It’s even better than the original meal.
Nutrition Information
I’m not a nutritionist, but here’s the breakdown if you’re tracking. This is comfort food, so it’s hearty.
Per Serving (based on 6 servings):
- Calories: 450
- Protein: 35g
- Carbs: 25g
- Fiber: 3g
- Sugar: 4g
- Fat: 22g
- Saturated Fat: 8g
- Cholesterol: 90mg
- Sodium: 600mg
What’s Good:
High in protein from the beef. Good source of iron and zinc. The vegetables add fiber and vitamins.
What to Know:
Higher in calories due to the fat content in the chuck roast. Sodium can be high if you use regular broth; use low-sodium broth to control this.
My Take:
Look, this is a hearty, satisfying meal. It’s not a diet food. But it’s way better than takeout, costs less, and I know exactly what’s in it. When I want to make it lighter, I skip the potatoes and load up on carrots and green beans. But usually? I just eat a reasonable portion and enjoy it.
Final Thoughts
So that’s my go-to classic beef pot roast! I’ve probably talked your ear off at this point, but when you make a recipe this often, you have a lot to say about it.
This has saved weeknight dinners more times than I can count. It’s my answer to “what’s for dinner” when I’m tired, don’t want takeout, and still want something that tastes really good. My kids are happy, my husband’s happy, and I’m happy because I’m not stressed about cooking.
Make it yours! Try different veggies, swap in your favorite herbs, adjust the garlic (though more is always better in my opinion). The best recipes are the ones you adapt to your family’s tastes.
If you make this, drop a comment and let me know what you think! I love hearing how recipes turn out in your kitchen. And if something doesn’t work, tell me that too—I’m here to help troubleshoot.
Happy cooking! And I hope your kitchen smells half as good as mine does right now.
Frequently Asked Questions
Can I use a different cut of beef?
You can, but chuck roast is the best for this. It has enough fat to stay tender during the long cook. Round roast is leaner and will be drier. Brisket works but has a different texture. Stick with chuck for the best results.
Why is my pot roast tough?
It wasn’t cooked long enough. Chuck roast needs time for the collagen to break down. If it’s tough after 3 hours, keep cooking it. Check every 30 minutes. It should pull apart with a fork.
Can I make this in a slow cooker?
Yes! Sear the meat first, then put everything in the slow cooker. Cook on low for 8 hours. It’s very convenient, though the gravy might be thinner. You can thicken it with a cornstarch slurry at the end.
How do I reheat leftovers without drying them out?
Add a splash of broth or water when reheating. This adds moisture back into the meat. Reheat gently on the stove or in the microwave with a cover.
Can I freeze the potatoes?
I don’t recommend it. Potatoes get grainy and mealy when frozen and thawed. Freeze the meat and gravy separately, and cook fresh potatoes when you reheat.
What side dishes go with pot roast?
Crusty bread, green beans, mashed potatoes, or roasted carrots. I also like a simple salad to cut the richness. Check out my easy budget-friendly potato salad for a fresh side that pairs well.
Can I double this recipe?
Yes, but you’ll need a larger pot. Double the ingredients and cook for the same amount of time. Check for tenderness as usual. Make sure the vegetables are submerged in liquid.
Pin This Recipe!
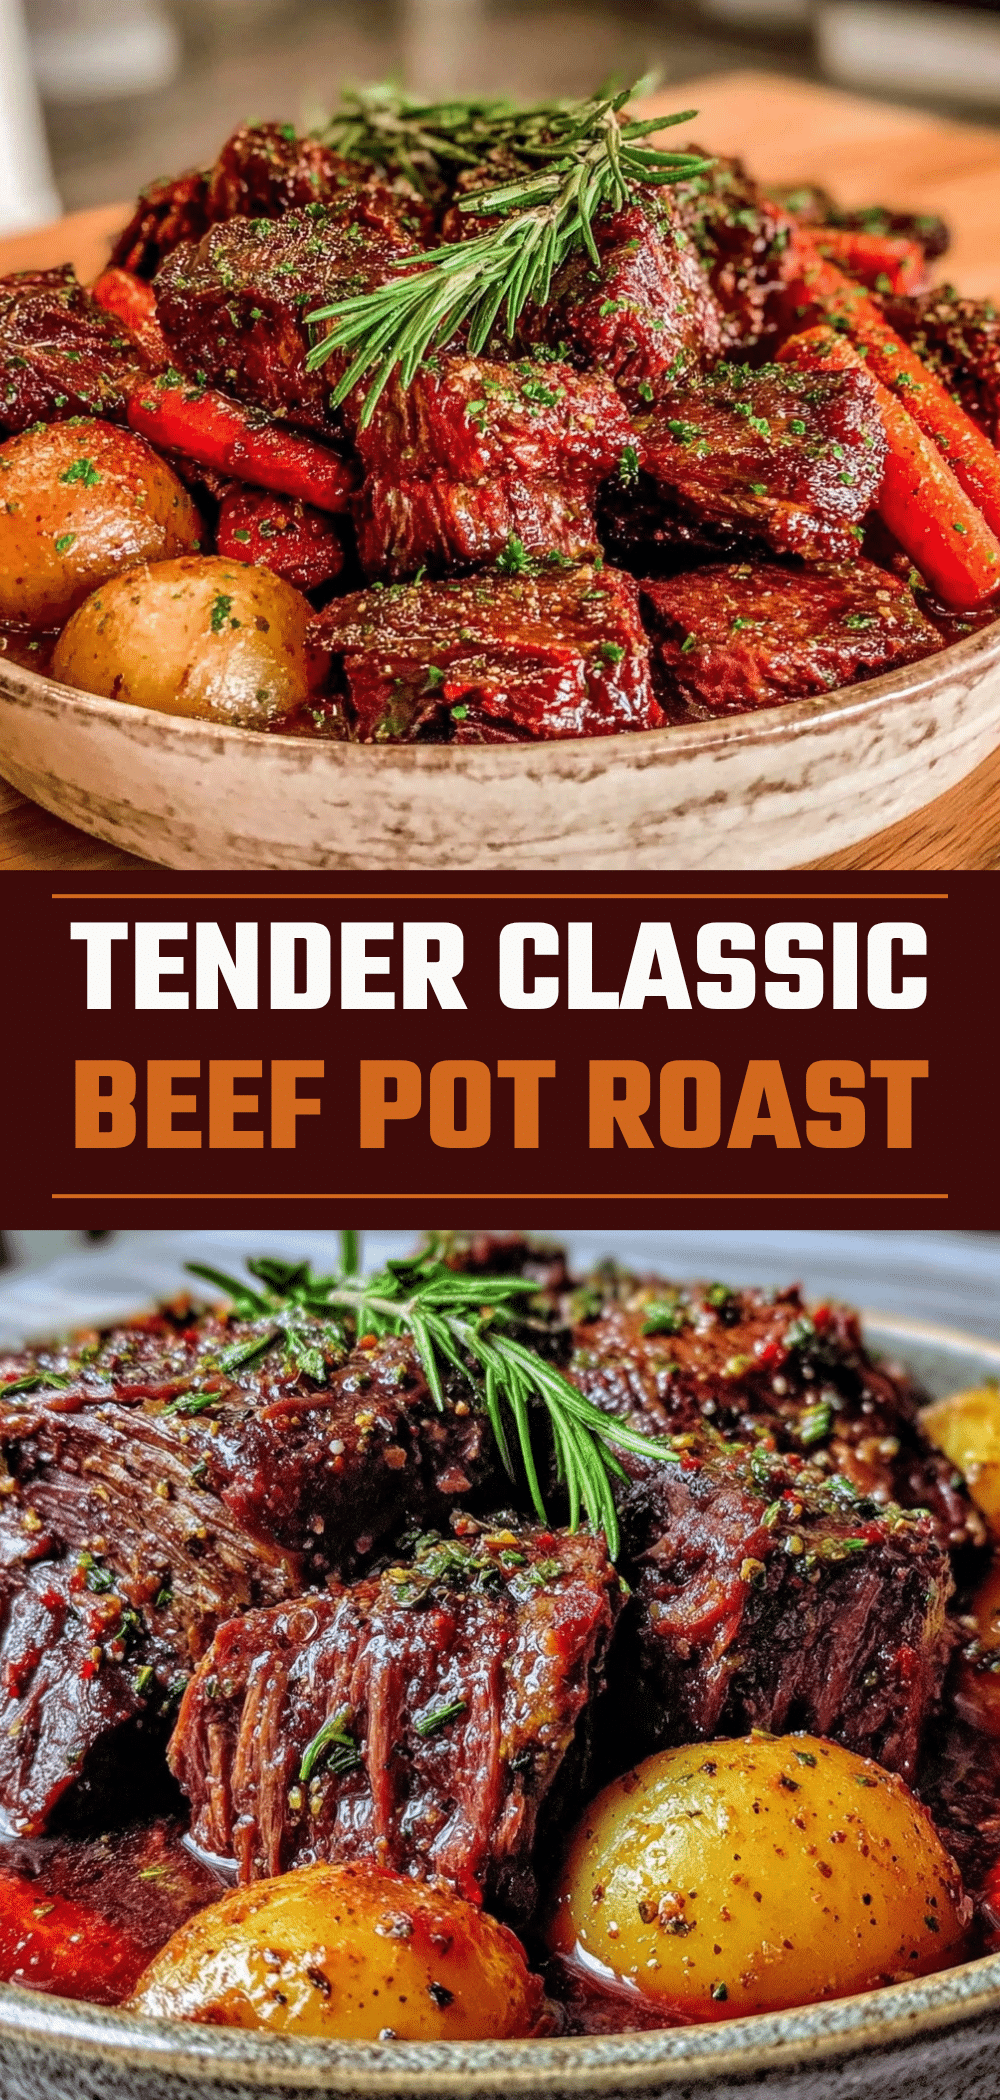
Classic Beef Pot Roast: Easy Family Dinner
- Total Time: 3 hours 45 minutes
- Yield: 6 servings 1x
Description
A tender, fall-apart beef chuck roast cooked low and slow with carrots, potatoes, and onions in a rich, savory gravy. This budget-friendly, set-it-and-forget-it meal is perfect for feeding a family.
Ingredients
- 3–4 pounds beef chuck roast (boneless or center-cut)
- 2 tablespoons vegetable oil
- 1 tablespoon kosher salt
- 1 teaspoon black pepper
- 2 large yellow onions, chopped
- 4 large carrots, cut into 2-inch chunks
- 1.5 pounds red potatoes, quartered
- 6 cloves garlic, minced
- 2 cups low-sodium beef broth
- 2 tablespoons tomato paste
- 1 teaspoon dried thyme
- 1 teaspoon dried rosemary
- 2 bay leaves
- 1 tablespoon Worcestershire sauce
- 2 tablespoons flour (mixed with water for slurry)
Instructions
- Take the chuck roast out of the fridge and let it sit on the counter for 30 minutes. Pat it completely dry with paper towels and season generously with salt and pepper.
- Heat a large Dutch oven or skillet over medium-high heat with oil. Sear the roast for 3-4 minutes per side until a deep brown crust forms. Remove the roast to a plate.
- In the same pot, sauté onions and carrots for 3-4 minutes, scraping up brown bits. Add garlic and tomato paste, cooking for 1 minute until the paste darkens.
- Pour in beef broth and Worcestershire sauce, scraping the bottom of the pot. Add thyme, rosemary, and bay leaves.
- Nestle potatoes into the liquid and place the seared roast on top of the vegetables.
- Cover with a tight-fitting lid or foil and cook in a 325°F (165°C) oven for 3-4 hours, until the meat is fork-tender.
- Remove the meat and vegetables to a platter. Place the pot on the stove over medium heat. Whisk in a flour slurry (2 tbsp flour mixed with 2 tbsp cold water) to thicken the gravy. Simmer for 2-3 minutes.
- Serve the meat and vegetables topped with the thickened gravy.
Notes
Do not skip the sear for maximum flavor. Pat the meat dry before searing to ensure a good crust. Check for tenderness rather than relying solely on time, as oven temperatures vary. Potatoes do not freeze well; freeze meat and gravy separately. Leftovers make excellent beef sandwiches.
- Prep Time: 15 minutes
- Cook Time: 3 hours 30 minutes
- Category: Main Course
- Cuisine: American
Nutrition
- Serving Size: 1 slice of roast wit
- Calories: 450
- Sugar: 4
- Sodium: 600
- Fat: 22
- Saturated Fat: 8
- Carbohydrates: 25
- Fiber: 3
- Protein: 35
Keywords: beef pot roast, chuck roast, slow cooked beef, family dinner, comfort food, easy dinner, budget friendly meal


