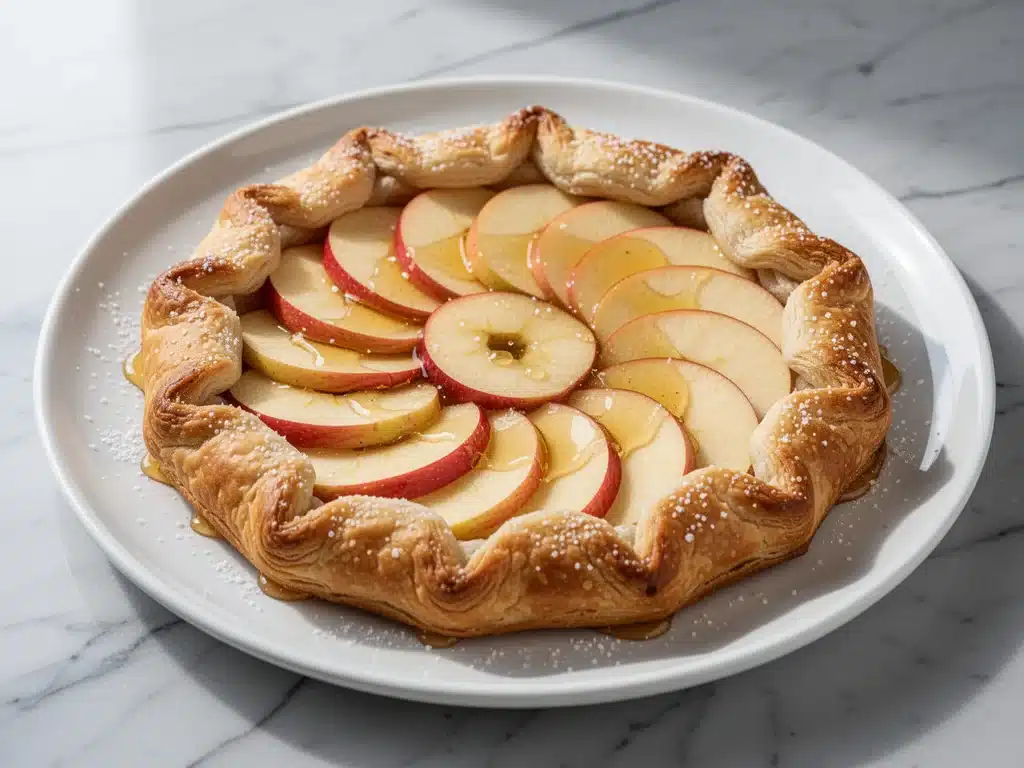
My mother-in-law’s table during Rosh Hashanah was legendary. I’m talking about a dessert spread that looked like it had been curated by a professional patissier, complete with intricate fruit tarts and glossy ganache cakes. I’d arrive early, hoping to sneak a slice before the main course, only to find myself staring at a dessert that was beautiful, yes, but somehow felt… stiff. Like it was too proud to be enjoyed casually.
Last year, I decided I wanted to bring something different. Something that honored the sweetness of the holiday but felt warm, rustic, and genuinely homemade. I wanted a dessert that said “Shana Tova” without shouting. That’s when I decided to make a galette. Specifically, a Rosh Hashanah Apple Honey Galette with a flaky all-butter crust.
It was a gamble. Galettes are notoriously tricky for beginners. The crust can tear, the filling can leak, and the result often looks more like a pie that gave up than a sophisticated tart. But I’ve made this recipe seven times in the last month—yes, seven—tweaking the honey ratio and learning exactly how to handle the dough so it stays tender. And I’m happy to report: it works. It’s the perfect balance of sweet honey, tart apples, and buttery pastry. It’s less fussy than a pie but feels just as special. If you’re looking for a dessert that brings warmth to your holiday table without the stress, this is it. Trust me, my mother-in-law was impressed, and that’s the highest praise I can offer.
Why You’ll Love This Rosh Hashanah Apple Honey Galette
There’s something deeply satisfying about open-faced desserts. They’re honest. You can see the fruit, you can smell the spice, and you can’t hide behind a thick top crust. Here’s why this galette has taken over our holiday baking rotation:
It’s Forgiving — Seriously, if your edges look a little messy, that’s the point. Unlike a pie that needs a perfect lattice, a galette’s charm is in its rustic imperfection. I’ve made these with crusts that looked like they were folded by a toddler, and they tasted just as good. It’s the perfect recipe for anyone intimidated by intricate baking.
It Captures the Season — Rosh Hashanah is all about sweetness and new beginnings. The combination of local autumn apples with rich, floral honey feels incredibly seasonal. It’s not just sugar; it’s the taste of fall. I paired it with a hint of cinnamon and cardamom, which are traditional in many Jewish holiday desserts, to give it that authentic holiday aroma.
Flaky All-Butter Crust — I’ve tried shortening, I’ve tried oil, but nothing beats all-butter. It’s richer, it browns better, and the flavor is unmatched. I’ve perfected a method that keeps the butter cold but pliable, ensuring you get those flaky, shattering layers without the frustration of cold, unworkable dough.
Make-Ahead Friendly — You can roll and chill the dough a day ahead. This is crucial for holiday planning. You can bake it the morning of the dinner, let it cool, and bring it to room temperature. It actually tastes better after sitting for an hour, as the honey sets slightly and the flavors meld.
Impresses Without the Stress — It looks like something from a high-end bakery, but it takes about 45 minutes of active work. I made this while my kids were doing homework, and it still came out perfect. It’s the ultimate “I made this myself” dessert that doesn’t require three hours of babysitting a double oven.
This is my go-to when I need a dessert that feels festive but doesn’t dominate my entire day. No complicated techniques, no weird ingredients, just reliable, delicious food that makes everyone happy.
Ingredients You’ll Need
Here’s the best part: you probably have most of this already. A galette relies on simple, high-quality ingredients. The fewer items, the more each one matters.
For the Flaky All-Butter Crust:
All-purpose flour (2 ½ cups / 315g) — Don’t skip measuring correctly. Too much flour makes the crust tough. I use the spoon-and-level method, never scooping directly from the bag. King Arthur is my go-to brand for consistent protein content.
Unsalted butter (1 cup / 226g, very cold) — This is non-negotiable. Use European-style butter if you can find it; it has a higher fat content and makes a richer crust. Cube it and keep it in the freezer for 10 minutes before using. If the butter melts while you work, your layers will fail.
Ice water (6-8 tablespoons) — Keep the water ice cold. Add it one tablespoon at a time. You want the dough to just come together. If it’s too wet, add a sprinkle of flour.
Salt (1 teaspoon) — Enhances the flavor of the butter. Don’t skip it.
Sugar (1 tablespoon) — Just a touch to help with browning.
For the Apple Honey Filling:
Firm apples (4-5 medium, about 1.5 lbs / 680g) — Use a mix of varieties. I like Granny Smith for tartness and Honeycrisp or Fuji for sweetness. Avoid Red Delicious; they turn mushy. Peel them, but leave the skin on some slices for color if you want.
Raw honey (⅓ cup / 120ml) — This is the star of the show. Use a mild honey like clover or orange blossom. Avoid strong buckwheat honey unless you want it to dominate. It adds a floral sweetness that sugar just can’t match.
Granulated sugar (2 tablespoons) — Balances the honey and helps draw out the apple juices.
Ground cinnamon (1 teaspoon) — Classic warmth.
Ground cardamom (½ teaspoon) — This is the secret ingredient. It’s traditional in many Middle Eastern and Jewish desserts and adds a lovely, complex floral note. If you don’t have it, use more cinnamon.
Cornstarch (1 tablespoon) — Thickens the apple juices so you don’t end up with a soggy bottom. I’ve learned this the hard way with a puddle of syrup on my plate.
Vanilla extract (1 teaspoon) — Pure vanilla, please. I’ve used imitation before and it tastes chemical.
For the Topping:
Coarse sugar (1 tablespoon) — Sprinkled on top before baking. It adds a beautiful crunch and sparkle.
Extra butter (1 tablespoon, melted) — Brushed on the edges for a golden finish.
Personal Tips:
- Butter Temperature: If your kitchen is warm, work quickly or chill the dough between steps. I keep a bowl of ice water nearby to dip my hands in if they get too warm.
- Apple Selection: I always taste my apples first. If they’re super tart, add an extra tablespoon of sugar. If they’re very sweet, reduce the honey slightly.
- Honey Measurement: Honey sticks to measuring cups. Spray your measuring cup with non-stick cooking spray first, and the honey will slide right out.
Equipment Needed
You don’t need fancy equipment for this. Here’s what I actually use.
Large mixing bowl — For the dough. Glass or stainless steel works best because you can see the texture.
Pastry cutter or food processor — I use a food processor for speed, but a pastry cutter works if you have the arm strength. A fork works too, but it takes longer.
Rolling pin — A standard wooden rolling pin is fine. I prefer a French-style rolling pin (no handle) because it gives me more control, but any heavy cylinder works.
Baking sheet — A heavy-duty aluminum sheet pan. I use a dark one because it browns the crust better, but light-colored works too. Line it with parchment paper for easy cleanup.
Parchment paper — Essential for transferring the galette to the pan and for easy cleanup.
Sharp knife or apple peeler — For slicing the apples evenly. Uniform slices cook evenly.
Pastry brush — For brushing the melted butter on the edges. A silicone brush is easy to clean.
Cooling rack — To let the galette cool completely. This helps the filling set.
Optional but nice:
- Instant-read thermometer — To check the butter temperature (optional but helpful).
- Offset spatula — For spreading the filling evenly.
How to Make It: Step-by-Step
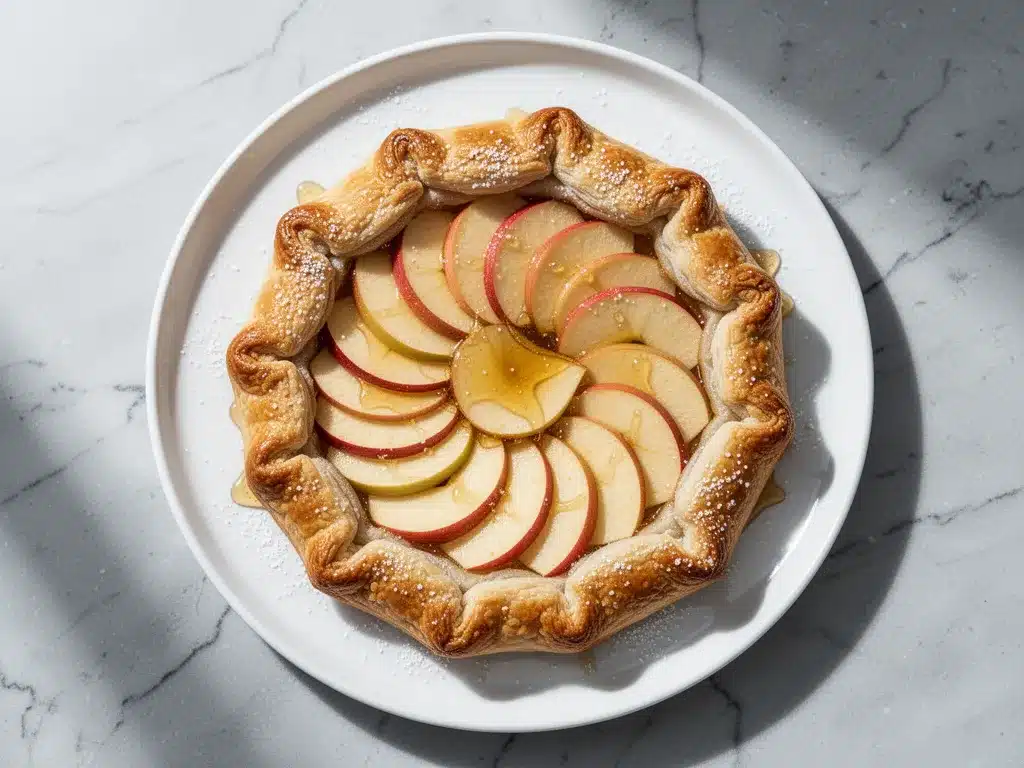
Alright, let’s make this! I’m walking you through exactly how I do it, including the little tricks I’ve picked up.
Step 1: Make the Dough (10 minutes)
In a food processor, pulse the flour, salt, and sugar together. Add the cold, cubed butter. Pulse 10-15 times until the mixture looks like coarse crumbs with some pea-sized pieces of butter remaining. These butter chunks are what create the flaky layers. If you’re using a pastry cutter, cut the butter into the flour until you see similar crumbs.
Drizzle in the ice water, one tablespoon at a time, pulsing after each addition. Stop when the dough just begins to clump together. It will look shaggy. Do not overwork it. Dump the dough onto a piece of plastic wrap and press it into a disk. Wrap tightly and refrigerate for at least 1 hour, or up to 2 days.
Step 2: Prepare the Apples (15 minutes)
While the dough chills, peel and core the apples. Slice them into ¼-inch thick wedges. Try to keep them uniform so they bake evenly. In a large bowl, toss the apple slices with the honey, granulated sugar, cinnamon, cardamom, cornstarch, and vanilla. Let this sit for 15 minutes while you roll out the dough. This allows the apples to release some juices, which will thicken into a glossy glaze.
Step 3: Roll Out the Dough (5 minutes)
Preheat your oven to 400°F (200°C). Line a baking sheet with parchment paper. On a lightly floured surface, roll out the chilled dough into a 12-inch circle. Don’t worry about perfect edges; galettes are rustic. If the dough cracks, just press it back together. Transfer the dough to the prepared baking sheet.
Step 4: Assemble the Galette (10 minutes)
Spread the apple mixture in the center of the dough, leaving a 2-inch border all around. Don’t pile the apples too high in the center, or they’ll spill over. Fold the edges of the dough over the apples, pleating as you go. You don’t need to cover the apples completely; leaving some exposed is part of the charm. Brush the folded edges with melted butter.
Step 5: Bake (40-45 minutes)
Sprinkle the coarse sugar over the crust edges. Bake for 40-45 minutes, rotating the pan halfway through, until the crust is deep golden brown and the apples are tender. If the edges brown too quickly, cover them with a strip of aluminum foil. Let the galette cool on the baking sheet for at least 20 minutes before slicing. This is crucial for the filling to set.
Total Time: About 1 hour 30 minutes (including chilling time)
Expert Tips & Tricks
Here’s everything I’ve learned from making this dozens of times. These tips will save you from my mistakes.
Keep Everything Cold
This is the #1 rule for flaky crust. If the butter melts before it hits the oven, you lose the steam pockets that create flakiness. I keep my butter in the freezer until the last minute and use ice water. If your dough feels warm, chill it for 10 minutes before rolling.
Don’t Skip the Cornstarch
Apples release a lot of liquid. Without cornstarch, you’ll end up with a soggy bottom and a pool of syrup on your plate. I’ve tried arrowroot and tapioca, but cornstarch gives the clearest, most stable glaze.
Use a Mix of Apples
Using only one type of apple can be boring. A mix of tart and sweet apples adds complexity. I like Granny Smith for structure and Honeycrisp for flavor. Avoid cooking apples like McIntosh if you want them to hold their shape.
Chill Before Baking
Once you’ve folded the edges, put the entire galette in the freezer for 10 minutes before baking. This re-chills the butter, ensuring it starts hot in the oven for maximum lift.
Let It Cool
I know it’s tempting to slice it hot, but the filling needs time to set. If you cut it too soon, it will be runny. Wait at least 20 minutes. It’s worth the wait.
Variations & Substitutions
Once you’ve nailed the basic version, here’s how you can mix it up. I’ve tried all of these.
Pear and Honey Galette
Swap the apples for ripe but firm pears, like Bosc or Anjou. Pears are softer, so reduce the baking time by 5-10 minutes. Add a pinch of nutmeg for extra warmth.
Maple and Pecan
Replace the honey with pure maple syrup. Add ½ cup chopped pecans to the filling. This adds a nice crunch and pairs beautifully with the autumn spices.
Gluten-Free
Use a 1:1 gluten-free flour blend. The texture might be slightly more crumbly, so handle the dough gently. The flavor will still be amazing.
Vegan
Use vegan butter (like Earth Balance) and replace the honey with agave nectar or maple syrup. The crust might be slightly less flaky, but it will still be delicious.
Add-Ins
Throw in some fresh thyme leaves with the apples for a savory-sweet twist. Or add a handful of dried cranberries for tartness. I’ve even added a slice of brie to the center for a rich, melty surprise.
Serving & Storage
How to Serve:
I usually serve this straight from the baking sheet, sliced into wedges. It looks rustic and stays warm. Here are other ways I’ve enjoyed it:
- With a dollop of whipped cream or crème fraîche.
- With a scoop of vanilla bean ice cream (classic combo).
- Warm, with a drizzle of extra honey.
Storage Instructions:
Refrigerator: Store leftovers in an airtight container for up to 3 days. The crust will soften slightly, but the flavor remains great.
Reheating: Warm individual slices in the microwave for 30 seconds, or in a 350°F oven for 10 minutes to crisp the crust. Avoid the microwave if you want a flaky crust.
Freezing: You can freeze the unbaked galette. Wrap it tightly in plastic and foil. Bake directly from frozen, adding 10-15 minutes to the baking time. Do not freeze the baked galette; the crust will become soggy upon thawing.
Nutrition Information
I’m not a nutritionist, but here’s the breakdown if you’re tracking.
Per Serving (based on 8 servings):
- Calories: 320
- Protein: 4g
- Carbs: 45g
- Fiber: 3g
- Sugar: 22g
- Fat: 14g
- Saturated Fat: 8g
- Cholesterol: 30mg
- Sodium: 250mg
What’s Good:
- Real fruit provides vitamins and fiber.
- Lower in sugar than most holiday cakes.
What to Know:
- Higher in fat from the butter crust.
- Contains gluten and dairy.
My Take:
Look, this is a dessert with butter and sugar. It’s not a diet recipe. But it’s better than store-bought, and the honey adds a natural sweetness that feels less heavy than refined sugar. When I want to make it lighter, I use less butter in the crust and load up on apples. But usually? I just enjoy a slice and savor the holiday spirit.
Final Thoughts
So that’s my Rosh Hashanah Apple Honey Galette! I’ve probably talked your ear off at this point, but when you make a recipe this often, you have a lot to say about it.
This has saved my holiday desserts more times than I can count. It’s my answer to “what’s for dessert” when I want something festive but don’t have hours to bake. My family loves it, my guests are impressed, and I’m happy because I’m not stressed about cooking.
Make it yours! Try different apples, swap the spices, or add nuts. The best recipes are the ones you adapt to your family’s tastes.
If you make this, drop a comment and let me know what you think! I love hearing how recipes turn out in your kitchen. And if something doesn’t work, tell me that too—I’m here to help troubleshoot.
Happy cooking! And I hope your kitchen smells half as good as mine does right now.
Frequently Asked Questions
Can I use frozen apples?
I don’t recommend it. Frozen apples release too much water and turn mushy. Fresh apples are best for this recipe. If you must use frozen, thaw them completely and drain the excess liquid before adding to the filling.
Why did my crust shrink in the oven?
This usually happens if the dough wasn’t chilled long enough before baking, or if it was stretched too much when rolling. Chill the dough for at least 1 hour, and handle it gently. If it shrinks slightly, it’s normal for a galette.
Can I make this ahead for a dinner party?
Yes! You can assemble the galette up to 24 hours ahead and keep it in the fridge. Bake it the day of the party. It will still be delicious. Just add a few minutes to the baking time if you’re baking it straight from the fridge.
What type of honey is best?
Use a mild, floral honey like clover, orange blossom, or wildflower. Stronger honeys like buckwheat or manuka can overpower the apples. Raw honey is best, but processed honey works too.
Can I add other fruits?
Absolutely! This recipe works well with pears, peaches, or plums. Just adjust the baking time as needed. For juicier fruits like peaches, add an extra teaspoon of cornstarch.
How do I store leftovers?
Store in an airtight container at room temperature for up to 2 days, or in the fridge for up to 4 days. Reheat in the oven to crisp the crust.
Can I use margarine instead of butter?
You can, but the flavor and texture won’t be the same. Butter is essential for that flaky, rich crust. Margarine has a higher water content, which can make the crust tough. I recommend sticking with butter for the best results.
Pin This Recipe!
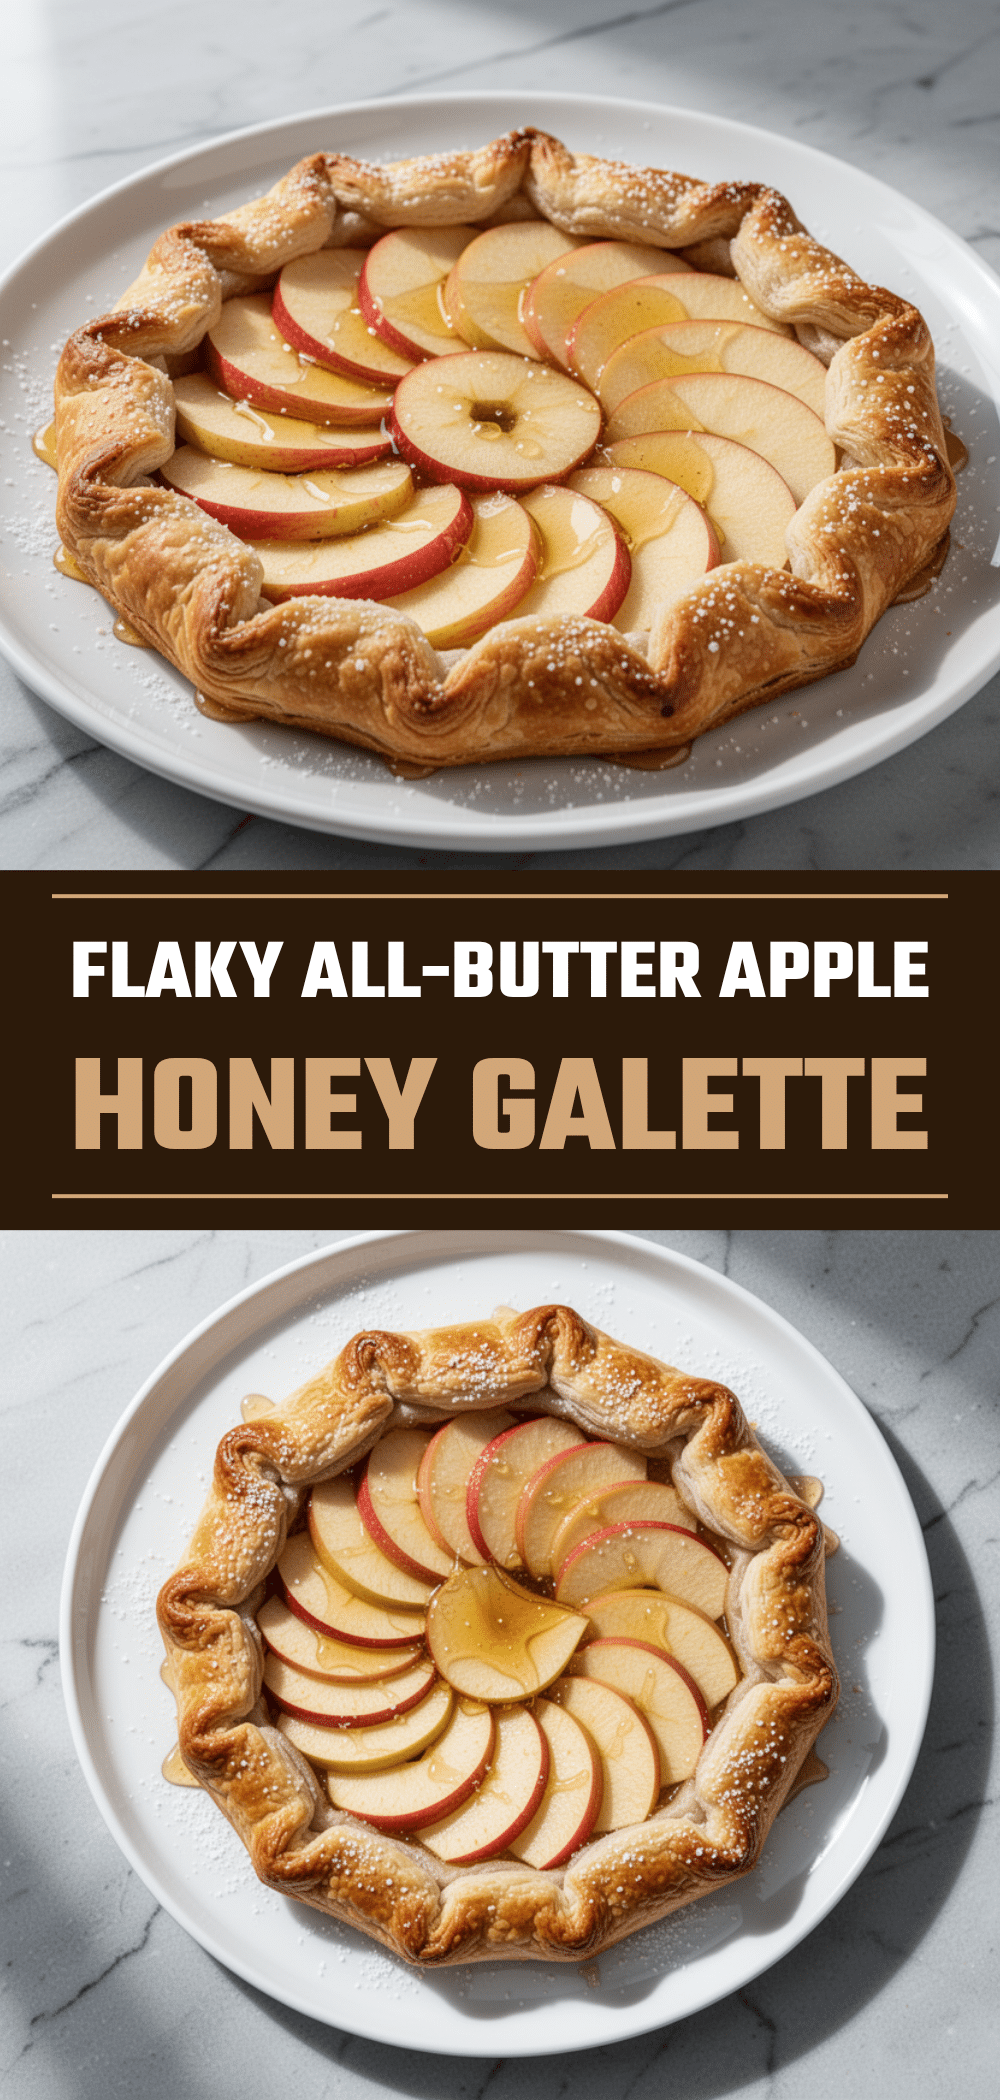
Rosh Hashanah Apple Honey Galette: 5-Step Flaky Crust
- Total Time: 1 hour 30 minutes
- Yield: 8 servings 1x
Description
A rustic, open-faced apple galette featuring a flaky all-butter crust and a sweet-tart filling of autumn apples, honey, and warm spices. This forgiving dessert is perfect for Rosh Hashanah or any fall gathering.
Ingredients
- 2 ½ cups all-purpose flour
- 1 cup unsalted butter, very cold and cubed
- 6–8 tablespoons ice water
- 1 teaspoon salt
- 1 tablespoon sugar
- 4–5 medium firm apples (mix of Granny Smith and Honeycrisp/Fuji), peeled and sliced
- ⅓ cup raw honey
- 2 tablespoons granulated sugar
- 1 teaspoon ground cinnamon
- ½ teaspoon ground cardamom
- 1 tablespoon cornstarch
- 1 teaspoon vanilla extract
- 1 tablespoon coarse sugar for topping
- 1 tablespoon melted butter for brushing
Instructions
- In a food processor, pulse flour, salt, and sugar. Add cold cubed butter and pulse 10-15 times until mixture resembles coarse crumbs with pea-sized butter pieces.
- Drizzle in ice water one tablespoon at a time, pulsing after each addition, until dough just begins to clump. Do not overwork.
- Turn dough onto plastic wrap, press into a disk, wrap tightly, and refrigerate for at least 1 hour (or up to 2 days).
- While dough chills, toss sliced apples with honey, granulated sugar, cinnamon, cardamom, cornstarch, and vanilla. Let sit for 15 minutes.
- Preheat oven to 400°F (200°C). Line a baking sheet with parchment paper.
- Roll chilled dough into a 12-inch circle on a floured surface. Transfer to the prepared baking sheet.
- Spread apple mixture in the center of the dough, leaving a 2-inch border. Fold edges over the apples, pleating as you go. Brush folded edges with melted butter.
- Sprinkle coarse sugar over crust edges. Bake for 40-45 minutes, rotating halfway, until crust is golden brown and apples are tender.
- Let galette cool on the baking sheet for at least 20 minutes before slicing to allow filling to set.
Notes
Keep all ingredients cold for a flaky crust. If your kitchen is warm, chill the dough between steps. Use a mix of tart and sweet apples for best flavor and texture. Do not skip the cornstarch to prevent a soggy bottom. Let the galette cool completely before slicing to ensure the filling sets properly.
- Prep Time: 45 minutes
- Cook Time: 45 minutes
- Category: Dessert
- Cuisine: Jewish
Nutrition
- Serving Size: 1 slice
- Calories: 320
- Sugar: 22
- Sodium: 250
- Fat: 14
- Saturated Fat: 8
- Carbohydrates: 45
- Fiber: 3
- Protein: 4
Keywords: Rosh Hashanah, Apple Galette, Honey Dessert, Flaky Crust, Fall Baking, Jewish Holiday, Rustic Tart, Apple Pie Alternative


