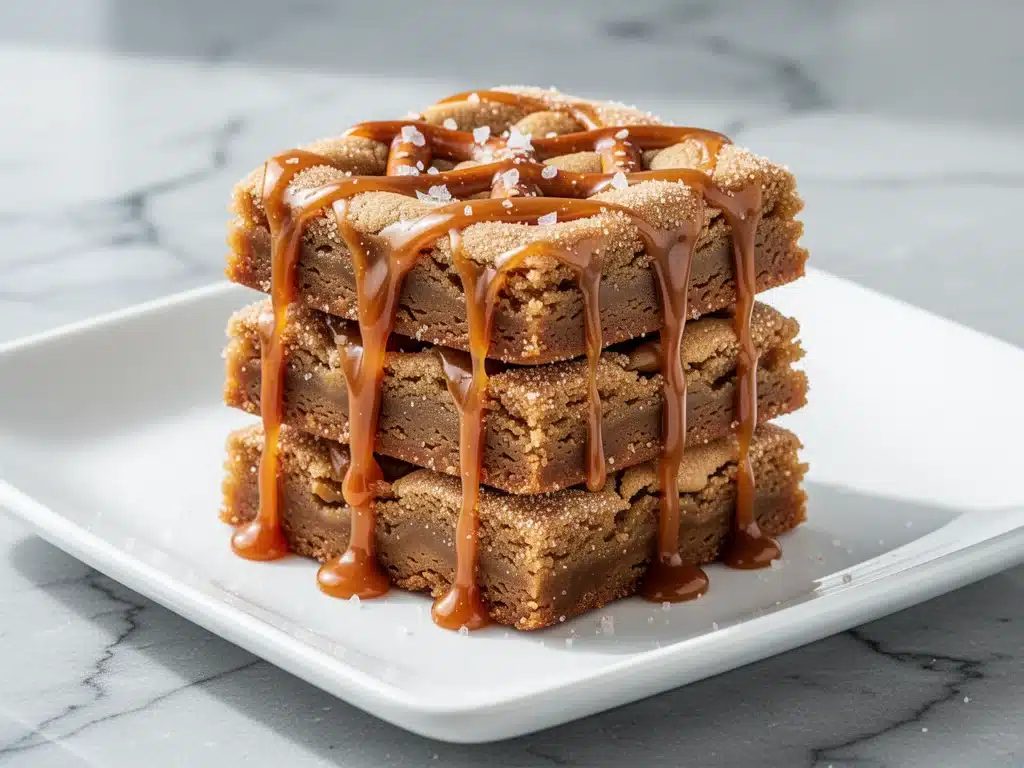
I have to confess something that might shock my regular readers: I usually hate party desserts.
Not because they’re bad. But because they’re often just… there. You know the type. That sad, dry cake from the grocery store bakery that sits on a paper plate while everyone ignores it in favor of the actual food. Or those overly complicated soufflés that collapse the moment you walk away. I’ve been to enough Oktoberfests, tailgates, and family reunions to know that if a dessert doesn’t make people stop talking and stare at it, it’s a waste of oven space.
Then came the year of the Great Pretzel Incident.
We were hosting our annual fall gathering, and I was stressed. I wanted something that felt festive, something that screamed “Oktoberfest” without requiring a three-day fermentation process for bread. I was staring at a bag of soft pretzel bites and a block of cream cheese, and I had this random thought: What if I made cookie bars out of this?
It sounded weird. Savory-sweet? Crunchy-creamy? I threw it together in a hurry, half-expecting it to be a disaster. But when I pulled that pan out of the oven, the smell was intoxicating. It smelled like a fancy restaurant appetizer had a baby with a chocolate chip cookie. And the best part? Everyone loved it. People were lining up for seconds. My husband, who claims he’s “not a big dessert person,” ate two bars and asked for the recipe.
That’s how my Oktoberfest Pretzel Cookie Bars were born. They’ve become my secret weapon for every fall party since. They’re easy to make, they look impressive, and that salty-sweet combo is just addictive. I’ve tested this recipe at least a dozen times, tweaking the ratios until it was perfect, and I’m ready to share it with you.
If you’re looking for 5 easy party desserts that actually get eaten, this is the one. It’s simple, it’s seasonal, and it’s going to save your social life.
Why You’ll Love This Recipe
There are about ten reasons I keep making these bars, but here are the big ones that convinced my friends to stop buying store-bought cake.
Salty-Sweet Obsession — Seriously, if you like anything with salt and sugar, you’re going to lose your mind over these. The pretzel crunch combined with the sweet, buttery dough creates a flavor profile that’s just perfect. It’s like a pretzel rod dipped in caramel, but in bar form.
Zero Baking Stress — I know, I know. Who wants to bake when they’re hosting a party? This recipe is basically assembly. You mix the dough, press it in, sprinkle toppings, and bake. No complicated techniques, no tempering chocolate, no waiting for eggs to come to room temperature. I can make this while watching TV.
Make-Ahead Friendly — These bars actually taste better the next day. The flavors meld together, and the pretzels soften just enough to be chewy but still retain that nice crunch. I made a batch on Sunday for a Saturday night party, and they were still fresh. In fact, I prefer them slightly chilled.
Looks Fancy, Costs Pennies — You don’t need expensive ingredients. Pretzels, butter, sugar, cream cheese. That’s it. It looks like something you’d order at a high-end brewery for $8, but it costs about $3 to make. That’s a win in my book.
Crowd-Pleaser — I’ve served these to picky teenagers, foodie friends, and my gluten-intolerant sister (using gluten-free pretzels). Everyone loved them. It’s one of those rare dishes that appeals to almost every palate.
This is my go-to when I need a dessert that just works. No complicated techniques, no weird ingredients, just reliable, delicious food that makes everyone happy.
Ingredients You’ll Need
Here’s the best part: you probably have most of this already. I’m particular about three ingredients here, and I’ll tell you exactly why.
Soft Pretzel Bites or Mini Pretzels (12 ounces / 340g) — This is the star. Use soft pretzel bites if you can find them—they’re chewier and hold up better. If you can’t find them, buy regular soft pretzels and chop them into small chunks. Avoid hard pretzels; they’re too crunchy and will make the bars crumbly instead of chewy.
Unsalted Butter (1 cup / 226g, softened) — I use unsalted so I can control the saltiness, especially since the pretzels are already salty. Room temperature butter is key for creaming—it should yield to gentle pressure. If it’s too cold, it won’t mix well. If it’s melted, the texture will be wrong.
Granulated Sugar (1 cup / 200g) — Standard white sugar. It provides that classic cookie sweetness and helps with the spread. Some people use brown sugar for a chewier texture, but I find the white sugar lets the pretzel flavor shine more.
Eggs (2 large) — Room temperature eggs mix better into the dough. I take them out of the fridge 15 minutes before I start. If you forget, just drop them in a bowl of warm water for 5 minutes.
Vanilla Extract (1 teaspoon) — Pure vanilla, please. The cheap stuff tastes artificial and clashes with the buttery pretzels. It adds that warm, comforting aroma.
All-Purpose Flour (2 cups / 250g) — Don’t over-measure! Spoon it into the cup and level it off. Too much flour makes these dense bricks. I use Gold Medal flour, but any standard all-purpose works.
Baking Powder (1 teaspoon) — Just a little bit helps them rise slightly. Don’t skip it, or they’ll be too dense.
Salt (½ teaspoon) — Even though the pretzels are salty, a little extra salt in the dough balances the sweetness. Use kosher salt if you have it.
For the Topping:
Soft Pretzels (for garnish) (2-3 soft pretzels, broken into pieces) — I press a few extra pretzel pieces on top before baking so they get golden and crunchy. It looks professional.
Sea Salt Flakes (optional) — A pinch on top right out of the oven elevates the flavor. It’s not necessary, but it’s the “pro move” that makes people ask what your secret is.
Pro Tip: I’ve tried using pretzel dough from scratch, but it’s too much work for a party dessert. Store-bought soft pretzels are the way to go. I buy them from the bakery section of my local grocery store—they’re fresh and cheap.
Equipment Needed
You don’t need fancy equipment for this. Here’s what I actually use.
9×13 Inch Baking Dish — Glass or ceramic works best. I use Pyrex because I can see the bottom browning. Metal pans work too, but they might brown faster, so keep an eye on them.
Mixer — A stand mixer with a paddle attachment is easiest, but a hand mixer or even a sturdy spoon and elbow grease works. I use my stand mixer because I’m lazy, but honestly, mixing by hand is fine if you’re strong.
Pastry Brush — Optional, but nice for brushing melted butter on the top pretzels if you want extra shine.
Cooling Rack — Essential. Don’t cut these warm, or they’ll fall apart. Let them cool in the pan first, then transfer to a rack.
Knife or Pizza Cutter — A sharp knife works for cutting, but I prefer a pizza cutter for clean, straight lines. It’s faster and doesn’t squish the bars.
Measuring Cups and Spoons — Standard stuff. Dollar store versions work fine, but make sure they’re accurate. I’ve had bad experiences with cheap measuring cups that are off by 10%.
How to Make It: Step-by-Step
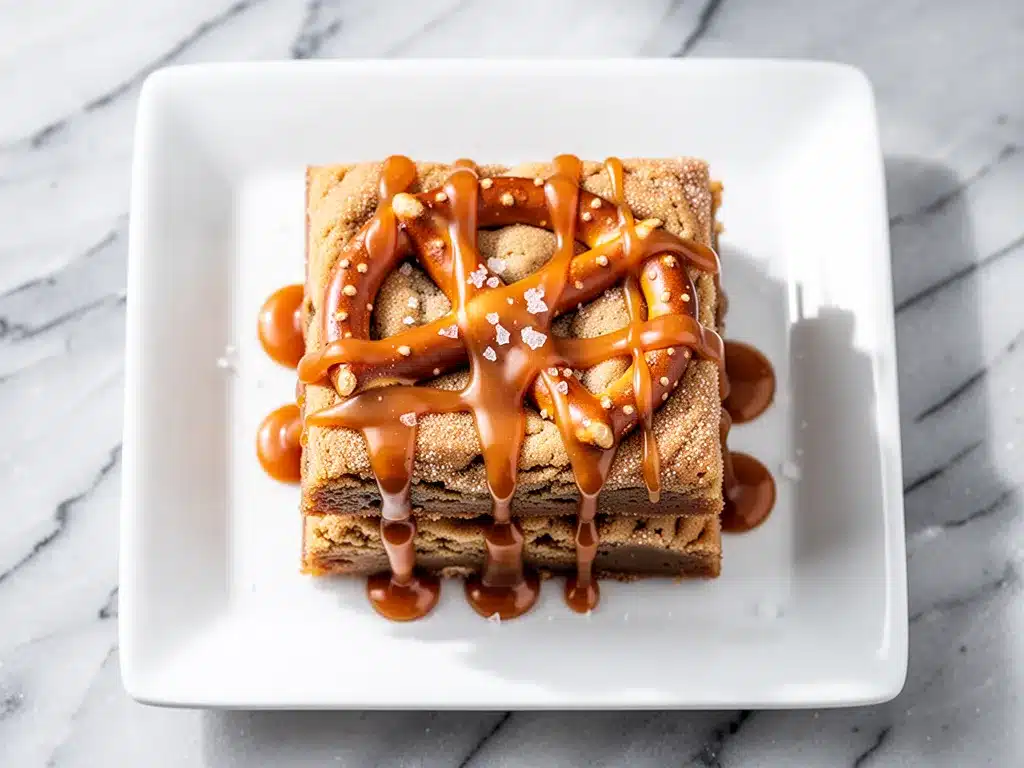
Alright, let’s make this! I’m walking you through exactly how I do it, including the little tricks I’ve picked up.
Step 1: Prep Your Oven and Pan (5 minutes)
Preheat your oven to 350°F (175°C). Grease your 9×13 inch baking dish with butter or non-stick spray. I prefer butter because it adds flavor and helps the bars release cleanly. If you’re worried about sticking, line it with parchment paper, leaving an overhang on the sides. That’s my fail-safe method.
Step 2: Mix the Dough (5 minutes)
In a large bowl, beat the softened butter and sugar together until light and fluffy. This takes about 2-3 minutes. It’s crucial—you want air incorporated into the butter. Add the eggs one at a time, beating well after each. Stir in the vanilla. In a separate bowl, whisk together the flour, baking powder, and salt. Gradually add the dry ingredients to the wet ingredients, mixing just until combined. Don’t overmix! Overmixing develops gluten, and these bars will be tough. Stop when you see no streaks of flour.
Step 3: Fold in the Pretzels (2 minutes)
Gently fold in the chopped soft pretzels. Use a spatula and be gentle. You want to distribute them evenly without crushing them into dust. The dough will look chunky and weird. That’s good.
Step 4: Press into the Pan (5 minutes)
Transfer the dough to your prepared baking dish. Use wet hands or a spatula to press it evenly into the pan. It should be about ½ inch thick. Don’t worry if it’s not perfectly smooth—it’s rustic. If it sticks to your hands, wet them slightly. This makes pressing so much easier.
Step 5: Add Toppings (2 minutes)
Break a few more soft pretzels into small pieces and press them gently into the top of the dough. This gives you that beautiful, golden pretzel surface. If you’re using sea salt flakes, sprinkle them on now. They’ll stick to the dough as it bakes.
Step 6: Bake (25-30 minutes)
Bake for 25-30 minutes, or until the edges are golden brown and the center is set. The center should still have a slight jiggle, but not be liquid. If it’s jiggly like water, it needs more time. If it’s firm, it’s done. I usually check at 25 minutes.
Step 7: Cool and Cut (30 minutes)
Let the bars cool in the pan for at least 20 minutes. This is the hardest part. They’ll firm up as they cool. If you cut them too early, they’ll crumble. Once cooled, use a pizza cutter to slice into squares. I usually cut them into 12 large bars or 16 smaller ones, depending on how hungry my guests are.
Expert Tips & Tricks
Here’s everything I’ve learned from making this dozens of times. These tips will save you from my mistakes.
Don’t Use Hard Pretzels
I made this mistake once. Hard pretzels don’t absorb moisture and make the bars crumbly and dry. Soft pretzels are chewy and hold the dough together. If you can’t find soft pretzel bites, buy a pack of soft pretzel rolls and chop them up. It’s worth the extra 5 minutes.
Room Temperature Butter is Key
If your butter is cold, it won’t cream properly with the sugar. The bars will be dense. If your butter is melted, the texture will be greasy. Aim for soft, pliable butter. I leave it on the counter for an hour before I start.
Don’t Overbake
These bars continue to cook in the hot pan after you take them out. If you bake them until they look perfectly dry, they’ll be dry and crumbly when cooled. Pull them out when the edges are golden but the center still looks slightly underdone. It will firm up as it cools.
Use a Pizza Cutter
A knife can squish the bars. A pizza cutter slices cleanly through the pretzel crust and the soft dough without disturbing the structure. It’s a small tool that makes a big difference.
Double the Batch for Parties
If you’re feeding a crowd, double the recipe. Use two 9×13 pans or a 9×13 and a 8×8. These disappear fast. I once made a triple batch for a holiday party, and there were none left by dessert time.
Storage Hack
Store them in an airtight container at room temperature for up to 3 days. If your kitchen is hot, keep them in the fridge. They’ll last up to 5 days refrigerated. Just bring them to room temperature before serving for the best texture.
Variations & Substitutions
Once you’ve nailed the basic version, here’s how you can mix it up. I’ve tried all of these.
Caramel Drizzle Version
After baking, drizzle warm caramel sauce over the top. It adds a gooey, sweet layer that’s amazing. I use store-bought caramel for speed, but homemade is better if you have time.
Chocolate Chip Pretzel Bars
Add 1 cup of semi-sweet chocolate chips to the dough. The chocolate melts into pockets of goo. This is my husband’s favorite variation. It’s like a pretzel chocolate chip cookie.
Gluten-Free Option
Use gluten-free soft pretzels (they exist now!) and gluten-free all-purpose flour. The texture is slightly different, but still delicious. I’ve used King Arthur Gluten-Free Flour Blend, and it works well.
Vegan Pretzel Bars
Use vegan butter and vegan soft pretzels. The texture will be slightly denser, but still tasty. You can add a splash of apple cider vinegar to the dough to mimic the tang of real pretzels.
Spiced Version
Add 1 teaspoon of pumpkin pie spice or cinnamon to the dough. It enhances the fall flavors and pairs beautifully with the pretzels. Great for Thanksgiving.
Maple Glaze
Instead of caramel, mix ½ cup powdered sugar with 2 tablespoons maple syrup and a splash of milk. Drizzle over the cooled bars. It’s lighter and less sweet than caramel.
Serving & Storage
How to Serve:
I usually serve these at room temperature. They’re easy to pick up with your hands, which is perfect for parties. I arrange them on a platter with a few extra pretzel pieces scattered around for decoration. It looks rustic and inviting.
Side Dishes:
These bars are sweet, so they pair well with savory foods. I serve them after a meal with bratwursts and sauerkraut. They’re also great alongside coffee or tea. If you’re having a dessert-only party, pair them with fall apple cider doughnut cake for a true autumn treat.
Storage Instructions:
Refrigerator: Store in an airtight container for up to 5 days. The pretzels will soften slightly, but the flavor remains great.
Freezer: These freeze well! Wrap individual bars in plastic wrap, then place them in a freezer bag. They’ll last for 2 months. Thaw at room temperature before serving. I make a double batch and freeze half for later.
Reheating: You don’t need to reheat these, but if you want them warm, microwave for 10-15 seconds. They’ll be soft and gooey.
Nutrition Information
I’m not a nutritionist, but here’s the breakdown if you’re tracking.
Per Serving (based on 12 bars):
- Calories: 280
- Protein: 4g
- Carbs: 38g
- Fiber: 1g
- Sugar: 18g
- Fat: 12g
- Sodium: 350mg
What’s Good: It’s a treat, so don’t expect it to be healthy. But it’s not overly sugary compared to other desserts. The pretzels add some protein and fiber.
What to Know: High in sodium due to the pretzels. If you’re watching salt, use unsalted pretzels (if you can find them) or reduce the added salt in the dough.
My Take: This is comfort food. It’s salty, sweet, and satisfying. Enjoy it as a special treat, not a daily snack. When I want to make it lighter, I cut the bars smaller and pair them with a cup of black coffee.
Final Thoughts
So that’s my go-to Oktoberfest Pretzel Cookie Bars! I’ve probably talked your ear off at this point, but when you make a recipe this often, you have a lot to say about it.
This has saved party planning more times than I can count. It’s my answer to “what dessert should I bring?” when I’m tired, don’t want to bake a complicated cake, and still want something that tastes really good. My friends are happy, my family is happy, and I’m happy because I’m not stressed about cooking.
Make it yours! Try different toppings, swap in your favorite chocolate, or adjust the salt to your taste. The best recipes are the ones you adapt to your family’s tastes.
If you make this, drop a comment and let me know what you think! I love hearing how recipes turn out in your kitchen. And if something doesn’t work, tell me that too—I’m here to help troubleshoot.
Happy baking! And I hope your kitchen smells half as good as mine does right now.
Frequently Asked Questions
Can I use hard pretzels instead of soft pretzels?
I don’t recommend it. Hard pretzels are too crunchy and don’t bind well with the dough. The bars will be crumbly and dry. Soft pretzels provide the chewy texture that makes these bars special. If you can’t find soft pretzel bites, chop up soft pretzel rolls.
Why did my bars turn out dry?
Most likely, they were overbaked. Pretzel bars continue to cook in the hot pan after you take them out. Pull them out when the edges are golden but the center still looks slightly underdone. Also, make sure you’re not using too much flour. Spoon it into the cup and level it off—don’t scoop directly from the bag.
Can I make these ahead for a party?
Yes! These bars actually taste better the next day. I recommend making them the day before the party. Store them in an airtight container at room temperature. They’ll stay fresh for up to 3 days. If you need to make them further in advance, freeze them and thaw before serving.
How do I cut clean squares?
Use a sharp pizza cutter. A knife can squish the bars. Clean the blade between cuts if it gets sticky. For extra clean lines, dip the pizza cutter in hot water and dry it before each cut.
Can I double the recipe?
Absolutely! Double everything and use two 9×13 pans. The cooking time stays the same. I do this when I’m feeding a crowd. Just make sure your oven has room for both pans, or bake them one at a time.
What’s the best way to store leftovers?
Store in an airtight container at room temperature for up to 3 days. If your kitchen is hot, keep them in the fridge. They’ll last up to 5 days refrigerated. You can also freeze them for up to 2 months. Wrap individual bars in plastic wrap for easy freezing and thawing.
Pin This Recipe!
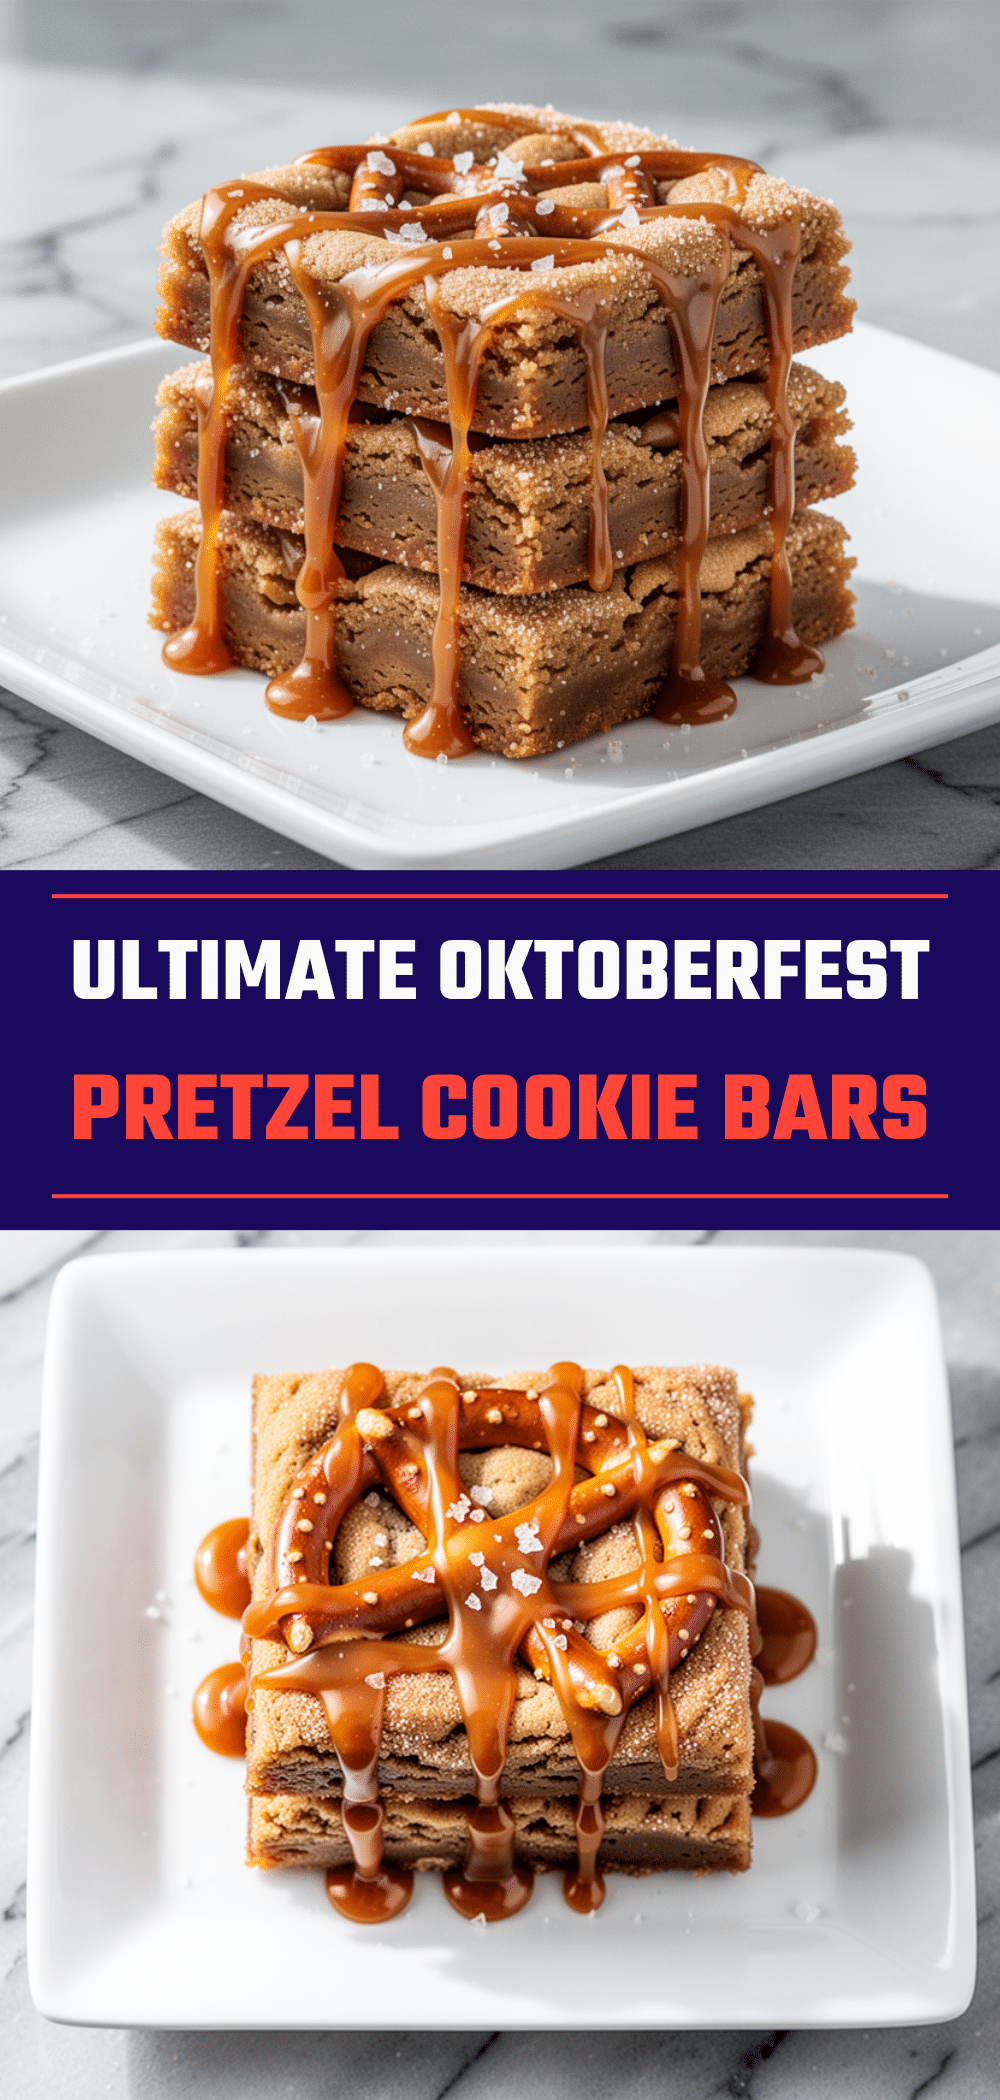
Oktoberfest Pretzel Cookie Bars
- Total Time: 47 minutes
- Yield: 12 servings 1x
Description
A festive, salty-sweet dessert bar featuring soft pretzels in a buttery cookie dough base. These easy-to-make bars are perfect for parties, require no complex techniques, and taste even better the next day.
Ingredients
- 12 ounces (340g) soft pretzel bites or mini pretzels, chopped
- 1 cup (226g) unsalted butter, softened
- 1 cup (200g) granulated sugar
- 2 large eggs, room temperature
- 1 teaspoon vanilla extract
- 2 cups (250g) all-purpose flour
- 1 teaspoon baking powder
- ½ teaspoon salt
- 2–3 soft pretzels, broken into pieces (for topping)
- Sea salt flakes (optional, for garnish)
Instructions
- Preheat oven to 350°F (175°C). Grease a 9×13 inch baking dish with butter or non-stick spray, or line with parchment paper.
- In a large bowl, beat the softened butter and sugar together until light and fluffy (about 2-3 minutes).
- Add eggs one at a time, beating well after each addition. Stir in the vanilla extract.
- In a separate bowl, whisk together the flour, baking powder, and salt.
- Gradually add the dry ingredients to the wet ingredients, mixing just until combined. Do not overmix.
- Gently fold in the chopped soft pretzels using a spatula.
- Transfer dough to the prepared baking dish and press evenly into a ½ inch thick layer.
- Press additional broken pretzel pieces onto the top of the dough and sprinkle with sea salt flakes if using.
- Bake for 25-30 minutes, or until edges are golden brown and the center is set but still has a slight jiggle.
- Let bars cool in the pan for at least 20 minutes to firm up.
- Cut into squares using a pizza cutter or sharp knife and serve at room temperature.
Notes
Use soft pretzels, not hard ones, to ensure a chewy texture. Room temperature butter is essential for proper creaming. Do not overbake as the bars continue to cook in the hot pan. Store in an airtight container at room temperature for up to 3 days or freeze for up to 2 months.
- Prep Time: 17 minutes
- Cook Time: 30 minutes
- Category: Dessert
- Cuisine: American
Nutrition
- Serving Size: 1 bar
- Calories: 280
- Sugar: 18
- Sodium: 350
- Fat: 12
- Saturated Fat: 7
- Carbohydrates: 38
- Fiber: 1
- Protein: 4
Keywords: Oktoberfest, pretzel cookie bars, party desserts, fall recipes, salty sweet dessert, easy baking, make ahead dessert


