It was that specific kind of July afternoon where the humidity hangs so thick you can practically wear it. I’d just finished wrestling a grill to life, my back was already sticking to the patio chair, and I knew I had about three hours before my in-laws showed up for dinner. The last thing I wanted was to stand over a hot oven baking a cake that would turn my kitchen into a sauna. I needed something cold, something sweet, and something that looked like I’d put in actual effort (even though I hadn’t).
I opened the fridge, staring at a carton of heavy cream, a bag of strawberries that were starting to look a little sad, and a box of vanilla wafers. It was the classic “I have nothing but also everything” dilemma. So, I threw them together. No baking. No complicated techniques. Just layers of cream, fruit, and cookies sitting in the fridge while I went to take a nap.
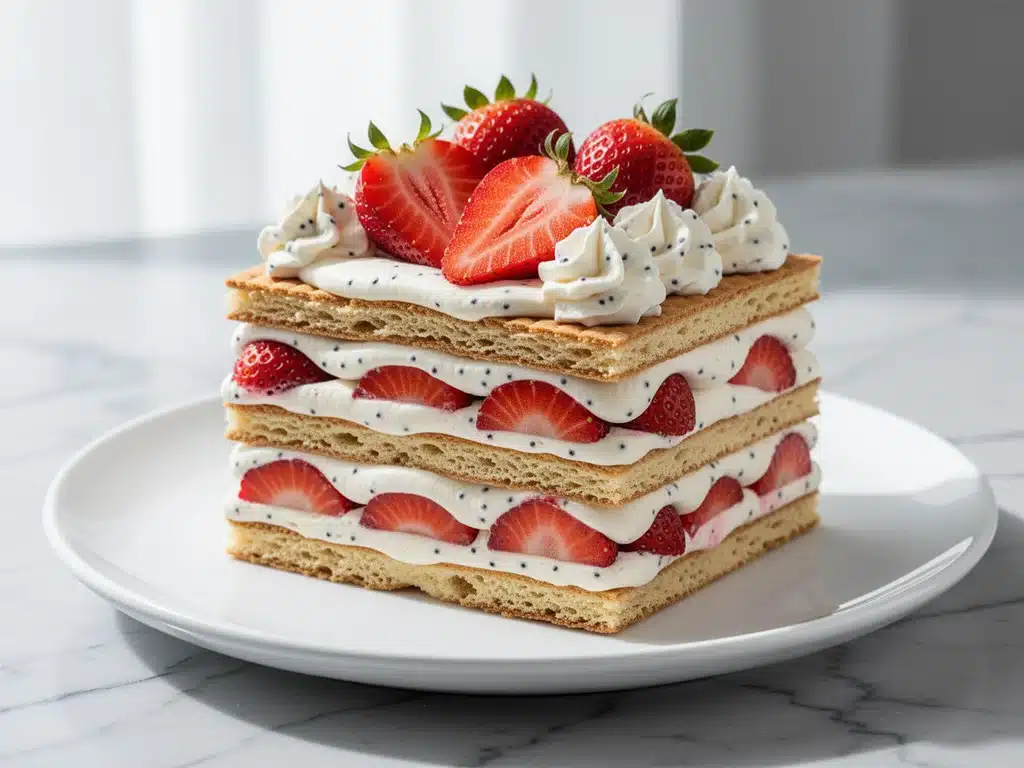
When my in-laws arrived, I pulled this Ultra-Creamy Strawberry Shortcake Icebox Cake out of the fridge. It looked like it came from a fancy patisserie, not my chaotic summer kitchen. My father-in-law, who usually complains about everything from the weather to the temperature of his water, took one bite and actually stopped talking. That’s the power of this dessert. It’s the ultimate lazy-but-impressive summer treat.
I’ve made this strawberry shortcake icebox cake at least a dozen times since that humid Tuesday. I’ve tested it with different berries, different creams, and even different cookies. But the original version? The one with fresh strawberries, vanilla wafers, and a whipped cream filling that’s light as air? It’s still the king. It’s easy, it’s refreshing, and it’s going to save your summer dessert game.
Why You’ll Love This Strawberry Shortcake Icebox Cake
Let’s be real for a second. Summer baking is a trap. You spend hours making a batter, the oven heats up your entire house, and by the time the cake is cool, you’re too sweaty to eat it. This icebox cake flips that script entirely. Here’s why it’s become my go-to for every BBQ, picnic, and last-minute gathering:
Zero Oven Required — Seriously. If you have a refrigerator, you can make this. No preheating, no timer, no standing over a hot stove. I make this on the hottest days of the year without my kitchen getting above 75 degrees. It’s a game-changer for anyone trying to stay cool in July.
Five Ingredients, Maximum Flavor — I’m not exaggerating. You need strawberries, heavy cream, sugar, vanilla, and vanilla wafers. That’s it. No weird stabilizers, no gelatin, no confusing steps. The simplicity is the secret. When you don’t have twenty ingredients fighting for attention, the fresh strawberry flavor actually shines through.
It’s a Make-Ahead Miracle — This is the biggest selling point for me. I can assemble this cake four hours before guests arrive, or even the night before. The cookies soften into a cake-like texture while the flavors meld together. I can spend my evening socializing instead of stressing in the kitchen. It’s the ultimate stress-free dessert.
Light and Not Heavy — Summer desserts often feel like bricks. You eat two bites and you’re done. This cake is airy and light. The whipped cream is folded to perfection, and the fresh berries add a juicy brightness. You can eat the whole slice and still have room for dinner. It’s refreshing, not heavy.
Visually Stunning — I know, it’s just stacked cookies and cream. But when you slice it, you get these beautiful, distinct layers of pink and white. It looks elegant on a plate. I’ve served this at picnics where people assumed I bought it from a fancy bakery. It’s that impressive.
This is my answer to “what should I bring to the potluck?” when I’m tired and hot. It’s reliable, it’s delicious, and it makes everyone happy without making you sweat.
Ingredients You’ll Need for the Best Strawberry Icebox Cake
Here’s the best part: you probably have most of this already in your kitchen. This recipe relies on high-quality, simple ingredients because there’s nowhere to hide. If your strawberries are bland, the cake will be bland. If your cream is old, it won’t whip. Here’s exactly what you need and why I’m particular about each one.
For the Filling
Heavy Whipping Cream (2 cups / 480ml) — This is non-negotiable. You need a high fat content (at least 35%) for the cream to hold its shape and stay creamy. Half-and-half or milk will never whip up stiff. I keep heavy cream in the fridge specifically for moments like this. Make sure it’s ice-cold; warm cream won’t whip.
Granulated Sugar (¼ cup / 50g) — Just enough to sweeten the cream without overpowering the strawberries. I prefer granulated over powdered sugar because it dissolves more easily into the cream without leaving gritty bits. If you’re using very sweet strawberries, you can reduce this to 3 tablespoons.
Vanilla Extract (1 teaspoon / 5ml) — Use real vanilla, not imitation. The vanilla flavor is a huge part of the “shortcake” taste profile. A good quality vanilla bean paste works even better if you want those little speckles, but plain extract is fine.
Cream Cheese (4 oz / 115g, softened) — This is my secret weapon. Adding a block of softened cream cheese to the whipped cream adds stability and a slight tang that balances the sweetness. It also makes the texture denser and more pudding-like, which mimics the traditional shortcake filling. Don’t skip this if you want that ultra-creamy texture.
For the Layers
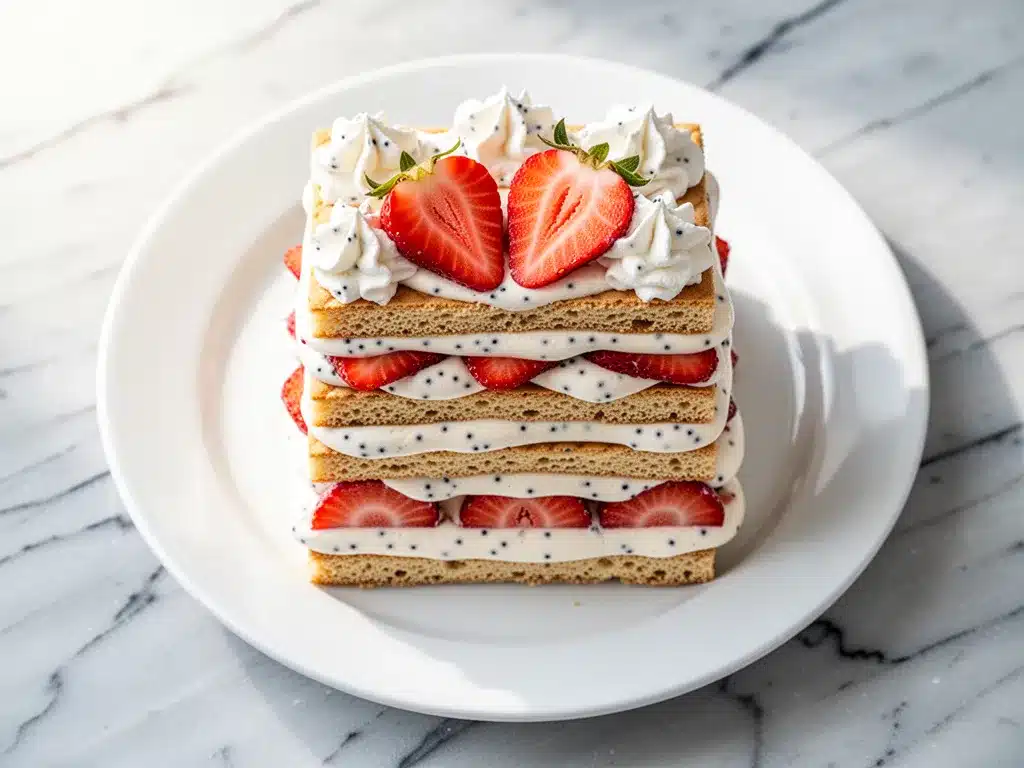
Fresh Strawberries (1 pound / 450g) — You want strawberries that are ripe but still firm. If they’re mushy, they’ll turn your cake into a sludge. Look for bright red berries with white tips. If they’re completely red all the way to the stem, they’re overripe. I slice them thin so they layer nicely.
Vanilla Wafers (1 box / 14 oz) — I use Nilla Wafers or a store-brand equivalent. They need to be sturdy enough to hold up to the cream but soft enough to absorb it. Do not use shortbread cookies; they’re too buttery and won’t soften correctly. Do not use graham crackers; the flavor profile is wrong. Vanilla wafers are the gold standard here.
Optional Garnish
Extra Strawberries — A few whole berries on top for presentation. They look gorgeous against the white cream.
Mint Leaves — A sprig of fresh mint adds a pop of green and a fresh aroma. It’s not strictly necessary, but it makes the plate look finished.
Quick Tip: If you can’t find fresh strawberries, you can use frozen ones, but you must thaw them and drain ALL the liquid. Frozen strawberries release a lot of water, which can make the cake soggy. Fresh is always better for this recipe.
Equipment Needed
You don’t need any fancy gadgets for this. Here’s what I actually use in my kitchen:
9×13 Inch Dish — A glass or ceramic baking dish works best. I like glass because I can see the layers through the side. A metal pan works too, but glass retains cold better. Make sure it’s deep enough to hold three layers of cookies without spilling over.
Mixing Bowl — A large bowl for whipping the cream. I use a stainless steel bowl because it stays cold, which helps the cream whip faster. Glass or plastic work fine too.
Electric Hand Mixer or Stand Mixer — You can whip cream by hand, but it takes forever and your arm will hurt. An electric mixer makes it take 2 minutes. I use my hand mixer for this because it’s faster to clean than a stand mixer.
Sharp Knife — For slicing the strawberries. A serrated knife is great for cutting through the strawberry skin without crushing the fruit.
Spatula — A rubber spatula is essential for folding the cream gently. You want to keep the air in the cream, so use a light hand.
Measuring Cups and Spoons — Standard stuff. Dollar store versions work fine for this.
Plastic Wrap — To cover the dish while it chills. This prevents the cake from absorbing any fridge smells (like leftover garlic or onions. Yes, this has happened to me).
How to Make It: Step-by-Step
Alright, let’s make this! I’m walking you through exactly how I do it, including the little tricks I’ve picked up to ensure your cake is perfect.
Step 1: Prep Your Strawberries (5 minutes)
Wash your strawberries and hull them (remove the green tops). Slice them thinly, about ¼ inch thick. You want uniform slices so they layer evenly. If some are too thick, they’ll stick out and look messy. Set the sliced berries aside on a plate. If they’re very juicy, let them sit for a minute to release some liquid, then pat them dry gently with a paper towel. You don’t want a watery cake.
Step 2: Whip the Cream (3 minutes)
This is the most critical step. Pour your cold heavy cream into your mixing bowl. Add the softened cream cheese, sugar, and vanilla extract. Start mixing on low speed to combine the ingredients, then increase to medium-high speed. Whip until you see stiff peaks. This means when you lift the beaters, the cream stands up straight and doesn’t droop. Do not over-whip, or it will turn into butter. It should look smooth and glossy, like thick yogurt.
Step 3: First Layer of Cookies
Take your vanilla wafers and line the bottom of your 9×13 dish. You might need to break a few cookies to fit the corners. It doesn’t need to be perfect; it just needs to cover the bottom. This layer will absorb the most cream, so press them down gently.
Step 4: First Layer of Cream
Spread about half of your whipped cream mixture over the cookies. Use a spatula to get it into the corners. Don’t worry about making it perfectly smooth; it will settle. This layer binds the cookies to the fruit.
Step 5: First Layer of Strawberries
Arrange a layer of sliced strawberries over the cream. Try to overlap them slightly so there are no big gaps. If you have a few extra berries, chop them up and sprinkle them on top for extra strawberry flavor in every bite.
Step 6: Second Layer of Cookies
Repeat the process. Add another layer of vanilla wafers. Again, break cookies as needed to fit. This layer should be sturdy to support the next layer of cream.
Step 7: Second Layer of Cream
Spread the remaining whipped cream over the second cookie layer. This is your final cream layer, so take a little more time to make it look nice. Smooth the top with your spatula. This will be the surface people see, so make it pretty.
Step 8: Final Layer of Strawberries
Top with the remaining strawberries. You can arrange them in a pattern, like a fan or concentric circles, or just pile them on. I usually just make it look abundant. If you have whole berries, put those on top for decoration.
Step 9: Chill (4 hours minimum)
Cover the dish tightly with plastic wrap. Place it in the refrigerator for at least 4 hours, but overnight is best. This is where the magic happens. The cookies soften into a cake-like texture, and the flavors meld together. If you cut into it too soon, the layers will slide apart. Patience is key.
Expert Tips & Tricks for Perfect Layers
Here’s everything I’ve learned from making this dozens of times. These tips will save you from my mistakes.
Cold Cream is King
I cannot stress this enough. If your cream is warm, it won’t whip. Put your bowl and beaters in the freezer for 15 minutes before you start. If your kitchen is hot, work quickly. Warm cream turns to butter faster than you think.
Don’t Skip the Cream Cheese
I know some traditional recipes don’t use it, but the cream cheese adds structure. Without it, the whipped cream can deflate over time, especially if you’re transporting the cake to a picnic. The cream cheese keeps it stable and creamy.
Use Ripe, But Firm Berries
Overripe strawberries will make the cake mushy. Underripe ones will be sour and hard. Look for berries that are fragrant and deep red. If you buy them from a farmer’s market, ask the grower which ones are ready to eat.
Pat the Berries Dry
Washed strawberries are wet. Wet strawberries make soggy cookies. Gently pat them dry with a paper towel before slicing. This small step makes a huge difference in the texture of the final cake.
Let It Chill Overnight
Four hours is the minimum, but I always make this the night before. The cookies need time to fully soften. If you cut it too early, you’ll get a messy slice. Overnight gives you those clean, distinct layers.
Variations & Substitutions
Once you’ve nailed the basic version, here’s how you can mix it up. I’ve tried all of these.
Raspberry Version
Swap the strawberries for fresh raspberries. Raspberries are more tart, so you might want to increase the sugar in the cream by 1 tablespoon. The pink and white layers look stunning.
Chocolate Chip Twist
Stir ½ cup of mini chocolate chips into the whipped cream. It’s like a dessert that tastes like a milkshake. My kids love this version.
Key Lime Icebox Cake
Replace the vanilla extract with 2 tablespoons of key lime juice and the zest of one lime. Use graham crackers instead of vanilla wafers. It’s a completely different vibe, but equally delicious.
Gluten-Free Option
Use gluten-free vanilla wafers. Most major brands make a GF version that works well. Just check that they are sturdy enough to hold up to the cream.
Dairy-Free Option
Use coconut cream (the thick part from a can of full-fat coconut milk) instead of heavy cream and cream cheese. Use dairy-free vanilla wafers. It’s not exactly the same texture, but it’s still creamy and delicious. My lactose-intolerant friend loves this version.
Serving & Storage
How to Serve:
I usually serve this straight from the dish with a nice serrated knife. Dip the knife in hot water and dry it before each cut for clean slices. This helps the layers stay intact. Serve with a cold glass of lemonade or iced tea.
Side Dishes:
This cake is sweet, so it pairs well with savory dishes. I serve it after grilled chicken or burgers. It’s also great as a standalone dessert with a cup of coffee.
Storage Instructions:
Refrigerator: Store in an airtight container or covered with plastic wrap for up to 3 days. The cookies will continue to soften, so it might get a bit softer each day. It’s still good, just different.
Freezing: I don’t recommend freezing this cake. The whipped cream separates when thawed, and the cookies become mushy. Make it fresh or store in the fridge for up to 3 days.
Nutrition Information
I’m not a nutritionist, but here’s the breakdown if you’re tracking. This is a rich dessert, so portion control is key.
Per Serving (based on 12 servings):
- Calories: 280
- Protein: 4g
- Carbs: 32g
- Fiber: 1g
- Sugar: 18g
- Fat: 16g
- Saturated Fat: 10g
What’s Good:
- Real fruit in every bite
- Simple ingredients
- No artificial colors or flavors
What to Know:
- High in sugar and fat from the cream and cookies
- Contains dairy and gluten
- Not suitable for low-carb or diabetic diets without modifications
My Take:
Look, this is a summer dessert with cream and sugar. It’s not a health food. But it’s way better than processed cake mix, and I know exactly what’s in it. When I want to make it lighter, I use the half-and-half version and load up on berries. But usually? I just eat a reasonable slice and enjoy it.
Final Thoughts
So that’s my go-to Ultra-Creamy Strawberry Shortcake Icebox Cake! I’ve probably talked your ear off at this point, but when you make a recipe this often, you have a lot to say about it.
This has saved summer dinners more times than I can count. It’s my answer to “what’s for dessert?” when I’m tired, hot, and don’t want to bake. My family is happy, my guests are impressed, and I’m happy because I’m not stressed about cooking.
Make it yours! Try different berries, swap in your favorite cookies, or add a layer of chocolate. The best recipes are the ones you adapt to your family’s tastes.
If you make this, drop a comment and let me know what you think! I love hearing how recipes turn out in your kitchen. And if something doesn’t work, tell me that too—I’m here to help troubleshoot.
Happy cooking! And I hope your kitchen smells half as good as mine does right now.
Frequently Asked Questions
Can I use frozen strawberries?
You can, but you must thaw them completely and drain ALL the liquid. Frozen strawberries release a lot of water, which can make the cake soggy and the layers slide. If you use frozen berries, pat them very dry with paper towels before slicing. Fresh is always better for this recipe.
Why did my cake fall apart when I cut it?
Usually, this means you didn’t let it chill long enough. The cookies need time to soften and absorb the cream. If you cut it after only 2 hours, the layers won’t be set. Let it chill for at least 4 hours, preferably overnight. Also, make sure your cream was whipped to stiff peaks; soft peaks won’t hold the layers together.
Can I make this ahead for a party?
Yes! This is actually better made ahead. Assemble it the night before your party. It will keep in the fridge for up to 3 days. Just cover it tightly with plastic wrap to prevent it from absorbing fridge odors. It’s perfect for potlucks because you can transport it cold.
Can I use whipped topping (like Cool Whip) instead of whipped cream?
You can, but the texture and taste won’t be the same. Whipped topping is lighter and airier, but it doesn’t have the rich, creamy flavor of real whipped cream. If you use Cool Whip, you might want to add a little extra sugar and vanilla to sweeten it. But I recommend using real cream for the best results.
How do I slice this cake cleanly?
Use a sharp serrated knife. Dip the knife in hot water and dry it with a towel before each cut. This helps the knife glide through the layers without squishing them. Wipe the knife clean between cuts for the prettiest slices.
Can I add other fruits?
Absolutely! Raspberries, blueberries, and peaches all work well. Just make sure to slice or halve them so they layer nicely. If you use juicy fruits like peaches, pat them dry first. You can also mix berries for a mixed-berry version.
Why is my whipped cream grainy?
This usually happens if you over-whip the cream. If you whip it too long, the fat separates and it starts to look grainy and turns into butter. Stop whipping as soon as you see stiff peaks. If it’s already grainy, you can try folding in a little fresh liquid cream to smooth it out, but it’s best to prevent it from happening in the first place.
Pin This Recipe!
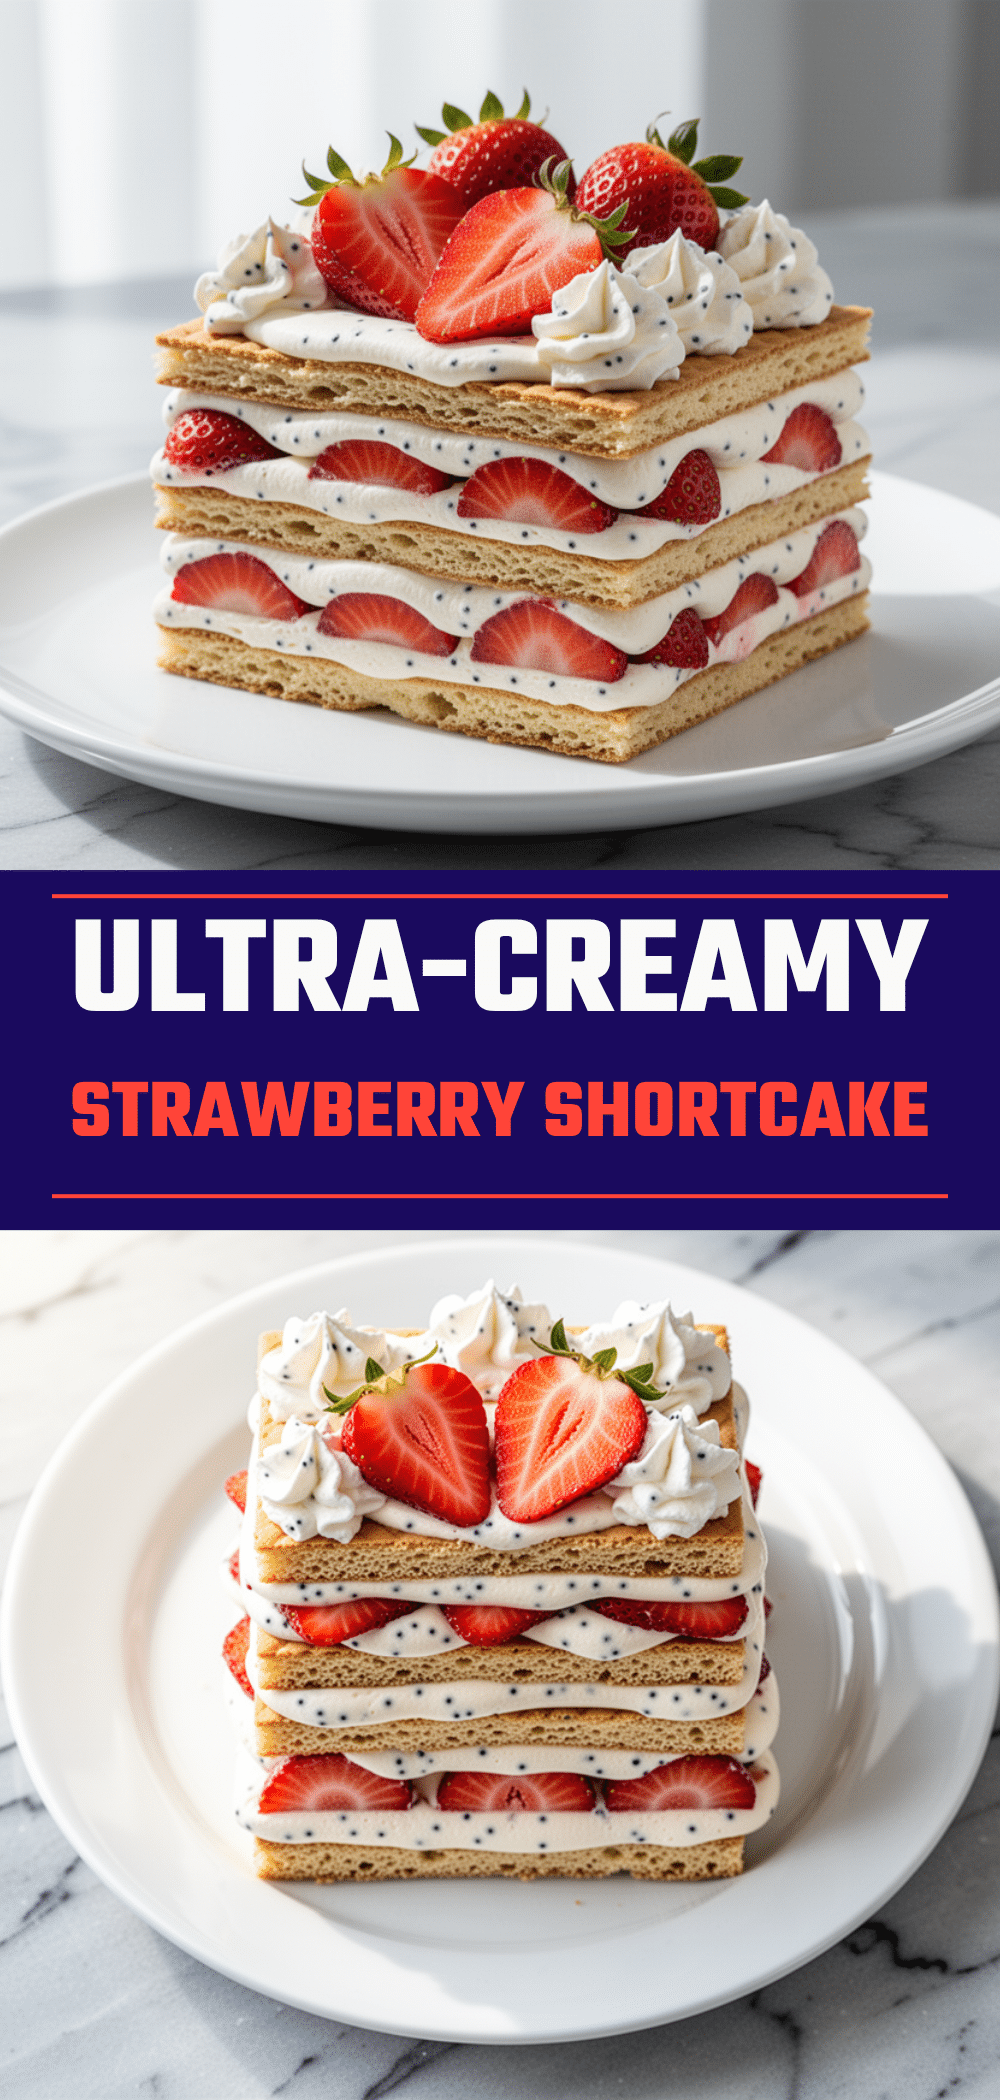
Ultra-Creamy Strawberry Shortcake Icebox Cake
- Total Time: 4 hours 15 minutes
- Yield: 12 servings 1x
Description
A no-bake summer dessert featuring layers of vanilla wafers, fresh strawberries, and a light, airy whipped cream filling stabilized with cream cheese. It requires only five ingredients and minimal effort for maximum flavor.
Ingredients
- 2 cups (480ml) heavy whipping cream, ice-cold
- 4 oz (115g) cream cheese, softened
- 1/4 cup (50g) granulated sugar
- 1 teaspoon vanilla extract
- 1 pound (450g) fresh strawberries, hulled and thinly sliced
- 1 box (14 oz) vanilla wafers
Instructions
- Wash, hull, and thinly slice the strawberries. Pat them dry gently with a paper towel to remove excess moisture.
- In a large mixing bowl, combine the cold heavy cream, softened cream cheese, sugar, and vanilla extract.
- Using an electric mixer, whip the mixture on medium-high speed until stiff peaks form. Be careful not to over-whip.
- Line the bottom of a 9×13 inch dish with a layer of vanilla wafers, breaking cookies as needed to fit.
- Spread half of the whipped cream mixture over the cookie layer.
- Arrange half of the sliced strawberries over the cream.
- Add a second layer of vanilla wafers.
- Spread the remaining whipped cream over the second cookie layer.
- Top with the remaining strawberries.
- Cover the dish tightly with plastic wrap and refrigerate for at least 4 hours, preferably overnight, until the cookies soften.
Notes
Ensure the cream cheese is fully softened before whipping to avoid lumps. The cream must be ice-cold to whip properly. For clean slices, dip a serrated knife in hot water and dry it before each cut. Do not freeze this cake as the texture will suffer.
- Prep Time: 15 minutes
- Cook Time: 0 minutes
- Category: Dessert
- Cuisine: American
Nutrition
- Serving Size: 1 slice
- Calories: 280
- Sugar: 18
- Fat: 16
- Saturated Fat: 10
- Carbohydrates: 32
- Fiber: 1
- Protein: 4
Keywords: strawberry shortcake, icebox cake, no-bake dessert, summer dessert, easy dessert, 5-ingredient recipe, make-ahead dessert


