It was 8:30 PM on a Tuesday, and my kitchen looked like a bakery had exploded. Flour was on the counter, sugar was spilled near the stove, and I was staring at a slightly deflated sponge cake with the kind of disappointment that only a tired parent understands. I had promised my daughter a special dessert for her school project the next day, but I had underestimated how long a traditional coconut cream pie takes. Between the custard that needed constant stirring and the whipped cream that refused to stiffen, I was about to fail. That’s when I remembered a trick I’d seen years ago: why bake when you can just chill?
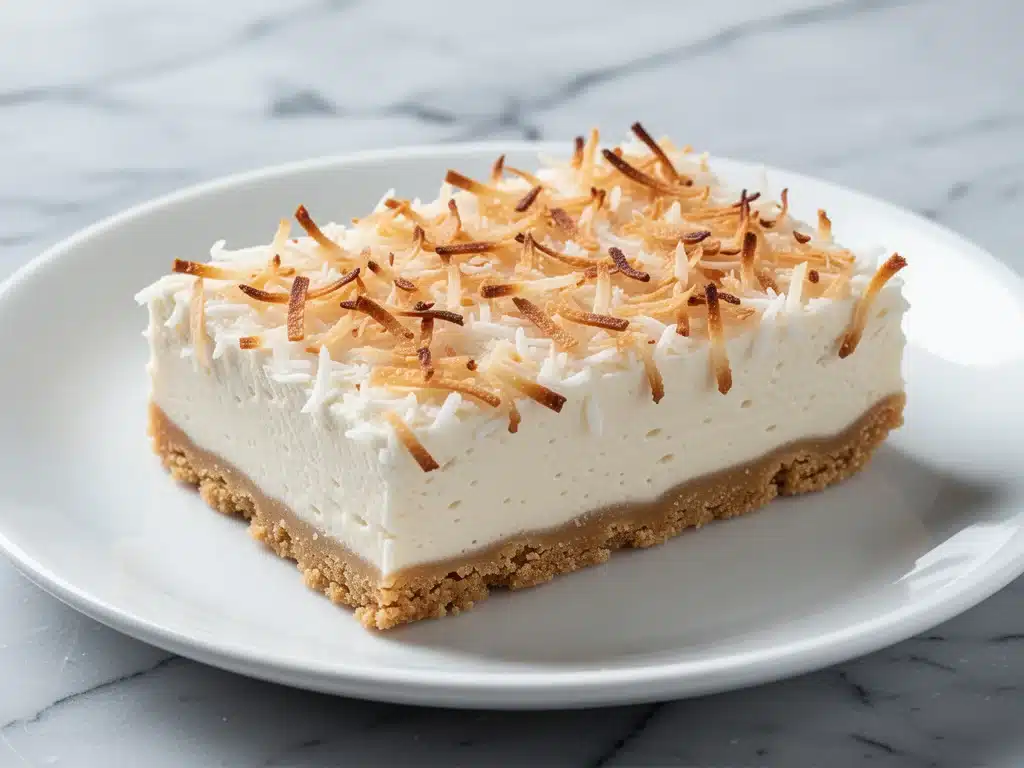
I ran to the pantry and grabbed what I had: graham crackers, butter, sweetened condensed milk, coconut cream, and real coconut flakes. I didn’t need an oven. I didn’t need a mixer. I just needed a few minutes of effort and a refrigerator. Thirty minutes later, I had a pan of Ultra-Creamy Coconut Cream Pie Bars that were firmer, sweeter, and infinitely more reliable than anything I could have baked. My daughter didn’t even notice the difference. In fact, she preferred these bars because they held their shape when she packed them in her lunchbox.
Since that chaotic Tuesday, these no-bake bars have become my secret weapon for last-minute parties, potlucks, and “I forgot to buy dessert” moments. They are ridiculously easy to make, incredibly cheap to produce, and they taste like a tropical vacation. I’ve tested this recipe at least a dozen times, tweaking the ratios of coconut cream to condensed milk until I found the perfect balance of tartness and sweetness. If you’re looking for a way to skip the oven heat and still serve something that looks professional, this is it. Trust me, once you try these, you’ll forget all about baking.
Why You’ll Love This Recipe
There are a dozen reasons I keep making these coconut cream pie bars, but if I’m being honest, it’s mostly because they work every single time. Here’s why they’ve earned a permanent spot in my dessert rotation:
- Zero Oven Required — Seriously, if you can melt butter in the microwave, you can make this. I’ve made these on days when my oven was broken, or when it was 95 degrees outside and I refused to turn it on. No baking means no kitchen sauna.
- Ready in Under an Hour — You have about 10 minutes of active prep time. The rest is just chilling. I can whip these up while dinner is cooking, and they’re set by the time we finish eating. It’s the perfect stress-free dessert.
- Texture That Actually Holds Up — Many no-bake bars turn into a mushy mess when you cut them. Not these. The sweetened condensed milk acts as a binder that firms up beautifully in the fridge. They slice cleanly, travel well in lunchboxes, and don’t get soggy.
- Pantry-Friendly Ingredients — You don’t need fancy grocery stores for this. Sweetened condensed milk, coconut cream, and graham crackers are staples. I keep them on hand specifically for these bars because they’re so versatile.
- Customizable for Any Crowd — Want less sugar? Use half-and-half instead of some condensed milk. Want more crunch? Add chopped macadamia nuts. I’ve made these for diabetic friends (using sugar-free condensed milk) and they loved them just as much.
- Makes Amazing Leftovers — These actually taste better the next day. The flavors meld together as they sit, making the coconut taste more intense and the crust even more cohesive. I deliberately make extra for breakfast-with-dessert (yes, really).
Real talk: this is my go-to when I need a dessert that feels fancy but requires zero skill. No tempering chocolate, no soufflé folding, just simple, creamy, coconutty goodness.
Ingredients You’ll Need
Here’s the best part: you probably have most of this already. The beauty of no-bake desserts is that they rely on pantry staples rather than perishable items you’ll use once and forget. Here is exactly what you need to make these Ultra-Creamy Coconut Cream Pie Bars, and why each ingredient matters.
For the Crust
Graham crackers (2 cups / 200g, crushed) — This is your base. I use regular honey graham crackers for that classic pie taste. If you’re feeling fancy, try ginger snaps for a spicy kick. Make sure they’re fine crumbs; chunky pieces make the crust gritty.
Unsalted butter (6 tablespoons / 85g, melted) — This binds the crumbs. I use unsalted so I can control the saltiness. If you only have salted, reduce any added salt in the filling. Melt it completely—don’t just soften it.
Granulated sugar (2 tablespoons / 25g) — Optional, but I add it because graham crackers aren’t super sweet on their own. It helps the crust crisp up slightly as it chills.
For the Ultra-Creamy Filling
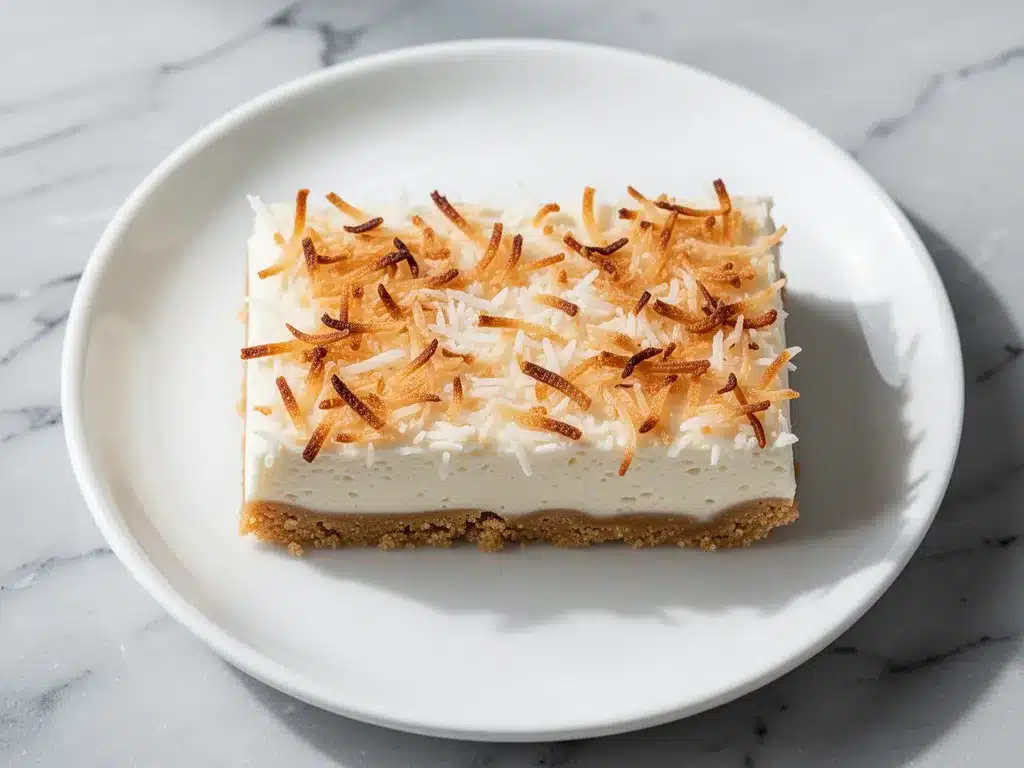
Canned coconut cream (2 cans / 400ml total) — This is the star. Do not use coconut milk; it’s too watery. You want the thick, solid part from the can. Shake the can well before opening, or scoop the thick cream out if you’ve chilled it overnight. This gives the bars their rich, dense texture.
Sweetened condensed milk (1 can / 397g) — This is the magic binder. It adds sweetness, creaminess, and helps the filling set firm. Do not substitute with evaporated milk; it won’t be sweet enough or thick enough. This is non-negotiable for the right texture.
Vanilla extract (1 teaspoon) — Pure vanilla, not imitation. It rounds out the coconut flavor and makes it taste like a real pie. I use a good bottle of Nielsen-Massey because it makes a difference in no-bake desserts where the flavor isn’t cooked off.
Shredded sweetened coconut (1 cup / 60g) — This goes into the filling for chewy bits of coconut in every bite. I use the sweetened kind because it adds texture and visual appeal. Save some for the top later.
For the Topping
Whipped topping (1 container / 8oz, thawed) — Cool Whip or homemade whipped cream works. I prefer Cool Whip for stability if you’re serving these at a picnic, but homemade is richer. Fold it gently into the coconut mixture for a lighter, airier top layer.
Extra shredded coconut — For garnish. Toast it lightly in a dry pan for 2 minutes before sprinkling on top. It looks professional and adds a nutty aroma.
Optional Add-ins — Crushed macadamia nuts (½ cup) add a luxurious crunch. I love them, but my kids usually pick them out, so I keep them separate.
Equipment Needed
You don’t need fancy equipment for this. Here’s what I actually use, and what you can skip if you’re short on space.
9×13 inch baking pan — I use a glass Pyrex pan because it’s easy to see the layers. Metal works too, but glass helps the crust stay crisp. Line it with parchment paper for easy lifting later.
Food processor or Ziploc bag — For crushing the graham crackers. I used to crush them with a rolling pin, but a food processor takes 10 seconds and gives you perfect crumbs. If you don’t have one, put crackers in a bag and smash them with a heavy pot.
Large mixing bowls — You’ll need two: one for the crust and one for the filling. Make sure they’re big enough to fold in the whipped topping without spilling.
Whisk and spatula — A whisk for the coconut cream and condensed milk to ensure no lumps. A silicone spatula for folding in the whipped cream. Don’t use a metal spoon; you’ll deflate the air you worked so hard to incorporate.
Measuring cups and spoons — Standard stuff. Dollar store versions work fine.
Refrigerator — Obviously. But seriously, make sure you have space. These bars need at least 4 hours to set, so plan accordingly.
How to Make It: Step-by-Step
Alright, let’s make these Ultra-Creamy Coconut Cream Pie Bars! I’m walking you through exactly how I do it, including the little tricks I’ve picked up to ensure they set perfectly.
Step 1: Prep Your Pan and Crust (5 minutes)
Line your 9×13 pan with parchment paper, leaving an overhang on the sides. This is crucial for removing the bars later without smashing them. In a bowl, mix the crushed graham crackers, melted butter, and sugar. Press this mixture firmly into the bottom of the pan. Use the bottom of a glass to pack it down tight. If the crust is loose, the bars will crumble. Place the pan in the fridge while you make the filling.
Step 2: Make the Coconut Base (5 minutes)
In a large bowl, whisk together the coconut cream and sweetened condensed milk until smooth. There should be no streaks of white cream left. Stir in the vanilla extract and ½ cup of the shredded coconut. The mixture will be thick and rich. If it’s too stiff to stir, let it sit at room temperature for 5 minutes to soften slightly.
Step 3: Fold in the Whipped Topping (3 minutes)
Gently fold the whipped topping into the coconut mixture. Use a spatula and cut-and-fold motions. Do not stir vigorously, or you’ll lose the airiness and the bars will be dense. You want a light, mousse-like texture. Fold until just combined. It should look fluffy and pale yellow.
Step 4: Assemble and Chill (4+ hours)
Remove the crust from the fridge. Pour the coconut filling over the crust and spread it evenly. Tap the pan gently on the counter to remove air bubbles. Sprinkle the remaining ½ cup of shredded coconut on top. Cover with plastic wrap and refrigerate for at least 4 hours, or overnight. The longer it chills, the firmer it gets. I usually make these the night before a party.
Step 5: Slice and Serve
Once set, lift the bars out of the pan using the parchment paper. Use a sharp knife to cut into squares. Wipe the knife between cuts for clean edges. Serve chilled. They are best eaten cold, right out of the fridge.
Expert Tips & Tricks
Here’s everything I’ve learned from making these dozens of times. These tips will save you from my mistakes.
Chill Your Coconut Cream
If you can’t find “coconut cream” specifically, buy full-fat coconut milk and chill it overnight. The cream will separate and rise to the top. Scoop out only the solid part. This gives you the richest base. Liquid coconut milk makes the bars runny.
Don’t Skip the Chilling Time
I know it’s tempting to eat them right away, but they need time to set. If you cut them too soon, they’ll be a mess. 4 hours is the minimum, but overnight is ideal. The texture transforms from creamy to firm-pie-like.
Toast Your Coconut
Sprinkling raw coconut on top is fine, but toasting it in a dry pan for 2-3 minutes until golden brown adds a incredible nutty flavor and prevents it from getting soggy. It’s a small step that makes a big difference.
Use a Sharp Knife
For clean slices, dip your knife in hot water and wipe it dry before each cut. This prevents the creamy filling from sticking to the blade. It’s a pro trick that makes your bars look bakery-quality.
Adjust Sweetness
If you find the bars too sweet, reduce the condensed milk by ¼ cup and add an extra ¼ cup of coconut cream. The tartness of the coconut balances the sugar perfectly.
Variations & Substitutions
Once you’ve nailed the basic version, here’s how you can mix it up. I’ve tried all of these.
Chocolate Chip Coconut
Fold ½ cup of mini chocolate chips into the filling. The contrast of chocolate and coconut is amazing. My husband loves this version.
Pineapple Coconut
Add ½ cup of crushed pineapple (drained well) to the filling. It adds a tropical tang and makes it taste like a Piña Colada. Drain the pineapple thoroughly so the bars don’t get watery.
Macadamia Nut Crunch
Mix ½ cup of chopped macadamia nuts into the crust and the filling. It adds a luxurious texture that feels like a resort dessert.
Gluten-Free
Use gluten-free graham crackers or almond flour for the crust. Everything else is naturally gluten-free. I’ve used Kinnickinnic graham crackers and they work great.
Dairy-Free
Use coconut oil instead of butter for the crust. Use coconut whipped cream instead of dairy whipped topping. Use dairy-free sweetened condensed milk (available in some health food stores). It’s slightly less sweet but still delicious.
Lower Sugar
Use sugar-free sweetened condensed milk. It’s available in most grocery stores now. The bars will be less sweet, so you might want to add a bit more vanilla or lemon zest to boost flavor.
Serving & Storage
How to Serve:
I usually serve these straight from the fridge, cut into small squares. They are rich, so a little goes a long way. Pair them with a hot cup of coffee or tea to balance the sweetness. They also go well with a light fruit salad on the side.
Side Dishes:
Fresh berries (strawberries, raspberries) cut the richness. A simple green salad if you’re serving it as part of a larger meal. Lemon wedges for garnish.
Storage Instructions:
Store in an airtight container in the refrigerator for up to 5 days. The crust might soften slightly after day 3, but the flavor remains excellent. Do not freeze, as the whipped topping will separate and become grainy when thawed. For best results, make them 1-2 days ahead.
Pro Tip:
If you’re taking these to a potluck, keep them in a cooler with ice packs until you get there. They hold up well in cool temperatures for a few hours.
Nutrition Information
I’m not a nutritionist, but here’s the breakdown if you’re tracking. Keep in mind that these are rich, sweet bars, so portion control is key.
Per Serving (based on 16 bars):
– Calories: 280
– Protein: 3g
– Carbs: 32g
– Fiber: 2g
– Sugar: 24g
– Fat: 16g
– Saturated Fat: 12g
– Cholesterol: 5mg
– Sodium: 120mg
What’s Good:
– No baking means no acrylamide formation
– Coconut provides medium-chain triglycerides (MCTs)
– Can be made gluten-free or dairy-free
What to Know:
– High in sugar from condensed milk
– High in saturated fat from coconut cream
– Not suitable for low-sugar diets without modifications
My Take:
Look, these are a treat. They’re sweet, creamy, and indulgent. They’re not a health food. But they’re way better than store-bought desserts, and you know exactly what’s in them. When I want to make them lighter, I reduce the condensed milk and add more coconut cream. But usually? I just enjoy a small square and savor it.
Final Thoughts
So that’s my go-to Ultra-Creamy Coconut Cream Pie Bars! I’ve probably talked your ear off at this point, but when you make a recipe this often, you have a lot to say about it. These bars have saved me more times than I can count. They’re my answer to “what’s for dessert” when I’m tired, don’t want to bake, and still want something that tastes really good. My kids are happy, my friends are impressed, and I’m happy because I’m not stressed about cooking.
Make it yours! Try different add-ins, swap in your favorite nuts, or adjust the sweetness. The best recipes are the ones you adapt to your family’s tastes. If you make these, drop a comment and let me know what you think! I love hearing how recipes turn out in your kitchen. And if something doesn’t work, tell me that too—I’m here to help troubleshoot.
Happy cooking! And I hope your kitchen smells half as good as mine does right now.
Frequently Asked Questions
Can I use coconut milk instead of coconut cream?
You can, but the bars will be less dense and less creamy. Coconut milk has more water content. If you must use it, simmer it down to reduce the liquid before using. But for the best texture, use full-fat coconut cream.
Why did my bars fall apart when I cut them?
This usually means they didn’t chill long enough. They need at least 4 hours to set. If you’re in a hurry, put them in the freezer for 30 minutes to speed up the process. Also, make sure you pressed the crust down firmly.
Can I make these ahead for a party?
Absolutely! In fact, they’re better made ahead. You can make them 2-3 days in advance. Just keep them covered in the fridge. They hold their shape well and don’t get soggy.
Why did my filling get grainy?
This happens if the condensed milk and coconut cream weren’t fully combined. Whisk them thoroughly before folding in the whipped topping. Also, if the coconut cream was too cold, it might have seized. Let it sit at room temperature for a few minutes before mixing.
Can I use homemade whipped cream?
Yes, but it’s less stable than Cool Whip. If you use homemade, make sure it’s stiffly whipped. The bars might soften faster if stored for more than 2 days. Cool Whip is better for travel and longer storage.
How do I store leftovers?
Store in an airtight container in the refrigerator for up to 5 days. Do not freeze, as the texture will change. If the crust gets soft, you can crisp it up by baking the bars at 350°F for 5 minutes before serving (though this defeats the no-bake purpose slightly).
Can I double this recipe?
Yes, but you’ll need a larger pan (11×15 or two 9×13 pans). The cooking times stay the same. Just make sure your mixing bowl is big enough to fold the whipped topping without spilling.
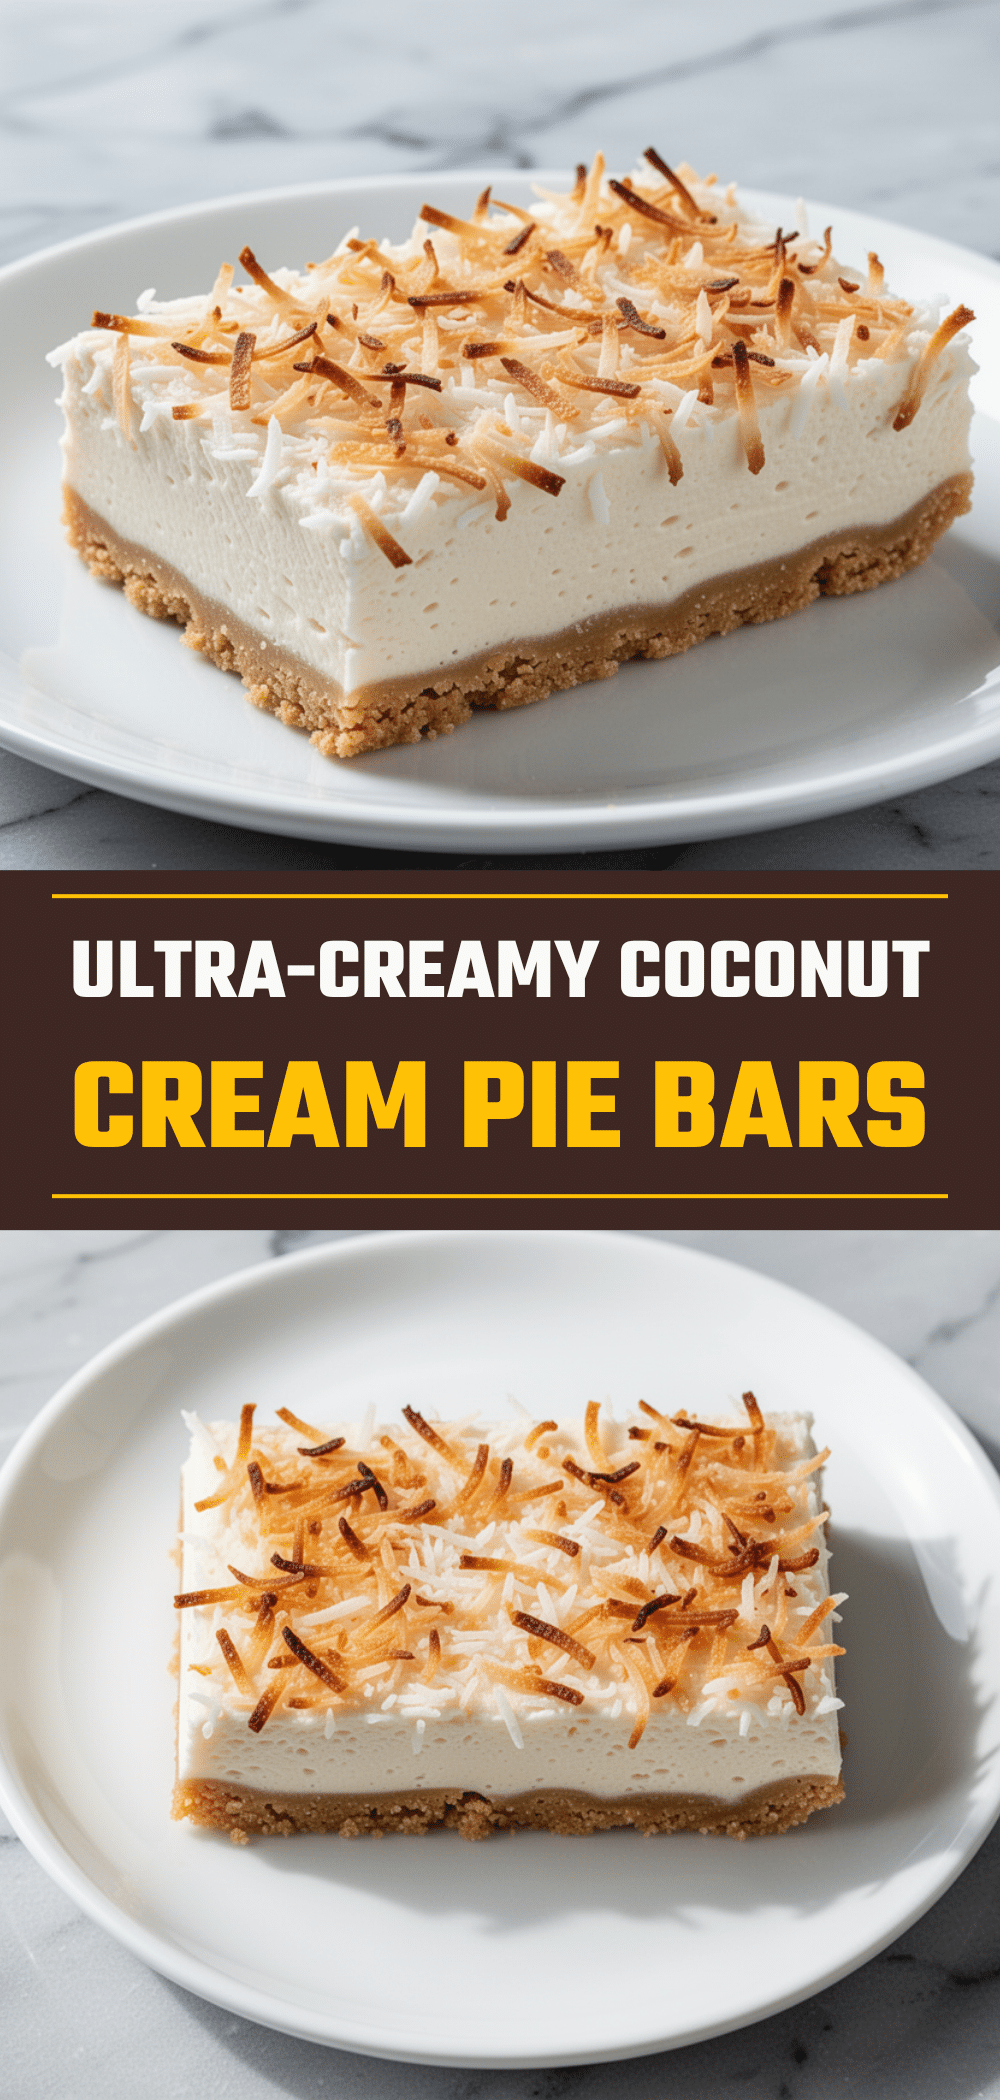
Pin This Recipe!
Ultra-Creamy Coconut Cream Pie Bars
- Total Time: 4 hours 15 minutes
- Yield: 16 servings 1x
Description
A delicious no-bake dessert featuring a graham cracker crust and a rich, creamy coconut filling that sets in the fridge. These bars are easy to make, travel well, and taste like a tropical vacation.
Ingredients
- 2 cups (200g) graham crackers, crushed
- 6 tablespoons (85g) unsalted butter, melted
- 2 tablespoons (25g) granulated sugar
- 2 cans (400ml total) canned coconut cream
- 1 can (397g) sweetened condensed milk
- 1 teaspoon vanilla extract
- 1 cup (60g) shredded sweetened coconut
- 1 container (8oz) whipped topping, thawed
- Extra shredded coconut for garnish
Instructions
- Line a 9×13 inch baking pan with parchment paper, leaving an overhang on the sides.
- In a bowl, mix crushed graham crackers, melted butter, and sugar. Press firmly into the bottom of the pan and refrigerate.
- In a large bowl, whisk together coconut cream and sweetened condensed milk until smooth.
- Stir in vanilla extract and ½ cup of shredded coconut.
- Gently fold in the whipped topping until just combined.
- Pour the filling over the chilled crust and spread evenly.
- Sprinkle remaining ½ cup of shredded coconut on top.
- Cover with plastic wrap and refrigerate for at least 4 hours or overnight until set.
- Lift bars out of the pan using parchment paper and cut into squares with a sharp knife.
Notes
For best results, chill the coconut cream overnight to ensure it is thick. Toast the coconut flakes lightly for added flavor. Use a sharp knife dipped in hot water for clean slices. Do not freeze as the whipped topping may separate.
- Prep Time: 15 minutes
- Cook Time: 0 minutes
- Category: Dessert
- Cuisine: American
Nutrition
- Serving Size: 1 bar
- Calories: 280
- Sugar: 24
- Sodium: 120
- Fat: 16
- Saturated Fat: 12
- Carbohydrates: 32
- Fiber: 2
- Protein: 3
Keywords: coconut cream pie bars, no-bake dessert, easy dessert, coconut bars, graham cracker crust, tropical dessert, party dessert


