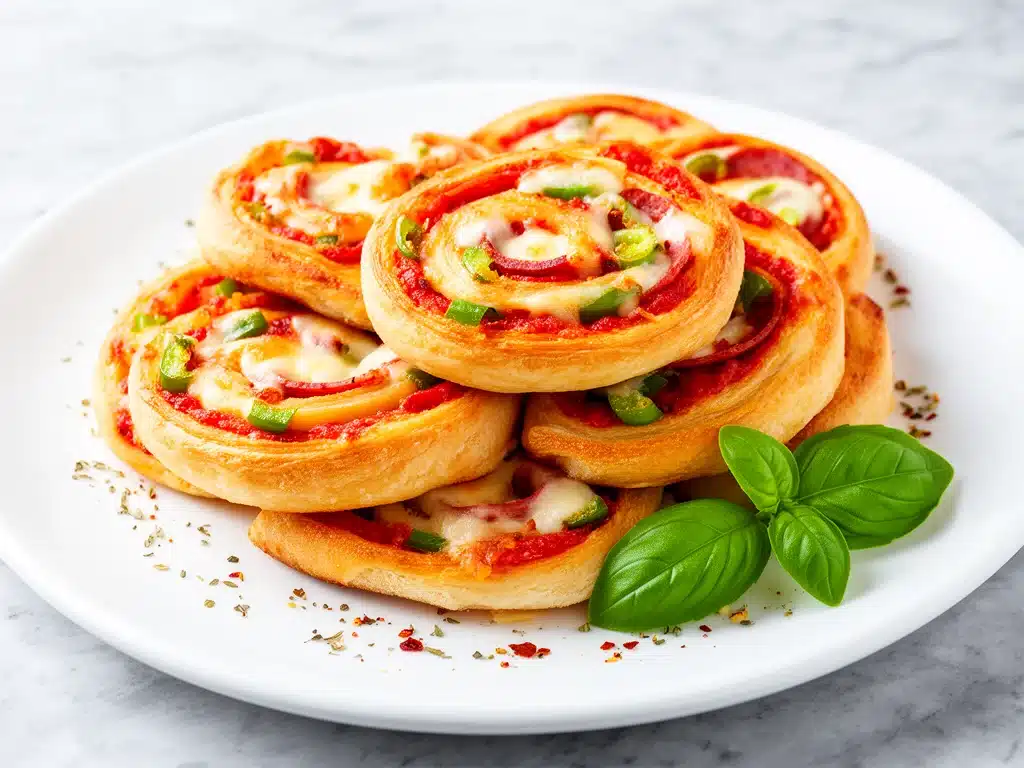
One chaotic morning last September, I was standing in front of the fridge with one eye on the clock and the other on my increasingly impatient kids. I had promised a fun lunch for their first day back at school, but honestly, I hadn’t prepped a thing. I grabbed some basic ingredients and threw together these Back to School Lunchbox Pizza Pinwheels—thinking they’d be a quick fix. Spoiler alert: they turned out so good that they’ve been a staple in our lunchboxes ever since.
Here’s the thing about these pizza pinwheels—they’re ridiculously simple, made with ingredients I always have on hand, and kid-approved (which, if you’re a parent, you know is a big deal). Plus, they travel well and stay tasty cold, making them perfect for busy school days. I’ve tested and tweaked this recipe over a dozen times, and I finally nailed the balance of flavor and ease.
If you’re hunting for a no-fuss, crowd-pleasing lunchbox hit that doesn’t require a ton of prep or fancy ingredients, these pinwheels will become your new secret weapon. Ready to roll?
Why You’ll Love These Back to School Lunchbox Pizza Pinwheels
This recipe has completely transformed our school lunch routine, and here’s why:
- Super Simple Ingredients — No need for specialty items or last-minute grocery runs. I always have flour tortillas, sauce, cheese, and pepperoni in the pantry and fridge.
- Kid-Approved Every Time — My picky eaters ask for these by name. The first time I packed them, they came home with empty lunchboxes and big smiles.
- Make-Ahead Friendly — You can prep these the night before and refrigerate. They even taste great cold, which is a lifesaver on rushed mornings.
- Portable & Mess-Free — The pinwheel shape makes them easy to eat (no sauce drips!), perfect for lunchboxes or after-school snacks.
- Customizable — Swap in veggies, change up the meats, or use gluten-free tortillas. I’ll cover some tasty variations below.
Honestly, these pizza pinwheels are my go-to when I want something that feels a little special but doesn’t add stress to my morning. They’re proof that simple ingredients can make a lunchbox superstar.
Ingredients You’ll Need for Lunchbox Pizza Pinwheels
Here’s the best part: you probably have most of these already. I’m picky about a few ingredients because they really affect the flavor, so I’ll share my tips as we go.
- Flour tortillas (6 large, about 10-inch / 25cm) — Flour tortillas hold together better than corn for pinwheels. I like the soft, pliable ones without preservatives.
- Pizza sauce (½ cup / 120ml) — Use your favorite jarred sauce or homemade if you have it. I prefer a simple marinara that’s not too sweet.
- Shredded mozzarella cheese (1½ cups / 150g) — Freshly shredded melts better than pre-shredded. I grab a block and shred it myself for the best gooeyness.
- Pepperoni slices (½ cup / about 15 slices) — Classic choice here, but see variations if you want to mix it up.
- Italian seasoning (1 teaspoon) — Adds a little herby punch. You can substitute dried oregano and basil.
- Grated Parmesan cheese (2 tablespoons / 15g) — Optional but highly recommended for a savory kick.
- Olive oil (1 tablespoon / 15ml) — Lightly brushed on top before baking to get a golden finish.
Optional add-ins:
- Sliced bell peppers or olives for extra veggies
- Spinach leaves for some green goodness
- Cooked sausage crumbles for a meatier version
Quick tip: If you want gluten-free, swap the flour tortillas with your favorite gluten-free wraps. I’ve done this and nobody could tell the difference.
Equipment Needed
You don’t need fancy gadgets for these pizza pinwheels. Here’s what I actually use:
- Baking sheet — A rimmed baking sheet works best to catch any drips. I line mine with parchment paper for easy cleanup.
- Sharp knife or pizza cutter — For slicing the rolled tortillas into perfect pinwheels. I swear by my pizza cutter for neat, quick cuts.
- Mixing bowl — To mix cheese and seasoning if you want to combine them ahead of time.
- Brush or spoon — For spreading the sauce and brushing olive oil.
That’s it! No fancy pizza stones or mixers needed.
How to Make Back to School Lunchbox Pizza Pinwheels: Step-by-Step
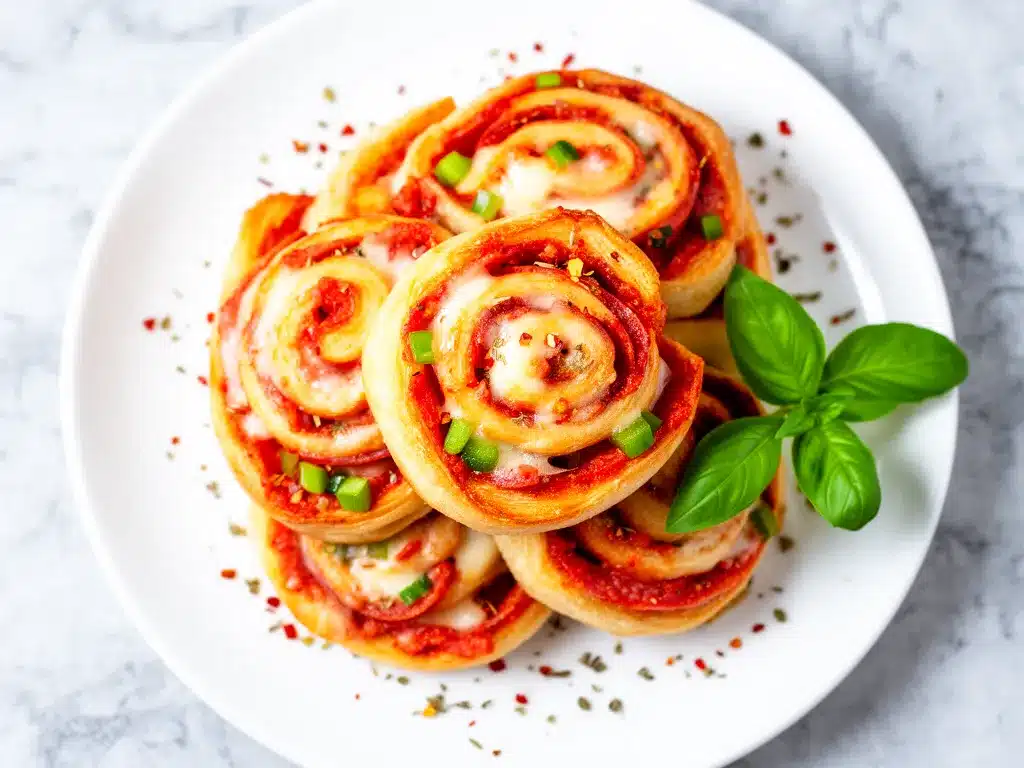
Alright, let’s get rolling—literally. Here’s how I make these pizza pinwheels every time, with the little tricks that make them perfect.
Step 1: Prep Your Ingredients (5 minutes)
Lay out your tortillas on a clean surface. Mix the shredded mozzarella with the Italian seasoning and Parmesan in a bowl so it’s evenly distributed. This little step helps every bite have balanced flavor.
Step 2: Spread the Sauce (2 minutes)
Use the back of a spoon to spread about 2 tablespoons of pizza sauce evenly over each tortilla, leaving a ½-inch border around the edges. This keeps the sauce from leaking out when you roll.
Step 3: Add Cheese and Pepperoni (3 minutes)
Sprinkle a generous layer of the seasoned cheese mix over the sauce. Then, arrange pepperoni slices evenly on top. Don’t overcrowd—less is more for easy rolling.
Step 4: Roll It Up Tight (2 minutes)
Starting at one edge, roll each tortilla tightly into a log shape. The tighter, the better—they hold together well and slice neatly.
Step 5: Slice Into Pinwheels (5 minutes)
Use a sharp knife or pizza cutter to slice each roll into 1-inch (2.5cm) thick pinwheels. I usually get about 6-8 pinwheels per tortilla.
Step 6: Arrange and Brush (2 minutes)
Place the pinwheels cut-side up on your baking sheet, leaving a little space between each. Brush the tops lightly with olive oil—this helps them crisp and brown beautifully.
Step 7: Bake (12-15 minutes)
Pop the pinwheels into a preheated 375°F (190°C) oven. Bake until cheese is melted and the edges turn golden brown. Keep an eye on them after 12 minutes—they can go from perfect to overdone fast.
Step 8: Cool and Pack (10 minutes)
Let them cool for a few minutes so they firm up. Then pack into lunch containers or wrap individually. They hold up well and taste great at room temperature or cold.
Expert Tips & Tricks for Perfect Pizza Pinwheels
- Don’t overfill: Too much sauce or cheese makes rolling tricky and pinwheels fall apart.
- Use room temperature tortillas: Cold tortillas crack when rolling. If your tortillas are refrigerated, microwave them for 10 seconds wrapped in a damp paper towel before assembling.
- Brush with olive oil, not butter: Olive oil crisps the edges without making things greasy.
- Cut with a serrated knife or pizza cutter: This gives cleaner edges without squishing the roll.
- Make ahead and refrigerate: You can assemble the pinwheels and refrigerate for up to 24 hours before baking.
- Add a sprinkle of garlic powder to the cheese mixture for an extra flavor boost—trust me, it’s a game changer.
Variations & Substitutions to Mix It Up
Once you have the basics down, these variations keep things interesting:
- Veggie-Packed: Add thinly sliced bell peppers, olives, or spinach leaves under the cheese for a veggie boost.
- Meat Lovers: Swap pepperoni for cooked sausage, ham, or bacon bits.
- Cheese Swap: Try shredded cheddar or a blend of mozzarella and provolone for a different melty texture.
- Gluten-Free: Use gluten-free tortillas. Just watch the baking time; some brands crisp up faster.
- Spicy Kick: Add red pepper flakes to the cheese mixture or a drizzle of sriracha after baking.
- Vegan Option: Use dairy-free cheese and skip the pepperoni or use plant-based pepperoni slices.
Want to keep your lunchbox interesting? These changes make it easy to tailor the pinwheels to your kid’s taste buds without reinventing the wheel.
Serving & Storage Tips for Pizza Pinwheels
I usually serve these straight from the baking sheet after a short cool-down. They’re perfect finger food, so no fuss with utensils—ideal for school lunches or after-school snacks.
They pair well with crisp veggies like carrot sticks or a simple fruit salad for a balanced meal. Sometimes I add a container of ranch or marinara for dipping, which the kids love.
To store, keep leftovers in an airtight container in the fridge for up to 3 days. Reheat gently in the microwave or eat cold. If you’re packing them for lunch the next day, they’re just as tasty cold or at room temp.
Heads up: these don’t freeze well because the tortillas get soggy when thawed. Best to make fresh or store refrigerated.
Nutrition Information
| Nutrient | Per Serving (2 pinwheels, approx.) |
|---|---|
| Calories | 180 kcal |
| Protein | 8 g |
| Carbohydrates | 20 g |
| Fat | 8 g |
| Saturated Fat | 3.5 g |
| Sodium | 400 mg |
| Fiber | 1 g |
Look, these pizza pinwheels aren’t health food, but they’re a balanced lunch when paired with fresh fruit and veggies. The cheese and pepperoni provide protein, and the portion sizes are easy to control. Using whole wheat tortillas is a simple swap to boost fiber.
Final Thoughts
So that’s my trusty Back to School Lunchbox Pizza Pinwheels recipe. I’ve probably made these hundreds of times, and they never fail to please. They’re the lunchbox MVP when mornings are hectic, and you need something tasty, simple, and kid-friendly.
Make them your own—experiment with fillings, add herbs, or double the batch for easy meal prep. I promise this recipe will make your life easier and your kids’ lunchboxes happier.
If you give these pizza pinwheels a try, drop a comment below and tell me what you think! Or if you’ve got your own twists, I’d love to hear those too. Let’s keep the lunchbox magic going.
Happy rolling and happy packing!
Frequently Asked Questions
Q: Can I use corn tortillas instead of flour?
A: Corn tortillas tend to crack when rolled, so I don’t recommend them for pinwheels. Flour tortillas are soft and pliable, which makes rolling and slicing much easier.
Q: How long can I store these pinwheels before baking?
A: You can assemble the pinwheels and keep them wrapped tightly in the fridge for up to 24 hours. Bake them fresh for best texture and flavor.
Q: Can I freeze the baked pinwheels?
A: I’ve tried freezing them, but the tortillas get soggy when thawed. They’re best eaten fresh or stored in the fridge and eaten within a few days.
Q: What’s the best way to cut the pinwheels?
A: A sharp pizza cutter works wonders for clean cuts without squishing the roll. A serrated knife also does a good job if you don’t have a pizza cutter.
Q: Can I add vegetables inside the pinwheels?
A: Absolutely! Thin slices of bell pepper, olives, or spinach work great. Just don’t overload the tortillas or rolling becomes tricky.
Q: How do I keep the pinwheels from falling apart?
A: Roll the tortillas tightly and don’t overfill them. Also, let them cool for a few minutes after baking so the cheese firms up and holds everything together.
Q: Can I make these vegan?
A: Yes! Use dairy-free cheese and skip the pepperoni or use plant-based alternatives. The assembly and baking process stays the same.
By the way, if you’re interested in other easy, kid-friendly lunch ideas, I’ve had great success with my easy chicken nuggets recipe and these homemade turkey meatballs. Both are perfect for lunchboxes and picky eaters!
Pin This Recipe!
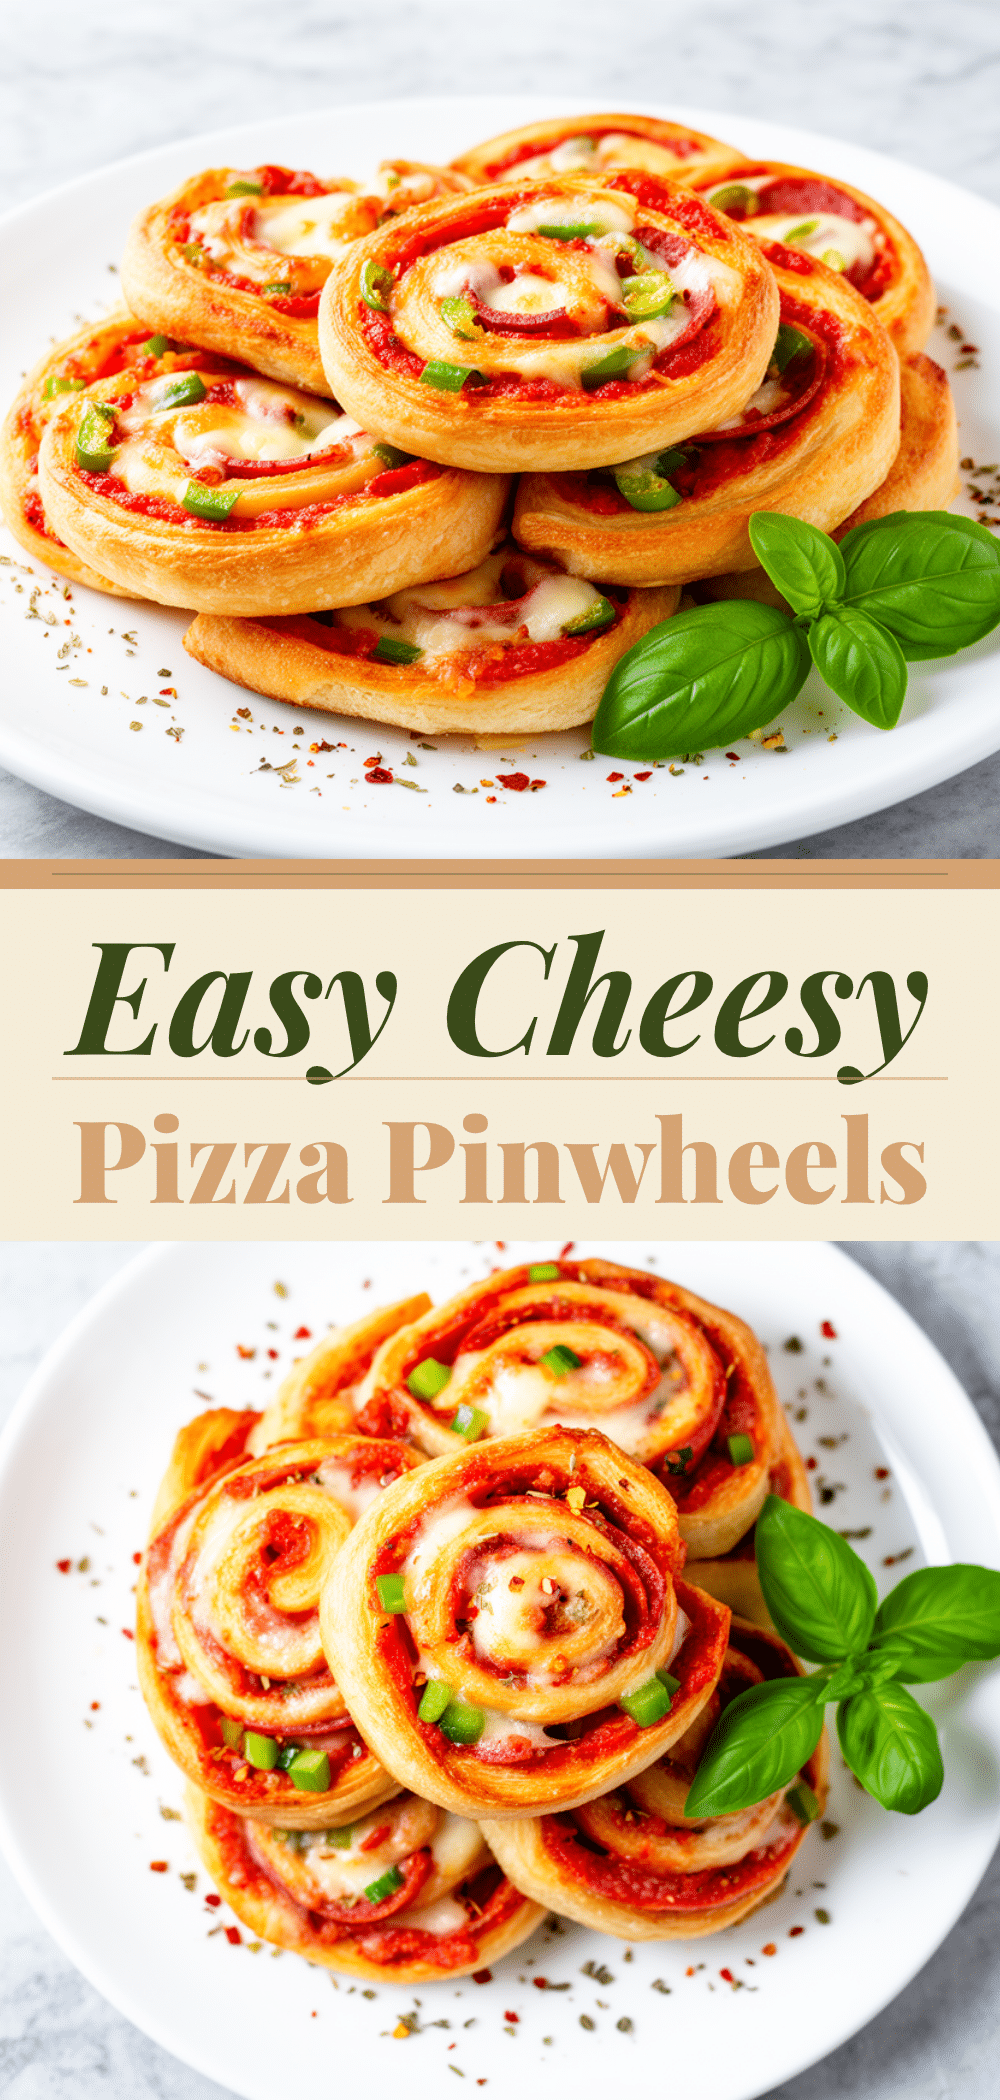

Back to School Lunchbox Pizza Pinwheels
- Total Time: 26-29 minutes
- Yield: 36-48 pinwheels (about 6-8 pinwheels per tortilla) 1x
Description
These pizza pinwheels are a quick, kid-approved lunchbox favorite made with simple ingredients. They travel well, can be made ahead, and are perfect for busy school mornings.
Ingredients
- 6 large flour tortillas (about 10-inch / 25cm)
- ½ cup (120ml) pizza sauce
- 1½ cups (150g) shredded mozzarella cheese
- ½ cup (about 15 slices) pepperoni slices
- 1 teaspoon Italian seasoning
- 2 tablespoons (15g) grated Parmesan cheese (optional)
- 1 tablespoon (15ml) olive oil
Instructions
- Lay out your tortillas on a clean surface. Mix the shredded mozzarella with the Italian seasoning and Parmesan in a bowl so it’s evenly distributed.
- Use the back of a spoon to spread about 2 tablespoons of pizza sauce evenly over each tortilla, leaving a ½-inch border around the edges.
- Sprinkle a generous layer of the seasoned cheese mix over the sauce. Then, arrange pepperoni slices evenly on top.
- Starting at one edge, roll each tortilla tightly into a log shape.
- Use a sharp knife or pizza cutter to slice each roll into 1-inch (2.5cm) thick pinwheels, about 6-8 pinwheels per tortilla.
- Place the pinwheels cut-side up on a baking sheet, leaving space between each. Brush the tops lightly with olive oil.
- Bake in a preheated 375°F (190°C) oven for 12-15 minutes until cheese is melted and edges are golden brown.
- Let cool for a few minutes to firm up before packing into lunch containers or wrapping individually.
Notes
Do not overfill the tortillas to prevent pinwheels from falling apart. Use room temperature tortillas for easier rolling. Brush with olive oil for a crispy finish instead of butter. Pinwheels can be made ahead and refrigerated up to 24 hours before baking. They hold up well cold or at room temperature but do not freeze well.
- Prep Time: 14 minutes
- Cook Time: 12-15 minutes
- Category: Lunch, Snack
- Cuisine: American
Nutrition
- Serving Size: 2 pinwheels
- Calories: 180
- Sodium: 400
- Fat: 8
- Saturated Fat: 3.5
- Carbohydrates: 20
- Fiber: 1
- Protein: 8
Keywords: pizza pinwheels, lunchbox recipe, kid-friendly, easy lunch, pizza snack, school lunch, make-ahead, portable snack


