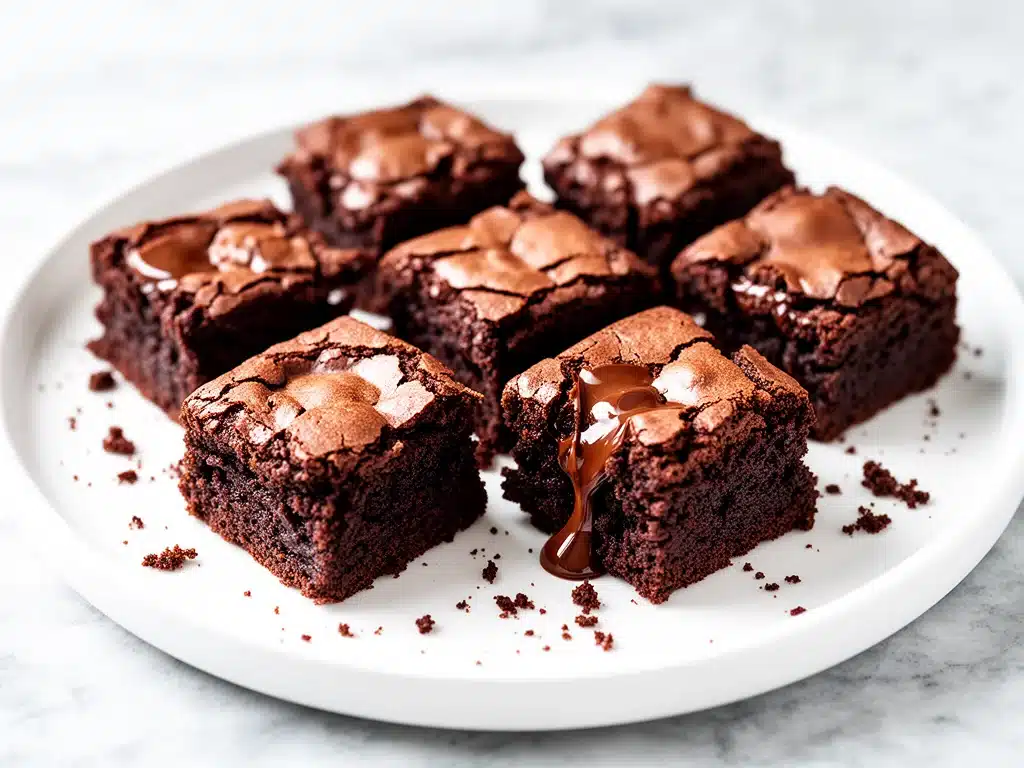
One afternoon last fall, I found myself staring at a nearly empty pantry while my son’s backpack sat on the counter, stuffed with empty lunchbox containers. He’d declared the usual snacks “boring” and begged for something different—something sweet, fudgy, and easy to eat. I didn’t have time to run to the store, so I decided to whip up a batch of brownie bites with the few staples I had on hand. The result? These After School Fudgy Lunchbox Brownie Bites with Simple Ingredients that instantly became our secret weapon for those “I’m starving” moments after school.
I’ve made this recipe over and over, sometimes doubling the batch when I know the kids have been extra active. They’re chewy, fudgy, and perfectly portioned for little hands (and big ones too). What I love most is how straightforward this recipe is—no fancy ingredients, no complicated steps, just real brownies that taste like they came from a bakery but made in your own kitchen. If you’ve been hunting for a homemade treat that fits right into a lunchbox or after-school snack container, this is it.
These brownie bites are one of those recipes where simplicity and deliciousness collide. And trust me, after testing at least a dozen versions (including a few burnt batches—don’t ask), I finally nailed the perfect fudgy texture that’s chewy but never dry. Ready to make your kitchen smell like cocoa heaven?
Why You’ll Love This Recipe
This recipe has completely changed my approach to after-school snacks and lunchbox treats. There are a bunch of reasons I keep coming back to these brownie bites, but here are the big ones:
- Made with Simple Ingredients — No need for fancy chocolate bars or weird add-ins. Everything is probably already in your pantry, which means you can make these on a whim (like I did that one hectic afternoon).
- Perfectly Fudgy — I’ve tried recipes that lean cake-like or dry out too quickly. These stay moist and fudgy for days, which means they’re just as good the next day in the lunchbox.
- Snack-Sized — Bite-sized means less mess, less waste, and easy portion control for kids. Plus, they’re great for sharing (or hiding) when adults want a treat too.
- Quick and Easy — You’ll be mixing the batter and popping these in the oven in under 10 minutes. No mixer required, just a bowl and a spoon.
- Kid-Approved — I’ve made these for my own kids and brought them to school events. They disappear fast. Parents have even asked me for the recipe!
Real talk: These brownie bites are my go-to when I want to feel like I’ve made something special without the fuss. They’re a little pick-me-up for everyone, whether packed in a lunchbox or enjoyed with a glass of milk after a long day.
Ingredients You’ll Need
Here’s the best part: you probably have most of these ingredients already. This recipe is super forgiving, but I’m picky about a few key items that make the fudgy magic happen.
- Unsweetened cocoa powder (½ cup / 50g) — Use good quality cocoa powder, not Dutch-processed. It gives that deep chocolate flavor without any extra sweetness.
- All-purpose flour (¾ cup / 95g) — Just the basics here. I sift it to avoid clumps.
- Granulated sugar (1 cup / 200g) — This sweetens the batter perfectly without being overpowering.
- Butter (½ cup / 115g, melted) — I use unsalted so I can control the saltiness, but salted butter works too. Melting it helps keep the brownies fudgy.
- Eggs (2 large) — Room temperature eggs give the best texture. I learned this after one batch was crumbly because I used cold eggs straight from the fridge.
- Vanilla extract (1 teaspoon) — Boosts the chocolate flavor and adds warmth to the bites.
- Salt (½ teaspoon) — Balances the sweetness and enhances the chocolate notes. Don’t skip this!
- Optional mix-ins: chocolate chips, chopped nuts, or a sprinkle of sea salt on top — I usually keep it simple, but a few dark chocolate chips never hurt.
If you want to get creative, these bites take additions well, but the base recipe is solid on its own. I usually make a batch with just cocoa powder and a splash of vanilla and then experiment with mix-ins on the next batch.
Equipment Needed
You don’t need any fancy gadgets for these brownie bites—just a few basics that I use every time I bake:
- Mixing bowl — A medium to large bowl works fine. I like glass or stainless steel because they’re easy to clean.
- Whisk or wooden spoon — For mixing the wet and dry ingredients together. No fancy stand mixer required.
- Measuring cups and spoons — Accuracy helps, but eyeballing works too if you’re in a rush.
- 8×8-inch baking pan — I use a metal pan lined with parchment paper so the bites come out easily. You can also use silicone molds for individual bites.
- Oven — The classic tool! Preheat it properly for the best results.
Optional but nice: a sharp knife to cut neat squares and a spatula to lift the brownies out of the pan. I’m all about simple tools that get the job done.
How to Make It: Step-by-Step
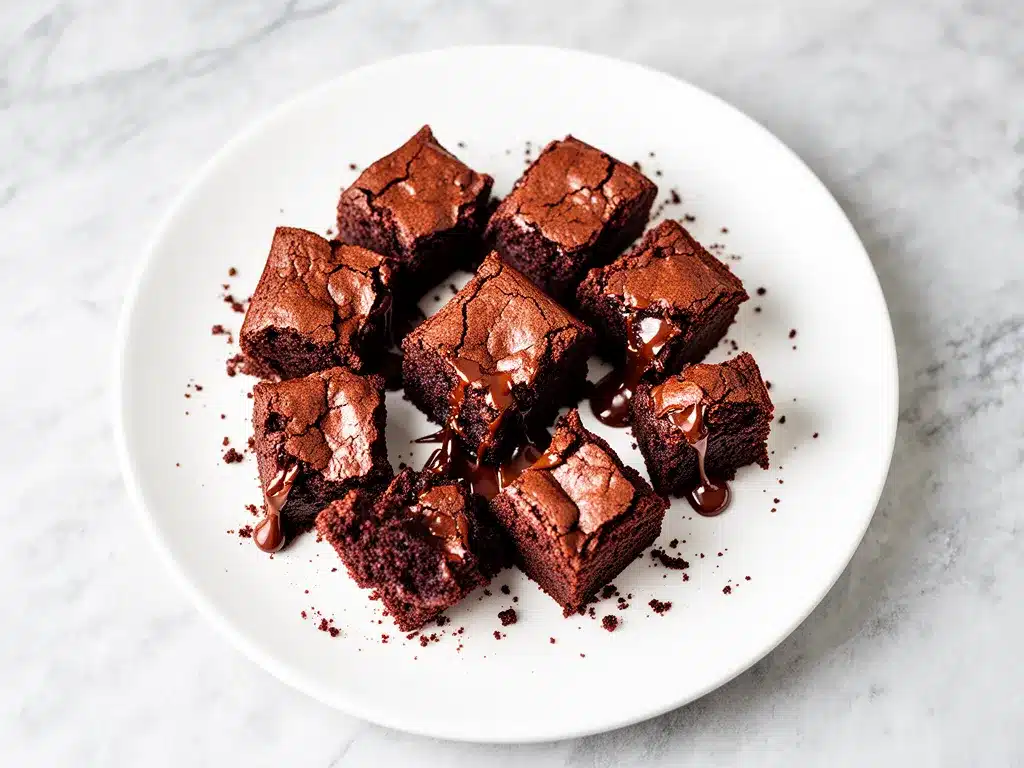
Alright, let’s make these fudgy brownie bites! I’m walking you through exactly how I do it, including the little tricks I picked up after a few burnt edges and too-dry batches.
Step 1: Preheat and Prep (5 minutes)
Preheat your oven to 350°F (175°C). Line your 8×8-inch baking pan with parchment paper, leaving an overhang on the sides for easy removal later. This step saves you from scraping brownies out of the pan like a medieval archaeologist.
Step 2: Mix Dry Ingredients (3 minutes)
In your mixing bowl, whisk together the cocoa powder, flour, sugar, and salt. Make sure the cocoa powder is well incorporated with no lumps—this sets the stage for smooth, fudgy bites.
Step 3: Combine Wet Ingredients (2 minutes)
In a separate bowl or directly in the dry mix, add the melted butter, eggs, and vanilla extract. Stir gently but thoroughly. The batter will be thick and shiny—that’s exactly what you want.
Step 4: Optional Add-Ins (1 minute)
If you’re using chocolate chips or nuts, fold them in now. I usually add about ½ cup chocolate chips for extra melty pockets.
Step 5: Bake (20-25 minutes)
Pour the batter into your prepared pan and spread it evenly. Bake for 20-25 minutes. Here’s the trick: check at 20 minutes by inserting a toothpick in the center. It should come out with a few moist crumbs, but not wet batter. Overbaking dries out the brownies, and underbaking makes them too gooey to pack.
Step 6: Cool and Cut (15 minutes)
Let the brownies cool completely in the pan (I know, patience is hard here). Once cool, use the parchment overhang to lift them out and cut into bite-sized squares—about 1.5 inches each. These are perfect for lunchboxes or quick snacks.
Step 7: Pack and Enjoy!
Store the brownie bites in an airtight container at room temperature for up to 3 days, or in the fridge for up to a week. They’re great on their own or paired with fruit or a glass of milk.
Pro tip: I once forgot to line my pan and ended up with a brownie demolition scene. Don’t be like me—lining the pan is a game-changer.
Expert Tips & Tricks
- Use room temperature eggs: Cold eggs can make the batter uneven. Take them out 15 minutes before baking.
- Don’t overmix: Once the wet and dry ingredients come together, stop mixing. Overmixing can lead to tough brownies.
- Watch your oven: Oven temps vary. Start checking your brownies a few minutes early to avoid overbaking.
- Line your pan with parchment: Makes cleanup and cutting so much easier.
- Add a pinch of espresso powder (optional) to the dry ingredients—it intensifies the chocolate flavor without tasting like coffee.
- Make them ahead: These brownies keep well and are perfect for prepping snacks for the week.
After a few batches, I started doubling this recipe and baking half in silicone molds for perfectly shaped individual bites. It’s a crowd-pleaser at school events.
Variations & Substitutions
Once you have the basic recipe down, you can switch things up to keep these brownie bites interesting. Here are some variations I’ve tested:
- Nut-Free Version — Just skip nuts or substitute with seeds like sunflower or pumpkin if you want crunch.
- Gluten-Free — Use a 1:1 gluten-free flour blend. The texture is slightly different but still fudgy and delicious.
- Peanut Butter Swirl — Drop dollops of peanut butter on the batter before baking and swirl with a knife. Adds a creamy, nutty surprise.
- Mint Chocolate — Add ½ teaspoon peppermint extract and top with crushed peppermint candies.
- Dairy-Free — Substitute butter with coconut oil and make sure your chocolate chips are dairy-free.
If you like snacks that mix sweet and savory, these brownie bites pair surprisingly well with a glass of cold milk or even a sharp cheddar cheese snack, a combo my kids randomly love.
Serving & Storage
I usually pack these brownie bites in small reusable containers or silicone muffin liners when sending them in lunchboxes. They’re the perfect size—no crumbs everywhere, no sticky fingers (well, minimal). For after-school snacks, I serve them with a side of fresh fruit or a small handful of nuts for some balance.
Leftovers? Store brownie bites in an airtight container at room temperature for up to 3 days. They’ll stay fudgy and delicious. For longer storage, refrigerate up to a week—just bring them back to room temp or warm slightly before eating.
Reheating? I prefer them cold or at room temperature, but if you want a warm treat, pop a few in the microwave for 10 seconds. Just don’t overdo it—or they’ll get dry.
Heads up: I don’t recommend freezing these because the texture changes and they can dry out. Instead, make smaller batches that you can enjoy fresh.
Nutrition Information
I’m not a nutritionist, but here’s a quick breakdown for those keeping track (based on 24 brownie bites):
| Per Brownie Bite | Amount |
|---|---|
| Calories | 90 |
| Protein | 1g |
| Carbohydrates | 12g |
| Fiber | 1g |
| Sugar | 9g |
| Fat | 4.5g |
| Saturated Fat | 2.5g |
| Cholesterol | 15mg |
| Sodium | 45mg |
These bites are definitely a treat, but because they’re homemade, you know exactly what’s inside. I love that they’re portion-controlled and don’t have any weird preservatives or artificial ingredients.
Final Thoughts
So that’s my recipe for these After School Fudgy Lunchbox Brownie Bites—simple, sweet, and just the right size for little hands (and grown-up sneaks). I probably talked your ear off, but when you bake this often, you pick up a few stories and tips along the way.
This recipe has saved me on more than one hectic afternoon when I wanted to give my kids something homemade and comforting without spending forever in the kitchen. It’s easy, uses ingredients you already have, and bakes up into fudgy bites that disappear fast.
Make it yours! Add in your favorite mix-ins, try different extracts, or bake them in silicone molds to get perfect shapes. And if you’re looking for more after-school snack ideas made with simple ingredients, you might enjoy my Apple Peanut Butter Energy Bites for a fruity twist or these Soft Baked Ham Cheese Pretzel Bites when you want something savory. For lunchbox inspiration, the Back to School Chicken Caesar Wrap is a total winner.
If you make these brownie bites, drop a comment and let me know how they turned out! I love hearing your tweaks and stories. And if something didn’t work, tell me that too—I’m here to help you get them just right.
Happy baking! And I hope your kitchen smells half as good as mine does right now.
Frequently Asked Questions
Q: Can I use cocoa powder substitute like hot chocolate mix?
A: I wouldn’t recommend it because hot chocolate mix usually has sugar and milk powder added, which changes the texture and sweetness. Stick with pure unsweetened cocoa powder for the best fudgy results.
Q: Can I make these brownie bites gluten-free?
A: Yes! Use a 1:1 gluten-free baking flour blend. The texture will be slightly different but still fudgy and delicious. Just make sure your cocoa powder and other ingredients haven’t been cross-contaminated.
Q: Why did my brownies come out cakey instead of fudgy?
A: Usually because of overmixing or overbaking. Mix just until combined, and check your brownies a few minutes before the baking time ends. Remember, slight underbaking keeps them chewy and fudgy.
Q: Can I use oil instead of butter?
A: You can substitute melted coconut oil or neutral oil, but butter adds flavor and richness that oil doesn’t. If you use oil, expect a slightly different texture and flavor—still tasty, just not quite the same.
Q: How do I store these brownie bites for school?
A: Pack them in an airtight container or reusable snack bags. They keep well at room temperature for a few days or in the fridge for up to a week. Just make sure they’re completely cool before packing to avoid condensation.
Q: Can I double or halve the recipe?
A: Absolutely! Just keep the baking time about the same, but check early if you bake smaller batches or in different pans. For larger batches, make sure to spread the batter evenly for even baking.
Q: What if I don’t have vanilla extract?
A: You can skip it, but vanilla really enhances the chocolate flavor. If you have almond extract, use half the amount as a substitute for a different but tasty twist.
Pin This Recipe!

After School Fudgy Lunchbox Brownie Bites Easy Homemade Recipe
- Total Time: 30-35 minutes
- Yield: 24 brownie bites 1x
Description
These fudgy brownie bites are a perfect after-school snack made with simple ingredients, offering a chewy, moist texture that stays fresh for days. They are bite-sized, easy to make, and kid-approved.
Ingredients
- ½ cup (50g) unsweetened cocoa powder
- ¾ cup (95g) all-purpose flour
- 1 cup (200g) granulated sugar
- ½ cup (115g) unsalted butter, melted
- 2 large eggs, room temperature
- 1 teaspoon vanilla extract
- ½ teaspoon salt
- Optional: ½ cup chocolate chips, chopped nuts, or a sprinkle of sea salt on top
Instructions
- Preheat your oven to 350°F (175°C). Line an 8×8-inch baking pan with parchment paper, leaving an overhang on the sides for easy removal.
- In a mixing bowl, whisk together the cocoa powder, flour, sugar, and salt until well combined and no lumps remain.
- Add the melted butter, eggs, and vanilla extract to the dry ingredients. Stir gently but thoroughly until the batter is thick and shiny.
- Fold in optional chocolate chips or nuts if using.
- Pour the batter into the prepared pan and spread evenly.
- Bake for 20-25 minutes. Check at 20 minutes by inserting a toothpick in the center; it should come out with a few moist crumbs but no wet batter.
- Allow the brownies to cool completely in the pan.
- Use the parchment overhang to lift the brownies out and cut into 1.5-inch bite-sized squares.
- Store in an airtight container at room temperature for up to 3 days or in the fridge for up to a week.
Notes
Use room temperature eggs for best texture. Do not overmix the batter to avoid tough brownies. Line the pan with parchment paper for easy removal and clean-up. Check brownies early to avoid overbaking. Optional espresso powder can be added to intensify chocolate flavor. Store cooled brownies in airtight containers and avoid freezing to maintain texture.
- Prep Time: 10 minutes
- Cook Time: 20-25 minutes
- Category: Snack
- Cuisine: American
Nutrition
- Serving Size: 1 brownie bite (abou
- Calories: 90
- Sugar: 9
- Sodium: 45
- Fat: 4.5
- Saturated Fat: 2.5
- Carbohydrates: 12
- Fiber: 1
- Protein: 1
Keywords: brownie bites, fudgy brownies, after school snack, lunchbox treats, easy homemade brownies, kid-friendly dessert


