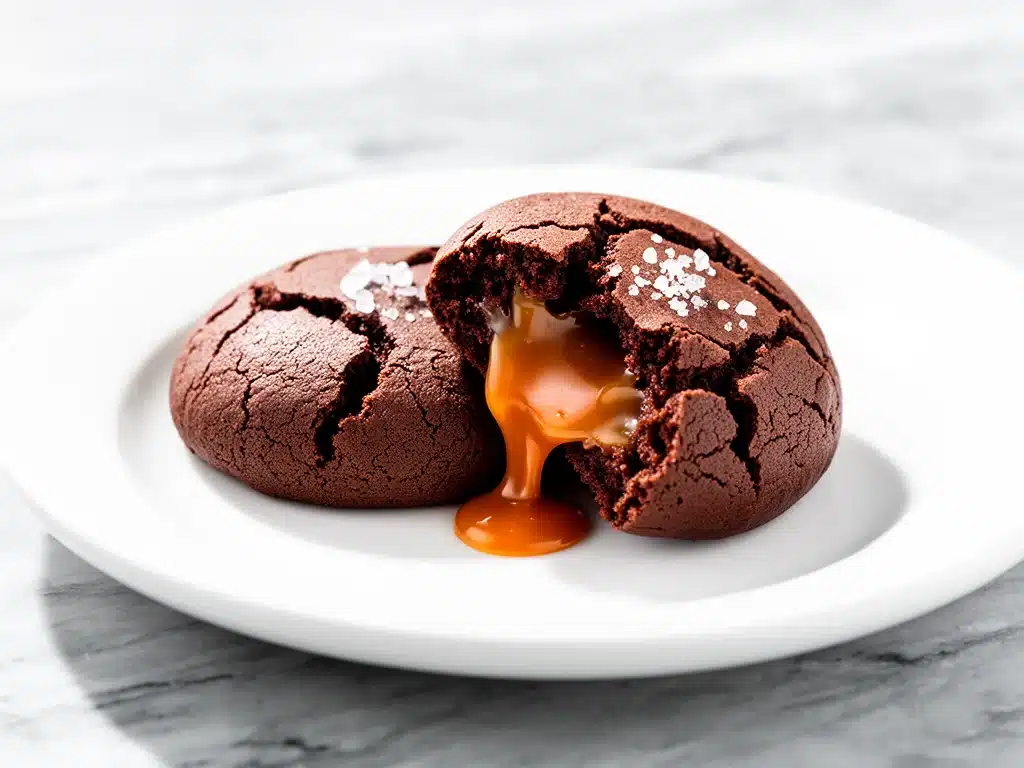
One chilly evening last fall, I was craving something that felt like a warm hug in dessert form. I’d been scrolling through my usual cookie recipes, but nothing seemed to hit the spot. Then, on a whim, I decided to combine two of my favorite flavors: rich, dark chocolate and gooey salted caramel. The catch? I wanted molten centers that would ooze out with every bite. After a few messy attempts (including one batch where the caramel escaped entirely and turned my oven into a sticky nightmare), I finally nailed it. These salted caramel stuffed chocolate cookies with gooey molten centers have since become my secret weapon for impressing friends and satisfying late-night sweet cravings.
What makes these cookies so special? The way the caramel melts perfectly inside, tucked into a tender, fudgy chocolate dough that’s just the right balance between cakey and chewy. Plus, that sprinkle of flaky sea salt on top? It’s the unexpected pop that turns a regular cookie into something unforgettable. I’ve made these for everything from casual coffee dates to holiday parties, and honestly, they steal the show every time.
I’ve tested this recipe over a dozen times, tweaking the dough texture and caramel filling until it was just right. So if you’re ready to take your chocolate cookies to the next level, stick around — I’m about to share all my tips and tricks for making these irresistible treats.
Why You’ll Love This Recipe
There are a handful of reasons I keep making these salted caramel stuffed chocolate cookies, but here are the big ones:
- Molten Gooey Centers — Nothing beats biting into a cookie and having warm caramel drip out. I get asked constantly if I’m serving this fresh from the oven (spoiler: I always am).
- Perfect Texture — The dough is fudgy but holds its shape, so you get a soft, tender cookie that’s not flat or crunchy. Plus, the slight chew keeps it interesting.
- Easy to Make — Despite sounding fancy, these cookies are surprisingly straightforward. You don’t need any special equipment or rare ingredients.
- Impresses Every Time — I’ve served these to picky eaters and self-proclaimed cookie experts. Everyone agrees: these are next-level.
- Make-Ahead Friendly — You can shape and stuff the dough ahead of time, then freeze the cookies ready to bake. Perfect for last-minute guests.
Honestly, these cookies are one of those rare recipes that feel gourmet but come together without fuss. If you’re like me and love a cookie that’s as fun to eat as it is to make, this recipe is your new best friend.
Ingredients You’ll Need
Here’s the best part: most of these ingredients are probably already in your pantry or fridge. I’m picky about a few key things here, and I’ll explain why as we go.
- Unsalted butter (1 cup / 226g) — Room temperature is best for creaming with sugar. I avoid salted butter here because the caramel and sea salt topping add enough saltiness.
- Granulated sugar (½ cup / 100g) — Helps with structure and crisp edges.
- Brown sugar (¾ cup packed / 150g) — Adds moisture and that classic chewy cookie texture.
- Large eggs (2) — Bind everything together. I always use room temperature eggs for better mixing.
- Vanilla extract (2 teaspoons) — A must for depth of flavor. Pure vanilla, please, not imitation.
- All-purpose flour (2 cups / 250g) — Gives structure without weighing down the cookie.
- Cocoa powder (⅔ cup / 65g) — I use Dutch-process for rich, smooth chocolate flavor.
- Baking soda (1 teaspoon) — Leavens and helps the cookies rise just right.
- Salt (½ teaspoon) — Enhances all the flavors. Even though there’s sea salt on top, a little in the dough is crucial.
- Soft caramels (about 30 pieces, unwrapped) — The star of the show. I like using good-quality store-bought caramels because they melt beautifully. You can also use homemade caramel cubes if you’re feeling ambitious.
- Flaky sea salt (for sprinkling) — Adds that perfect salty crunch on top. Don’t skip this—it’s what makes the flavors pop.
If you want to experiment, you can swap the cocoa powder for a dark chocolate version or even toss in some chopped nuts for texture. I’ve also tried adding a little espresso powder to the dough to boost the chocolate flavor—delicious but completely optional.
Equipment Needed
You really don’t need fancy equipment for these salted caramel stuffed chocolate cookies. Here’s what I use:
- Mixing bowls — One large for the dough, plus a small one for dry ingredients. Nothing special, just sturdy glass or stainless steel.
- Hand mixer or stand mixer — I prefer a stand mixer with a paddle attachment, but a hand mixer works fine. You want to cream butter and sugars well.
- Measuring cups and spoons — Accurate measurements matter, especially with baking soda and flour.
- Baking sheets — I use rimmed baking sheets lined with parchment paper or silicone mats. Helps cookies bake evenly and prevents sticking.
- Cooling rack — For letting the cookies cool without getting soggy on the bottom.
- Spoon or cookie scoop — A medium cookie scoop or large spoon to portion dough evenly.
- Plastic wrap or parchment paper — For chilling the dough before baking, which helps keep the cookie shape intact.
Optional but helpful:
- Small kitchen scale — Great for evenly sized cookies, but not necessary.
- Oven thermometer — Ovens can be tricky; an oven thermometer ensures your cookies bake at the right temperature.
How to Make It: Step-by-Step
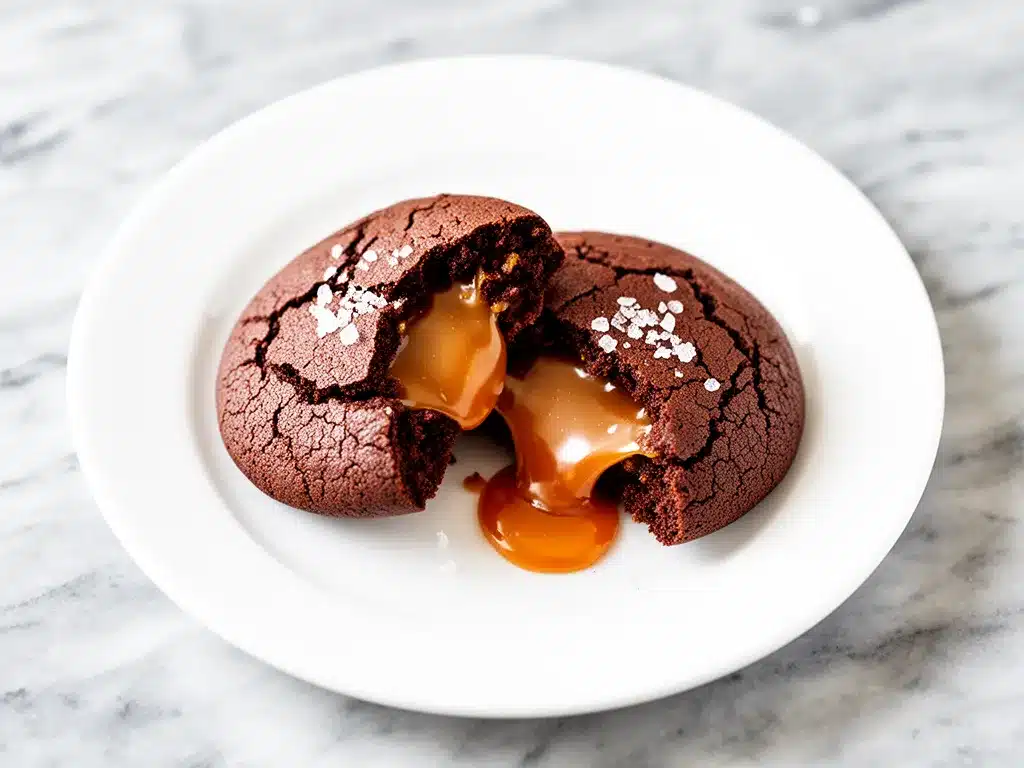
Alright, let’s dive into making these salted caramel stuffed chocolate cookies with gooey molten centers. I’m walking you through every step, including the little things I’ve learned that make all the difference.
Step 1: Prep Your Ingredients (10 minutes)
Start by unwrapping all your caramels and setting them aside. If the caramels feel too hard, microwave them for 5-7 seconds to soften slightly—this makes stuffing easier. Next, measure out your butter, sugars, and dry ingredients. I always sift the cocoa powder to avoid lumps. Have your eggs and vanilla ready at room temperature.
Step 2: Make the Chocolate Dough (8 minutes)
In a large bowl, cream the softened butter with granulated and brown sugars using your mixer on medium speed. The mixture should become light and fluffy, about 3-4 minutes. Beat in the eggs one at a time, then add vanilla. In a separate bowl, whisk together flour, cocoa powder, baking soda, and salt. Gradually add the dry mix to the wet, mixing on low speed just until combined. Don’t overmix or the cookies will be tough.
Step 3: Chill the Dough (30 minutes minimum)
This step is crucial. Cover the dough with plastic wrap and refrigerate for at least 30 minutes or up to 24 hours. Chilling firms the dough, making it easier to stuff and helping the cookies hold their shape during baking. I often make the dough the night before.
Step 4: Shape and Stuff the Cookies (15 minutes)
Once chilled, scoop out about 2 tablespoons of dough and flatten it into a disc in your palm. Place a softened caramel in the center, then fold the dough around it, sealing completely to avoid caramel leakage. Roll into a ball and place on your lined baking sheet, spacing about 2 inches apart. Repeat until all dough and caramels are used. If the dough softens too much while working, pop the tray back in the fridge for 10 minutes.
Step 5: Bake (12-14 minutes)
Preheat your oven to 350°F (175°C). Bake the cookies for 12-14 minutes. They’ll look set but soft in the middle—don’t overbake or you’ll lose that gooey center. The edges might crack slightly, which is a good sign! Right after baking, sprinkle flaky sea salt on top of each cookie while still warm.
Step 6: Cool and Enjoy (15 minutes)
Let the cookies cool on the baking sheet for about 10 minutes before transferring to a wire rack. This lets the caramel thicken slightly so it doesn’t burn your mouth but stays molten and delicious. Then, dig in!
Quick tip: If you want to see that molten caramel in action, warm a cookie in the microwave for 10 seconds before eating—it’s like a mini lava cake moment.
Expert Tips & Tricks
- Use soft caramels, not hard candies: This ensures the caramel melts perfectly inside without burning the cookie exterior.
- Chill dough before baking: This prevents the caramel from leaking out and keeps the cookie shape intact.
- Seal the dough well: Press the dough around the caramel firmly but gently to avoid any gaps where caramel can escape.
- Don’t overbake: The cookies should look slightly underbaked in the middle. They’ll firm up as they cool but keep the gooey center.
- Flaky sea salt is a must: It balances the sweetness and adds a little crunch. Regular table salt won’t do.
- Store leftovers properly: Keep cookies in an airtight container at room temperature for up to 3 days. Reheat for that molten effect.
One mistake I made early on was rushing the chilling step—caramel oozed everywhere and made a mess. Now, I always remind myself: patience is key for perfect molten centers.
Variations & Substitutions
Once you’ve mastered the basic salted caramel stuffed chocolate cookies, here are some fun twists to try:
- Peanut Butter Caramel: Add a small dollop of peanut butter with the caramel for a nutty surprise. This combo is a serious crowd-pleaser.
- Espresso Kick: Mix 1 teaspoon instant espresso powder into the dough to boost the chocolate flavor.
- Nutty Add-ins: Fold in ½ cup chopped pecans or walnuts for crunch.
- Vegan Version: Use vegan butter, flax eggs (2 tablespoons ground flaxseed + 6 tablespoons water), and vegan caramel candies.
- Chocolate Chip Caramel: Add ½ cup mini chocolate chips to the dough for extra melty pockets of chocolate.
These cookies pair surprisingly well with a fresh, bright drink like the green apple spinach smoothie I shared recently—a perfect way to balance indulgence with a little freshness.
Serving & Storage
These cookies are best enjoyed warm or at room temperature when the caramel is still soft and molten. Serve them on a platter for parties or alongside a glass of cold milk for a classic treat.
If you want to get fancy, these cookies make a fantastic dessert served with a scoop of vanilla ice cream. I’ve even paired them with a simple strawberry pretzel salad for a crowd-pleasing summer dessert spread.
For storage, keep your cookies in an airtight container at room temperature for up to 3 days. If you want to keep them longer, freeze them unbaked after shaping. When ready, bake directly from frozen, adding a couple of extra minutes to the baking time.
Leftover baked cookies can be reheated gently in a microwave for 10-15 seconds to bring back that molten caramel center—trust me, it’s worth it.
Nutrition Information
I’m not a nutritionist, but here’s a rough breakdown based on 24 cookies:
| Per Cookie | Amount |
|---|---|
| Calories | 180 |
| Protein | 2g |
| Carbohydrates | 25g |
| Fat | 8g |
| Saturated Fat | 5g |
| Sugar | 18g |
| Fiber | 1g |
| Sodium | 85mg |
What’s good? These cookies deliver a satisfying sweetness with some protein from butter and eggs, plus a touch of fiber from cocoa powder. They’re definitely an indulgence—rich, creamy, and decadent—but homemade means you control the quality and ingredients.
Final Thoughts
So that’s my go-to recipe for salted caramel stuffed chocolate cookies with gooey molten centers! I know I’ve probably rambled on, but when you make a recipe this often, you pick up a ton of tips and little tricks that make it foolproof.
This recipe has saved my dessert game more times than I can count. It’s my answer when I want something impressive but don’t want to fuss with fancy techniques or hard-to-find ingredients. My family loves them, friends rave, and honestly, I love eating the “test” cookies straight from the baking sheet.
Make these cookies your own—tweak the caramel amount, swap in nuts, or try a dash of espresso. The best recipes are the ones you adapt to your tastes.
If you make these, drop a comment and let me know how your gooey caramel adventure goes! And if something doesn’t work, I’m here to help troubleshoot. Happy baking, and may your kitchen smell as amazing as mine does right now.
Frequently Asked Questions
Q: Can I use milk chocolate or white chocolate caramels instead of traditional caramel?
A: You can, but the flavor and melting properties will differ. Milk chocolate caramels tend to be softer and sweeter, which can make the cookie too sweet for some. White chocolate caramels don’t always melt as nicely and might change the texture. I prefer classic caramel for that perfect balance.
Q: My caramel leaked out during baking—what did I do wrong?
A: Most likely, the dough wasn’t chilled enough or the caramel wasn’t sealed tightly inside. Make sure to chill the dough well and press the edges firmly around the caramel. Also, don’t overfill—one piece of caramel per cookie is plenty.
Q: Can I freeze these cookies after baking?
A: Baked cookies don’t freeze well because the caramel can separate when thawed. I recommend freezing the shaped, unbaked cookies instead. When you want a treat, bake them straight from the freezer, adding a couple of minutes to the baking time.
Q: Can I substitute the butter for coconut oil or margarine?
A: Butter adds flavor and structure, so I don’t recommend swapping it out entirely. Coconut oil can work but may change the texture and flavor noticeably. Margarine tends to have more water content, which can affect the dough consistency and baking results.
Q: How do I know when the cookies are done?
A: The edges should look set and slightly firm, but the centers will still look soft and a little underbaked. The cookies continue to cook a bit as they cool, so it’s better to err on the side of underbaking for that molten caramel center.
Q: Can I add nuts or chocolate chips to the dough?
A: Absolutely! Chopped nuts like pecans or walnuts add a great crunch, and mini chocolate chips create extra melty pockets of chocolate. Just fold them in gently with the dry ingredients.
Q: Is there a way to make these cookies less sweet?
A: You can reduce the sugar slightly in the dough, but keep in mind that caramel is very sweet, so the overall cookie will still be rich. Using dark or bittersweet cocoa powder instead of Dutch-process can also balance sweetness with some bitterness.
While you’re enjoying these decadent cookies, you might also appreciate the apple peanut butter energy bites for a snack that’s a little lighter but still satisfying.
Pin This Recipe!
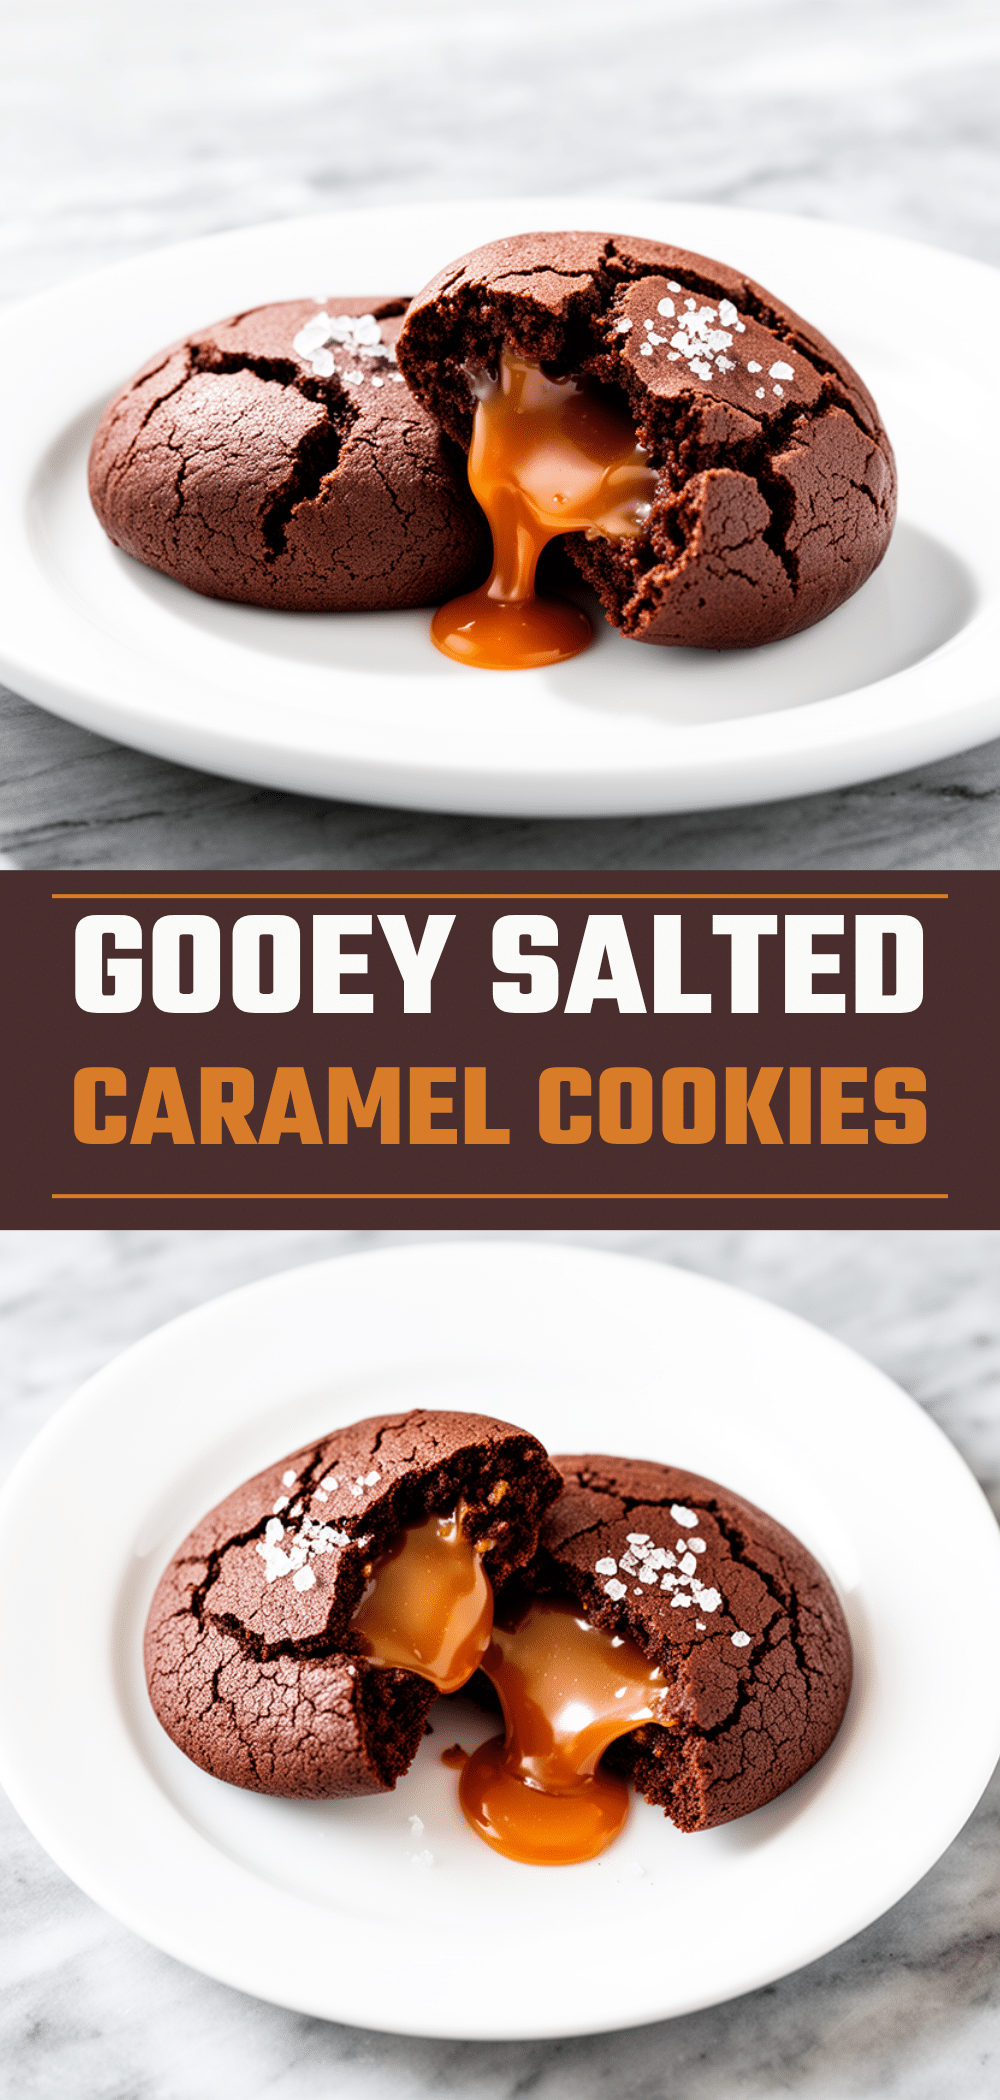
Salted Caramel Stuffed Chocolate Cookies
- Total Time: 1 hour 15 minutes
- Yield: 24 cookies 1x
Description
These cookies feature rich, fudgy chocolate dough with gooey molten salted caramel centers and a sprinkle of flaky sea salt on top, perfect for impressing friends and satisfying sweet cravings.
Ingredients
- 1 cup (226g) unsalted butter, room temperature
- ½ cup (100g) granulated sugar
- ¾ cup packed (150g) brown sugar
- 2 large eggs, room temperature
- 2 teaspoons vanilla extract
- 2 cups (250g) all-purpose flour
- ⅔ cup (65g) Dutch-process cocoa powder, sifted
- 1 teaspoon baking soda
- ½ teaspoon salt
- About 30 soft caramels, unwrapped
- Flaky sea salt, for sprinkling
Instructions
- Prep Your Ingredients (10 minutes): Unwrap all caramels and set aside. Microwave for 5-7 seconds if too hard. Measure butter, sugars, and dry ingredients. Sift cocoa powder. Have eggs and vanilla ready at room temperature.
- Make the Chocolate Dough (8 minutes): Cream softened butter with granulated and brown sugars on medium speed until light and fluffy (3-4 minutes). Beat in eggs one at a time, then add vanilla. In a separate bowl, whisk flour, cocoa powder, baking soda, and salt. Gradually add dry mix to wet, mixing on low speed just until combined. Do not overmix.
- Chill the Dough (30 minutes minimum): Cover dough with plastic wrap and refrigerate for at least 30 minutes or up to 24 hours to firm up.
- Shape and Stuff the Cookies (15 minutes): Scoop about 2 tablespoons of dough, flatten into a disc, place a softened caramel in the center, then fold dough around it sealing completely. Roll into a ball and place on lined baking sheet about 2 inches apart. If dough softens, chill tray for 10 minutes.
- Bake (12-14 minutes): Preheat oven to 350°F (175°C). Bake cookies until edges are set but centers are soft (12-14 minutes). Immediately sprinkle flaky sea salt on top while warm.
- Cool and Enjoy (15 minutes): Let cookies cool on baking sheet for 10 minutes, then transfer to wire rack to cool further. Serve warm or at room temperature.
Notes
Use soft caramels for perfect melting. Chill dough well to prevent caramel leakage. Seal dough tightly around caramel. Do not overbake to keep gooey centers. Sprinkle flaky sea salt on warm cookies for best flavor. Store in airtight container at room temperature up to 3 days. Freeze unbaked shaped cookies for longer storage and bake from frozen adding a couple of minutes. Reheat baked cookies in microwave for 10-15 seconds to restore molten center.
- Prep Time: 18 minutes
- Cook Time: 12-14 minutes
- Category: Dessert
- Cuisine: American
Nutrition
- Serving Size: 1 cookie
- Calories: 180
- Sugar: 18
- Sodium: 85
- Fat: 8
- Saturated Fat: 5
- Carbohydrates: 25
- Fiber: 1
- Protein: 2
Keywords: salted caramel cookies, chocolate cookies, molten caramel, gooey cookies, dessert, easy cookies, holiday cookies


