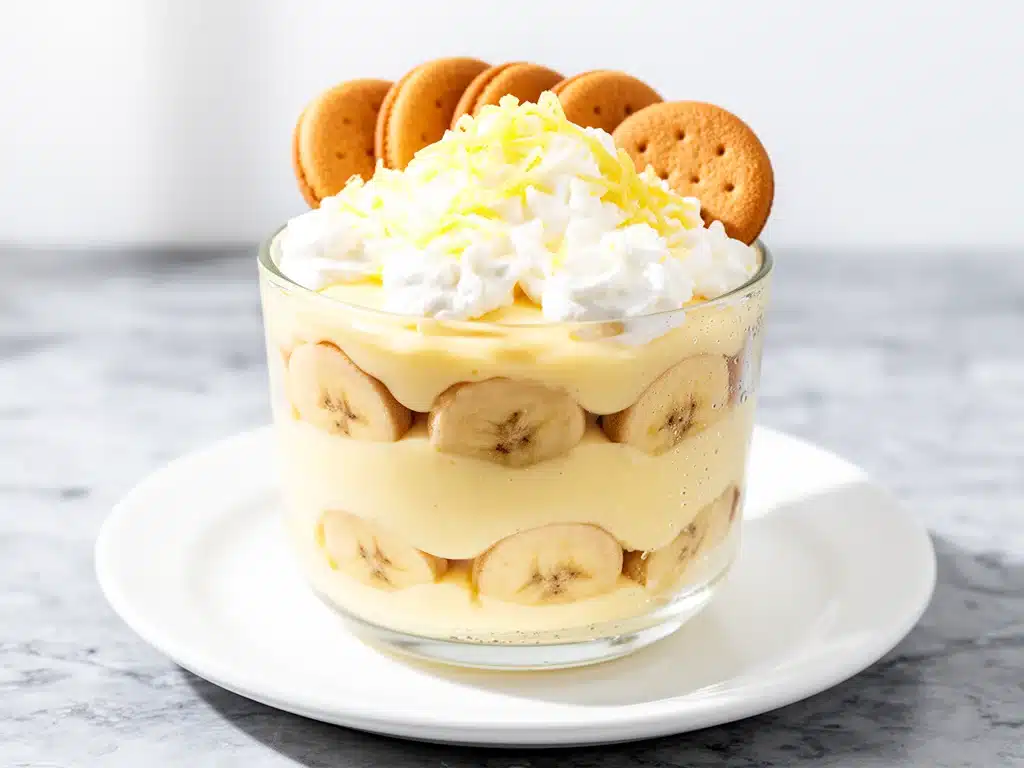
One hectic Thursday evening, I found myself staring at a lonely bunch of bananas on the counter and a box of vanilla wafers in the pantry, wondering how I could turn these simple ingredients into something comforting without spending hours in the kitchen. Dinner was done, the kids were winding down, and I wanted a dessert that felt special but didn’t require a fancy pastry chef’s skills or a ton of time. That’s how this creamy banana pudding with vanilla wafers became my secret weapon for busy weeknights. I’ve made it on rushed school nights, spontaneous family get-togethers, and even when I was too tired to bake anything complicated.
This isn’t your grandma’s pudding that jiggles suspiciously or ends up watery because you rushed it. After testing it more than a dozen times, I finally nailed a version that’s silky smooth, just sweet enough, and layered with those nostalgic vanilla wafers that soften perfectly but never get soggy. It’s an easy, no-fuss dessert that tastes like a warm hug after a long day. And the best part? You can whip it up in under 30 minutes with ingredients you probably already have.
So if you’re juggling work deadlines, homework battles, or just plain exhaustion, this creamy banana pudding with vanilla wafers might just become your go-to dessert for those busy weeknights when you want something homemade without the hassle.
Why You’ll Love This Recipe
This creamy banana pudding with vanilla wafers has quickly become a staple in my kitchen, and here’s why it might earn a permanent spot in yours:
- Super Quick to Make — From start to finish, this recipe takes about 25 minutes. That means it’s ready before your favorite show starts or right after you put the kids to bed.
- Simple Ingredients — No complicated or fancy ingredients here. Just bananas, vanilla wafers, milk, sugar, and a few pantry basics. I’ve made this even when grocery shopping was impossible.
- Comfort Food Vibes — The creamy pudding combined with the crunchy-then-soft vanilla wafers hits that perfect nostalgic note every time. It’s like a warm hug in a bowl.
- Kid-Approved — My picky eaters have devoured this more times than I can count. Bonus: it sneaks in some fruit, so I feel a little less guilty about dessert.
- Make-Ahead Friendly — You can assemble it a few hours ahead or even the night before. Just keep it chilled until serving.
Honestly, this recipe has saved many evenings when I wanted dessert without the stress. It’s exactly the kind of comforting treat that fits perfectly into busy life without demanding extra time or fancy skills.
Ingredients You’ll Need
Here’s the cool thing: most of these ingredients are probably already in your kitchen, and I’ll share my tips on picking the best bananas and wafers for the perfect pudding.
- Ripe Bananas (3 medium, sliced / about 350g) — Go for bananas with some brown spots. They’re sweeter and mash beautifully into the pudding layers.
- Vanilla Wafers (1 box, about 12 ounces / 340g) — I prefer classic Nilla Wafers for their perfect crunch and subtle vanilla flavor. They soften just right without turning to mush.
- Whole Milk (2 cups / 480ml) — Full-fat milk makes the pudding creamier. You can substitute 2% but the texture won’t be quite as rich.
- Granulated Sugar (¾ cup / 150g) — Sweetens the pudding without overpowering the banana flavor. I’ve tried less sugar, but this hits the sweet spot.
- Egg Yolks (4 large) — These give the pudding a velvety texture and richness. Don’t skip them unless you want a very different texture.
- All-Purpose Flour (¼ cup / 30g) — Helps thicken the pudding without a floury taste. Cornstarch works too, but I prefer flour’s texture here.
- Salt (pinch) — Just a little to balance the sweetness and enhance flavors.
- Vanilla Extract (2 teaspoons) — Use pure vanilla for the best flavor. It complements both bananas and wafers beautifully.
- Butter (2 tablespoons / 28g, softened) — Adds richness and a silky finish to the pudding.
Optional Add-ins:
- Whipped Cream — For topping or folding in to make it extra luscious.
- Mini Chocolate Chips — A little surprise for chocolate lovers.
- Fresh Berries — Adds a tart contrast and a pop of color.
Equipment Needed
You don’t need anything fancy for this creamy banana pudding with vanilla wafers. Here’s what I use:
- Medium Saucepan — For cooking the pudding base. I use my trusty 2-quart saucepan.
- Whisk — To keep the pudding smooth and lump-free while cooking.
- Mixing Bowls — For separating egg yolks and mixing ingredients.
- Measuring Cups and Spoons — Accuracy matters here, especially for sugar and flour.
- Spatula — For folding in butter and vanilla extract gently.
- Serving Dish — I like a 2-quart glass dish so you can see the pretty layers of banana pudding and wafers.
Pro tip: If you don’t have a whisk, a fork works in a pinch, but whisking really helps keep the pudding silky.
How to Make It: Step-by-Step
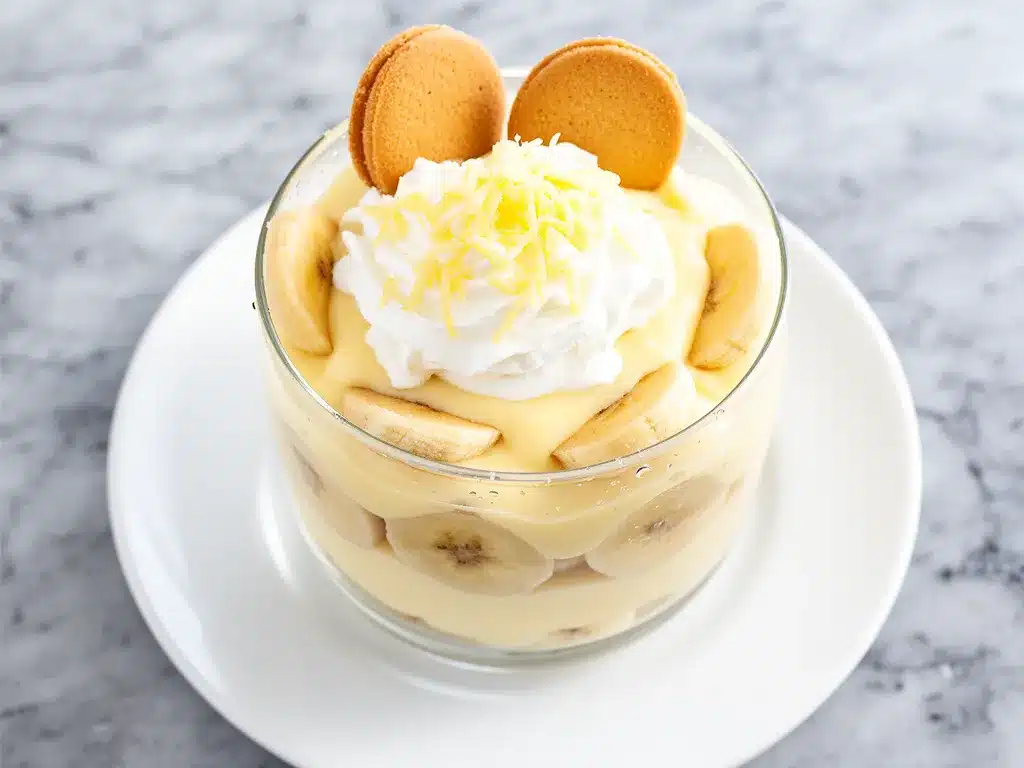
Alright, let’s get into the good stuff. I’m walking you through this creamy banana pudding with vanilla wafers like I do when I’m making it after a long day. It’s straightforward and forgiving.
Step 1: Prep Your Ingredients (5 minutes)
Slice your ripe bananas and set them aside. Separate the egg yolks into a bowl (save the whites for another recipe like apple peanut butter energy bites). Measure out sugar, flour, and milk. Having everything ready makes the cooking flow smoothly.
Step 2: Make the Pudding Base (10 minutes)
In your saucepan, whisk together sugar, flour, and a pinch of salt. Gradually whisk in the milk to avoid lumps. Cook over medium heat, stirring constantly, until the mixture thickens and just starts to bubble—about 5-7 minutes. You’ll notice it coating the back of your spoon; that’s the texture you want.
In a separate bowl, whisk the egg yolks. Temper them by slowly adding a few spoonfuls of the hot milk mixture to the yolks while whisking hard (this prevents scrambled eggs). Then pour the yolk mixture back into the saucepan and cook for another 2 minutes, stirring constantly until thick and custardy.
Step 3: Finish the Pudding (2 minutes)
Remove from heat and stir in the softened butter and pure vanilla extract. This step gives the pudding its silky richness and deep vanilla flavor.
Step 4: Layer Your Pudding (5 minutes)
In your serving dish, start with a layer of vanilla wafers, then a layer of banana slices, and top with a generous spoonful of pudding. Repeat until you run out of pudding, finishing with a layer of pudding on top. The wafers will soften just enough as it chills, but won’t get mushy.
Step 5: Chill (At Least 2 Hours)
Cover and refrigerate for at least 2 hours to let everything set and flavors meld. This is when the magic happens—the pudding thickens and the wafers soften beautifully.
Step 6: Serve and Enjoy
Before serving, you can top with whipped cream or a few extra vanilla wafers for crunch. If I’m feeling fancy, I add a sprinkle of mini chocolate chips or fresh berries to brighten things up.
Expert Tips & Tricks
- Use Ripe Bananas: The riper, the sweeter and more flavorful your pudding will be. I’ve tried green bananas before, and it just isn’t the same.
- Don’t Rush the Pudding: Stirring constantly while it thickens keeps it smooth and prevents lumps. I’ve burned this pudding more than once by walking away too soon—lesson learned.
- Temper Your Eggs: Adding hot milk slowly to egg yolks keeps them from scrambling. This step is worth the extra minute.
- Layering Matters: Start and end with pudding layers for the best texture contrast. The wafers in the middle get tender, but those on the edges stay just crisp enough.
- Chill Time Is Key: I try to make this a few hours ahead or even the night before. The flavors deepen, and the pudding firms up perfectly.
- Customize It: I’ve added a little cinnamon or swapped vanilla wafers for graham crackers when I ran out. Both work, but classic vanilla wafers are my favorite.
Variations & Substitutions
Once you have the basic creamy banana pudding down, here’s how you can switch things up:
- Chocolate Banana Pudding — Stir ¼ cup cocoa powder into the dry ingredients before adding milk. It’s like a dreamy chocolate twist on the classic.
- Peanut Butter Banana Pudding — Add ½ cup smooth peanut butter to the pudding base after it’s cooked. It adds richness and a salty-sweet balance that’s addictive.
- Vegan Version — Use coconut milk instead of milk and substitute cornstarch for flour. Skip eggs and add 1 teaspoon agar powder for thickening. Use vegan vanilla wafers or crushed graham crackers.
- Gluten-Free — Use gluten-free vanilla wafers or crushed gluten-free cookies. The pudding itself is naturally gluten-free.
- Mini Puddings — Make individual servings in ramekins for easy portion control and cuter presentation.
Serving & Storage
This creamy banana pudding shines served chilled straight from the fridge. I usually spoon it into dessert bowls and top with whipped cream or a few extra wafers for crunch. It pairs perfectly with a cup of coffee or tea after dinner.
For easy entertaining, I sometimes set up a little dessert bar with extra wafers, chopped nuts, and fresh fruit so everyone can customize their bowls. It’s a fun way to make dessert interactive without any extra work.
Storage: Keep leftovers covered in the fridge for up to 3 days. The pudding may thicken further, so let it sit at room temperature for 10 minutes before serving or add a splash of milk to loosen it up. I don’t recommend freezing this one because the texture changes and can get grainy.
Nutrition Information
| Nutrient | Per Serving (6 servings) |
|---|---|
| Calories | 310 |
| Protein | 6g |
| Carbohydrates | 52g |
| Fiber | 3g |
| Sugar | 30g |
| Fat | 8g |
| Saturated Fat | 4g |
| Cholesterol | 95mg |
| Sodium | 140mg |
| Calcium | 180mg |
I’m no nutritionist, but this dessert provides a decent amount of calcium and protein from milk and eggs, and some fiber from the bananas. It’s definitely a treat with sugar and fat, so I enjoy it in moderation. Adding fresh fruit or pairing it with a lighter snack like my green apple spinach smoothie can help balance things out.
Final Thoughts
So there you have it—my easy, creamy banana pudding with vanilla wafers, a lifesaver on busy weeknights when you want dessert that feels homemade but won’t keep you in the kitchen forever. I’ve probably made this more times than I can count, and it never disappoints. It’s comforting, nostalgic, and just plain delicious.
Make it yours by tweaking the layers, adding your favorite mix-ins, or serving it in cute individual cups. I’d love to hear how you customize it or if you run into any snags. Drop a comment below and let me know how it turns out for you. Cooking should be fun, not stressful—and this pudding is proof.
Happy cooking! And I hope your kitchen smells as amazing as mine does right now.
Frequently Asked Questions
Q: Can I make this creamy banana pudding without eggs?
A: Yes! You can skip the eggs and use cornstarch as a thickener instead of flour. It won’t have quite the same richness, but it still tastes good. Cook ¼ cup cornstarch with sugar and milk, whisking until thick. I do this when I want a lighter version or for egg allergies.
Q: Why is my pudding grainy or lumpy?
A: Usually that means the pudding cooked too fast or wasn’t whisked constantly. Keep the heat medium or medium-low and stir constantly while it thickens. Tempering your eggs properly also helps prevent lumps.
Q: Can I use other cookies instead of vanilla wafers?
A: Absolutely. Graham crackers, shortbread, or even crushed biscotti can work. Just keep in mind that texture and sweetness will change. I prefer traditional vanilla wafers because they soften just right without losing their shape.
Q: How long does this pudding last in the fridge?
A: It keeps well for about 3 days in an airtight container. After that, the texture starts to break down, and bananas can get brown and mushy. If you want to prep ahead, assemble just before serving for the best texture.
Q: Can I make this pudding vegan or dairy-free?
A: Yes! Use coconut milk or almond milk and substitute cornstarch for flour. Skip the eggs and add agar powder or a vegan thickener. Use dairy-free butter or coconut oil for richness. Vegan vanilla wafers or gluten-free options are available in many stores.
Q: What’s the best way to slice bananas for this pudding?
A: I slice them into about ¼-inch thick rounds. This size balances well between softening in the pudding and holding up in layers. Thinner slices tend to get mushy too fast; thicker slices can be hard to eat.
Q: Can I double this recipe for a larger crowd?
A: Definitely! Just double all the ingredients and use a larger dish or multiple serving dishes. The cooking time for the pudding base stays roughly the same, but watch it closely as bigger batches can cook differently.
Pin This Recipe!
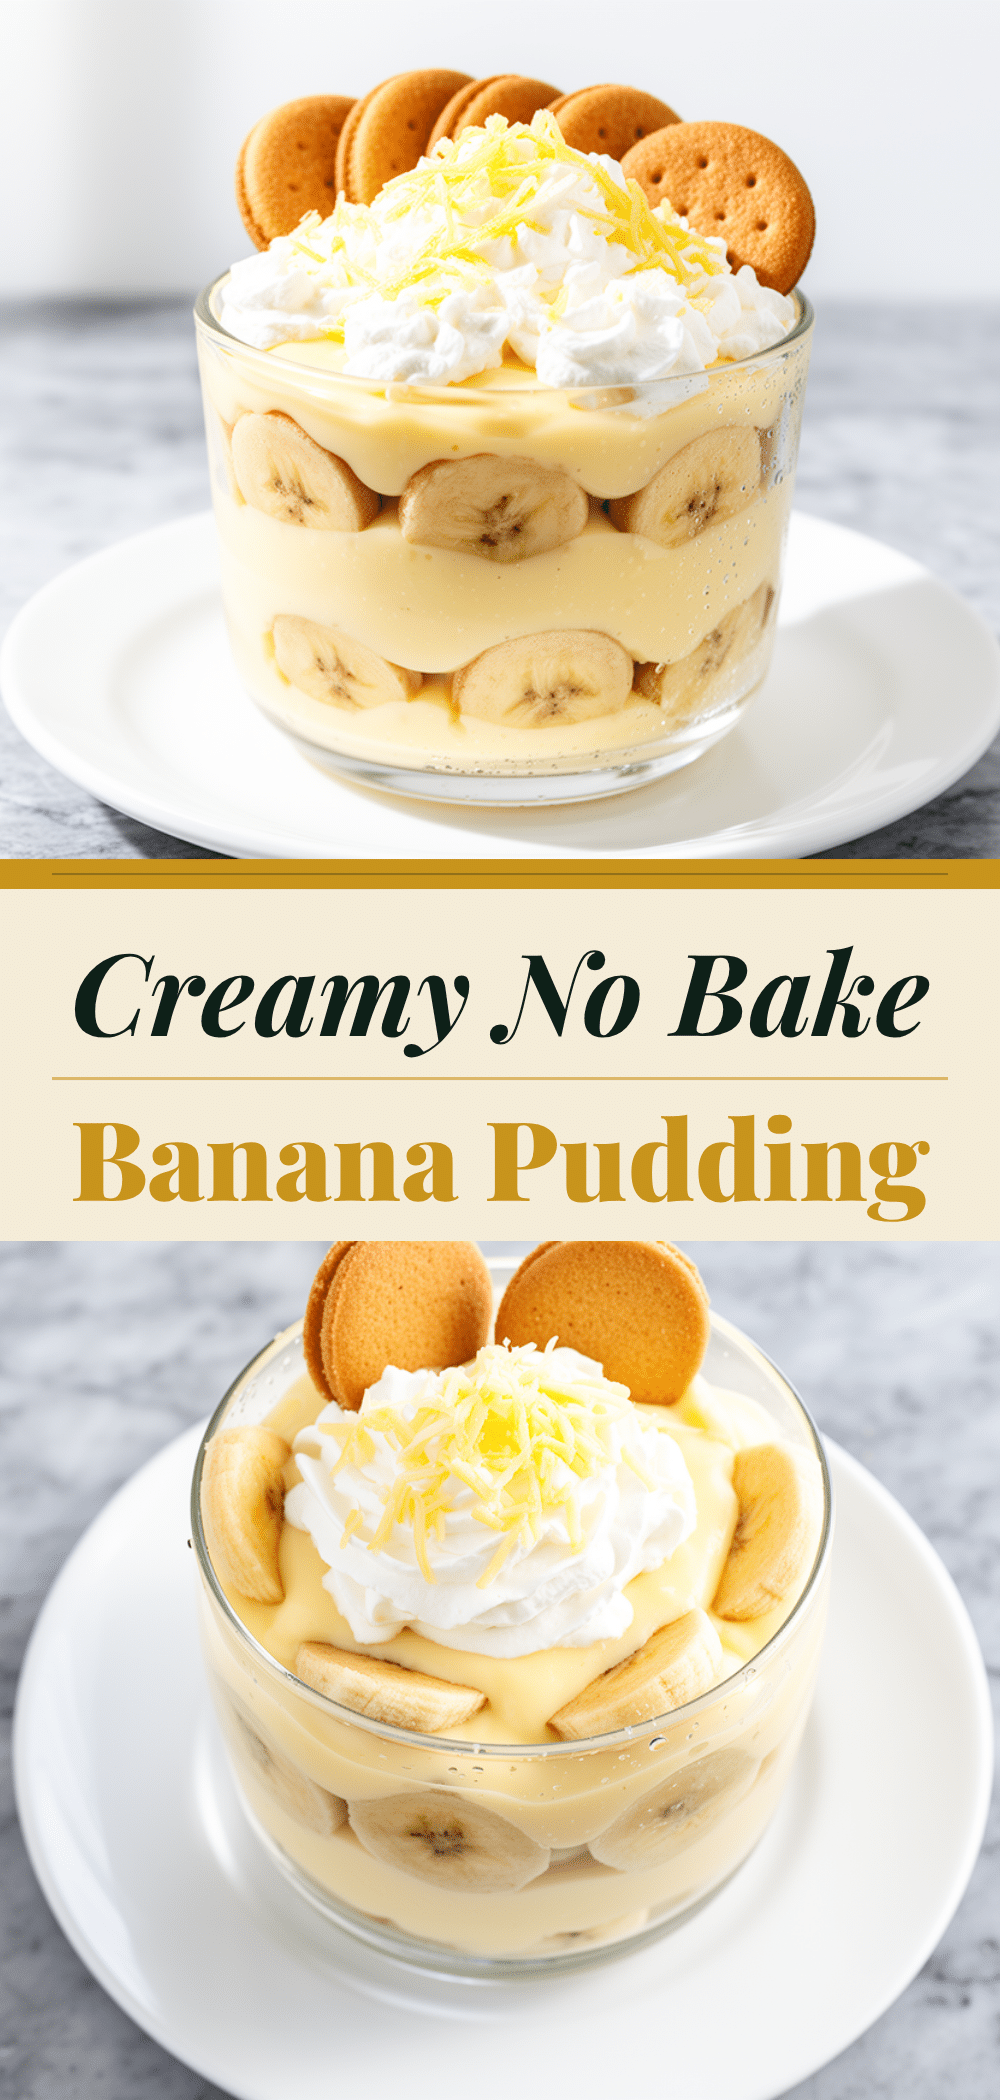
Creamy Banana Pudding Recipe with Vanilla Wafers Easy Weeknight Dessert
- Total Time: 2 hours 17 minutes
- Yield: 6 servings 1x
Description
A quick and comforting creamy banana pudding layered with vanilla wafers, perfect for busy weeknights. This easy dessert is silky smooth, just sweet enough, and kid-approved.
Ingredients
- 3 medium ripe bananas, sliced (about 12 oz / 350g)
- 1 box vanilla wafers (about 12 oz / 340g)
- 2 cups whole milk (16 fl oz / 480ml)
- 3/4 cup granulated sugar (6 oz / 150g)
- 4 large egg yolks
- 1/4 cup all-purpose flour (1 oz / 30g)
- Pinch of salt
- 2 teaspoons pure vanilla extract
- 2 tablespoons softened butter (1 oz / 28g)
- Optional: whipped cream for topping or folding in
- Optional: mini chocolate chips
- Optional: fresh berries
Instructions
- Slice ripe bananas into about 1/4-inch thick rounds and set aside. Separate egg yolks into a bowl. Measure sugar, flour, and milk.
- In a medium saucepan, whisk together sugar, flour, and a pinch of salt. Gradually whisk in milk to avoid lumps.
- Cook over medium heat, stirring constantly, until mixture thickens and starts to bubble, about 5-7 minutes.
- In a separate bowl, whisk egg yolks. Temper the yolks by slowly adding a few spoonfuls of the hot milk mixture while whisking vigorously.
- Pour the tempered yolk mixture back into the saucepan and cook for another 2 minutes, stirring constantly until thick and custardy.
- Remove from heat and stir in softened butter and vanilla extract until smooth and silky.
- In a serving dish, layer vanilla wafers, banana slices, and pudding. Repeat layers, finishing with a layer of pudding on top.
- Cover and refrigerate for at least 2 hours to let pudding set and wafers soften without becoming mushy.
- Before serving, optionally top with whipped cream, extra vanilla wafers, mini chocolate chips, or fresh berries.
Notes
Use ripe bananas with brown spots for sweetness and better flavor. Stir constantly while cooking pudding to avoid lumps. Temper eggs carefully to prevent scrambling. Chill pudding for at least 2 hours for best texture. Can be made ahead and stored covered in fridge up to 3 days. Do not freeze as texture changes. Optional add-ins include whipped cream, mini chocolate chips, or fresh berries. For vegan or gluten-free versions, substitute ingredients as noted in variations.
- Prep Time: 5 minutes
- Cook Time: 12 minutes
- Category: Dessert
- Cuisine: American
Nutrition
- Serving Size: 1 serving (approxima
- Calories: 310
- Sugar: 30
- Sodium: 140
- Fat: 8
- Saturated Fat: 4
- Carbohydrates: 52
- Fiber: 3
- Protein: 6
Keywords: banana pudding, vanilla wafers, easy dessert, creamy pudding, weeknight dessert, no bake dessert, kid-friendly dessert


