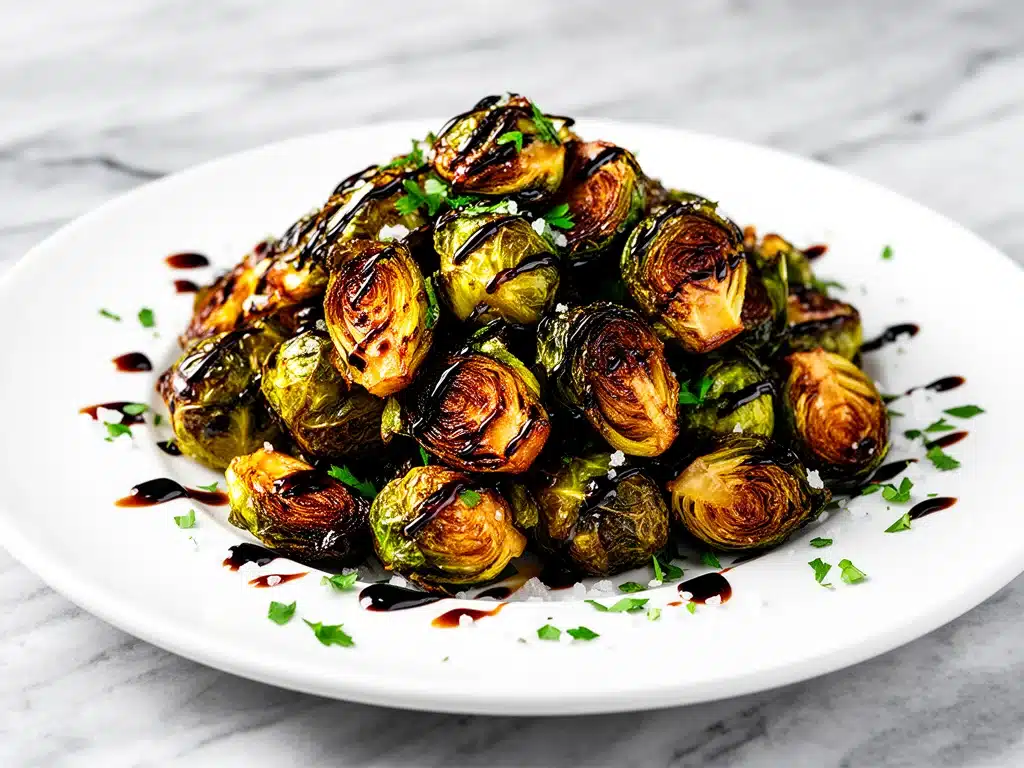
I have a confession to make. For the first twelve years of my life, I hated Brussels sprouts. I’m talking about the sad, sulfurous, overcooked green balls that smelled like a chemistry experiment gone wrong. My grandmother used to steam them until they were mushy and serve them with a dollop of canned creamed corn, which I now realize was a crime against vegetables. I would pick them off my plate like they were contaminated evidence.
Then, about five years ago, I went to this tiny bistro in Portland and ordered the roasted Brussels sprouts as a side. I took one bite, and it was like a switch flipped. They were crispy on the outside, tender on the inside, and tossed in this sweet-tart balsamic glaze that made me want to order a second plate immediately. I came home and tried to replicate it in my oven. It took forty minutes. The sprouts were either burnt on the edges or still soggy in the middle. I was frustrated. I almost gave up on the vegetable entirely.
That changed when I got an air fryer. Honestly, I bought it on a whim during a sale, mostly because I wanted crispy fries without the oil mess. But last Tuesday, I had a bag of Brussels sprouts in the crisper drawer that were starting to yellow, and I decided to try them in the air fryer. I tossed them with olive oil, salt, and pepper, and set it to 390°F. I checked on them at 12 minutes, gave them a shake, and then drizzled a quick homemade balsamic glaze over them for the last two minutes. The result? Pure magic. They were shatteringly crisp, caramelized, and absolutely delicious.
Since then, I’ve made this Crispy Air Fryer Brussels Sprouts with Balsamic Glaze recipe at least fifteen times. It’s become my go-to way to actually enjoy this vegetable. It’s easy, it’s fast, and it’s honestly the only way I’ll eat sprouts now. If you’ve been avoiding them because of bad memories or soggy results, this recipe is your ticket to redemption. It’s the kind of side dish that disappears so fast you’ll need to make a double batch.
Why You’ll Love This Recipe
There are a lot of reasons I keep coming back to these sprouts, but it really comes down to texture and flavor balance. Here’s why this recipe works so well:
- Actually Crispy — The air fryer circulates hot air around the sprouts, giving them that deep-fried crunch without the oil. I’ve tried roasting them in the oven, but they just don’t get the same snap. These are genuinely crispy, not just “cooked.”
- Zero Sulfur Smell — Because they cook faster and at a higher heat, the sprouts don’t have time to release that rotten-egg smell. Your kitchen will smell like a fancy restaurant, not a sewer. My husband actually asked if I was cooking something expensive because it smelled so good.
- Quick Balsamic Glaze — You don’t need to reduce a whole bottle of balsamic vinegar for hours. I use a quick simmer with a little honey that takes three minutes. It’s sweet, tangy, and coats every bite perfectly.
- Pantry Staples — You probably have everything you need except the sprouts themselves. Olive oil, balsamic vinegar, honey, garlic, salt, and pepper. It’s a low-stress side dish.
- Healthy But Satisfying — These are packed with fiber and vitamins, but they taste indulgent. They’re rich enough to feel like a treat but light enough to not weigh you down. Perfect for those weeknights when you want something good but aren’t in the mood for heavy comfort food.
This is my answer to “what’s for dinner?” when I want to impress guests or just make my kids eat their greens. It’s simple, reliable, and always a crowd-pleaser.
Ingredients You’ll Need
Here’s the best part: this recipe is incredibly straightforward. You don’t need fancy gadgets or obscure ingredients. Just grab your air fryer and head to the kitchen.
For the Brussels Sprouts
Brussels sprouts (1 pound / 450g) — Look for firm, bright green sprouts that feel heavy for their size. Avoid any with yellow leaves or soft spots. I like to buy them on the stalk if I can find them, but bagged ones work fine. Trim the ends and halve them. If they’re really large, quarter them so they cook evenly.
Extra virgin olive oil (2 tablespoons / 30ml) — Use a good quality oil here. It adds flavor and helps the sprouts brown. Don’t use extra light olive oil; it has a higher smoke point but less flavor. You want that fruity, grassy note.
Kosher salt (1 teaspoon / 6g) — I use kosher salt because it’s easier to control. If you use table salt, reduce the amount by half. Salt is crucial for drawing out moisture and enhancing flavor.
Black pepper (½ teaspoon / 1g) — Freshly cracked is best. Pre-ground pepper loses its punch quickly.
Garlic (2 cloves, minced / 2 teaspoons) — Fresh garlic is a must. Jarred garlic has a metallic taste that doesn’t work well here. Mince it finely so it distributes evenly.
For the Balsamic Glaze
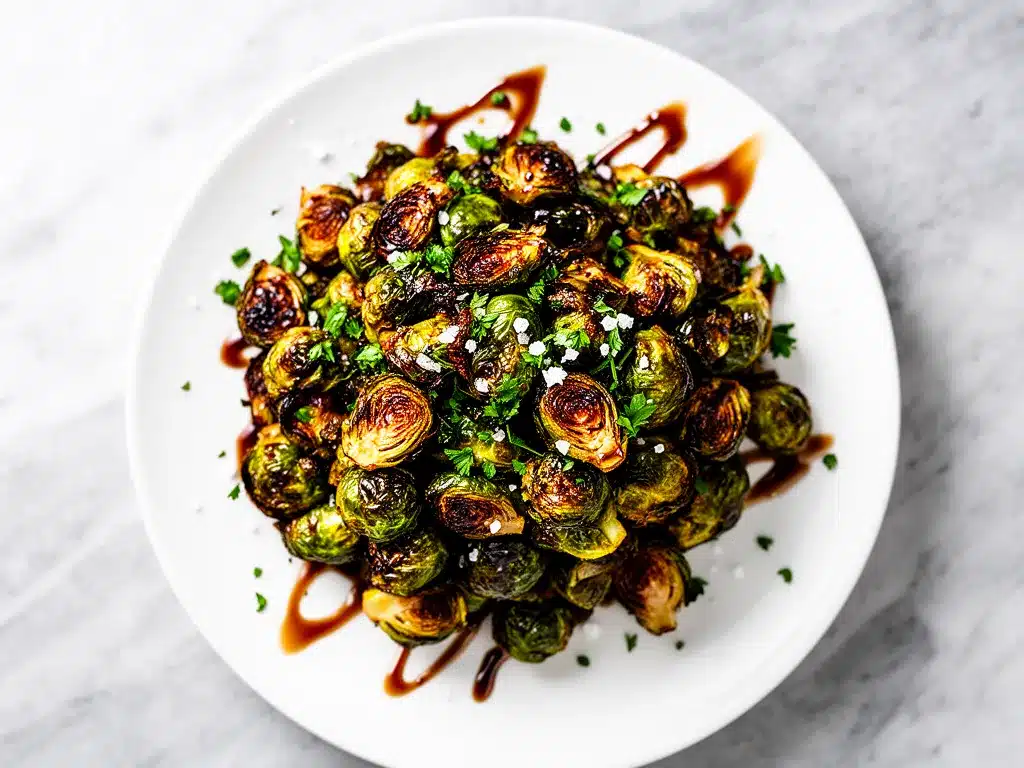
Balsamic vinegar (½ cup / 120ml) — Use a decent quality balsamic vinegar. You don’t need the expensive aged stuff, but avoid the cheap salad dressing bottles. Look for one that says “real wine vinegar” on the label.
Honey (2 tablespoons / 30g) — Honey balances the acidity of the vinegar and helps the glaze caramelize. Maple syrup works too if you’re vegan, but it has a stronger flavor.
Butter (1 tablespoon / 14g) — This is my secret weapon. Adding a little butter to the glaze gives it a glossy, restaurant-quality finish and rounds out the sharp edges. Don’t skip it.
Optional Add-ins:
- Red pepper flakes (½ teaspoon) — For a little heat. I love the sweet-spiciness combo.
- Fresh thyme (1 teaspoon, chopped) — Adds an earthy, aromatic note. Great with balsamic.
- Crushed pistachios or walnuts (2 tablespoons) — For crunch and richness. Sprinkle on top before serving.
- Parmesan cheese (2 tablespoons, grated) — Salty and umami-rich. Pairs beautifully with the sweet glaze.
Personal Tip: I always measure my glaze ingredients in a small bowl before heating. It saves time and prevents spills. Also, don’t skip the garlic in the glaze—it infuses the vinegar with flavor as it reduces.
Equipment Needed
You don’t need much for this, but having the right tools makes a difference.
Air Fryer — Obviously. I use a 5.5-quart basket, which fits 1 pound of sprouts easily. If yours is smaller, you might need to cook in two batches. Don’t overcrowd the basket, or they’ll steam instead of crisp.
Sharp Chef’s Knife — For trimming and halving the sprouts. A dull knife will crush them. I learned this the hard way with a nicked thumb.
Cutting Board — Any size works. I use a plastic one for veggies to keep it separate from raw meat.
Saucepan — Small, 1-quart size. Perfect for reducing the glaze. Non-stick is easiest for cleanup.
Whisk — For mixing the glaze ingredients smoothly.
Large Bowl — For tossing the sprouts with oil and seasoning.
Tongs — For shaking the air fryer basket. Or just use a spoon, but tongs are easier.
Pastry Brush (Optional) — For brushing the glaze on the sprouts. Or just drizzle and toss.
Personal Note: I’m obsessed with my air fryer. It’s been a game-changer for quick, healthy sides. If you don’t have one, you can roast these in the oven at 400°F for 20-25 minutes, flipping halfway. But the air fryer gets them crispier faster.
How to Make It: Step-by-Step
Alright, let’s make this! I’m walking you through exactly how I do it, including the little tricks I’ve picked up.
Step 1: Prep the Brussels Sprouts (5 minutes)
Trim the stem ends off the sprouts. If they’re large, cut them in half. If they’re small, you can leave them whole, but halving ensures even cooking. Remove any loose or yellow outer leaves. Toss the sprouts in a large bowl with olive oil, salt, and pepper. Make sure they’re evenly coated. This step is crucial for flavor and browning.
Step 2: Cook in the Air Fryer (12 minutes)
Preheat your air fryer to 390°F (200°C) if your model recommends it. Place the sprouts in the air fryer basket in a single layer. Don’t overcrowd them! If you have a small air fryer, cook in batches. Cook for 12 minutes, shaking the basket every 4 minutes to ensure even cooking. The sprouts should start to brown and crisp up.
Step 3: Make the Balsamic Glaze (3 minutes)
While the sprouts cook, combine the balsamic vinegar and honey in a small saucepan over medium heat. Bring to a simmer. Let it cook for 2-3 minutes, stirring occasionally, until it reduces by about half and becomes syrupy. Remove from heat and whisk in the butter until melted. Add the minced garlic and stir. Taste and adjust sweetness or tartness if needed. The glaze should coat the back of a spoon.
Step 4: Combine and Finish (2 minutes)
When the sprouts are done, transfer them to a large bowl. While they’re still hot, drizzle the warm balsamic glaze over them. Toss gently to coat evenly. The residual heat will help the glaze stick and caramelize slightly. If you like, add red pepper flakes or fresh thyme at this stage.
Step 5: Serve
Serve immediately while hot and crispy. Top with crushed nuts or Parmesan cheese if desired. Enjoy!
Total Time: About 20 minutes (5 minutes prep, 12 minutes cooking, 3 minutes glaze)
Troubleshooting:
- Sprouts not crispy? You might have overcrowded the basket. Cook in batches. Also, make sure they’re dry before tossing with oil.
- Glaze too thin? Simmer it longer. It should be syrupy, not watery.
- Glaze too thick? Add a teaspoon of water to thin it out.
Expert Tips & Tricks
Here’s everything I’ve learned from making this dozens of times. These tips will save you from my mistakes.
Don’t Skip the Shake
Shaking the basket every few minutes is non-negotiable. It ensures all sides get exposed to the hot air. I use a timer on my phone so I don’t forget. If you don’t shake, you’ll get some crispy and some soggy sprouts.
Pat Them Dry
After washing the sprouts, pat them dry with a towel. Excess moisture steams them instead of crisping them. I know it’s annoying, but it makes a huge difference.
Use Hot Glaze
Always apply the glaze while the sprouts are still hot. The heat helps the glaze adhere and creates a slight caramelization. If the sprouts are cold, the glaze will just sit on top and drip off.
Garlic Timing
Add the garlic to the glaze at the end, not the beginning. Garlic burns quickly in hot vinegar. By adding it off-heat, you get the flavor without the bitterness.
Double Batch
This recipe is addictive. I always make a double batch because it disappears fast. Leftovers reheat well in the air fryer for 3-4 minutes to recrisp.
Variations & Substitutions
Once you’ve nailed the basic version, here’s how you can mix it up. I’ve tried all of these.
Soy Ginger Glaze
Swap balsamic vinegar for soy sauce and rice vinegar. Add grated ginger and sesame oil. Sprinkle with sesame seeds. Totally different vibe—Asian-inspired and savory.
Lemon Parmesan
Skip the glaze. Toss with lemon zest, lemon juice, and Parmesan cheese. Bright and zesty. Great for spring.
Maple Bacon
Use maple syrup instead of honey in the glaze. Top with crispy bacon bits. Sweet, salty, smoky. My kids love this version.
Spicy Sriracha
Whisk sriracha into the balsamic glaze. Add a pinch of sugar. For heat lovers.
Dietary Modifications:
- Vegan — Use maple syrup and olive oil instead of butter. Everything else is naturally vegan.
- Gluten-Free — Ensure your balsamic vinegar is certified gluten-free (most are, but check labels). Everything else is naturally gluten-free.
- Low-Sugar — Skip the honey or use a zero-calorie sweetener. The balsamic vinegar has natural sugars, so it’s still sweet enough.
Serving & Storage
How to Serve:
I usually serve these straight from the air fryer basket at the table. It looks rustic and stays warm. They pair well with grilled chicken, roasted salmon, or as a standalone vegetarian meal with a side of quinoa.
Side Dishes:
- Grilled lemon herb chicken
- Pan-seared salmon
- Quinoa salad with cucumber and tomato
- Garlic bread (for dipping in the glaze!)
Storage:
Store leftovers in an airtight container in the fridge for up to 3 days. The sprouts will soften slightly, but they’re still good.
Reheating:
Best method: Air fryer at 375°F for 3-4 minutes. This recrisps them beautifully. Microwave doesn’t work well—it makes them soggy. If you must microwave, do it in short bursts and let them cool slightly.
Freezing:
Not recommended. The texture changes too much after freezing. Make fresh whenever possible.
Nutrition Information
I’m not a nutritionist, but here’s the breakdown if you’re tracking. Per serving (based on 4 servings):
| Nutrient | Amount |
|---|---|
| Calories | 120 |
| Protein | 3g |
| Carbs | 18g |
| Fiber | 4g |
| Sugar | 12g |
| Fat | 5g |
| Sodium | 250mg |
These sprouts are nutrient-dense, high in fiber, and rich in vitamins C and K. The glaze adds some sugar, so keep an eye on portions if you’re watching carbs. But honestly, they’re so good you’ll want to eat them anyway!
Final Thoughts
So that’s my crispy air fryer Brussels sprouts with balsamic glaze! I’ve probably talked your ear off at this point, but when you make a recipe this often, you have a lot to say about it. This has saved my dinner routine more times than I can count. It’s my answer to “what’s for dinner?” when I want something healthy but delicious. My family loves it, and I love that it’s so easy to make.
Make it yours! Try different glazes, add nuts or cheese, or adjust the spices. The best recipes are the ones you adapt to your tastes. If you make this, drop a comment and let me know what you think! I love hearing how recipes turn out in your kitchen. And if something doesn’t work, tell me that too—I’m here to help troubleshoot.
Happy cooking! And I hope your kitchen smells half as good as mine does right now.
Frequently Asked Questions
Can I cook these in the oven instead of an air fryer?
Yes! Toss the sprouts with oil and seasonings, spread them on a baking sheet, and roast at 400°F for 20-25 minutes, flipping halfway. They won’t be as crispy as air-fried, but they’ll still be good. The air fryer just speeds up the process and gets better browning.
Why are my Brussels sprouts bitter?
Brussels sprouts can be bitter if they’re old or not cooked properly. Halving them and cooking them at high heat helps caramelize the natural sugars, reducing bitterness. The balsamic glaze also balances any remaining bitterness. If they’re still too bitter, try adding a pinch of sugar to the glaze.
Can I make the glaze ahead of time?
Yes! Store the glaze in an airtight container in the fridge for up to a week. Reheat it gently in a saucepan or microwave before using. It will thicken in the fridge, so add a splash of water if needed.
How do I know when the sprouts are done?
They should be tender inside and crispy outside. Pierce one with a fork—it should go through easily. The edges should be browned and slightly charred. If they’re still hard, cook for 2-3 more minutes.
Can I use frozen Brussels sprouts?
I don’t recommend it. Frozen sprouts release a lot of water and become mushy. Fresh sprouts give the best texture. If you must use frozen, thaw and pat them very dry first, but fresh is always better.
What other vegetables can I cook in the air fryer?
Broccoli, cauliflower, asparagus, and green beans all work well in the air fryer. Try my healthy green apple spinach smoothie for a refreshing drink to pair with these sprouts! You can also try back-to-school chicken Caesar wraps for a complete meal.
Pin This Recipe!
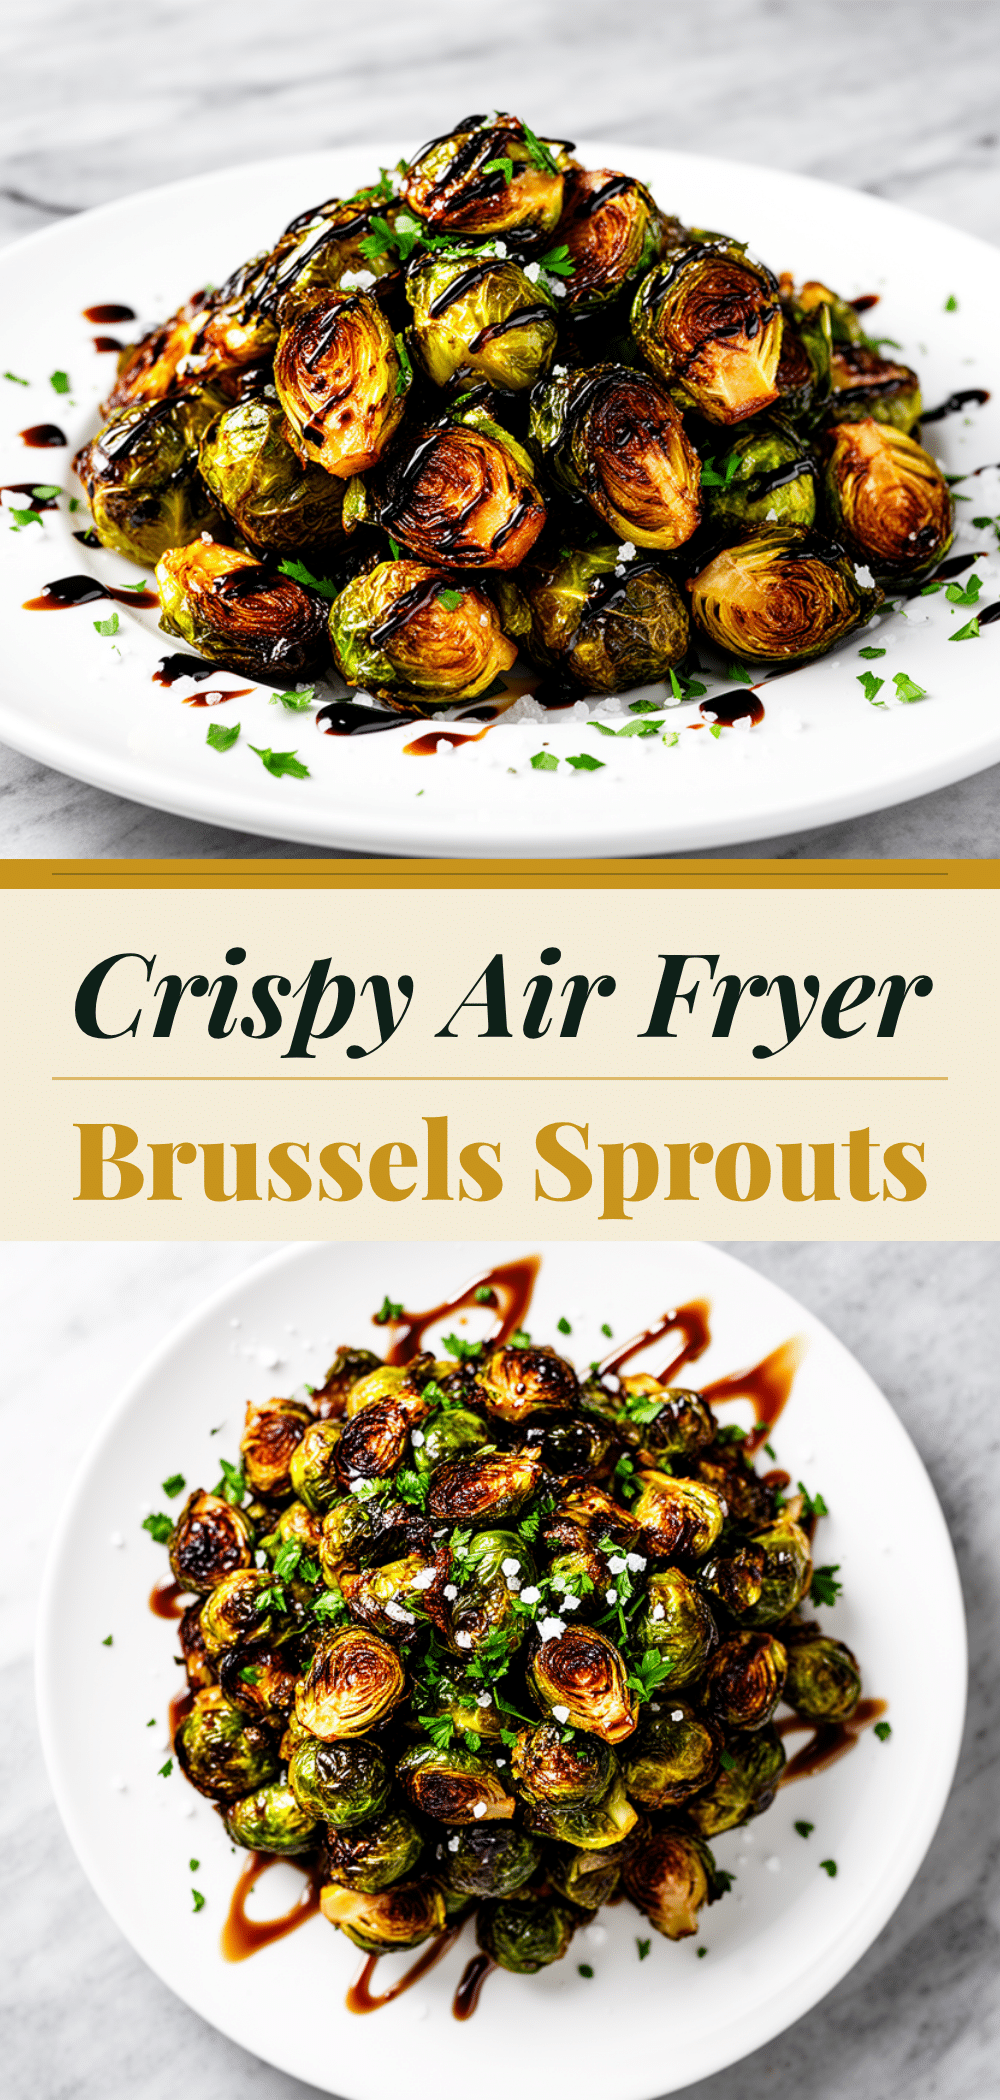
Crispy Air Fryer Brussels Sprouts with Balsamic Glaze
- Total Time: 20 minutes
- Yield: 4 servings 1x
Description
These air fryer Brussels sprouts are shatteringly crisp on the outside and tender on the inside, tossed in a quick, sweet-tart homemade balsamic glaze. A healthy, fast, and delicious side dish that eliminates the sulfur smell and soggy texture of traditional cooking methods.
Ingredients
- 1 pound Brussels sprouts, trimmed and halved
- 2 tablespoons extra virgin olive oil
- 1 teaspoon kosher salt
- 1/2 teaspoon black pepper
- 2 cloves garlic, minced
- 1/2 cup balsamic vinegar
- 2 tablespoons honey
- 1 tablespoon butter
- Optional: 1/2 teaspoon red pepper flakes
- Optional: 1 teaspoon fresh thyme, chopped
- Optional: 2 tablespoons crushed pistachios or walnuts
- Optional: 2 tablespoons grated Parmesan cheese
Instructions
- Trim the stem ends off the Brussels sprouts and halve them (or quarter if large). Remove any loose or yellow outer leaves.
- Pat the sprouts dry with a towel to ensure crispiness.
- Toss the sprouts in a large bowl with olive oil, salt, and pepper until evenly coated.
- Preheat air fryer to 390°F (200°C) if recommended by the manufacturer.
- Place sprouts in the air fryer basket in a single layer, ensuring they are not overcrowded. Cook for 12 minutes, shaking the basket every 4 minutes.
- While sprouts cook, combine balsamic vinegar and honey in a small saucepan over medium heat.
- Simmer the vinegar mixture for 2-3 minutes until it reduces by half and becomes syrupy.
- Remove from heat and whisk in butter until melted. Stir in minced garlic.
- Transfer cooked sprouts to a large bowl while still hot.
- Drizzle the warm balsamic glaze over the sprouts and toss gently to coat evenly.
- Serve immediately, topped with optional ingredients like nuts, cheese, or red pepper flakes.
Notes
Do not overcrowd the air fryer basket; cook in batches if necessary to ensure crispiness. Pat sprouts dry before oiling to prevent steaming. Add garlic to the glaze off-heat to prevent burning. For a vegan version, substitute butter with olive oil and honey with maple syrup.
- Prep Time: 5 minutes
- Cook Time: 12 minutes
- Category: Side Dish
- Cuisine: American
Nutrition
- Serving Size: Approximately 1/4 of
- Calories: 120
- Sugar: 12
- Sodium: 250
- Fat: 5
- Saturated Fat: 2
- Carbohydrates: 18
- Fiber: 4
- Protein: 3
Keywords: air fryer, brussels sprouts, balsamic glaze, healthy side dish, crispy vegetables, quick dinner, gluten-free, vegetarian


