Last Labor Day, I was standing in my kitchen at 10 AM on a Sunday, staring at a pile of unopened grocery bags, and feeling that familiar knot of panic in my stomach. We had family coming over for the long weekend—my parents, my siblings, and three kids who were already arguing over who got the best seat at the table. I had the main course figured out (roast chicken with potatoes, classic and cheap), but the dessert? Blank. I had zero inspiration.
I had tried to make a fancy layered cake the year before, and it ended up sinking in the middle and looking like a sad, dense brick. I didn’t want to buy a $30 pre-made dessert from the bakery, and I definitely didn’t have the energy to bake anything that required precise timing. That’s when I remembered a trifle I’d seen years ago. It’s basically a deconstructed cheesecake and fruit salad had a baby, and it’s the most forgiving dessert in the world.
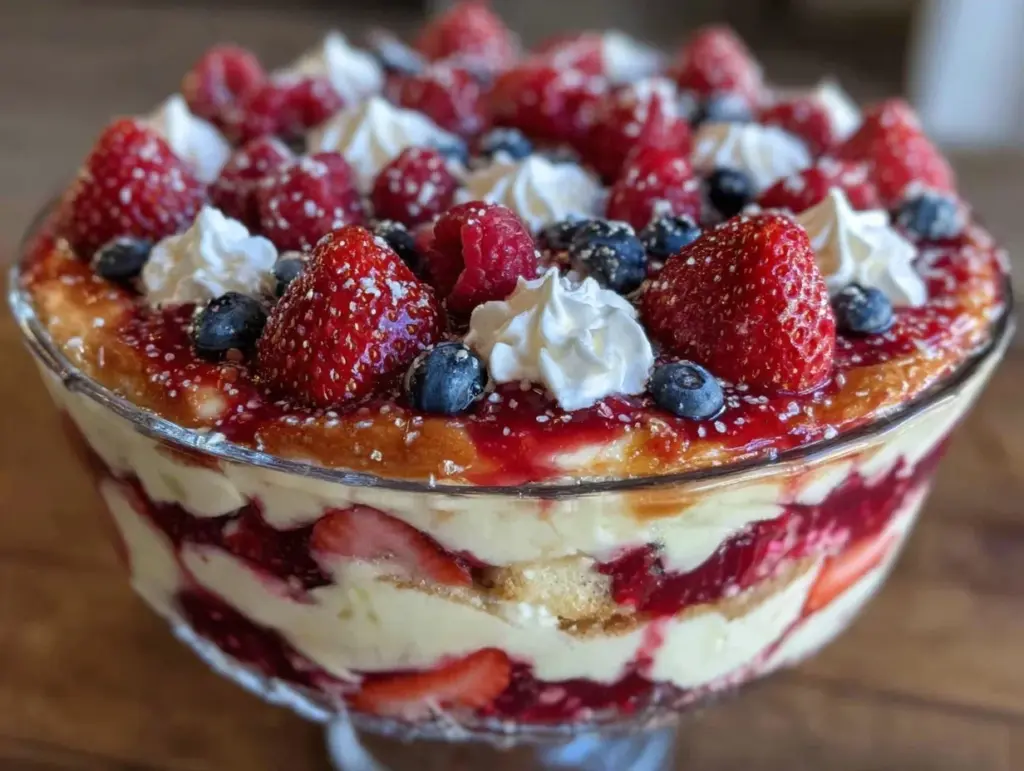
I grabbed whatever berries were on sale, some vanilla wafers from the pantry, and a tub of whipped topping. I threw it together in about 15 minutes. When the family arrived, that glass trifle dish sat front and center on the counter. It looked incredible—bright red strawberries, deep blue blueberries, and creamy white layers that caught the sunlight. My mom asked for the recipe before I’d even poured her lemonade. My kids devoured it. And the best part? I had made it the night before, so it was chilling and ready to go.
This Red White and Blue Berry Trifle has become my go-to for every summer holiday since. It’s patriotic without being cheesy, it’s affordable, and it practically makes itself. If you’re dreading the idea of baking in the heat or stress-cooking on a busy holiday weekend, trust me: this is your answer. It’s easy, it’s beautiful, and it tastes like summer.
Why You’ll Love This Holiday Trifle
I’ve made this trifle at least a dozen times for everything from Fourth of July barbecues to casual weeknight desserts when I need to treat the kids. It’s not just pretty; it actually solves some real problems for busy parents. Here’s why it’s in my regular rotation:
It’s a Make-Ahead Miracle — Seriously, this is the best part. You can assemble this the night before. In fact, it *needs* to sit overnight for the flavors to meld. I love that I can do all the work on Saturday night, put it in the fridge, and then spend Sunday actually enjoying my family instead of hovering over the oven. It’s stress-free hosting.
Stretches Your Dollar — Berries can be expensive, but this recipe uses them strategically. You get big pops of flavor from the fruit, but the bulk of the dessert is creamy and crunchy, which is way cheaper. Plus, you can use frozen berries (thawed and drained) if fresh ones are too pricey at the store. I’ve saved so much money by switching to frozen for winter versions of this.
Zero Baking Required — Do you have an oven? Do you like sweating in the summer heat? I didn’t think so. This recipe requires no baking at all. No preheating, no timer anxiety, no burnt edges. Just layering. If you can open a container of whipped cream and wash some berries, you can make this.
Kid-Approved (and Picky-Eater Friendly) — My son usually hates “mystery textures” in desserts, but he loves this because it’s familiar: cookies, cream, fruit. It’s sweet but not cloying. I often let the kids help layer the berries, which keeps them entertained while I finish the main course prep. It’s a win-win.
Looks Fancy, Costs Pennies — When you serve this in a clear glass bowl, it looks like something you’d order at a high-end cafe for $8 a slice. But it costs maybe $12-15 to make the whole thing. That’s a huge flex for budget-conscious parents who still want to impress guests.
This is my secret weapon for holiday desserts. It’s reliable, it’s affordable, and it always gets compliments without any of the usual baking drama.
Ingredients You’ll Need
Here’s the best part: you probably have most of this already. I’m particular about the quality of the berries and the cream, but the rest is basic pantry stuff. Let’s break it down.
For the Fruit Layers:
Fresh Strawberries (1 pound / 450g) — I buy the big clamshells. Look for bright red ones with green tops. If they’re mushy or white at the tips, skip them. You want them firm so they hold their shape. If you’re on a budget, buy frozen strawberries in the off-season and thaw them. Just make sure to drain the liquid well so the trifle doesn’t get soggy.
Fresh Blueberries (1 pint / 200g) — Again, look for plump, dusty-blue berries. Avoid any that look wrinkled. Blueberries add that deep, rich color that contrasts beautifully with the red and white. You can sub raspberries if you want a pink layer, but blueberries hold up better.
Granulated Sugar (2 tablespoons) — Just a little bit to macerate the berries. This draws out the juices and makes the fruit taste sweeter and more intense. You don’t need much.
For the Creamy Layers:
Heavy Whipping Cream (2 cups / 480ml) — Or use a store-brand heavy cream. It’s cheaper and works the same. Whip it with a little sugar and vanilla. If you’re feeling lazy, you can use a tub of Cool Whip, but fresh whipped cream tastes way better and isn’t that much harder. Just grab a hand mixer.
Sugar (3 tablespoons) — For the whipped cream. Adjust based on how sweet your berries are.
Vanilla Extract (1 teaspoon) — Use real vanilla if you can afford it. It makes a huge difference in the flavor of the cream. I use the cheap imitation vanilla for baking cookies, but for something like this where it’s the star, I splurge on the real stuff.
For the Crunchy Layers:
Vanilla Wafers (1 package / about 30 cookies) — Nilla Wafers are the classic choice. They’re sweet, crunchy, and soak up the berry juices perfectly. Don’t use chocolate wafers unless you want a chocolate version. Regular vanilla wafers are cheap and easy to find.
Optional Add-ins:
Cheesecake Crumbs — Crush up a few plain cheesecake cookies (like Nabisco) and sprinkle them in for extra texture. It makes it feel more like a deconstructed cheesecake.
Mint Leaves — A few fresh mint leaves on top for garnish. It looks pro and adds a fresh scent.
Equipment Needed
You don’t need anything fancy. Here’s what I actually use:
Large Glass Trifle Bowl — I have a big, round glass bowl that holds about 6-8 cups. It doesn’t have to be a fancy trifle bowl; any large mixing bowl or even a large pitcher works. The key is that it needs to be clear so you can see the pretty layers. If you don’t have a big bowl, you can make individual servings in mason jars or dessert glasses.
Hand Mixer or Stand Mixer — For whipping the cream. A hand mixer is fine and easier to clean. I’ve used a whisk by hand before when I was feeling athletic, but it takes forever. Just use whatever you have.
Large Bowl — For mixing the whipped cream. Make sure it’s big enough so the cream doesn’t splash out when you’re whipping.
Knife and Cutting Board — For hulling and slicing the strawberries. A serrated knife works best for berries.
Measuring Cups and Spoons — Standard stuff. I keep a set in my drawer.
Colander — If you’re using frozen berries, you’ll need this to drain the excess liquid. Don’t skip this step!
How to Make It: Step-by-Step
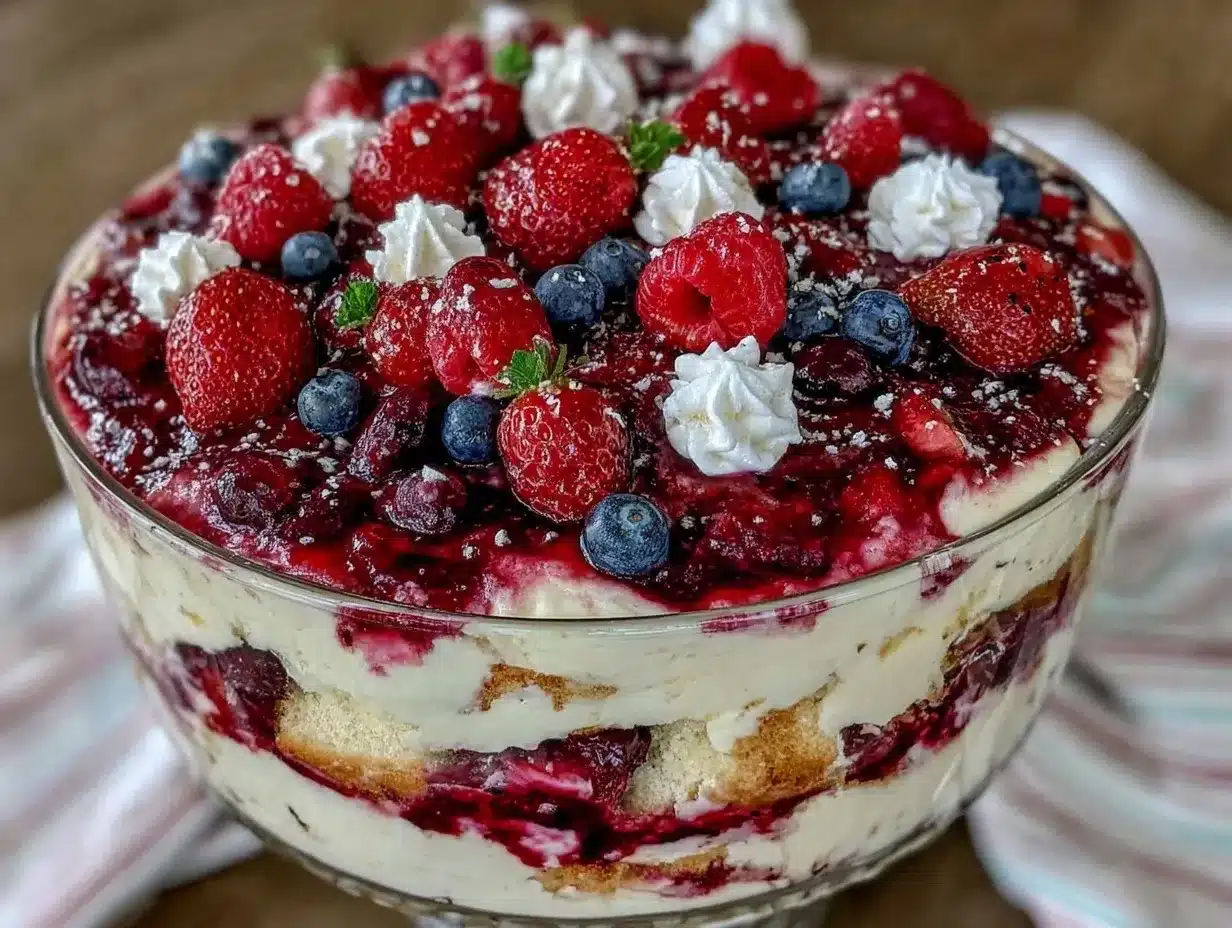
Alright, let’s make this! It’s super simple, but there are a few tricks to keep it from getting soggy. I’m walking you through exactly how I do it.
Step 1: Prep the Berries (10 minutes)
Wash your strawberries and blueberries. Hull the strawberries (remove the green tops) and slice them into quarters or halves, depending on how big they are. Toss the berries in a large bowl with the 2 tablespoons of sugar. Let them sit for about 15-20 minutes. You’ll see juices start to pool at the bottom. This is called macerating, and it makes the berries taste way more flavorful. If you’re using frozen berries, thaw them in a colander and press out as much liquid as possible with a paper towel.
Step 2: Whip the Cream (5 minutes)
While the berries are macerating, whip your cream. Pour the heavy cream into your large bowl. Add the 3 tablespoons of sugar and the vanilla extract. Whip on medium-high speed until stiff peaks form. This means when you lift the beaters, the cream stands up straight and doesn’t droop. Don’t over-whip it or it’ll turn into butter. Stop as soon as it holds its shape.
Step 3: Start Layering (10 minutes)
This is the fun part. Grab your trifle bowl. Start with a layer of vanilla wafers at the bottom. Don’t be shy—cover the entire bottom. Then, add a layer of the whipped cream. Spread it out gently. Next, add a layer of the macerated strawberries, followed by a layer of blueberries. Sprinkle a few crushed wafers on top of the fruit for extra crunch.
Repeat the layers: Wafers, cream, strawberries, blueberries, crushed wafers. Keep going until you run out of ingredients, ending with a layer of whipped cream on top. It’s okay if it’s not perfect—rustic is part of the charm.
Step 4: Chill and Set (Overnight)
Cover the bowl with plastic wrap and refrigerate for at least 4 hours, but ideally overnight. This is crucial. The wafers need time to soften slightly and absorb the berry juices, creating that cake-like texture. If you eat it right away, it’s just cold fruit and cream. If you wait, it becomes a cohesive dessert. I usually assemble it Saturday night and eat it Sunday afternoon.
Step 5: Serve
Just before serving, garnish with a few fresh berries and a sprig of mint if you’re feeling fancy. Scoop it out with a large spoon, making sure to get some of everything from the bottom up. The layers will have melded together, which is exactly what you want.
Expert Tips & Tricks
Here’s everything I’ve learned from making this dozens of times. These tips will save you from my mistakes.
Don’t Skip the Maceration
I’ve tried making this without letting the berries sit with sugar, and the flavor was flat. The sugar pulls out the juices, making the fruit taste sweeter and more intense. It’s a small step that makes a big difference.
Drain Frozen Berries Well
If you’re using frozen berries, they release a ton of water. If you don’t drain them, your trifle will be a soupy mess. Thaw them in a colander and press them gently with paper towels. It’s tedious, but worth it.
Use Stale Wafers
If your vanilla wafers are a little stale, that’s actually good. They’ll absorb the moisture better than fresh, super-crunchy ones. If they’re too soft, they’ll disintegrate. If they’re too hard, they’ll stay hard. Aim for slightly stale.
Keep it Cold
Whipped cream can get weepy if it’s too warm. Keep the bowl in the fridge until the last minute. If you’re serving it outside at a barbecue, keep it in a cooler or on ice until you’re ready to bring it out.
Doubling the Batch
I often double this recipe when I have a big crowd. Just use a bigger bowl or two smaller ones. The layering process is the same, just repeat it. It’s easier to make two smaller ones because they’re easier to serve and store.
Variations & Substitutions
Once you’ve nailed the basic version, here’s how you can mix it up. I’ve tried all of these.
Chocolate Chip Twist
Add a handful of mini chocolate chips in the cream layer. It’s like a berry chocolate chip cookie in a bowl. My kids love this version.
Lemon Berry
Add a tablespoon of lemon zest to the whipped cream. It brightens up the flavor and cuts through the sweetness. Perfect for spring.
Almond Crunch
Sprinkle sliced almonds or slivered almonds in the layers. It adds a nice nutty flavor and extra crunch. Great for holiday gatherings.
Gluten-Free
Use gluten-free vanilla wafers or crushed gluten-free cookies. The rest of the recipe is naturally gluten-free. I’ve used gluten-free Nilla Wafers and they work just as well.
Dairy-Free
Use coconut cream (chilled and whipped) instead of heavy cream. Use dairy-free vanilla wafers. It’s not exactly the same, but it’s still tasty and refreshing. My lactose-intolerant friend loves this version.
Serving & Storage
How to Serve:
I usually serve this straight from the bowl at the dinner table. It looks rustic and stays cool. But here are other ways I’ve enjoyed it:
Side Dishes:
This dessert is rich, so it pairs well with light, savory main courses. I often serve it after lemon pepper grilled chicken because the citrus notes complement the berries. It’s also great after bourbon BBQ ribs—the sweetness balances the smoky, savory meat.
Toppings Bar:
When I have guests, I put out extra whipped cream, fresh berries, and crushed cookies on the side. Everyone can customize their bowl.
Storage Instructions:
Refrigerator:
Store in an airtight container or covered with plastic wrap for up to 3 days. The wafers will continue to soften, so it might get a bit mushy after day 2. Best eaten on day 1 or 2.
Freezing:
Honestly, this doesn’t freeze well. The whipped cream separates and the wafers get weird. Make it fresh or store in the fridge. If you have leftovers, eat them within 2 days.
Meal Prep:
You can prep the berries and whip the cream a day ahead. Store them separately in the fridge. Assemble the trifle the night before you plan to serve it.
Nutrition Information
I’m not a nutritionist, but here’s the breakdown if you’re tracking. Keep in mind this is an estimate.
Per Serving (based on 8 servings):
| Nutrient | Amount |
|---|---|
| Calories | 280 |
| Protein | 3g |
| Carbs | 35g |
| Fiber | 2g |
| Sugar | 20g |
| Fat | 15g |
| Saturated Fat | 9g |
| Cholesterol | 45mg |
| Sodium | 120mg |
What’s Good:
– Contains fruit, so there’s some vitamin C and antioxidants.
– Relatively low in protein, so pair it with a protein-rich meal.
What to Know:
– Higher in sugar from the berries and wafers.
– Contains dairy and gluten.
– Moderate in calories, but easy to overeat because it’s light and creamy.
My Take:
Look, this is a dessert. It’s sweet, it’s creamy, and it’s meant to be enjoyed. It’s way better than store-bought cakes, and you control the ingredients. When I want to make it lighter, I use less sugar and more fruit. But usually? I just enjoy a reasonable portion and love every bite.
Final Thoughts
So that’s my go-to Red White and Blue Berry Trifle! I’ve probably talked your ear off at this point, but when you make a recipe this often, you have a lot to say about it. This has saved holiday weekends more times than I can count. It’s my answer to “what’s for dessert” when I’m tired, don’t want to bake, and still want something that looks impressive.
My kids are happy, my guests are happy, and I’m happy because I’m not stressed about cooking. Make it yours! Try different berries, swap in your favorite cookies, or add a splash of liqueur for adults (like Chambord or Baileys). The best recipes are the ones you adapt to your family’s tastes.
If you make this, drop a comment and let me know what you think! I love hearing how recipes turn out in your kitchen. And if something doesn’t work, tell me that too—I’m here to help troubleshoot. Happy cooking! And I hope your holiday weekend is as sweet as this trifle.
Frequently Asked Questions
Can I use frozen berries instead of fresh?
Yes, you can! Just make sure to thaw them completely and drain the excess liquid. I recommend pressing them gently with paper towels to remove as much water as possible. If you don’t, the trifle will become watery. Frozen berries are great for saving money in the off-season.
Why did my trifle get soggy?
This usually happens if you eat it too soon or if the wafers were too dry. The trifle needs at least 4 hours to set, ideally overnight. If you eat it right after assembling, the wafers haven’t had time to soften. Also, make sure you’re not adding too much liquid from the berries. Drain them well!
Can I make this ahead for a party?
Absolutely! This is actually better when made ahead. Assemble it the night before your party and keep it in the fridge. It will be ready to serve whenever you are. Just bring it out 15 minutes before serving so it’s not ice-cold.
Can I use a different cookie?
Yes! Vanilla wafers are classic, but you can use graham crackers, ladyfingers, or even shortbread cookies. Just make sure they’re sweet enough to balance the tartness of the berries. I’ve tried ginger snaps, and they were delicious too!
How long does this trifle last?
It lasts up to 3 days in the fridge. After that, the wafers get too soft and the texture changes. I recommend eating it within 2 days for the best experience.
Can I add alcohol to this?
Yes! You can add a splash of Chambord (raspberry liqueur) or Baileys Irish Cream to the whipped cream layer. Or drizzle a little liqueur over the fruit layer. It adds a nice adult twist. Just don’t add too much, or the trifle will get too wet.
Can I make individual servings?
Yes! This works great in mason jars, dessert glasses, or ramekins. Just layer the ingredients in the same order. It’s a cute way to serve it at parties, and everyone gets their own portion. It also makes it easier to control serving sizes.
Pin This Recipe!
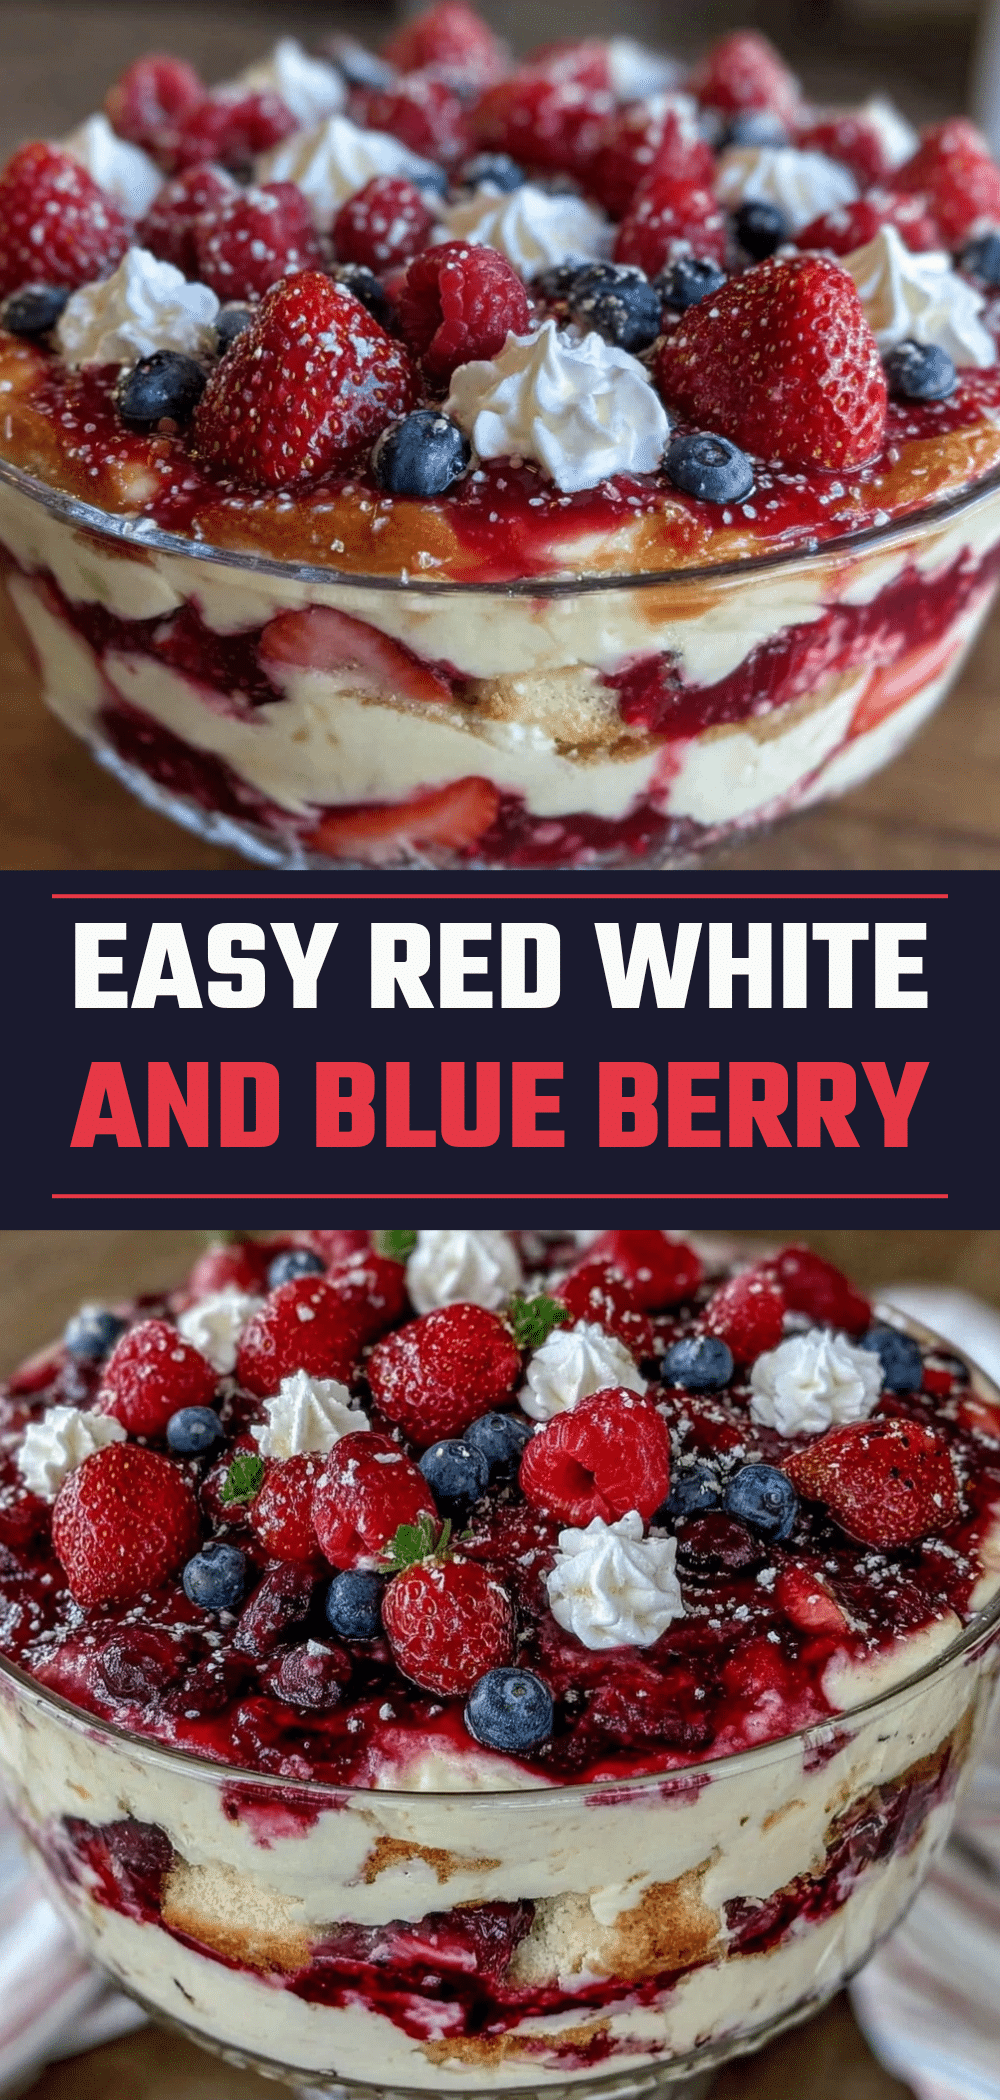

Best Red White and Blue Berry Trifle: Easy Holiday Make-Ahead
- Total Time: 4 hours 15 minutes
- Yield: 8 servings 1x
Description
A festive, no-bake dessert featuring layers of vanilla wafers, fresh strawberries, blueberries, and homemade whipped cream. This make-ahead trifle is perfect for summer holidays and requires zero baking.
Ingredients
- 1 pound fresh strawberries, hulled and sliced
- 1 pint fresh blueberries
- 2 tablespoons granulated sugar (for macerating berries)
- 2 cups heavy whipping cream
- 3 tablespoons granulated sugar (for whipped cream)
- 1 teaspoon vanilla extract
- 1 package vanilla wafers (about 30 cookies)
- Optional: Crushed cheesecake cookies for texture
- Optional: Fresh mint leaves for garnish
Instructions
- Wash and hull the strawberries, slicing them into quarters or halves. Toss strawberries and blueberries with 2 tablespoons of sugar in a large bowl and let sit for 15-20 minutes to macerate.
- Pour heavy cream into a large bowl. Add 3 tablespoons of sugar and vanilla extract. Whip on medium-high speed until stiff peaks form.
- Start layering in a large glass trifle bowl: begin with a layer of vanilla wafers covering the bottom.
- Add a layer of whipped cream, followed by a layer of macerated strawberries, then blueberries. Sprinkle with crushed wafers.
- Repeat layers (wafers, cream, strawberries, blueberries, crushed wafers) until ingredients are used, ending with a layer of whipped cream on top.
- Cover the bowl with plastic wrap and refrigerate for at least 4 hours, ideally overnight, to allow flavors to meld and wafers to soften.
- Garnish with fresh berries and mint before serving. Scoop with a large spoon to get all layers.
Notes
This trifle needs to sit overnight for the best texture as the wafers absorb the berry juices. If using frozen berries, thaw and drain well to prevent sogginess. For a gluten-free version, use gluten-free vanilla wafers. For a dairy-free version, use coconut cream and dairy-free cookies.
- Prep Time: 15 minutes
- Cook Time: 0 minutes
- Category: Dessert
- Cuisine: American
Nutrition
- Serving Size: 1 slice (approx. 1/8
- Calories: 280
- Sugar: 20
- Sodium: 120
- Fat: 15
- Saturated Fat: 9
- Carbohydrates: 35
- Fiber: 2
- Protein: 3
Keywords: berry trifle, red white and blue dessert, holiday dessert, make-ahead dessert, no bake dessert, summer dessert, patriotic dessert, easy trifle recipe


