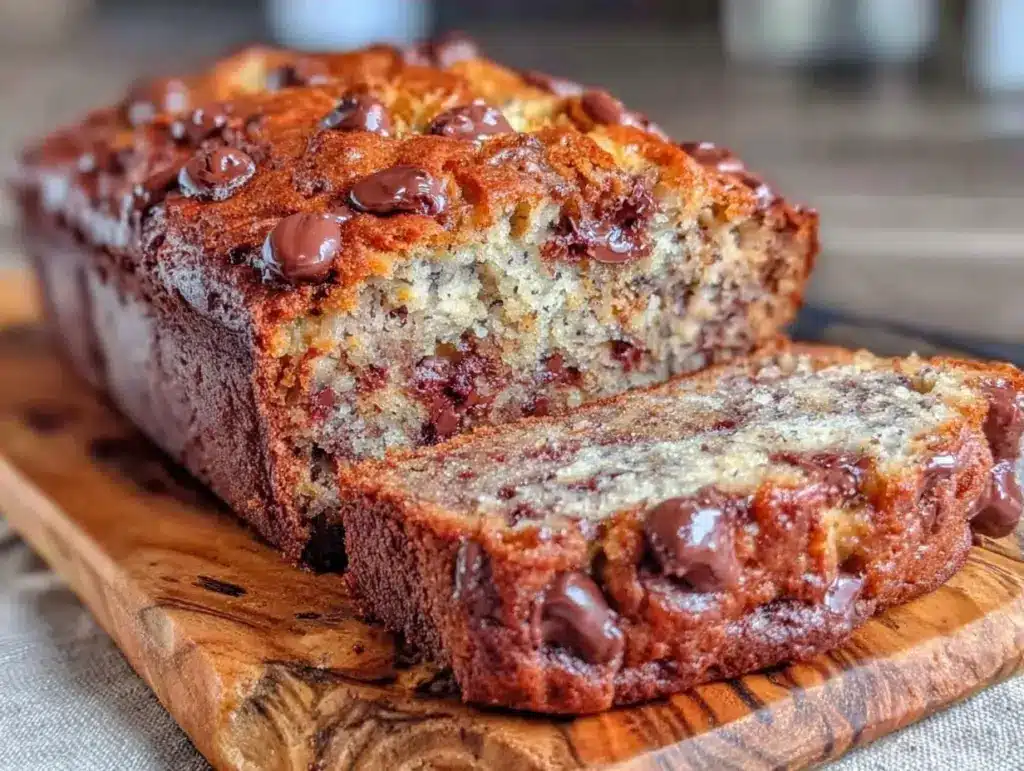
Last Saturday morning, I was staring into the fruit bowl like it owed me money. There were three bananas left, all sporting those dark, squishy spots that scream “eat me or compost me.” I didn’t have the energy for a complicated recipe. I didn’t want to wash a dozen bowls. I just wanted something warm, sweet, and comforting to pair with my coffee before the house woke up.
So I grabbed one bowl, dumped in the bananas, and started stirring. I didn’t measure anything precisely. I just threw in whatever was in the pantry. When I pulled that loaf out of the oven twenty minutes later, the smell alone stopped my teenager in his tracks. He asked for seconds before breakfast was even served. That was the moment I knew I had found it: the one-bowl banana bread with chocolate chips that would become our family’s new obsession.
This isn’t some fancy, artisanal bread that requires a stand mixer and three hours of proofing. This is real-life, budget-friendly, weeknight survival bread. It’s the kind of recipe that saves dinner when you’re tired, hungry, and running on fumes. I’ve made this one-bowl banana bread with chocolate chips at least a dozen times since that Saturday, tweaking it slightly each time, and honestly? It’s perfect just the way it is.
If you’re skeptical about “one-bowl” recipes because you think they’re messy or uneven, let me stop you right there. This method works because it’s simple. It forces you to focus on what matters: flavor and ease. Plus, with fewer dishes to wash, you spend more time eating and less time cleaning. That’s a win-win in my book.
Why You’ll Love This One-Bowl Banana Bread
There are about a million banana bread recipes out there. Why make this one? Because it respects your time, your wallet, and your sanity. I’ve tested versions with yogurt, sour cream, brown butter, and every type of sugar imaginable. This version hits the sweet spot between moist, tender, and incredibly easy.
Here’s why this recipe keeps me coming back:
- Actually One Bowl — Seriously. One mixing bowl. One spatula. One loaf pan. If you can mash a banana, you can make this. I’ve made this while holding a baby, while watching TV, and while arguing with my husband over laundry. It’s that forgiving.
- Pantry Staples Only — You don’t need to run to the store for obscure ingredients. Flour, sugar, eggs, oil (or butter), baking soda, salt, and those sad bananas in your fruit bowl. That’s it. No fancy flours or exotic spices.
- Budget-Friendly — Bananas are cheap, especially when they’re overripe and on sale. A loaf of this bread costs pennies compared to the $8 loaf at the bakery. It’s the ultimate budget hack for feeding a family.
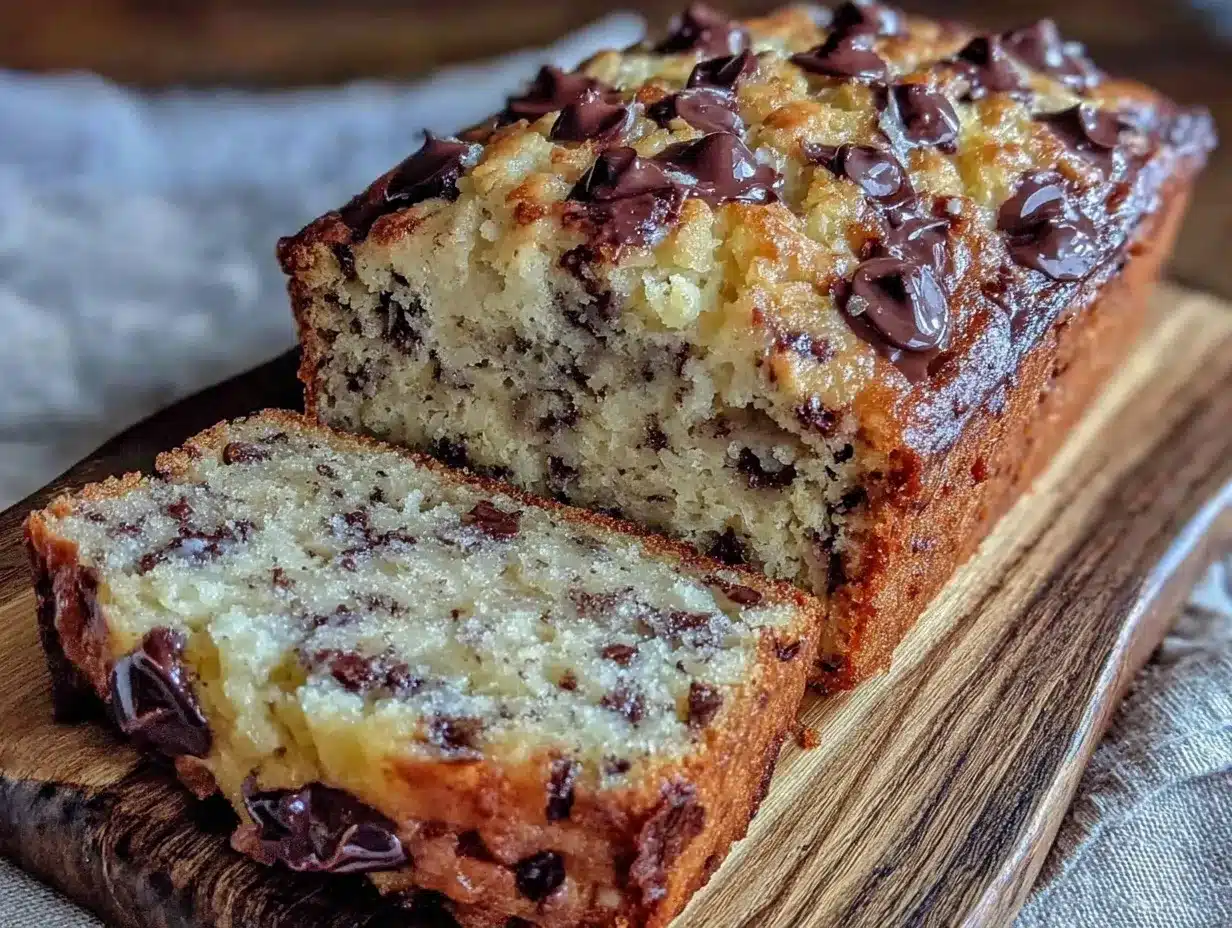
- Perfect Texture — Not too dense, not too cakey. It’s moist and tender with pockets of melted chocolate. The chocolate chips add just enough sweetness to balance the tartness of the ripe bananas.
- Meal Prep Hero — This bread keeps well. I make it on Sunday, and it’s breakfast or snack material for the next four days. It freezes beautifully too, so you can always have a backup loaf ready to go.
Real talk: this is my go-to when I need to stretch a few ingredients into a full meal. It pairs well with everything—from my morning coffee to a side of Labor Day potato salad for a casual summer brunch. It’s versatile, reliable, and delicious.
Ingredients You’ll Need
Here’s the best part: you probably have 90% of these ingredients already. I’m not asking you to buy anything special. Just check your pantry and fridge.
For the Bread Base
Ripe bananas (3 large, about 1 ½ cups mashed) — This is the star. They need to be spotty brown or black. The riper, the sweeter, and the more flavorful. Green bananas won’t work here. Don’t be shy about the mush.
Granulated sugar (¾ cup) — White sugar keeps the crumb tender and light. Brown sugar adds moisture and a hint of caramel, but if you’re out of brown sugar, white works fine. I use white to keep it budget-friendly.
Vegetable oil (⅓ cup) — Oil keeps banana bread moister than butter does. It also has a higher smoke point, so the bread doesn’t get greasy. Melted butter works too if you prefer that flavor, but oil is more forgiving for beginners.
Egg (1 large) — This binds everything together. Room temperature eggs mix in easier, but cold eggs work fine in a pinch.
Vanilla extract (1 teaspoon) — Adds depth. Don’t skip it. It makes the banana flavor pop.
For the Dry Mix
All-purpose flour (1 ½ cups) — Standard flour is perfect. No need for cake flour or self-rising. Just plain old all-purpose.
Baking soda (1 teaspoon) — This is what makes it rise. Make sure it’s not expired. If it’s old, your bread will be flat and dense. Test it by dropping a little in vinegar—if it fizzes, you’re good.
Salt (½ teaspoon) — Enhances the sweetness. Don’t skip this, or the bread will taste flat.
The Mix-Ins
Chocolate chips (½ to 1 cup) — Semi-sweet or milk chocolate. I use semi-sweet to balance the sweetness of the bananas and sugar. If you’re a chocolate lover, go for a full cup. If you’re watching sugar, half a cup is plenty.
Optional: Walnuts or Pecans (½ cup, chopped) — For crunch. I add these sometimes, but my kids hate nuts, so I often leave them out. It’s still amazing without them.
Pro Tip: If you don’t have chocolate chips, you can use chopped dark chocolate bars, dried cranberries, or even white chocolate chips. Get creative with what you have.
Equipment Needed
You don’t need fancy gadgets for this. Here’s what I actually use:
Large mixing bowl — Any bowl that’s big enough to hold the mashed bananas and dry ingredients. I use a 4-quart bowl.
Fork or potato masher — To mash the bananas. A fork works fine if you don’t have a masher. Just mash until there are no big chunks left.
Spatula — A silicone spatula is best for folding in the chocolate chips without overmixing the batter.
9×5 inch loaf pan — Standard size. Grease it well or line it with parchment paper for easy removal.
Cooling rack — To let the bread cool. If you don’t have one, just let it sit in the pan on the counter.
Optional: Parchment paper — I always line my pan with parchment paper. It makes cleanup a breeze and ensures the bread doesn’t stick. It’s worth the extra step.
How to Make It: Step-by-Step
Alright, let’s make this! I’m walking you through exactly how I do it, including the little tricks I’ve picked up over the years.
Step 1: Prep Your Pan and Oven (5 minutes)
Preheat your oven to 350°F (175°C). Grease your 9×5 inch loaf pan with butter or cooking spray. If you’re using parchment paper, line it now. This prevents sticking and makes removal easy.
Step 2: Mash the Bananas (2 minutes)
In your large mixing bowl, mash the ripe bananas with a fork or potato masher. You want them smooth but not completely liquid. A few small chunks are fine—they add texture. Aim for about 1 ½ cups of mashed banana.
Step 3: Mix Wet Ingredients (3 minutes)
To the mashed bananas, add the sugar, oil, egg, and vanilla extract. Whisk everything together until well combined. The mixture will look a bit curdled at first—that’s normal. Keep whisking until it’s smooth.
Step 4: Add Dry Ingredients (2 minutes)
Add the flour, baking soda, and salt to the wet mixture. Stir gently with a spatula or wooden spoon. Mix just until the flour disappears. Do not overmix! Overmixing makes the bread dense. A few lumps are okay.
Step 5: Fold in Chocolate Chips (1 minute)
Gently fold in the chocolate chips (and nuts, if using). Use a spatula to distribute them evenly. Be gentle to keep the batter light.
Step 6: Bake (50-60 minutes)
Pour the batter into the prepared loaf pan. Smooth the top with your spatula. Bake in the preheated oven for 50-60 minutes. The bread is done when a toothpick inserted into the center comes out clean or with just a few moist crumbs. If it’s wet, bake for another 5-10 minutes.
Troubleshooting Tip: If the top is browning too fast, tent the loaf with aluminum foil after 30 minutes. This prevents burning while the center finishes baking.
Step 7: Cool and Serve
Let the bread cool in the pan for 10 minutes, then transfer it to a cooling rack. Let it cool completely before slicing—this helps it set. Slice thickly and enjoy warm with butter or just as is.
Expert Tips & Tricks
Here’s everything I’ve learned from making this dozens of times. These tips will save you from my mistakes.
Use Ripe Bananas — This is non-negotiable. The riper the banana, the sweeter and more flavorful the bread. If your bananas are green, put them in a 300°F oven for 15-20 minutes to speed up ripening. They’ll turn black and sweet.
Don’t Overmix — Once you add the flour, mix only until combined. Overmixing develops gluten, which makes the bread tough. You want a tender crumb, not a bagel.
Check for Doneness — Oven temperatures vary. Start checking at 50 minutes. If the toothpick comes out clean, it’s done. If it’s wet, give it more time. Don’t rely solely on the clock.
Store Properly — Wrap the cooled loaf tightly in plastic wrap or aluminum foil. It keeps at room temperature for 3-4 days. For longer storage, freeze it for up to 3 months.
Double the Batch — This recipe doubles easily. Make two loaves and freeze one. It’s perfect for meal prep or gifting to neighbors.
Variations & Substitutions
Once you’ve nailed the basic version, here’s how you can mix it up. I’ve tried all of these.
Gluten-Free — Use a 1:1 gluten-free flour blend. The texture might be slightly denser, but it still tastes great.
Dairy-Free — Use coconut oil or melted vegan butter instead of regular butter. Use dairy-free chocolate chips. The rest of the recipe is naturally dairy-free.
Lower Sugar — Reduce the sugar to ½ cup. The bananas add enough sweetness, so you might not even notice the difference.
Add-Ins — Try adding a tablespoon of cinnamon, nutmeg, or cardamom for warmth. Or swap chocolate chips for raisins, dried cherries, or white chocolate chips.
Mini Loaves — Divide the batter into mini loaf pans. Bake for 25-30 minutes. Perfect for gifts or portion control.
Serving & Storage
How to Serve: I usually serve this warm, sliced thickly. It’s great with a pat of butter, a drizzle of honey, or just on its own. It pairs well with creamy Tuscan garlic chicken for a hearty dinner, or with coffee for breakfast.
Storage: Wrap tightly in plastic wrap or foil. Store at room temperature for 3-4 days. For longer storage, freeze for up to 3 months. Thaw at room temperature before serving.
Reheating: Warm slices in the microwave for 15-20 seconds, or in the oven at 300°F for 10 minutes. It tastes best fresh, but reheating brings back that soft texture.
Nutrition Information
I’m not a nutritionist, but here’s the breakdown if you’re tracking. This is per slice (1/10 of the loaf).
- Calories: 180
- Protein: 3g
- Carbs: 28g
- Fiber: 1g
- Sugar: 16g
- Fat: 7g
- Saturated Fat: 1g
- Cholesterol: 15mg
- Sodium: 150mg
Look, this is comfort food with sugar and chocolate. It’s not a diet recipe. But it’s way better than store-bought, costs less, and I know exactly what’s in it. When I want to make it lighter, I reduce the sugar and chocolate chips. But usually? I just eat a slice and enjoy it.
Final Thoughts
So that’s my go-to one-bowl banana bread with chocolate chips! I’ve probably talked your ear off at this point, but when you make a recipe this often, you have a lot to say about it.
This has saved weeknight breakfasts more times than I can count. It’s my answer to “what’s for breakfast?” when I’m tired, don’t want to cook, and still want something that tastes really good. My kids are happy, my husband’s happy, and I’m happy because I’m not stressed about cooking.
Make it yours! Try different add-ins, swap in your favorite chocolate, adjust the sugar. The best recipes are the ones you adapt to your family’s tastes.
If you make this, drop a comment and let me know what you think! I love hearing how recipes turn out in your kitchen. And if something doesn’t work, tell me that too—I’m here to help troubleshoot.
Happy baking! And I hope your kitchen smells half as good as mine does right now.
Frequently Asked Questions
Can I use frozen bananas?
Yes! Thaw them completely, drain any excess liquid, and then mash. Frozen bananas are actually sweeter because the freezing process breaks down their cell walls, releasing more sugar. This works great if you buy bananas in bulk and freeze them before they spoil.
Why did my banana bread turn out dense?
Usually, this means you overmixed the batter. Once you add the flour, mix only until combined. Also, check your baking soda—if it’s old, it won’t rise properly. Make sure your bananas are ripe enough; underripe bananas don’t add enough sweetness or moisture.
Can I use honey or maple syrup instead of sugar?
You can, but reduce the liquid in the recipe. If using honey, use ¾ cup honey and reduce the oil by 2 tablespoons. The bread will be denser and moister. Maple syrup works too, but it will add a distinct flavor. Stick to granulated sugar for the classic texture.
How do I know when the bread is done?
Insert a toothpick into the center. If it comes out clean or with a few moist crumbs, it’s done. If it’s wet with batter, bake for another 5-10 minutes. The top should be golden brown and spring back when lightly pressed.
Can I make this ahead for a party?
Absolutely. Bake it a day or two ahead, wrap it tightly, and store at room temperature. It actually tastes better the next day as the flavors meld. Just slice and serve. It’s perfect for potlucks or breakfast meetings.
Can I add nuts?
Yes! Walnuts or pecans are classic additions. Toast them in a dry pan for 2-3 minutes before adding for extra flavor. Fold them in with the chocolate chips. If you’re allergic, just skip them—the bread is still delicious without nuts.
Pin This Recipe!
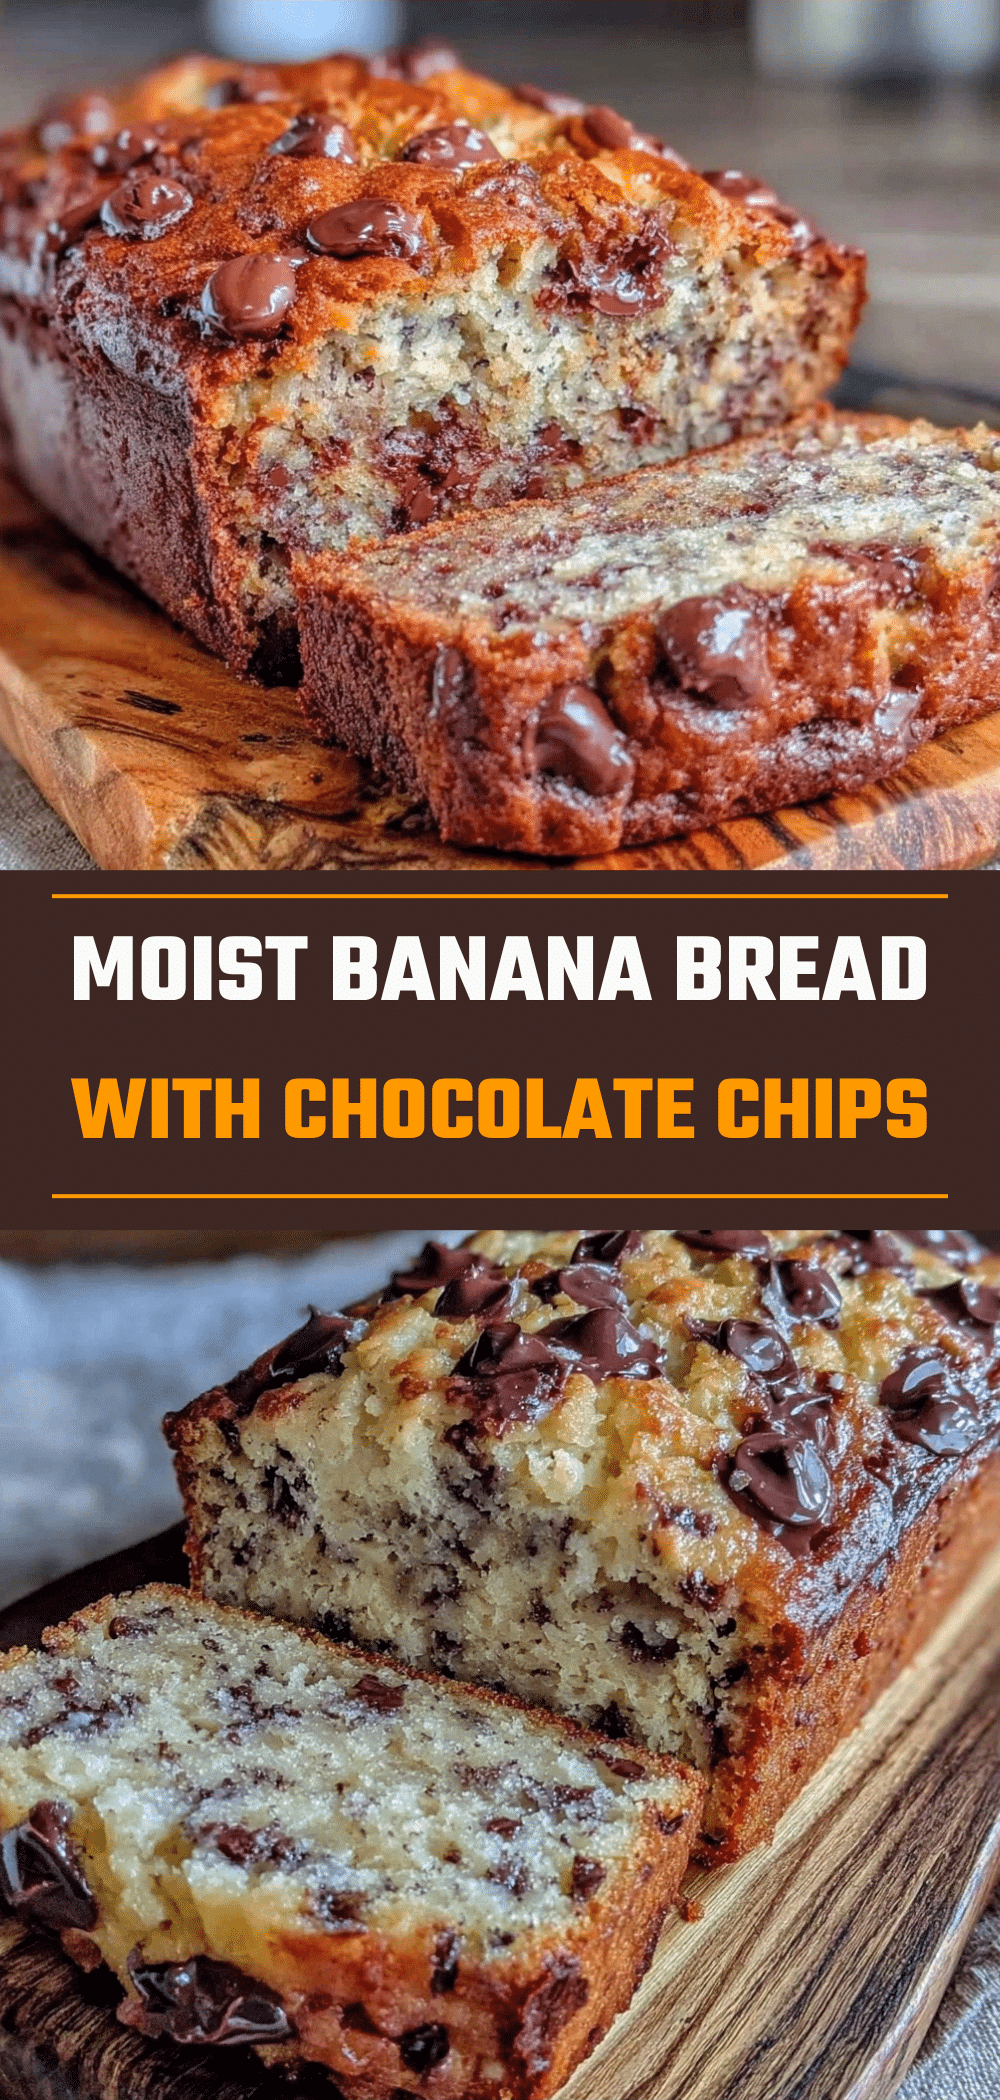
One-Bowl Banana Bread with Chocolate Chips
- Total Time: 1 hour 10 minutes
- Yield: 1 loaf (10 slices) 1x
Description
A budget-friendly, easy-to-make banana bread that requires only one mixing bowl. This recipe uses pantry staples and ripe bananas to create a moist, tender loaf with pockets of melted chocolate chips.
Ingredients
- 3 large ripe bananas (about 1 ½ cups mashed)
- ¾ cup granulated sugar
- ⅓ cup vegetable oil
- 1 large egg
- 1 teaspoon vanilla extract
- 1 ½ cups all-purpose flour
- 1 teaspoon baking soda
- ½ teaspoon salt
- ½ to 1 cup chocolate chips (semi-sweet or milk)
- Optional: ½ cup chopped walnuts or pecans
Instructions
- Preheat oven to 350°F (175°C). Grease a 9×5 inch loaf pan with butter or cooking spray, or line with parchment paper.
- In a large mixing bowl, mash the ripe bananas with a fork or potato masher until smooth but with a few small chunks remaining.
- Add the sugar, vegetable oil, egg, and vanilla extract to the mashed bananas. Whisk until well combined and smooth.
- Add the flour, baking soda, and salt to the wet mixture. Stir gently with a spatula or wooden spoon just until the flour disappears. Do not overmix.
- Gently fold in the chocolate chips and nuts (if using) until evenly distributed.
- Pour the batter into the prepared loaf pan and smooth the top.
- Bake for 50-60 minutes, or until a toothpick inserted into the center comes out clean or with a few moist crumbs. If the top browns too quickly, tent with aluminum foil after 30 minutes.
- Let the bread cool in the pan for 10 minutes, then transfer to a cooling rack to cool completely before slicing.
Notes
Use very ripe bananas for maximum sweetness and flavor. Do not overmix the batter once flour is added to avoid a dense texture. The bread can be stored at room temperature for 3-4 days or frozen for up to 3 months. For a gluten-free version, use a 1:1 gluten-free flour blend.
- Prep Time: 10 minutes
- Cook Time: 50-60 minutes
- Category: Dessert
- Cuisine: American
Nutrition
- Serving Size: 1 slice (1/10 of the
- Calories: 180
- Sugar: 16
- Sodium: 150
- Fat: 7
- Saturated Fat: 1
- Carbohydrates: 28
- Fiber: 1
- Protein: 3
Keywords: banana bread, chocolate chip, one bowl recipe, easy baking, budget friendly, breakfast, snack, meal prep


