It was mid-October, the air outside had that crisp, apple-cider kind of chill, and I was staring at an empty oven rack like it owed me money. My sister was coming over with her new boyfriend—someone I wanted to impress but definitely didn’t want to spend six hours baking for. I had a block of cream cheese, a can of pumpkin puree, and a jar of spice mix that I’d bought three years ago and barely used. I figured, why not?
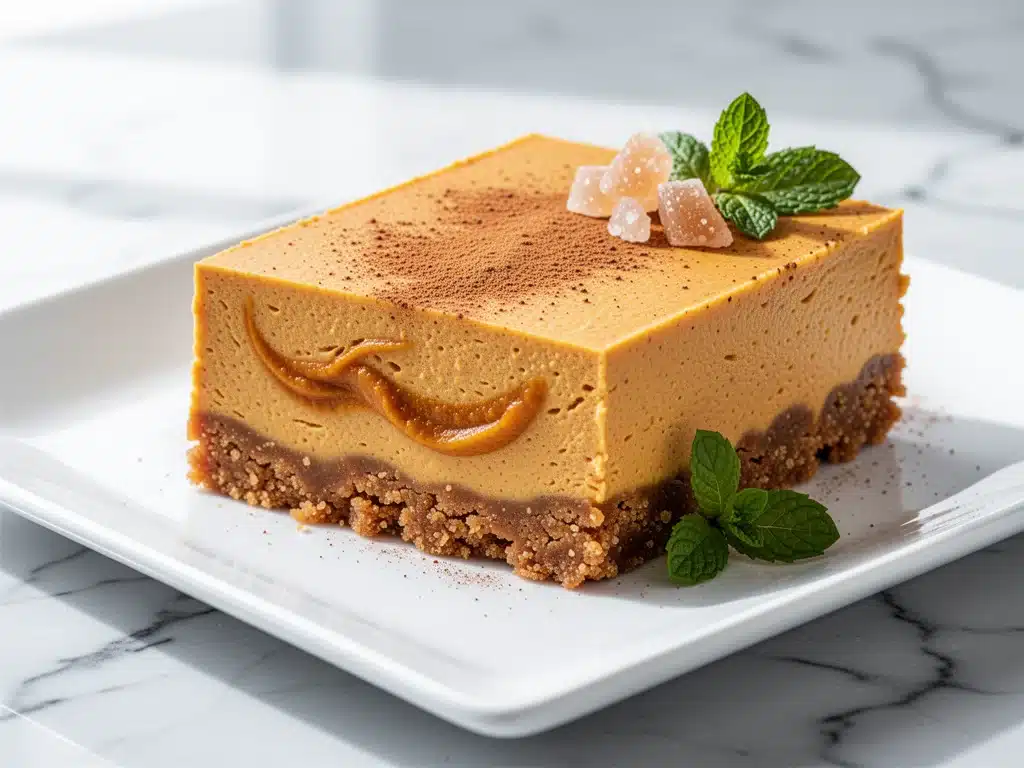
I threw together a batch of No-Bake Pumpkin Spice Cheesecake Bars that night. I didn’t have a recipe. I just had instincts and a desperate need for something sweet that wouldn’t make my apartment smell like burnt sugar. I chilled them overnight, half-expecting them to slide apart like a Jell-O mold disaster. Instead? They held firm. They were creamy, tangy, and packed with enough pumpkin spice to make you feel like you were sitting on a porch swing in Vermont, even though I was in my tiny city kitchen.
That accidental dessert became a tradition. I’ve made these bars for Halloween parties, Thanksgiving potlucks, and lazy Sunday mornings when I didn’t want to turn on the stove. They’ve survived car trips, picnic baskets, and the occasional “oops, I left them out too long” panic. And every single time, people ask for the recipe. They can’t believe it didn’t require an oven.
Here’s the thing about fall desserts: they’re usually a commitment. You need time, patience, and usually a disaster or two before you get it right. But this No-Bake Pumpkin Spice Cheesecake Bars recipe? It’s different. It’s forgiving. It’s fast. And honestly, it’s the easiest way to bring that cozy, spiced flavor to your table without the stress. I’ve tested this version at least a dozen times, tweaking the crust ratio and the spice blend until it was perfect. Now, it’s my go-to for any fall gathering where I want to look like a pro but actually have time to enjoy the party.
Why You’ll Love This No-Bake Pumpkin Spice Cheesecake Bars Recipe
There are about ten reasons I keep making these bars, but here are the big ones. If you’re skeptical about no-bake desserts, give this a shot. It’s not some sad, icy slushy. It’s rich, dense, and seriously satisfying.
- Zero Oven Required — Seriously. If you can mix ingredients in a bowl and press them into a pan, you can make this. I’ve made this on weeknights when my oven was still hot from dinner, and I just didn’t want to deal with the heat. It’s a lifesaver in the fall when you’re already cooking turkey or roast.
- Make-Ahead Friendly — These bars actually taste better the next day. The flavors meld together overnight, and the texture firms up perfectly. I usually make them on Sunday for a Wednesday night treat, or on Monday for a Friday night gathering. They keep in the fridge for up to five days.
- Gluten-Free Option — I’ve made these with regular graham crackers, but I’ve also used gluten-free graham cracker crumbs with great success. If you’re hosting someone with celiac or gluten sensitivity, you’re covered. Just check your crumbs label to be sure.
- Restaurant-Quality Taste — Don’t let the simplicity fool you. These taste like they came from a high-end bakery. The tang of the cream cheese balances the sweetness of the condensed milk and pumpkin perfectly. It’s not too sweet, not too spicy. Just right.
- Easy to Transport — Because they’re set firm and don’t require a delicate crumb topping, these travel well. I’ve taken them to office parties, book clubs, and picnics. They don’t slide around or melt in the car. Just cut them into squares and pack them in a container.
This is my answer to “what dessert should I bring?” when I’m tired, broke, or just don’t want to bake. It’s reliable, delicious, and makes everyone happy. No complicated techniques, no weird ingredients, just good, cozy food.
Ingredients You’ll Need
Here’s the best part: you probably have most of this already. I’m particular about three ingredients here, and I’ll tell you exactly why. For the No-Bake Pumpkin Spice Cheesecake Bars, quality matters, but you don’t need fancy stuff.
For the Crust
- Graham Cracker Crumbs (1 ½ cups / 150g) — I use standard graham cracker crumbs. You can crush whole sheets in a food processor if you want, but the pre-made stuff works fine. For a gluten-free version, use GF graham cracker crumbs or even crushed gluten-free shortbread cookies.
- Unsalted Butter (6 tablespoons / 85g) — Melted. I prefer unsalted so I can control the saltiness. If you only have salted, reduce the salt in the filling by half. Real butter makes the crust rich and crumbly. Margarine just doesn’t have the same flavor.
- Granulated Sugar (2 tablespoons / 25g) — Just a little to sweeten the crust. Don’t skip it, but don’t add more. The filling is sweet enough.
- Pumpkin Spice Blend (1 teaspoon) — I use my homemade blend (more on that below), but store-bought works too. Just make sure it’s fresh. Old spice tastes dusty.
For the Filling
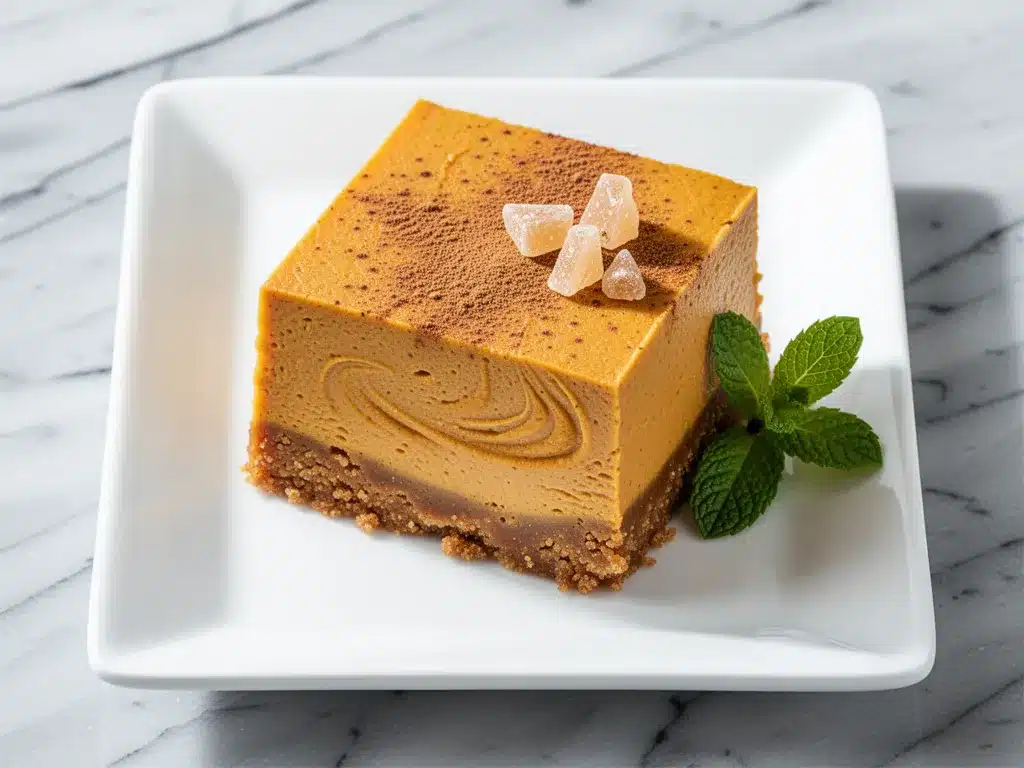
- Full-Fat Cream Cheese (2 blocks / 16 oz / 450g) — This is non-negotiable. Use the brick kind, not the tub spread. Low-fat cream cheese will make your filling grainy and watery. Let it sit out for 30 minutes before mixing. Cold cream cheese doesn’t blend smoothly.
- Heavy Cream (1 cup / 240ml) — Cold. I whip this to stiff peaks to give the bars that airy, light texture. If you skip this, the bars will be dense and heavy. You can use whipping cream, but make sure it’s at least 30% fat.
- Sweetened Condensed Milk (1 can / 14 oz / 397g) — This is the secret ingredient. It adds sweetness, creaminess, and helps set the filling without needing gelatin. Don’t substitute with regular milk and sugar; the texture will be wrong.
- Pumpkin Puree (1 cup / 245g) — Use canned pure pumpkin, not pumpkin pie filling. Pie filling has added sugar and spices, which will mess up the balance. Stir the can well before measuring.
- Pure Vanilla Extract (2 teaspoons) — Good quality vanilla makes a huge difference. I use Nielsen-Massey or McCormick. Skip the imitation stuff.
- Pumpkin Spice Blend (2 teaspoons) — More spice in the filling. Adjust to taste if you’re a spice lover.
- Salt (½ teaspoon) — Just a pinch to balance the sweetness.
For the Topping (Optional but Recommended)
- Whipped Cream — Store-bought is fine if you’re lazy, but homemade is better. See below.
- Extra Pumpkin Spice — For dusting.
- Candied Pecans — Chopped. Adds crunch and visual appeal.
Equipment Needed
You don’t need fancy equipment for this. Here’s what I actually use.
- 9×13 Inch Baking Pan — Line it with parchment paper, leaving an overhang on the sides. This is crucial for lifting the bars out later. I use Reynolds Wrap because it’s sturdy.
- Stand Mixer or Hand Mixer — A stand mixer is great for whipping the cream cheese and cream, but a hand mixer works fine too. Just be prepared to mix a bit longer.
- Large Mixing Bowl — For the crust. Any bowl works.
- Measuring Cups and Spoons — Standard stuff. Dollar store versions work fine.
- Spatula — For scraping the bowl and smoothing the filling. Silicone is best.
- Sharp Knife — For cutting the bars. Dip it in hot water between cuts for clean slices.
How to Make It: Step-by-Step
Alright, let’s make this! I’m walking you through exactly how I do it, including the little tricks I’ve picked up.
Step 1: Prep Your Pan (2 minutes)
Line your 9×13 inch pan with parchment paper. I like to do a cross-hatch: one strip lengthwise, one strip widthwise, then another layer on top. This ensures no sticking. Lightly spray with non-stick spray. Set aside.
Step 2: Make the Crust (5 minutes)
In a medium bowl, mix the graham cracker crumbs, melted butter, sugar, and 1 teaspoon of pumpkin spice. It should look like wet sand. Press this mixture firmly into the bottom of your prepared pan. Use the bottom of a measuring cup to pack it down tight. If it’s loose, the bars will crumble. Refrigerate while you make the filling.
Step 3: Whip the Cream (3 minutes)
In a large, cold bowl, whip the heavy cream to stiff peaks. This means when you lift the beaters, the cream stands up straight. Don’t over-whip it into butter, but make sure it’s firm. Set aside.
Step 4: Mix the Cream Cheese Base (5 minutes)
In another large bowl, beat the softened cream cheese until smooth and creamy. Add the sweetened condensed milk, vanilla extract, 2 teaspoons of pumpkin spice, and salt. Beat on medium-low until fully combined. Be careful not to overmix once the condensed milk is in, or you’ll incorporate too much air, which can cause the bars to collapse later.
Step 5: Fold It All Together (3 minutes)
Add the pumpkin puree to the cream cheese mixture and mix until smooth. Then, gently fold in the whipped cream. Use a spatula and fold from the bottom up. You want to keep as much air in there as possible for that light, fluffy texture. Do not stir vigorously. Stop when you see no white streaks.
Step 6: Assemble and Chill (4 hours minimum)
Pour the filling over the chilled crust. Spread it out evenly with a spatula. Tap the pan gently on the counter to remove air bubbles. Cover with plastic wrap and refrigerate for at least 4 hours, preferably overnight. This is the hardest part—waiting. But it’s necessary for the bars to set.
Step 7: Cut and Serve
Once set, lift the bars out of the pan using the parchment paper. Place on a cutting board. Use a sharp knife to cut into 12 or 16 squares. Dip the knife in hot water and wipe dry between cuts for clean edges. Top with whipped cream, extra pumpkin spice, and candied pecans if desired.
Total Time: About 15 minutes active, plus 4+ hours chilling.
Expert Tips & Tricks
Here’s everything I’ve learned from making this dozens of times. These tips will save you from my mistakes.
Softened Cream Cheese is Key
If your cream cheese is cold, you’ll get lumps. I take it out of the fridge 30 minutes before mixing. If I forget, I cut it into cubes and microwave it for 10-second bursts, checking between each. It should be soft enough to press a finger into it easily.
Don’t Skip the Whip
The whipped cream is what makes these bars light. If you just mix the cream cheese and pumpkin, you’ll get a dense, heavy bar that feels like you ate a brick. Whip that cream to stiff peaks. It’s worth the extra three minutes.
Use a Hot Knife for Cutting
Cheesecake bars can be sticky. Dip your knife in hot water, wipe it dry, and cut. Repeat this for every cut. You’ll get clean, professional-looking squares. If you just cut cold, the bars will stick to the knife and look messy.
Chill Longer, Not Shorter
I know it’s tempting to eat them after 2 hours. But they need time to set. If you cut them too soon, they’ll be mushy. Overnight is best. The flavors also meld better after a few hours.
Common Mistakes (and how to avoid them)
- Mistake: Bars are too soft. Fix: You didn’t chill them long enough, or you overmixed the filling, incorporating too much air. Chill longer next time.
- Mistake: Crust is crumbly. Fix: You didn’t pack it down hard enough, or you didn’t use enough butter. Press it firmly into the pan.
- Mistake: Filling is grainy. Fix: Your cream cheese wasn’t fully softened, or you used low-fat cream cheese. Use full-fat brick cream cheese and soften it properly.
Variations & Substitutions
Once you’ve nailed the basic version, here’s how you can mix it up. I’ve tried all of these.
Chocolate Chip Version
Stir ½ cup chocolate chips into the filling before pouring it over the crust. Adds sweetness and texture. My kids love this version.
Pumpkin Pie Spice Swap
If you don’t have pumpkin spice blend, mix 1 teaspoon cinnamon, ½ teaspoon ginger, ¼ teaspoon nutmeg, and ¼ teaspoon allspice. It’s the same thing.
Gluten-Free Crust
Use gluten-free graham cracker crumbs or crushed gluten-free cookies. The rest of the recipe is naturally gluten-free.
Vegan Version
Use vegan cream cheese (like Kite Hill), coconut cream instead of heavy cream, and maple syrup instead of condensed milk. It’s different but still tasty. My vegan friend requested this version.
Mini Bars
Use a 9-inch springform pan or line a loaf pan. Cut into smaller squares. Great for portion control and party servings.
Serving & Storage
How to Serve
I usually serve these straight from the fridge. They’re best cold. But here are other ways I’ve enjoyed them:
- With Coffee — Perfect with a morning cup of coffee or an afternoon latte.
- With Pie — If you’re making pumpkin pie, these bars are a great alternative for people who want cheesecake texture.
- With Ice Cream — A scoop of vanilla ice cream on top makes it a dessert feast.
Storage Instructions
Refrigerator: Store in an airtight container for up to 5 days. They keep well in the fridge.
Freezing: Yes, you can freeze these! Wrap individual bars in plastic wrap, then foil. Freeze for up to 2 months. Thaw in the fridge overnight. The texture might be slightly softer, but still good.
Pro Tip: If you’re taking them to a party, keep them in a cooler with ice packs. They’ll stay firm and safe.
Nutrition Information
I’m not a nutritionist, but here’s the breakdown if you’re tracking. Per serving (1 of 12 bars):
- Calories: 320
- Protein: 5g
- Carbs: 28g
- Fiber: 1g
- Sugar: 22g
- Fat: 22g
- Saturated Fat: 13g
- Cholesterol: 65mg
- Sodium: 280mg
Look, this is a dessert with cream cheese and condensed milk. It’s not a diet recipe. But it’s way better than store-bought, costs less, and I know exactly what’s in it. When I want to make it lighter, I use the low-fat version, but I won’t lie—it’s not the same. Usually, I just eat a reasonable portion and enjoy it.
Final Thoughts
So that’s my No-Bake Pumpkin Spice Cheesecake Bars! I’ve probably talked your ear off at this point, but when you make a recipe this often, you have a lot to say about it. This has saved me from oven disasters more times than I can count. It’s my answer to “what dessert should I make?” when I’m tired, don’t want to bake, and still want something that tastes really good. My family is happy, my guests are happy, and I’m happy because I’m not stressed about cooking.
Make it yours! Try different add-ins, swap in your favorite spices, or top it with your favorite garnish. The best recipes are the ones you adapt to your family’s tastes. If you make this, drop a comment and let me know what you think! I love hearing how recipes turn out in your kitchen. And if something doesn’t work, tell me that too—I’m here to help troubleshoot.
Happy baking (or rather, happy no-baking)! And I hope your kitchen smells half as good as mine does right now.
Frequently Asked Questions
Can I use pumpkin pie filling instead of pure pumpkin?
You can, but the bars will be much sweeter and spicier. If you use pie filling, reduce the sugar in the crust and skip the extra pumpkin spice in the filling. I recommend pure pumpkin for better control over the flavor.
Why did my bars turn out watery?
Usually means you didn’t chill them long enough, or you overmixed the filling, incorporating too much air. Let the bars chill for at least 4 hours, preferably overnight. Also, make sure your cream cheese is fully softened and smooth before mixing.
Can I make these ahead for a dinner party?
Absolutely. These bars are best made ahead. I usually make them 2 days before the party. They keep well in the fridge for up to 5 days. Just add the toppings right before serving.
Why did my crust fall apart?
The crust was likely not packed down firmly enough, or you didn’t use enough butter. Press the crust mixture firmly into the pan using the bottom of a measuring cup. It should feel solid, not loose.
Can I use a hand mixer instead of a stand mixer?
Yes, a hand mixer works fine. You might need to mix a bit longer to get the cream cheese smooth and the cream to stiff peaks. Just be patient.
How do I store leftovers?
Store in an airtight container in the fridge for up to 5 days. You can also freeze individual bars for up to 2 months. Thaw in the fridge overnight.
Can I make this in a different pan?
Yes, you can use a 9-inch springform pan or a loaf pan. Adjust the baking time if you’re baking (though this is no-bake), but for chilling, the time will be similar. Just cut into smaller pieces for a loaf pan.
Pin This Recipe!
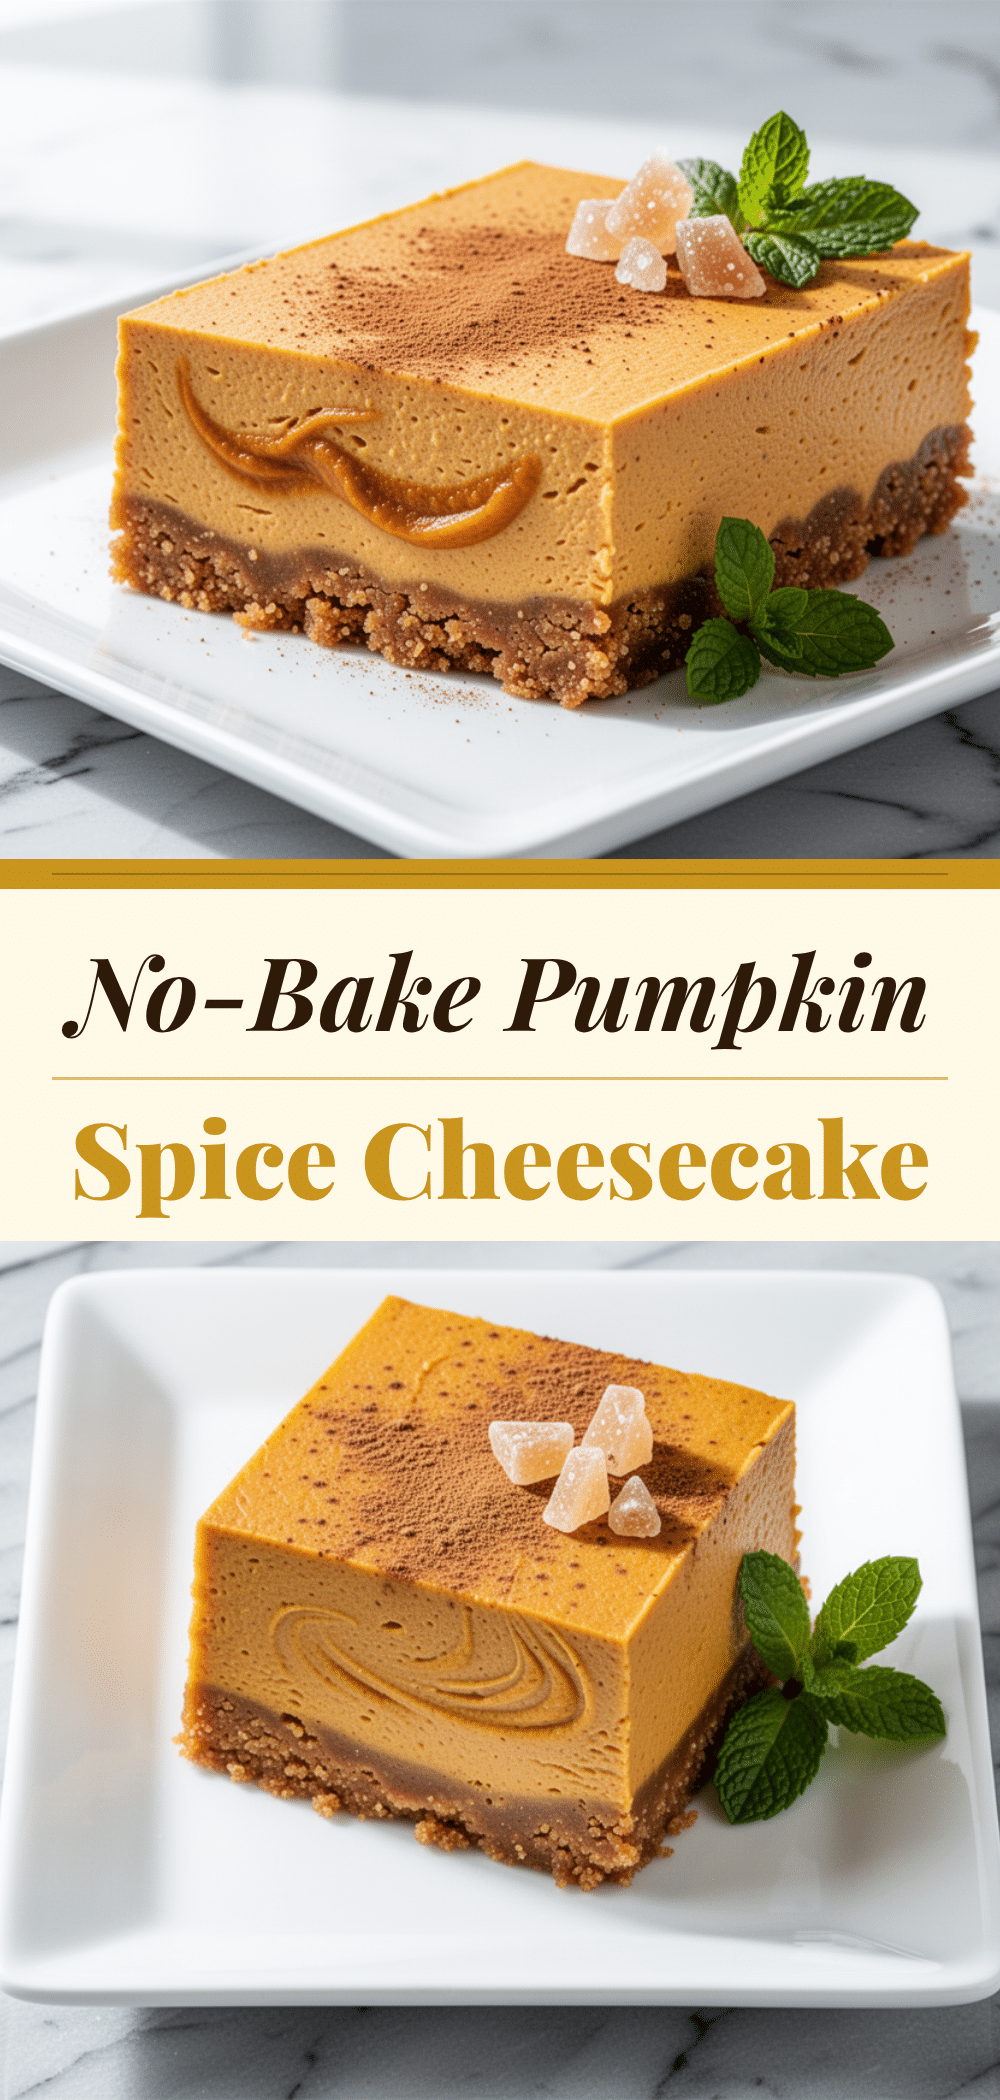
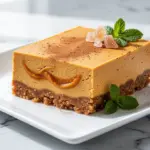
No-Bake Pumpkin Spice Cheesecake Bars
- Total Time: 4 hours 15 minutes
- Yield: 12 servings 1x
Description
A creamy, tangy, and spiced no-bake dessert that is easy to make, make-ahead friendly, and perfect for fall gatherings without requiring an oven.
Ingredients
- 1 ½ cups (150g) Graham Cracker Crumbs
- 6 tablespoons (85g) Unsalted Butter, melted
- 2 tablespoons (25g) Granulated Sugar
- 1 teaspoon Pumpkin Spice Blend
- 2 blocks (16 oz / 450g) Full-Fat Cream Cheese, softened
- 1 cup (240ml) Heavy Cream, cold
- 1 can (14 oz / 397g) Sweetened Condensed Milk
- 1 cup (245g) Pumpkin Puree
- 2 teaspoons Pure Vanilla Extract
- 2 teaspoons Pumpkin Spice Blend
- ½ teaspoon Salt
- Whipped Cream (optional, for topping)
- Extra Pumpkin Spice (optional, for dusting)
- Candied Pecans, chopped (optional, for topping)
Instructions
- Line a 9×13 inch baking pan with parchment paper in a cross-hatch pattern and lightly spray with non-stick spray.
- In a medium bowl, mix graham cracker crumbs, melted butter, sugar, and 1 teaspoon of pumpkin spice until it resembles wet sand.
- Press the crust mixture firmly into the bottom of the prepared pan using the bottom of a measuring cup and refrigerate.
- In a large, cold bowl, whip the heavy cream to stiff peaks and set aside.
- In another large bowl, beat the softened cream cheese until smooth. Add sweetened condensed milk, vanilla extract, 2 teaspoons of pumpkin spice, and salt. Beat on medium-low until combined.
- Add the pumpkin puree to the cream cheese mixture and mix until smooth.
- Gently fold the whipped cream into the pumpkin mixture using a spatula until no white streaks remain, being careful not to deflate the air.
- Pour the filling over the chilled crust and spread evenly. Tap the pan to remove air bubbles.
- Cover with plastic wrap and refrigerate for at least 4 hours, preferably overnight, until set.
- Lift the bars out of the pan using the parchment paper overhang. Cut into 12 or 16 squares using a sharp knife dipped in hot water between cuts.
- Top with whipped cream, extra pumpkin spice, and candied pecans if desired.
Notes
Ensure cream cheese is fully softened to avoid lumps. Whip heavy cream to stiff peaks for a light texture. Chill for at least 4 hours or overnight for best results. Use a hot knife for clean cuts. Store in the refrigerator for up to 5 days or freeze for up to 2 months.
- Prep Time: 15 minutes
- Cook Time: 0 minutes
- Category: Dessert
- Cuisine: American
Nutrition
- Serving Size: 1 bar
- Calories: 320
- Sugar: 22
- Sodium: 280
- Fat: 22
- Saturated Fat: 13
- Carbohydrates: 28
- Fiber: 1
- Protein: 5
Keywords: no-bake, pumpkin spice, cheesecake bars, fall dessert, easy dessert, make-ahead dessert, gluten-free option