Last Tuesday night, I was staring into the fridge like it held the secrets to the universe. It didn’t. It had a half-empty carton of milk, three wilting carrots, and a small, sad-looking bag of chocolate chips. My kids had just finished a soccer practice, they were hangry, and I needed dessert. Like, now. I didn’t want to order takeout (budget), I didn’t have time to bake a full-sized cake (time), and I definitely didn’t want to end up with three-quarters of a batch of brownies rotting in my freezer for the next month.
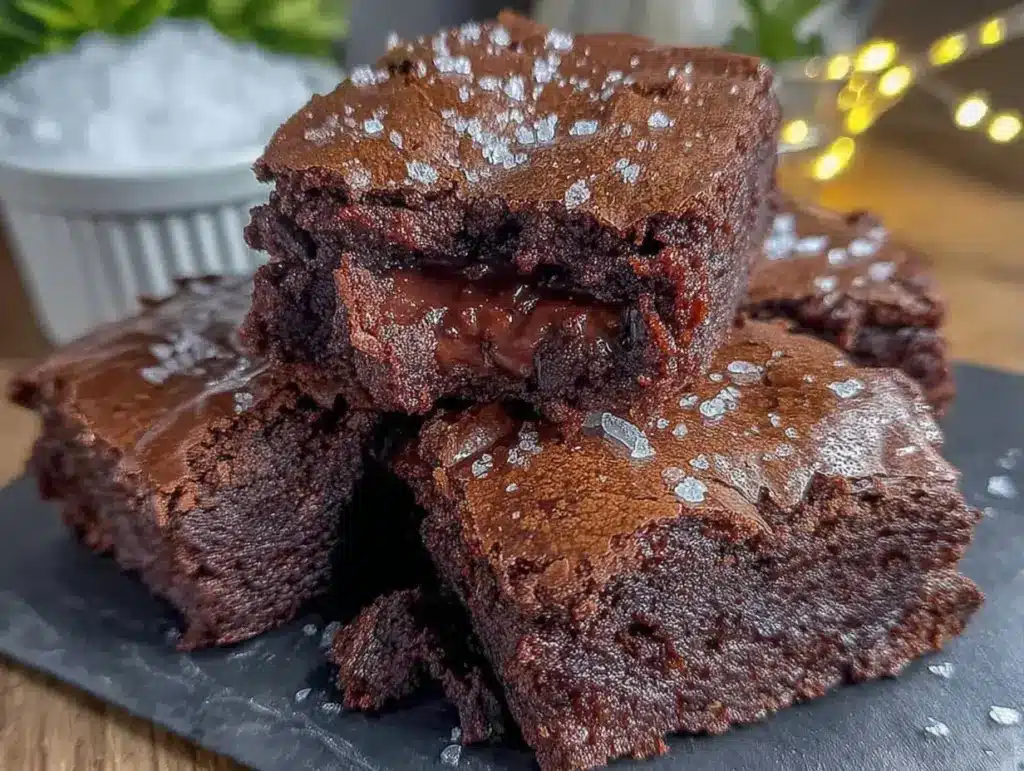
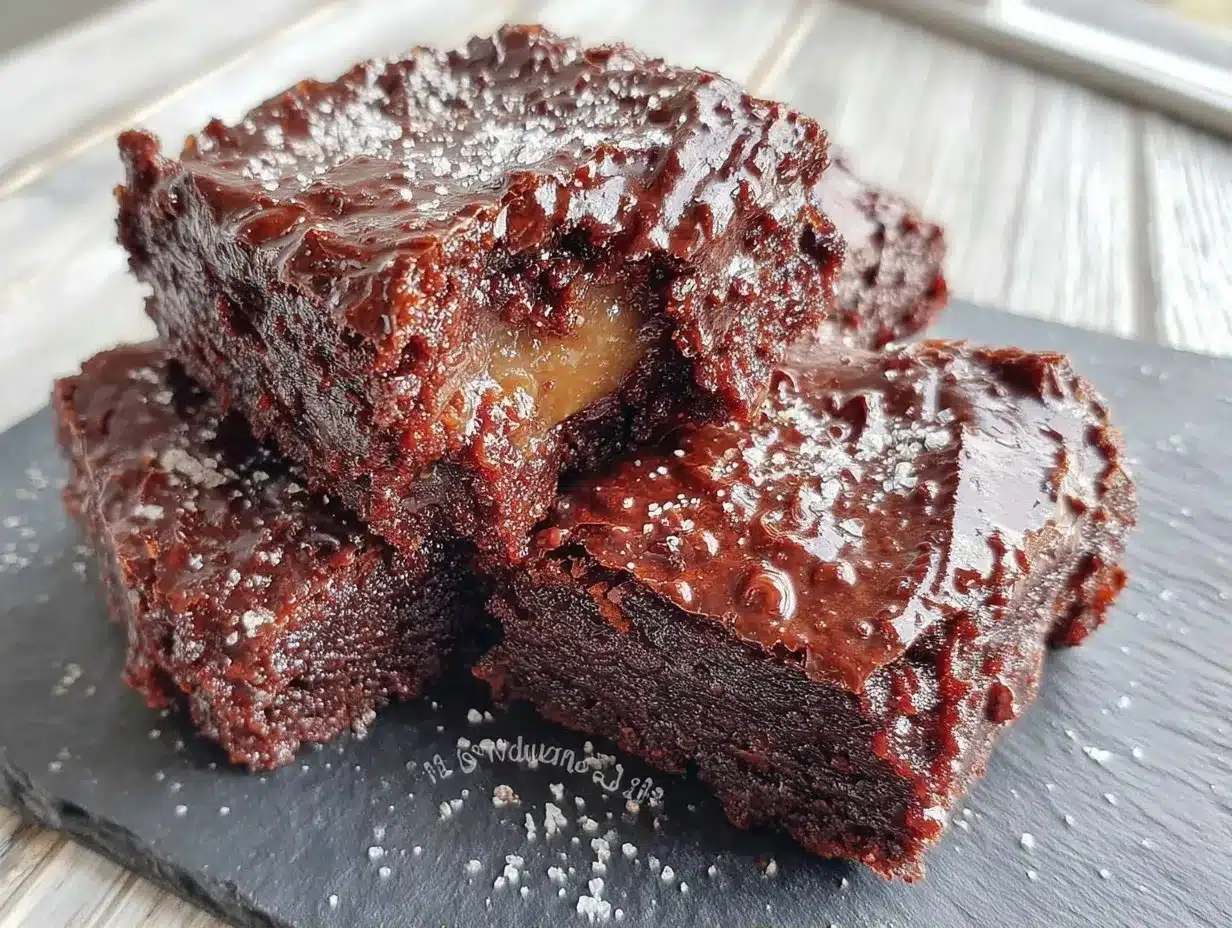
So I made these small batch fudgy brownies with espresso powder. They came together in about 20 minutes using stuff I already had in my pantry. They are dense, chocolatey, and have that deep, complex flavor that makes people ask if you went to culinary school. You didn’t. You just used a teaspoon of espresso powder.
I’ve tested this recipe about a dozen times now. I’ve tried different chocolates, different flours, and different ways to melt the butter. This is the version that works. It’s the version my kids beg for on random Wednesdays. It’s the version that saves dinner when the grocery budget is tight but the chocolate cravings are not.
Here’s the thing about brownies. Most recipes make a 9×13 pan. That’s 24 brownies. Who has time to eat 24 brownies? Nobody. This small batch makes just enough for my family of four, with maybe two left over for tomorrow’s lunchbox. It’s practical. It’s fudgy. And it’s about to become your new go-to for those “I need a win in the kitchen” moments.
Why You’ll Love This Recipe
I know what you’re thinking. “Another brownie recipe?” But hear me out. This one is different because it respects your time, your wallet, and your sanity. Here’s why this small batch fudgy brownie recipe with espresso powder has earned a permanent spot in our weekly rotation:
- Stupidly Fast — Seriously. From melted butter to the oven, it takes 15 minutes. That’s faster than I spend deciding what to watch on Netflix. I make these after the kids’ bedtime so I can eat the warm edges in peace.
- Pantry Staples Only — You probably have everything on this list right now. Flour, sugar, butter, cocoa powder, eggs, and that secret weapon: espresso powder. No fancy ingredients you need to drive to three different stores for.
- Small Batch, Big Flavor — This makes a 4×4 or 6×6 pan. Perfect for 4-6 servings. No guilt about wasting half a pan. No freezer burn anxiety. Just pure, fudgy chocolate joy.
- The Espresso Secret — You won’t taste coffee. I promise. The espresso powder just deepens the chocolate flavor, making it taste richer and more expensive than it actually is. It’s a game-changer for budget baking.
- Kid-Approved — My picky eater (who usually refuses anything with “powder” in the name) asks for these weekly. The fudgy texture is a hit, and they love dipping them in cold milk.
This is my answer to “what’s for dessert?” when I don’t want to make a fuss but still want my family to feel loved. It’s affordable, it’s fast, and it tastes like you put in way more effort than you actually did.
Ingredients You’ll Need
Here’s the best part: you likely have 80% of this already. I’m not asking you to buy exotic ingredients. This is practical baking for real families.
For the Batter:
Unsalted butter (½ cup / 115g) — You need the real deal here. Margarine won’t give you that rich fudgy texture. Cut it into cubes so it melts evenly. I usually just microwave it in a bowl for 30-second bursts.
Granulated sugar (1 cup / 200g) — Don’t be scared of the amount. This recipe is supposed to be sweet. The sugar creates that shiny, crackly top. If you’re worried about sugar, you can reduce it to ¾ cup, but the texture will be slightly less fudgy.
Eggs (2 large) — Room temperature eggs mix better. If you’re rushing, just drop them in a bowl of warm water for 5 minutes. Don’t use tiny eggs; large is standard.
Vanilla extract (1 teaspoon) — Pure vanilla, not imitation. It adds that warm background note that makes chocolate taste like chocolate. I keep a cheap bottle from the dollar store for baking and a nice one for drinking.
All-purpose flour (⅓ cup / 40g) — Just regular flour. No need for cake flour or bread flour. Spoon it into the measuring cup and level it off. Don’t pack it down.
Cocoa powder (⅓ cup / 30g) — Use unsweetened cocoa powder. Natural cocoa or Dutch-processed both work. I use whatever is on sale. Hershey’s is fine. Ghirardelli is fine. Just make sure it’s unsweetened.
Espresso powder (1 teaspoon) — This is the magic ingredient. Instant espresso crystals or instant coffee granules work. If you don’t have any, you can skip it, but you’re missing out on the flavor boost. It doesn’t make it taste like coffee; it makes it taste like *dark* chocolate.
Salt (½ teaspoon) — Essential. It balances the sweetness. If you use salted butter, reduce this to ¼ teaspoon.
Optional Mix-ins — I love adding a handful of chocolate chips or chopped walnuts. But honestly? These are so good on their own that I sometimes skip them. If you want to stretch the batch, add nuts. If you want pure chocolate, leave them out.
Pro Tip: I usually buy the large bag of cocoa powder. It lasts forever in the pantry (keep it in an airtight container) and I use it for everything from hot cocoa to these brownies. It’s one of my most-used budget staples.
Equipment Needed
You don’t need fancy gadgets. Here’s what I actually use:
Microwave-safe bowl — For melting the butter. A large glass bowl works best. If you don’t have one, use a small saucepan on the stove.
Medium mixing bowl — Any bowl that’s big enough to whisk the eggs and sugar. I use a ceramic one because it’s heavy and doesn’t slip.
Fork or whisk — You don’t need a stand mixer. A simple fork works perfectly for this small batch. It’s easier to clean, too.
4×4 or 6×6 inch baking pan — Or a small square loaf pan. I use a 6×6 pan because it’s the perfect size for 4-6 people. If you only have an 8×8, you can double the recipe (see variations below).
Parchment paper — Not strictly necessary, but it makes cleanup so much easier. Line your pan with it, leaving a little overhang on the sides so you can lift the brownies out later. This is my #1 tip for easy cleanup.
Measuring cups and spoons — Standard stuff. If you don’t have a 4×4 pan, a 6×6 pan is ideal, but you can also use a small loaf pan. Just watch the baking time closely.
How to Make It: Step-by-Step
Alright, let’s make these! It’s super simple. I’m walking you through exactly how I do it, including the little tricks that keep them fudgy.
Step 1: Prep Your Pan and Oven (2 minutes)
Preheat your oven to 350°F (175°C). Line your 4×4 or 6×6 inch baking pan with parchment paper. Grease it lightly if you’re not using parchment. This step is crucial because these brownies are sticky. Trust me, you’ll thank me later when you’re scraping the pan.
Step 2: Melt the Butter (2 minutes)
Place the butter in a microwave-safe bowl. Microwave on high for 30 seconds. Stir. Microwave for another 15-30 seconds until mostly melted. You want it liquid but not brown. Stir until it’s completely smooth. If you’re using a stovetop, melt it in a small saucepan over low heat. Don’t burn it!
Step 3: Whisk Sugar and Butter (1 minute)
Pour the melted butter into your mixing bowl. Add the sugar immediately. Whisk them together vigorously for about a minute. You want the mixture to look glossy and slightly thickened. This step helps create that shiny crust. It’s not just for looks; it affects the texture.
Step 4: Add Eggs and Vanilla (1 minute)
Add the eggs and vanilla extract. Whisk again. The mixture might look a little curdled or separated. That’s okay! It will come together once you add the dry ingredients. Don’t panic. Just keep whisking until it’s somewhat uniform.
Step 5: Mix in Dry Ingredients (2 minutes)
Add the cocoa powder, espresso powder, flour, and salt. Stir gently with a spatula or wooden spoon. Mix until just combined. Do not overmix! Once you see no more streaks of flour, stop. Overmixing makes brownies cakey, and we want fudgy. If you’re worried, undermix slightly. The residual heat will finish the job.
Step 6: Bake (20-25 minutes)
Pour the batter into your prepared pan. Smooth the top with your spatula. Bake at 350°F (175°C) for 20-25 minutes. Here’s the tricky part: you want to pull them out when a toothpick inserted into the center comes out with moist crumbs attached, not wet batter. If it’s clean, they’re overbaked. If it’s wet batter, they need 2 more minutes. For my 6×6 pan, it usually takes 22 minutes.
Step 7: Cool and Slice (15 minutes)
Let the brownies cool in the pan for at least 15 minutes. This is the hardest part. They are incredibly hot and soft when they come out. If you try to cut them immediately, they’ll fall apart. Let them set. Once cooled, lift them out using the parchment paper and slice into squares.
Total Time: About 40 minutes (10 active, 30 cooling/baking)
Expert Tips & Tricks
Here’s everything I’ve learned from making these dozens of times. These tips will save you from my mistakes.
Don’t Overbake — This is the #1 reason people get cakey brownies. Pull them out when they look slightly underdone. They will continue to cook in the hot pan. Fudgy brownies should be soft in the center.
Room Temperature Eggs — I know I mentioned this in ingredients, but it bears repeating. Cold eggs can seize the butter, making your batter lumpy. Room temp eggs blend in smoothly. Just set them out when you start melting the butter.
Quality Cocoa Matters — Since there are only a few ingredients, the cocoa powder is the star. If you have good Dutch-processed cocoa (like Ghirardelli or Valrhona), use it. It makes a noticeable difference in flavor depth. But if you’re on a budget, regular Hershey’s works fine.
The Espresso Powder Secret — I’ve made these without it before, and they’re good. But with it? They’re *amazing*. The coffee flavor doesn’t come through; it just makes the chocolate taste more like chocolate. It’s a flavor enhancer, not a flavoring. If you don’t have espresso powder, instant coffee granules work too. Just grind them up a bit if they’re large.
Storage is Key — These brownies stay fresh in an airtight container at room temperature for up to 3 days. After that, they start to dry out. I usually eat them all within two days because they’re that good.
Variations & Substitutions
Once you’ve nailed the basic version, here’s how you can mix it up. I’ve tried all of these.
Double the Batch — If you have a crowd, double the recipe and use an 8×8 inch pan. Bake time will increase to 30-35 minutes. Check at 30 minutes.
Chocolate Chip Version — Add ½ cup semi-sweet chocolate chips to the batter before baking. I love the mix of melted chocolate and distinct chips.
Walnut Brownies — Fold in ½ cup chopped walnuts. Adds crunch and breaks up the fudginess. Great for people who don’t like super soft textures.
Gluten-Free — Use a 1:1 gluten-free flour blend. The texture might be slightly denser, but it works. I’ve used Bob’s Red Mill and King Arthur, both work well.
Dairy-Free — Swap butter for coconut oil. The brownies will be slightly firmer but still delicious. Use dark chocolate chips if adding any.
Better for Kids — Reduce sugar to ¾ cup. Add a tablespoon of applesauce to keep them moist. They’ll be less fudgy but still sweet enough for kids.
Similar Recipes — If you love these, you might also enjoy my maple pecan blondies with brown butter for a lighter treat, or my silky chocolate ganache tart if you want something a bit more fancy for guests.
Serving & Storage
How to Serve:
I usually serve these warm, straight from the pan (once they’ve cooled enough to handle). They’re perfect with a glass of cold milk. I also like serving them with a dollop of whipped cream or a scoop of vanilla ice cream for a “fancy” dessert feel.
Side Dishes:
These are dessert, so they stand alone. But if you’re serving them after a meal like my creamy marry me chicken or crispy honey garlic chicken wings, the rich chocolate is a perfect contrast to savory, spicy mains.
Storage:
Keep in an airtight container at room temperature for 3 days. Do not refrigerate; it makes them hard. If you need to store them longer, freeze them. Wrap individual squares in plastic wrap and store in a freezer bag for up to 3 months. Thaw at room temperature for 30 minutes.
Reheating:
Microwave a square for 10-15 seconds to make it gooey again. It’s like getting a fresh brownie.
Nutrition Information
I’m not a nutritionist, but here’s the breakdown if you’re tracking. This is per serving (based on 16 small squares).
Per Serving:
Calories: 140
Protein: 2g
Carbs: 18g
Fat: 8g
Sugar: 12g
Fiber: 1g
What’s Good:
It’s a small portion, so it’s easier to control intake. It has some protein from the eggs.
What to Know:
It’s high in sugar and fat, obviously. It’s a treat, not a health food. But it’s homemade, so you know exactly what’s in it. No preservatives or weird additives. Just real food.
Final Thoughts
So that’s my go-to small batch fudgy brownie recipe! I’ve probably talked your ear off at this point, but when you make a recipe this often, you have a lot to say about it.
This has saved weeknight dessert more times than I can count. It’s my answer to “what’s for dessert?” when I’m tired, don’t want to order out, and still want something that tastes really good. My kids are happy, my husband’s happy, and I’m happy because I’m not stressed about cooking.
Make it yours! Try different mix-ins, adjust the sugar, or just enjoy them as is. The best recipes are the ones you adapt to your family’s tastes.
If you make this, drop a comment and let me know what you think! I love hearing how recipes turn out in your kitchen. And if something doesn’t work, tell me that too—I’m here to help troubleshoot.
Happy baking! And I hope your kitchen smells half as good as mine does right now.
Frequently Asked Questions
Can I use a different size pan?
Yes! If you use an 8×8 pan, double the recipe. If you use a 9×13, triple it. If you use a loaf pan, the bake time will be longer (30-35 minutes). Just keep an eye on the toothpick test.
Why did my brownies turn out cakey?
Usually, this means they were overbaked or overmixed. Pull them out when the toothpick has moist crumbs, not wet batter. Also, make sure you’re not stirring the flour in too vigorously. Gentle folds are best.
Can I make these ahead of time?
Absolutely. Make them 1-2 days ahead and store in an airtight container. They actually taste better the next day as the flavors meld. Just don’t refrigerate them; room temperature is best.
Can I freeze the batter?
No, I don’t recommend freezing the batter. The eggs might separate. It’s best to bake them fresh. But you can freeze the baked brownies for up to 3 months.
Is the espresso powder necessary?
No, you can skip it. But I highly recommend it. It doesn’t make them taste like coffee; it just makes the chocolate flavor deeper and richer. It’s a small ingredient that makes a big difference.
Can I use dark chocolate instead of cocoa powder?
You can melt dark chocolate and use that instead of butter and cocoa, but the texture will be different. It will be more like a dense fudge. For this specific fudgy brownie texture, cocoa powder and butter is the way to go.
How do I store leftovers?
Keep them in an airtight container at room temperature for up to 3 days. If your house is very hot, you might need to refrigerate them, but they’ll be firmer. Let them come to room temperature before eating.
Pin This Recipe!
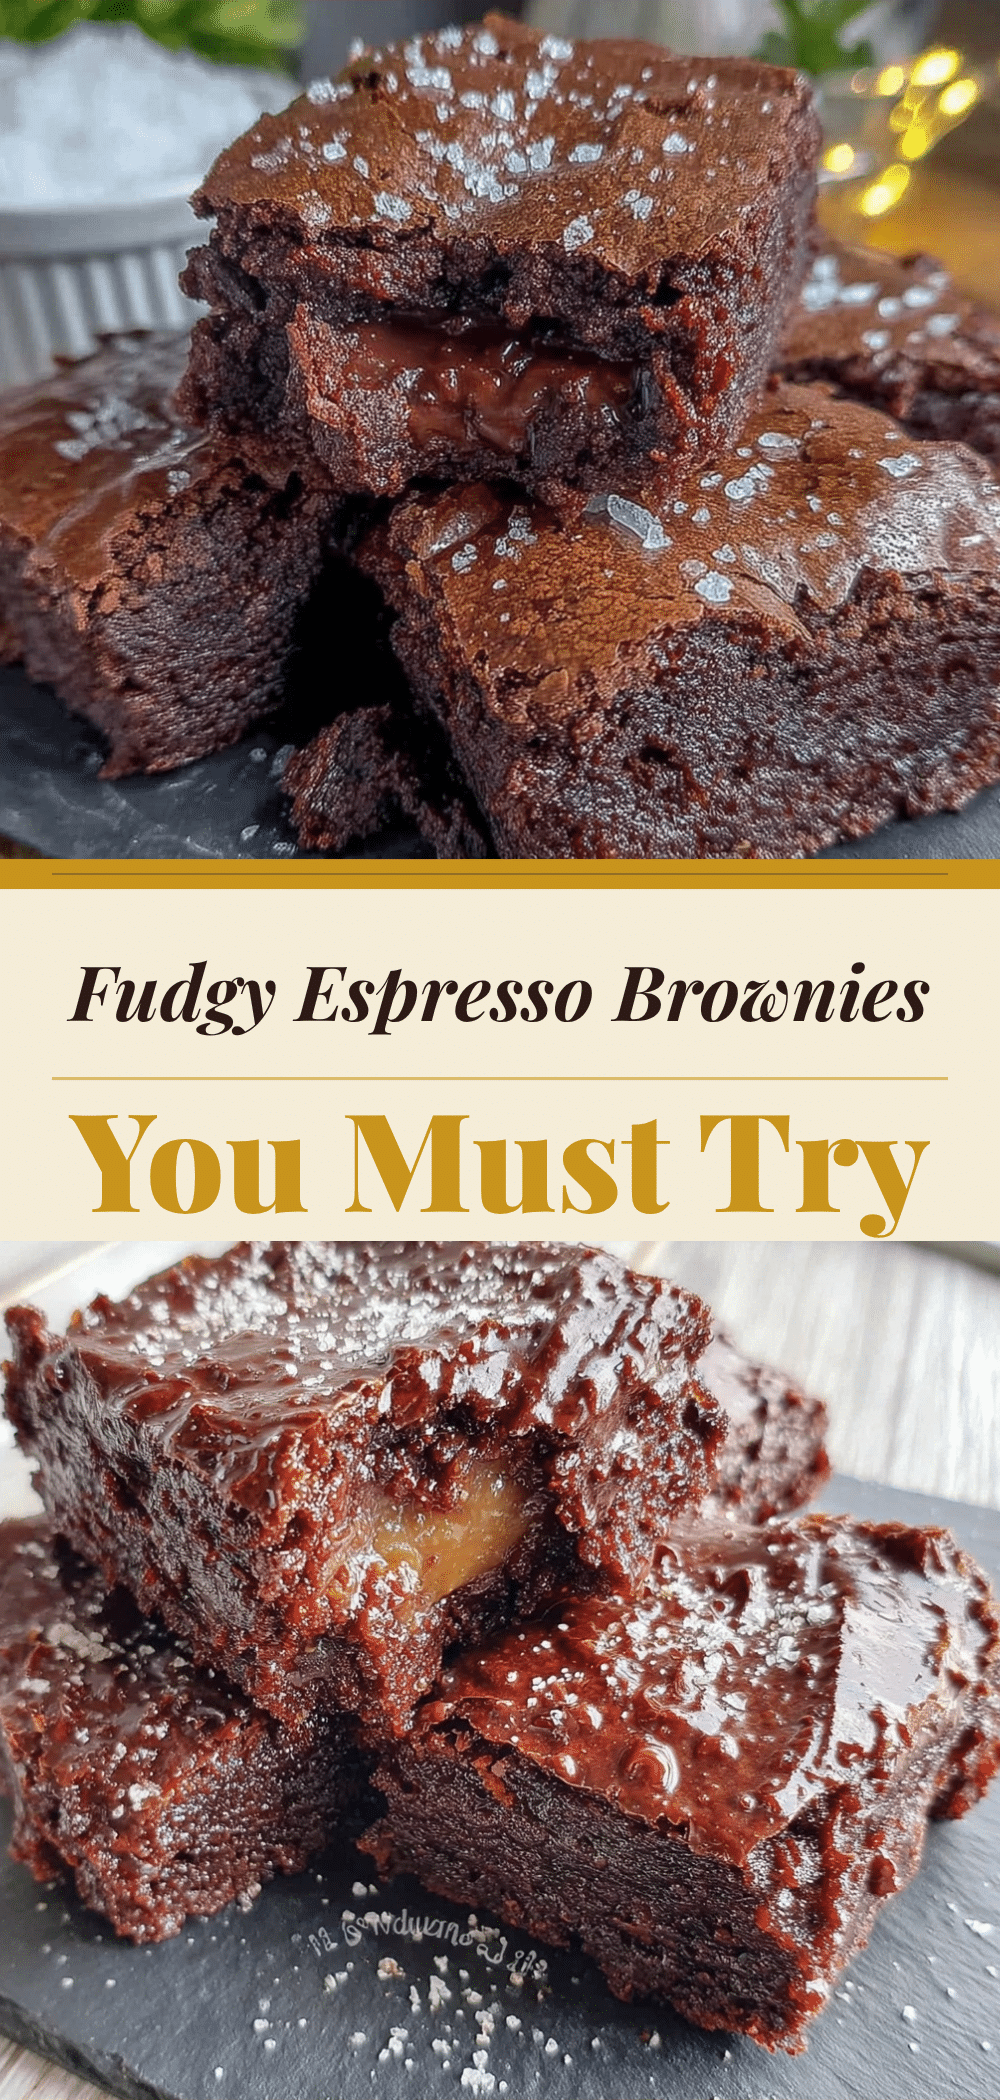
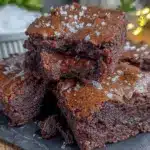
Small Batch Fudgy Brownies: Easy Family Dessert
- Total Time: 40 minutes
- Yield: 16 servings 1x
Description
These small batch fudgy brownies are dense, chocolatey, and ready in about 20 minutes using pantry staples. Enhanced with espresso powder for deep flavor, they are perfect for a quick family treat.
Ingredients
- 1/2 cup (115g) unsalted butter
- 1 cup (200g) granulated sugar
- 2 large eggs
- 1 teaspoon vanilla extract
- 1/3 cup (40g) all-purpose flour
- 1/3 cup (30g) unsweetened cocoa powder
- 1 teaspoon espresso powder
- 1/2 teaspoon salt
- Optional: 1/2 cup chocolate chips or chopped walnuts
Instructions
- Preheat oven to 350°F (175°C). Line a 4×4 or 6×6 inch baking pan with parchment paper.
- Melt the butter in a microwave-safe bowl in 30-second bursts until liquid but not brown. Stir until smooth.
- Pour melted butter into a medium mixing bowl and add sugar. Whisk vigorously for about 1 minute until glossy and slightly thickened.
- Add eggs and vanilla extract. Whisk until somewhat uniform (it may look curdled initially).
- Add cocoa powder, espresso powder, flour, and salt. Stir gently with a spatula until just combined. Do not overmix.
- Pour batter into prepared pan and smooth the top. Bake for 20-25 minutes.
- Brownies are done when a toothpick inserted into the center comes out with moist crumbs attached, not wet batter.
- Let brownies cool in the pan for at least 15 minutes before lifting out and slicing.
Notes
Do not overbake to maintain fudgy texture. Room temperature eggs blend better. Espresso powder enhances chocolate flavor without tasting like coffee. Store in an airtight container at room temperature for up to 3 days. Do not refrigerate.
- Prep Time: 10 minutes
- Cook Time: 25 minutes
- Category: Dessert
- Cuisine: American
Nutrition
- Serving Size: 1 small square
- Calories: 140
- Sugar: 12
- Sodium: 100
- Fat: 8
- Saturated Fat: 5
- Carbohydrates: 18
- Fiber: 1
- Protein: 2
Keywords: small batch brownies, fudgy brownies, easy dessert, family dessert, espresso brownies, quick baking, pantry staples