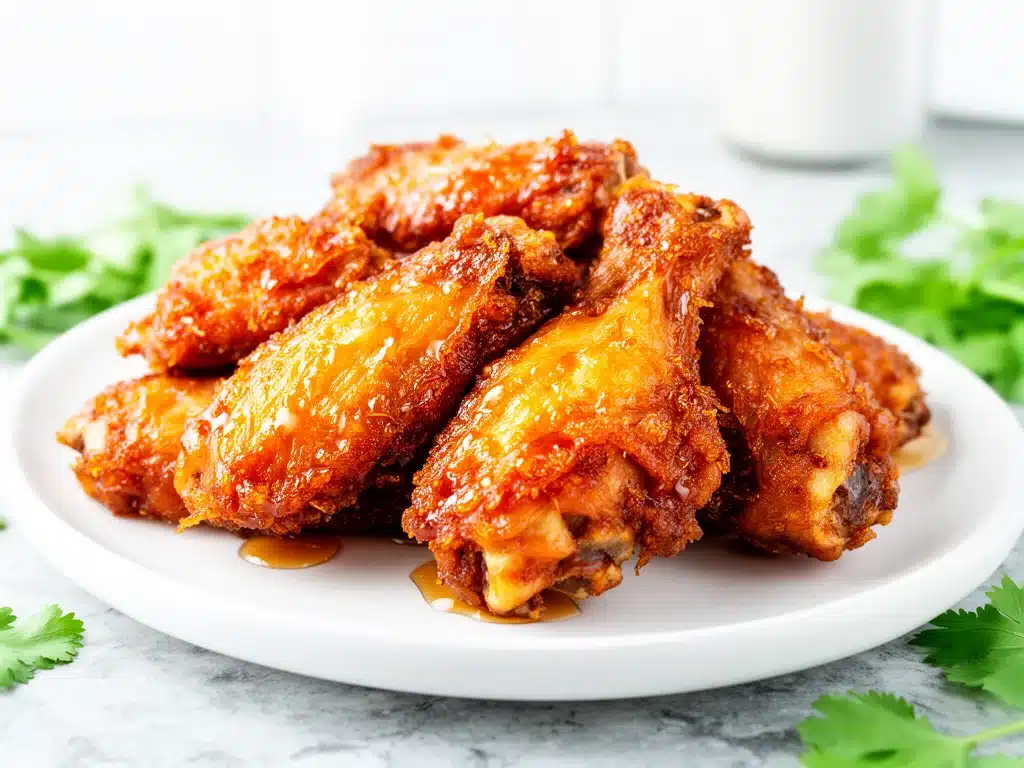
Three years ago, I made the mistake of ordering wings for dinner on a Tuesday. You know the kind. It was raining, I was exhausted, and I just wanted something salty and crunchy. The delivery arrived 45 minutes late, and when I opened the box, the wings were soggy. Like, limp. They had lost all their structural integrity in the cardboard box, and the sauce had pooled at the bottom like a greasy puddle. I ate one, threw the rest in the trash, and swore I’d never order takeout wings again.
That night, I stared into my fridge, half-expecting to find magic. I found some chicken wings, a jar of honey, a bottle of garlic powder, and a sticky note from my husband that just said “please cook something.” I decided to try making them myself. I didn’t have a deep fryer. I didn’t have a fancy air fryer (I do now, but back then, I was struggling). I just had my oven and a baking sheet.
I baked them until they were crisp, then tossed them in a quick glaze. The result? Honestly? Better than the takeout. Crispier, actually, because they hadn’t steamed in a box. And the honey garlic flavor was addictive. I ate three before my husband got home. He asked for the recipe. I didn’t have one yet, so I had to make them again the next day to write it down. Then the day after that. And the day after that.
That’s how this recipe for crispy honey garlic chicken wings was born. Not from a culinary school, but from a rainy Tuesday and a desire to beat the delivery driver. Now, it’s my go-to when I need dinner on the table fast, when the kids are hungry, or when I just want to treat myself without the guilt of a heavy restaurant meal. It’s perfect for busy weeknights because it takes less than 20 minutes of active time, and the smell alone will have your family running to the table.
I’ve tested this method so many times—some in the oven, some in the air fryer, some with cornstark, some without. I’ve figured out the exact ratio of honey to garlic that doesn’t overpower the chicken, and the cooking time that guarantees a crunch that lasts even after saucing. If you’ve ever struggled with soggy wings or burnt garlic, this guide is for you. I’m sharing exactly how I make my crispy honey garlic chicken wings every single week.
Why You’ll Love This Recipe
There are a few reasons I keep coming back to these wings, but let’s be real: it’s mostly because they’re ridiculously good and incredibly easy. Here’s why this recipe has earned a permanent spot in my weekly rotation.
- Stupidly Simple — Seriously, if you can boil water and mix two things in a bowl, you can make these. I’ve walked my teenage son through it over FaceTime while he was at college. He made them last weekend and sent me a photo. They looked perfect.
- Lightning Fast — 20 minutes from start to finish. Yes, really. The wings cook quickly, and the sauce comes together in the same pan while they’re in the oven. I make this on weeknights when I get home at 7pm and need dinner on the table by 7:30.
- Crowd-Pleaser — I’ve served these to my vegetarian sister (who eats them anyway because they’re just chicken), my gluten-free neighbor (with a quick swap), and my I-only-eat-steak dad. Even he asked for seconds. Everyone loves them.
- Makes Amazing Leftovers — I know what you’re thinking: “Wings don’t have leftovers.” They do. And they taste amazing cold or reheated. I deliberately make extra for lunch on Thursday. The flavors actually deepen overnight.
- Budget-Smart — Chicken wings are one of the cheapest cuts of meat. I can buy a pound for $3-$4, and this recipe feeds 4-6 people easily. That’s less than one meal at a fast-food place, and way healthier.
This is my go-to when I need dinner to just work. No complicated techniques, no weird ingredients, just reliable, delicious food that makes everyone happy. Plus, the smell of honey and garlic baking in your kitchen is basically magic. It turns a tired weeknight into a celebration.
Ingredients You’ll Need
Here’s the best part: you probably have most of these already. This isn’t a recipe that requires a trip to three different specialty stores. I’m particular about a few things, but the list is short and sweet.
For the Wings
Chicken wings (2 pounds / 900g) — I use whole wings, separated into drumettes and flats. You can use drumettes only if you prefer, but whole wings have more skin, which means more crispiness. Look for fresh wings if you can; frozen works too, but you’ll need to thaw them completely and pat them very dry.
Cornstarch (2 tablespoons / 15g) — This is the secret weapon. Cornstarch draws out moisture and creates a super crunchy coating without needing a batter. It’s gluten-free, so it works for everyone. Don’t skip this, or you won’t get that signature crunch.
Garlic powder (1 teaspoon / 5g) — This goes on the wings before cooking. It infuses the meat with flavor. I use my favorite brand, McCormick, but any good quality garlic powder works.
Smoked paprika (½ teaspoon / 2g) — Adds a subtle smokiness that balances the sweet honey. It’s optional, but I think it makes the flavor profile more complex. If you don’t have it, use regular paprika or just skip it.
Salt and black pepper (to taste) — Season generously. The wings need salt to taste good.
For the Honey Garlic Sauce
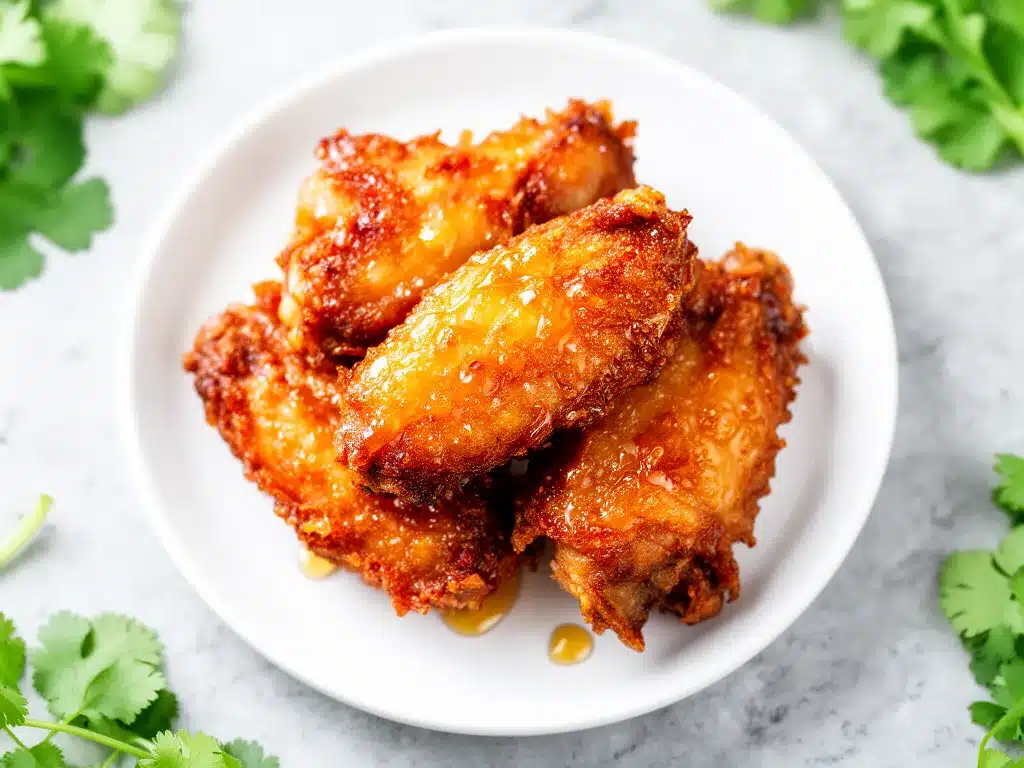
Butter (3 tablespoons / 45g) — Unsalted is best so you can control the salt. Butter adds richness and helps the sauce cling to the wings. Olive oil works, but butter tastes better here.
Garlic (4 cloves, minced / about 2 tablespoons) — Yes, four cloves. Fresh garlic is non-negotiable for this sauce. It provides the sharp, aromatic punch that powder can’t match. Minced finely so it doesn’t burn.
Honey (½ cup / 170g) — Use good quality honey. Clover or wildflower works well. Avoid artificial honey substitutes; they don’t caramelize the same way. This is the main sweetener, so make it count.
Soy sauce (2 tablespoons / 30ml) — Adds saltiness and umami. It balances the sweetness of the honey. Use low-sodium soy sauce if you’re watching your salt intake.
Rice vinegar (1 tablespoon / 15ml) — A little acidity cuts through the richness of the butter and honey. It brightens the whole sauce. If you don’t have rice vinegar, apple cider vinegar works too.
Sriracha or chili flakes (1 teaspoon / 5g) — Optional, but I recommend it. Just a little heat keeps the flavor from being too sweet. Adjust to your spice tolerance.
For Garnish
Green onions (2, sliced) — Adds a fresh, crunchy pop of color and flavor. It’s not essential, but it makes the dish look restaurant-quality.
Sesame seeds (1 tablespoon) — Adds a nutty texture and visual appeal. Toasted sesame seeds are best, but regular works too.
Equipment Needed
You don’t need fancy equipment for this. Here’s what I actually use.
Baking sheet — I use a standard half-sheet pan. Make sure it’s large enough to hold all the wings in a single layer. Crowding leads to steaming, not crisping.
Wire rack — This is optional but highly recommended. Placing the wings on a wire rack over the baking sheet allows air to circulate underneath, ensuring even cooking and crispiness on all sides. If you don’t have a rack, just flip the wings halfway through cooking.
Small saucepan — For making the sauce. A 1-quart pan is perfect. I use stainless steel, but non-stick works too.
Large mixing bowl — For tossing the wings with cornstarch and spices.
Tongs — For handling the hot wings. Metal tongs are best because they won’t melt.
Pastry brush — For brushing the sauce onto the wings if you prefer a glossy finish. Or just toss them in a bowl.
How to Make It: Step-by-Step
Alright, let’s make this! I’m walking you through exactly how I do it, including the little tricks I’ve picked up over the years.
Step 1: Prep the Wings (5 minutes)
Separate the wings into drumettes and flats if they’re still whole. Discard the tips, or save them for stock. Pat the wings extremely dry with paper towels. This is crucial. Moisture is the enemy of crispiness. The drier they are, the crunchier they get. I spend a good 2-3 minutes drying them off. It’s worth it.
Step 2: Season and Coat (3 minutes)
In a large bowl, toss the dried wings with cornstarch, garlic powder, smoked paprika, salt, and black pepper. Use your hands to ensure every wing is evenly coated. The cornstarch should form a thin, dusty layer on the skin. If you have time, let them sit in the fridge uncovered for 30 minutes. This dries the skin out even more. If you’re in a hurry, skip this step, but don’t skip the cornstarch.
Step 3: Bake the Wings (12-15 minutes)
Preheat your oven to 400°F (200°C). Line a baking sheet with parchment paper or foil for easy cleanup, and place a wire rack on top. Arrange the wings on the rack in a single layer, making sure they aren’t touching. Bake for 12-15 minutes, flipping halfway through. You want them golden brown and crispy. The edges should look slightly charred. If you’re using an air fryer, cook at 400°F for 15-18 minutes, shaking the basket halfway.
Step 4: Make the Sauce (3 minutes)
While the wings bake, make the sauce. In a small saucepan over medium heat, melt the butter. Add the minced fresh garlic and cook for 30 seconds, stirring constantly. Don’t let it brown. Then add the honey, soy sauce, rice vinegar, and sriracha. Stir to combine and let it simmer for 1-2 minutes until it thickens slightly. It should coat the back of a spoon. Remove from heat.
Step 5: Combine and Serve (2 minutes)
Remove the crispy wings from the oven. Transfer them to a large bowl. Pour the warm honey garlic sauce over the wings. Toss gently but thoroughly until every wing is coated. The heat from the wings will help the sauce adhere. Garnish with sliced green onions and sesame seeds. Serve immediately while they’re still hot and crispy.
Total Time: About 20-25 minutes (5 minutes prep, 15 minutes cook, 5 minutes sauce).
Expert Tips & Tricks
Here’s everything I’ve learned from making this dozens of times. These tips will save you from my mistakes.
Pat Them Dry — I can’t stress this enough. Wet wings = steamed wings = sad, soft chicken. Use paper towels. Be aggressive. If they’re not dry, they won’t crisp up.
Don’t Crowd the Pan — If the wings are touching, they’ll steam each other. Give them space. If you have a lot of wings, cook in batches. It’s better to cook in two rounds than to have soggy wings.
Cornstarch is Key — This is what makes them crispy without frying. It creates a barrier that crunches up in the oven. Some people use flour, but cornstarch gives a lighter, crispier texture. Stick with it.
Control the Heat — When making the sauce, keep the heat low to medium. Honey burns easily. If you let it boil too hard, it’ll become bitter. Gentle simmering is best.
Coat Immediately — Toss the wings in the sauce right out of the oven. The residual heat helps the sauce stick. If you let them cool first, the sauce will slide off.
Variations & Substitutions
Once you’ve nailed the basic version, here’s how you can mix it up. I’ve tried all of these.
Spicy Honey Garlic — Double the sriracha or add a chopped jalapeño to the sauce. For those who like it hot, this version is addictive.
Ginger Kick — Add 1 teaspoon of grated fresh ginger to the sauce. It adds a zesty, warm flavor that pairs beautifully with honey and garlic.
Teriyaki Twist — Swap the soy sauce for teriyaki sauce and reduce the honey by half. It’s sweeter and more savory.
Dairy-Free — Use olive oil or coconut oil instead of butter. The sauce will be slightly different in flavor, but still delicious.
Gluten-Free — Use gluten-free soy sauce (or tamari) and cornstarch (which is naturally gluten-free). This recipe is easily adaptable for gluten-free diets.
Alternative Coatings — If you don’t have cornstarch, you can use arrowroot powder or tapioca starch. They work similarly. Avoid all-purpose flour if you want maximum crispiness.
Serving & Storage
How to Serve: I usually serve these straight from the bowl at the dinner table. They look rustic and inviting. But here are other ways I’ve enjoyed them:
- With dipping sauces: Blue cheese, ranch, or even a simple yogurt dip. The wings are so flavorful, you don’t need much.
- As an appetizer: Make a double batch for game day or parties. They disappear fast.
- With sides: I serve these with healthy green apple spinach smoothies for a refreshing contrast, or with roasted vegetables for a balanced meal.
Storage Instructions:
Refrigerator: Store leftovers in an airtight container for up to 3 days. The wings will lose some crispiness, but they’re still tasty.
Reheating: The best way to reheat is in the oven or air fryer. Preheat to 400°F and heat for 5-7 minutes. This restores the crispiness. Avoid the microwave, as it makes them soggy. If you must use the microwave, do it for short bursts and let them sit for a minute to steam off.
Freezing: You can freeze cooked wings for up to 2 months. Thaw in the fridge and reheat in the oven. The sauce doesn’t freeze well separately, so it’s better to freeze the wings plain and make fresh sauce later.
Nutrition Information
I’m not a nutritionist, but here’s the breakdown if you’re tracking.
Per Serving (based on 6 servings):
- Calories: 320
- Protein: 18g
- Carbs: 22g
- Fiber: 0g
- Sugar: 18g
- Fat: 18g
- Sodium: 350mg
What’s Good: High in protein, which keeps you full. The wings are a good source of B vitamins.
What to Know: Higher in sugar from the honey. The sodium is moderate, but using low-sodium soy sauce can help. It’s a treat, so enjoy it in moderation.
Final Thoughts
So that’s my go-to crispy honey garlic chicken wings recipe! I’ve probably talked your ear off at this point, but when you make a recipe this often, you have a lot to say about it.
This has saved weeknight dinners more times than I can count. It’s my answer to “what’s for dinner” when I’m tired, don’t want takeout, and still want something that tastes really good. My kids are happy, my husband’s happy, and I’m happy because I’m not stressed about cooking.
Make it yours! Try different add-ins, swap in your favorite vegetables, adjust the garlic (though more is always better in my opinion). The best recipes are the ones you adapt to your family’s tastes. If you’re looking for more easy weeknight ideas, check out these soft baked ham cheese pretzel bites or this back to school chicken caesar wrap for some variety.
If you make this, drop a comment and let me know what you think! I love hearing how recipes turn out in your kitchen. And if something doesn’t work, tell me that too—I’m here to help troubleshoot.
Happy cooking! And I hope your kitchen smells half as good as mine does right now.
Frequently Asked Questions
Can I use frozen wings?
Yes, but you must thaw them completely first. Pat them extremely dry before seasoning. Frozen wings release a lot of moisture, so if you don’t dry them well, they’ll steam instead of crisp up. I prefer fresh wings, but frozen works in a pinch.
Why are my wings not crispy?
Usually, this happens because the wings were too crowded on the pan, or they weren’t dry enough before baking. Make sure to pat them dry with paper towels and leave space between them on the rack. Also, ensure your oven is fully preheated to 400°F.
Can I make the sauce ahead of time?
You can, but the sauce is best made fresh while the wings are cooking. It thickens as it cools, so if you make it ahead, you might need to add a splash of water or broth to thin it out before tossing with the wings. I recommend making it right before serving for the best texture.
Is this recipe spicy?
The base recipe is sweet and savory with a hint of garlic. The sriracha adds a mild kick, but it’s not hot. If you want it spicier, add more sriracha or red pepper flakes. If you don’t want any heat, just omit the sriracha completely.
Can I use chicken thighs instead of wings?
You can, but the cooking time will be different. Chicken thighs are thicker and take longer to cook. You’ll need to bake them for 25-30 minutes. The texture will be juicier but less crispy. Wings are best for this recipe because of their high skin-to-meat ratio.
How do I store leftovers?
Store in an airtight container in the fridge for up to 3 days. Reheat in the oven or air fryer to restore crispiness. Avoid the microwave if possible, as it makes them soggy.
Pin This Recipe!
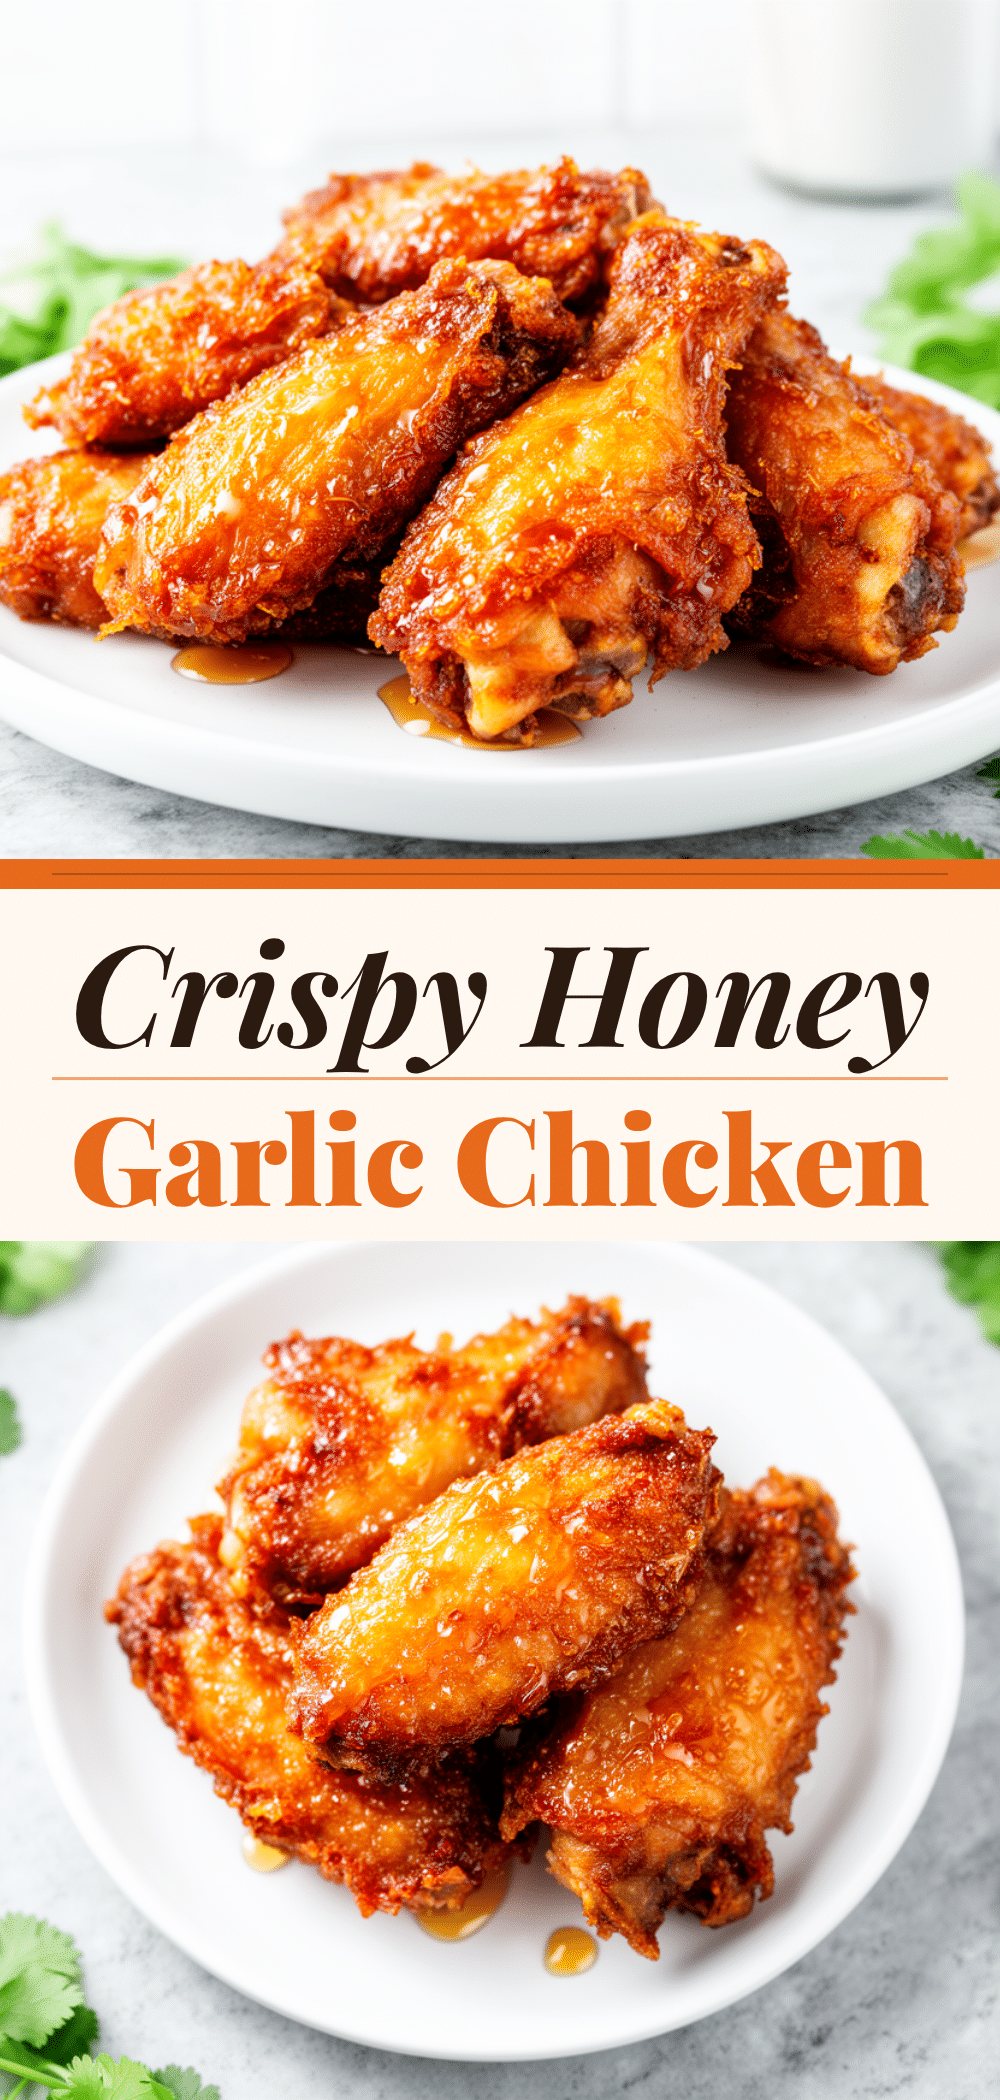

Crispy Honey Garlic Chicken Wings
- Total Time: 20 minutes
- Yield: 4-6 servings 1x
Description
These crispy honey garlic chicken wings are baked to perfection in under 20 minutes, offering a healthier, crunchier alternative to takeout with a sweet and savory glaze.
Ingredients
- 2 pounds chicken wings (separated into drumettes and flats)
- 2 tablespoons cornstarch
- 1 teaspoon garlic powder
- 1/2 teaspoon smoked paprika
- Salt and black pepper to taste
- 3 tablespoons unsalted butter
- 4 cloves garlic, minced
- 1/2 cup honey
- 2 tablespoons soy sauce
- 1 tablespoon rice vinegar
- 1 teaspoon sriracha or chili flakes (optional)
- 2 green onions, sliced (for garnish)
- 1 tablespoon sesame seeds (for garnish)
Instructions
- Preheat oven to 400°F (200°C). Line a baking sheet with parchment paper or foil and place a wire rack on top.
- Pat chicken wings extremely dry with paper towels to ensure crispiness.
- In a large bowl, toss dried wings with cornstarch, garlic powder, smoked paprika, salt, and pepper until evenly coated.
- Arrange wings in a single layer on the wire rack, ensuring they are not touching.
- Bake for 12-15 minutes, flipping halfway through, until golden brown and crispy.
- While wings bake, melt butter in a small saucepan over medium heat.
- Add minced garlic and cook for 30 seconds, stirring constantly.
- Add honey, soy sauce, rice vinegar, and sriracha. Simmer for 1-2 minutes until slightly thickened.
- Remove wings from oven and transfer to a large bowl.
- Pour warm sauce over wings and toss gently to coat evenly.
- Garnish with green onions and sesame seeds. Serve immediately.
Notes
Patting the wings dry is crucial for crispiness. Do not crowd the pan; cook in batches if necessary. For extra crispiness, let seasoned wings sit in the fridge uncovered for 30 minutes before baking. Reheat leftovers in an oven or air fryer at 400°F for 5-7 minutes to restore crunch.
- Prep Time: 5 minutes
- Cook Time: 15 minutes
- Category: Main Course
- Cuisine: American
Nutrition
- Serving Size: Approximately 1/6th
- Calories: 320
- Sugar: 18
- Sodium: 350
- Fat: 18
- Saturated Fat: 6
- Carbohydrates: 22
- Protein: 18
Keywords: chicken wings, honey garlic, crispy wings, easy dinner, weeknight meals, baked wings, gluten-free option


