There was a crisp Tuesday in October last year when the air finally smelled like woodsmoke and dying leaves, and I decided that grocery store apple pie simply wasn’t going to cut it anymore. I’d bought a refrigerated crust from the store, convinced myself I was being efficient, and ended up with a soggy, bland disaster that tasted more like cardboard than dessert. My husband took one bite, pushed the plate away, and said, “Can we just have ice cream?” It stung, but he was right. I wanted something that felt special, something that captured the essence of autumn but didn’t require a full-blown baking marathon.
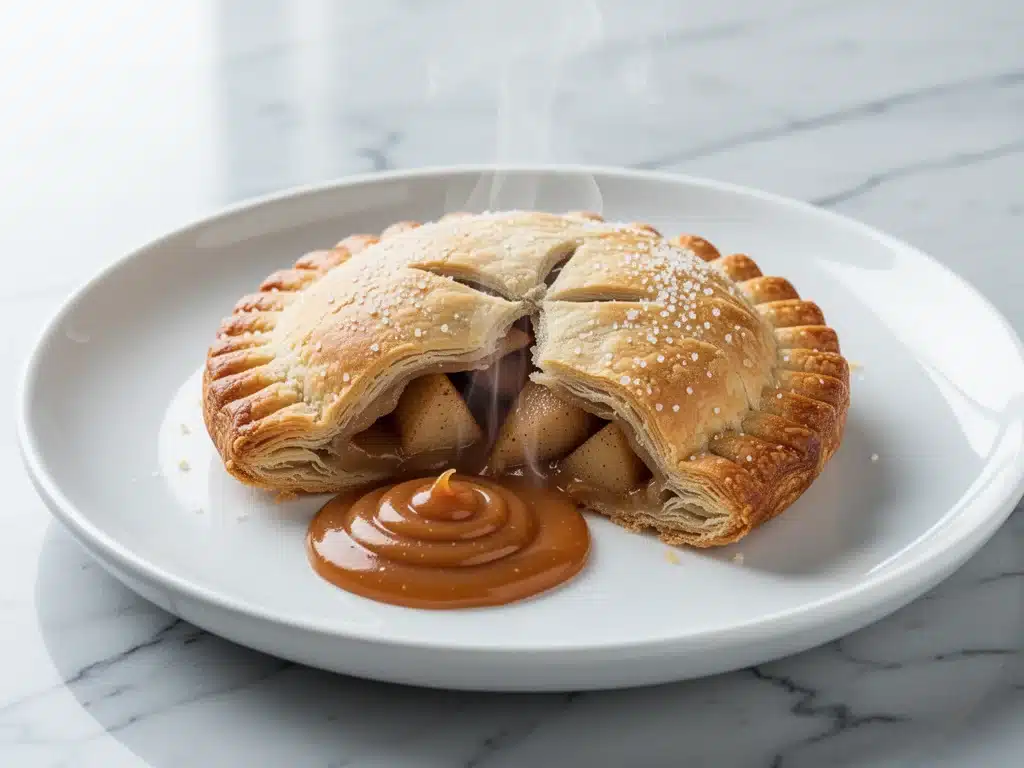
That failure led me straight to the oven with a box of puff pastry and a bowl of peeled apples. I didn’t set out to reinvent the wheel; I just wanted a handheld treat that tasted like a crisp orchard walk. What came out of the oven were these golden, flaky, buttery hand pies bursting with spiced apple filling and topped with a drizzle of salted caramel. They were messy to eat (which is part of the fun), impossibly easy to make, and so good that my husband forgot about his ice cream entirely. I’ve made these fall salted caramel apple hand pies at least eight times since that Tuesday, and every single batch has been better than the last.
Here’s the thing about these hand pies: they’re the perfect bridge between a quick snack and a proper dessert. They’re sweet but not cloying, thanks to the sharp contrast of tart apples and savory salt. They’re portable, which makes them great for potlucks or lunchboxes, but they’re fancy enough to serve with a scoop of vanilla bean ice cream on a chilly night. If you’ve been looking for a way to use up those end-of-season apples without the hassle of a traditional lattice crust, you’ve found your new obsession. Trust me, once you take that first bite of flaky pastry and warm, caramelized apple, you’ll be making these on repeat until the apples are gone.
Why You’ll Love This Recipe
I know, I know—another apple dessert? But hear me out. These hand pies solve the biggest problem with autumn baking: time and effort. I’ve tried dozens of variations over the years, from mini tarts to massive turnovers, and this method just works better. Here’s why these have taken over my kitchen rotation:
- Puff Pastry Shortcut — Seriously, if you can roll out dough and cut shapes, you can make this. I use store-bought puff pastry sheets because they’re flaky, buttery, and save me an hour of working with cold butter. My teenage daughter can make these without me hovering. It’s that simple.
- Lightning Fast Assembly — 30 minutes from start to finish, and only 15 of those are active prep. I make these on weeknights when I get home at 6pm and still want something homemade. The rest is just baking time where I’m free to binge-watch a show or help with homework.
- Texture Obsession — The combination of crisp, shattering pastry and soft, spiced apples is addictive. Plus, that salted caramel drizzle? It’s not just decoration. It adds a salty-sweet crunch that makes every bite complex and interesting.
- Perfectly Portable — I’ve packed these in lunchboxes for my kids, brought them to work meetings, and taken them on hiking trips. They hold up beautifully at room temperature for hours, unlike a slice of pie that gets mushy in a container.
- Uses Up Apples — Autumn means a surplus of apples at the farmers market. These hand pies are a genius way to use 4-5 medium apples without committing to a whole pie. I usually buy a peck and make these, then freeze the rest for later.
- Make-Ahead Friendly — You can assemble them raw and freeze them for later, or bake them ahead and reheat. I love making a double batch on Sunday so I have ready-to-go treats for the week.
This is my go-to when I need dessert to just work. No complicated techniques, no weird ingredients, just reliable, delicious food that makes everyone happy. If you love the idea of brown butter chocolate chip cookies for their rich flavor and ease, these hand pies will scratch that same itch but with a seasonal twist.
Ingredients You’ll Need
Here’s the best part: you probably have most of this already, or it’s a quick trip to the store. I’m particular about three ingredients here, and I’ll tell you exactly why they matter.
For the Pastry
Puff pastry sheets (2 sheets, thawed / 440g) — I always use Pepperidge Farm or a similar brand found in the freezer aisle. Thaw it in the fridge overnight. Don’t use frozen puff pastry that’s still rock hard; it’ll tear. This is the foundation, so quality matters.
Large egg (1, beaten with 1 tablespoon water / for egg wash) — This gives the crust that gorgeous golden-brown shine. Don’t skip it. If you’re allergic to eggs, you can use a little milk, but it won’t get as shiny.
Coarse sea salt or flaky salt (for sprinkling) — This goes on top of the pastry before baking. It adds tiny bursts of flavor and looks beautiful. Maldon is my favorite, but any flaky salt works.
For the Apple Filling
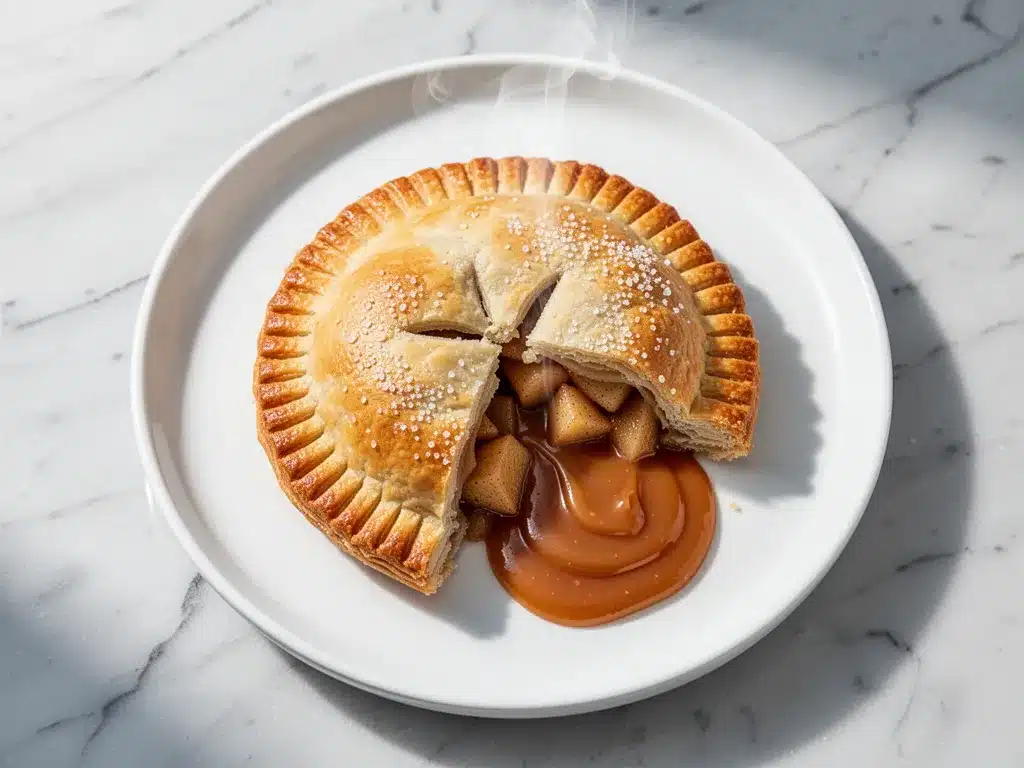
Granny Smith apples (4 medium, peeled and diced / about 600g) — I prefer Granny Smith because they hold their shape and have a nice tartness that cuts through the sugar. Honeycrisp or Gala work too, but they get softer. I sometimes mix them—half Granny Smith, half Honeycrisp for the best of both worlds.
Unsalted butter (2 tablespoons) — For sautéing the apples. Adds richness and helps caramelize the edges.
Granulated sugar (3 tablespoons) — Adjust based on how sweet your apples are. Taste a slice of apple first. If it’s super tart, bump it to 4 tablespoons.
Ground cinnamon (1 teaspoon) — The classic fall spice. Don’t use old cinnamon; if it’s been sitting in your cabinet for two years, toss it. Fresh spice makes a huge difference.
Ground nutmeg (¼ teaspoon) — Just a pinch. It adds depth without tasting like nutmeg. Freshly grated is best, but pre-ground is fine.
Vanilla extract (1 teaspoon) — Pure vanilla, not imitation. It rounds out the spice flavor.
Lemon juice (1 tablespoon) — Prevents browning and adds brightness. Balances the sweetness.
For the Salted Caramel Drizzle
Butter (2 tablespoons) — Unsalted, softened.
Heavy cream (3 tablespoons) — Room temperature works best to prevent seizing.
Brown sugar (½ cup / 100g) — Light or dark, your choice. Dark has a deeper molasses flavor.
Flaky sea salt (½ teaspoon) — Essential for the “salted” part. Don’t use table salt.
Optional Add-ins:
Chopped pecans (¼ cup) — Sprinkle on top before baking for extra crunch. My kids love this version.
White chocolate chips (2 tablespoons) — Toss with the apples for pockets of sweet meltiness.
Personal Tips:
I buy pre-peeled apples when I’m being lazy, but peeling them yourself ensures you get the best texture. I keep my puff pastry in the freezer at all times—thawing one sheet takes about 30 minutes on the counter, so I’m never without it. If you’re making these for a party, you can halve the caramel sauce; you don’t need to drown them.
Equipment Needed
You don’t need fancy equipment for this. Here’s what I actually use.
Large skillet — 10-inch cast iron or stainless steel works best for sautéing the apples. I prefer cast iron because it holds heat well and gives nice browning.
Baking sheet — Standard 13×18 inch. Line it with parchment paper for easy cleanup. I’ve burned cookies on unlined sheets before—don’t make my mistake.
Parchment paper — Essential. Keeps the pastry from sticking and makes cleanup a breeze.
Paring knife — For peeling and dicing apples. A sharp knife is safer than a dull one, trust me.
Measuring cups and spoons — Standard stuff. I use metal spoons for dry ingredients.
Pastry brush — For the egg wash. A silicone one is easy to clean. I use my finger if I’m being really lazy, but a brush gives even coverage.
Rolling pin — Optional. The dough usually rolls out fine with your hands, but a rolling pin helps if you need to thin it out.
Small saucepan — For making the caramel sauce. I use a tiny 1-quart pan so I don’t waste space on the stove.
Cooling rack — Let the hand pies cool completely before drizzling. Hot pastry melts caramel instantly.
Optional but nice:
Apple peeler/corer — Saves time if you’re making a lot. I have one from IKEA that’s cheap and works okay.
Cookie cutter — For cutting the pastry into perfect circles or rectangles. I just use a knife for rustic edges.
How to Make It: Step-by-Step
Alright, let’s make this! I’m walking you through exactly how I do it, including the little tricks I’ve picked up.
Step 1: Prep the Apples (10 minutes)
Peel, core, and dice the apples into ½-inch cubes. You want them small enough to fit in the hand pie but large enough to have bite-sized chunks. Toss them with the lemon juice to prevent browning while you work. Set aside.
Step 2: Cook the Filling (8-10 minutes)
Melt the butter in your skillet over medium heat. Add the diced apples, sugar, cinnamon, nutmeg, and vanilla. Stir to coat. Cook for 5-7 minutes, stirring occasionally, until the apples are tender but still hold their shape. They should be translucent and fragrant. Remove from heat and let cool completely. If you try to fill hot pastry, it will steam and get soggy. This is crucial.
Step 3: Prepare the Pastry (5 minutes)
Preheat your oven to 400°F (200°C). Line a baking sheet with parchment paper. Unroll the puff pastry sheets onto a lightly floured surface. If they’re stiff, let them sit for 5 minutes to soften slightly. You’ll cut each sheet into 4 squares, giving you 8 hand pies total.
Step 4: Assemble the Hand Pies (10 minutes)
Take one square of pastry. Place 2-3 tablespoons of the cooled apple filling in the center, leaving a ½-inch border. Brush the edges with egg wash. Fold the pastry over the filling to create a triangle (or rectangle if you prefer). Press the edges firmly with your fingers, then crimp with a fork to seal. Make sure there are no gaps, or the filling will leak. Repeat with remaining squares.
Step 5: Bake (15-18 minutes)
Place the hand pies on the prepared baking sheet. Brush the tops with egg wash and sprinkle with coarse sea salt. Cut 2-3 small slits in the top of each pie to let steam escape. Bake for 15-18 minutes, rotating halfway through, until golden brown and puffed. They should look shiny and flaky.
Step 6: Make the Caramel Sauce (5 minutes)
While the pies cool, make the caramel. In a small saucepan, combine butter, brown sugar, and heavy cream. Heat over medium-low, stirring constantly, until the sugar dissolves and the mixture bubbles. Simmer for 2 minutes. Remove from heat and stir in the flaky salt. Let it cool for 5 minutes—it will thicken slightly.
Step 7: Cool and Drizzle
Let the hand pies cool on the baking sheet for at least 10 minutes. They need to set so the filling doesn’t spill out. Once cool, drizzle the warm caramel over the top. Serve immediately or store for later.
Total Time: About 45 minutes (15 minutes active, 30 minutes mostly hands-off)
Expert Tips & Tricks
Here’s everything I’ve learned from making this dozens of times. These tips will save you from my mistakes.
Don’t Skip the Cooling Step
This is the #1 mistake people make. Hot filling = soggy crust. I’ve had to throw away whole batches because I was too impatient. Let the apples cool completely, and let the baked pies cool before drizzling.
Seal Like a Boss
If your edges aren’t sealed tight, the filling will ooze out and burn on the pan. Press hard with your fingers, then crimp with a fork. I sometimes dip my fingers in water to help the pastry stick better.
Keep the Pastry Cold
If your kitchen is warm, the puff pastry can get soft and lose its lift. Work quickly, and if it starts getting sticky, pop the assembled pies in the fridge for 10 minutes before baking. Cold pastry = flakier crust.
Egg Wash Technique
Brush gently. Too much egg wash can make the crust dense. Just a light coat is enough for that golden shine.
Caramel Consistency
If your caramel is too thick, add a teaspoon of warm cream. If it’s too thin, let it simmer a minute longer. It should drizzle, not pool.
Common Mistakes:
Mistake: Soggy bottom
Fix: Make sure your baking sheet is hot. I preheat the sheet for 5 minutes before putting the pies on. Also, ensure the filling is cool.
Mistake: Leaking filling
Fix: You didn’t seal the edges well enough, or the filling was too hot. Check your seals and cool the apples.
Mistake: Burnt bottoms
Fix: Your oven runs hot. Lower the temperature by 25°F and check earlier. Puff pastry burns fast.
Variations & Substitutions
Once you’ve nailed the basic version, here’s how you can mix it up. I’ve tried all of these.
Pear and Ginger Version
Swap apples for ripe pears. Add ½ teaspoon ground ginger to the filling. It’s spicier and more sophisticated. Great for Thanksgiving.
Pumpkin Spice Version
Use canned pumpkin puree (strained) mixed with 1 tablespoon brown sugar, cinnamon, nutmeg, and ginger. It’s like a pumpkin pie in hand pie form. Add a pinch of pumpkin pie spice.
Chocolate Apple Version
Toss ¼ cup mini chocolate chips with the apples before filling. The chocolate melts into the apples for a fondue-like experience. My kids’ favorite.
Bacon Apple Version
Add 2 strips of cooked, crumbled bacon to the filling. The salty, smoky bacon pairs perfectly with the sweet apples and caramel. It sounds weird, but it’s amazing. If you’re a fan of savory bacon egg and cheese breakfast sliders, you’ll love this sweet-savory combo.
Dietary Modifications:
Gluten-Free
Use gluten-free puff pastry. Brands like Dufour or Whole Foods brand work well. The texture might be slightly less flaky, but it still tastes great.
Dairy-Free
Use coconut oil instead of butter in the filling and caramel. Use oat milk or coconut cream for the egg wash substitute. It changes the flavor slightly but is still delicious.
Lower Sugar
Reduce sugar in the filling to 1 tablespoon. Use sugar-free caramel drizzle (available in stores) or just skip the drizzle and sprinkle with cinnamon sugar.
Vegan
Use vegan puff pastry (check labels, some contain butter). Use maple syrup instead of honey in the caramel. Replace egg wash with oat milk + cornstarch.
Serving & Storage
How to Serve:
I usually serve these warm, right out of the oven. They’re best with a scoop of vanilla ice cream or a dollop of whipped cream. But here are other ways I’ve enjoyed them:
Side Dishes:
– A simple green salad with apple cider vinaigrette
– Hot cider or mulled wine
– Coffee or tea (obviously)
Toppings Bar:
When I have guests, I put out: extra caramel, chopped pecans, cinnamon sugar, vanilla ice cream. Everyone customizes their bowl.
Storage Instructions:
Refrigerator:
Store in an airtight container for up to 3 days. The pastry might soften a bit, but they’re still good.
Reheating:
Best method: Oven at 350°F for 5-7 minutes. Restores the flakiness.
Microwave: 20-30 seconds. Quick, but the crust will be soft.
Air Fryer: 350°F for 3-4 minutes. Crispy and fast.
Freezing:
Yes! Freeze unbaked hand pies on a baking sheet, then transfer to a bag. Bake from frozen, adding 5 minutes to the cook time. Or freeze baked pies and reheat. They freeze beautifully for up to 2 months.
Pro tip: If leftovers are drying out, reheat with a cup of water in the oven to create steam. Keeps them moist.
Nutrition Information
I’m not a nutritionist, but here’s the breakdown if you’re tracking. This is per hand pie (makes 8).
Per Serving:
– Calories: 280
– Protein: 4g
– Carbs: 32g
– Fiber: 2g
– Sugar: 16g
– Fat: 15g
– Saturated Fat: 8g
– Cholesterol: 25mg
– Sodium: 180mg
What’s Good:
– Decent fiber from apples
– Calcium from dairy
– Portable and satisfying
What to Know:
– Higher in calories from pastry and caramel
– Contains gluten and dairy
– Moderate sugar (can be reduced)
My Take:
Look, this is a treat. It’s sweet, buttery, and indulgent. It’s not a health food, but it’s better than store-bought pastries. When I want to make it lighter, I use half pastry and double the apples, or skip the caramel drizzle. But usually? I just enjoy a couple and call it a day.
Dietary Notes:
– Contains: gluten, dairy, eggs
– Can be made: vegetarian, gluten-free (with GF pastry)
– Not suitable for: vegan, dairy-free (without modifications)
Final Thoughts
So that’s my go-to fall salted caramel apple hand pies! I’ve probably talked your ear off at this point, but when you make a recipe this often, you have a lot to say about it.
This has saved dessert nights more times than I can count. It’s my answer to “what’s for dessert” when I’m tired, don’t want takeout, and still want something that tastes really good. My kids are happy, my husband’s happy, and I’m happy because I’m not stressed about cooking.
Make it yours! Try different apples, swap in your favorite spices, adjust the salt. The best recipes are the ones you adapt to your family’s tastes. If you make this, drop a comment and let me know what you think! I love hearing how recipes turn out in your kitchen. And if something doesn’t work, tell me that too—I’m here to help troubleshoot.
Happy baking! And I hope your kitchen smells half as good as mine does right now.
Frequently Asked Questions
Can I use frozen puff pastry?
Yes! Just thaw it in the fridge overnight. If you’re in a rush, thaw it on the counter for 30-45 minutes. Don’t use a microwave—it’ll start melting the butter unevenly. If the pastry is too soft to handle, pop it in the fridge for 10 minutes to firm up.
Why did my hand pies leak filling?
Usually, this means the edges weren’t sealed tightly enough, or the filling was too hot when you assembled them. Press the edges firmly with your fingers, then crimp with a fork. Also, make sure the apple mixture has cooled completely before adding it to the pastry.
Can I make these ahead for a party?
Absolutely. Assemble them raw and freeze them on a baking sheet. Once frozen, transfer to a bag. Bake from frozen, adding 5-7 minutes to the cook time. Or bake them ahead and reheat in the oven. They taste just as good as fresh.
Why did my pastry not puff up?
The pastry might have been too warm when it went into the oven, or the oven wasn’t hot enough. Puff pastry needs heat to create steam. Make sure your oven is fully preheated to 400°F. If the dough was soft, it might have spread instead of rising. Keep it cold until it hits the oven.
Can I use other fruits?
Yes! Pears, peaches, apricots, or even berries work great. Just adjust the sugar based on the fruit’s sweetness. Berries will release more liquid, so thicken them with a teaspoon of cornstarch before filling.
How do I reheat leftovers without them getting soggy?
Avoid the microwave if you can. Use an oven or air fryer at 350°F for 5-7 minutes. This restores the flakiness. If you must use the microwave, do it for 15-20 seconds and eat immediately.
Can I double this recipe?
Yes! Double everything and use two baking sheets. Rotate them halfway through baking for even browning. The cooking time stays the same. I do this when I’m feeding a crowd or meal-prepping.
Pin This Recipe!
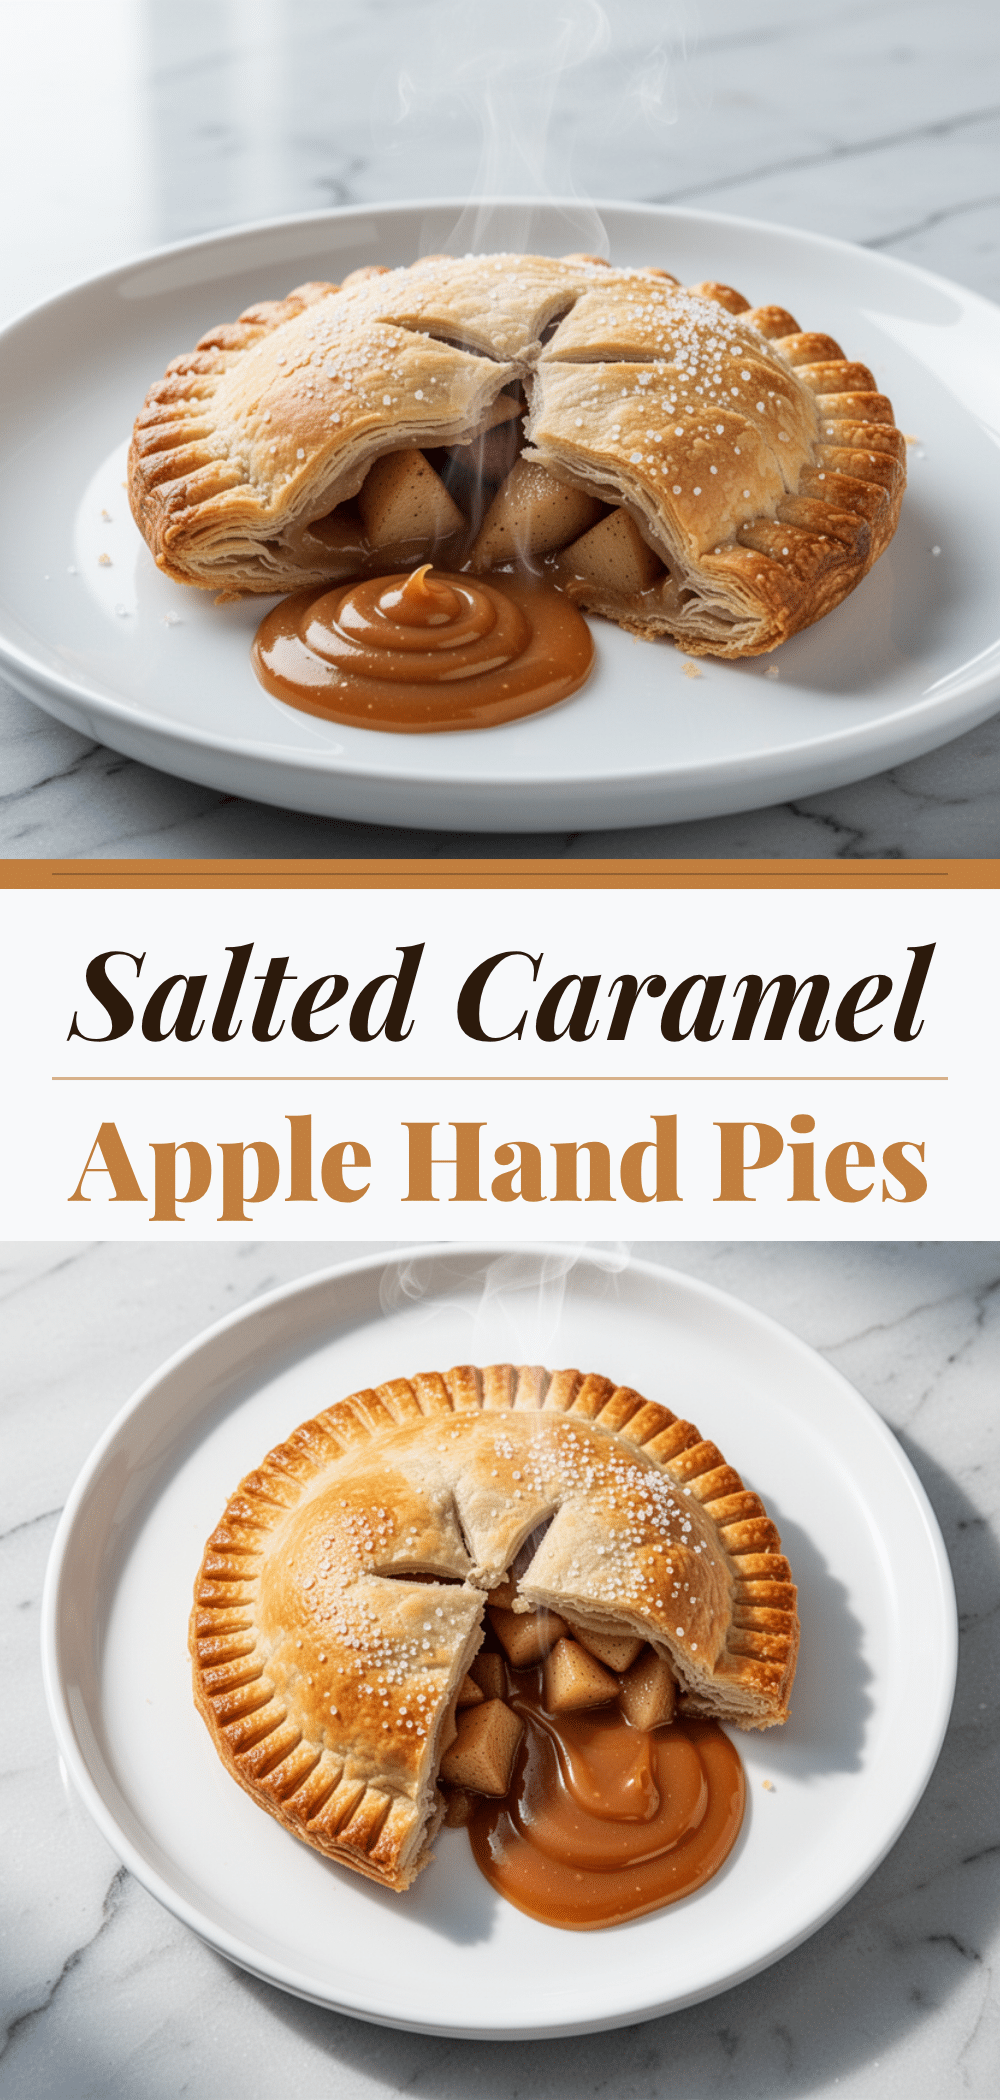

Fall Salted Caramel Apple Hand Pies
- Total Time: 45 minutes
- Yield: 8 servings 1x
Description
Golden, flaky, buttery hand pies bursting with spiced apple filling and topped with a drizzle of salted caramel. These portable treats are easy to make and perfect for autumn.
Ingredients
- 2 sheets puff pastry (thawed, approx. 440g)
- 1 large egg (beaten with 1 tablespoon water, for egg wash)
- Coarse sea salt or flaky salt (for sprinkling)
- 4 medium Granny Smith apples (peeled and diced, approx. 600g)
- 2 tablespoons unsalted butter
- 3 tablespoons granulated sugar
- 1 teaspoon ground cinnamon
- ¼ teaspoon ground nutmeg
- 1 teaspoon vanilla extract
- 1 tablespoon lemon juice
- 2 tablespoons unsalted butter (for caramel)
- 3 tablespoons heavy cream
- ½ cup brown sugar
- ½ teaspoon flaky sea salt (for caramel)
Instructions
- Preheat oven to 400°F (200°C). Line a baking sheet with parchment paper.
- Peel, core, and dice apples into ½-inch cubes. Toss with lemon juice and set aside.
- Melt 2 tablespoons butter in a large skillet over medium heat. Add diced apples, sugar, cinnamon, nutmeg, and vanilla. Cook for 5-7 minutes until tender but holding shape. Remove from heat and let cool completely.
- Unroll puff pastry sheets onto a lightly floured surface. Cut each sheet into 4 squares (8 total).
- Place 2-3 tablespoons of cooled apple filling in the center of each pastry square, leaving a ½-inch border.
- Brush edges with egg wash. Fold pastry over filling to create a triangle or rectangle. Press edges firmly and crimp with a fork to seal.
- Place hand pies on the prepared baking sheet. Brush tops with egg wash and sprinkle with coarse sea salt. Cut 2-3 small slits in the top of each pie.
- Bake for 15-18 minutes, rotating halfway through, until golden brown and puffed.
- While pies bake, make caramel: In a small saucepan, combine 2 tablespoons butter, brown sugar, and heavy cream. Heat over medium-low, stirring constantly, until sugar dissolves and mixture bubbles. Simmer for 2 minutes. Remove from heat and stir in flaky sea salt.
- Let hand pies cool on the baking sheet for at least 10 minutes.
- Drizzle warm caramel over the cooled hand pies before serving.
Notes
Ensure the apple filling is completely cool before assembling to prevent soggy crusts. Keep puff pastry cold until baking for best flakiness. If edges leak, ensure they are sealed tightly with a fork crimp. Can be frozen unbaked or baked and reheated.
- Prep Time: 15 minutes
- Cook Time: 30 minutes
- Category: Dessert
- Cuisine: American
Nutrition
- Serving Size: 1 hand pie
- Calories: 280
- Sugar: 16
- Sodium: 180
- Fat: 15
- Saturated Fat: 8
- Carbohydrates: 32
- Fiber: 2
- Protein: 4
Keywords: fall dessert, apple hand pies, salted caramel, puff pastry recipe, autumn treats, easy dessert, portable dessert


