There is a specific kind of panic that hits me at 6:00 AM on a Saturday. You know the one. It’s that moment when you realize you have a house full of hungry people, you promised yourself you’d make something special, and the only thing in your fridge is a half-empty carton of eggs, a package of bacon that’s been there since Thursday, and a loaf of dinner rolls. Usually, this is where I cave. Usually, I’m pulling into the drive-thru by 6:15, sipping lukewarm coffee and feeling guilty about the $12 I just spent on food I didn’t cook.
But last month, I refused. I was tired of the drive-thru run. I was tired of waking up earlier than everyone else just to prep a complicated frittata that no one actually finished. So, I stared at those dinner rolls and had a sudden, stupidly simple idea. What if I didn’t make breakfast? What if I just made sliders?
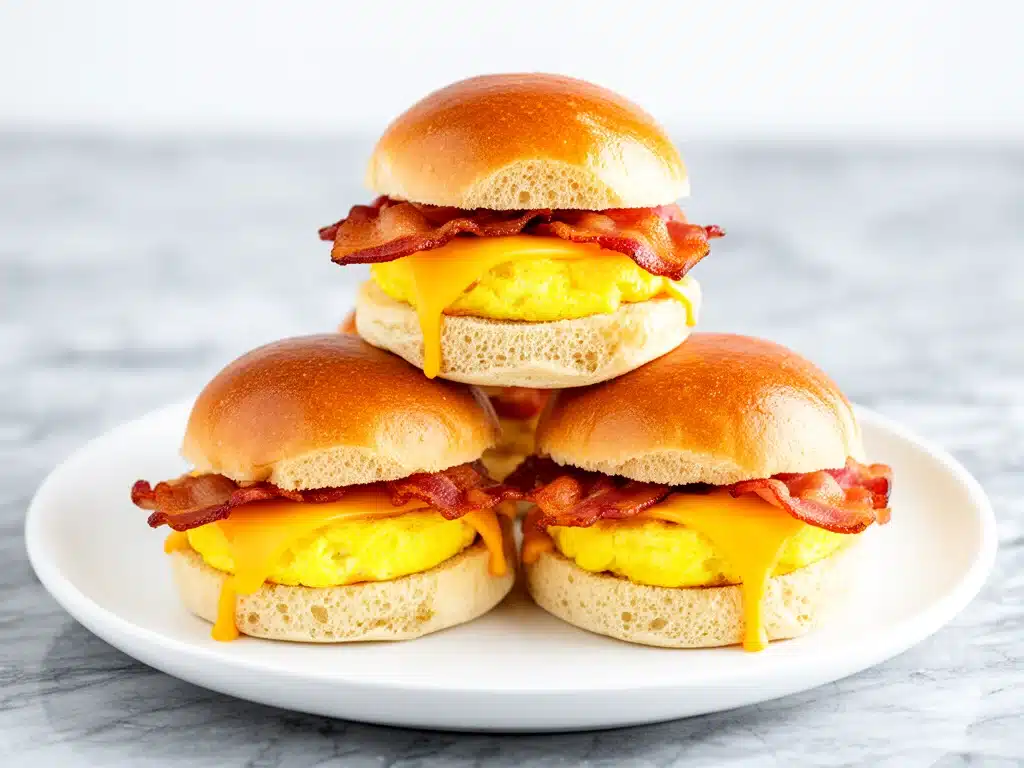
I threw together what I thought would be a messy, loose sandwich disaster. I baked the rolls with the bacon and eggs inside. The result? Absolute magic. Crispy, buttery, golden-brown rolls that hold everything together. Yolk that’s still slightly runny (because let’s be honest, that’s the point). And salty, smoky bacon that makes everyone in the house come running before they’ve even brushed their teeth.
That was six months ago. Since then, I have made these savory bacon egg and cheese breakfast sliders more times than I can count. They’ve become my secret weapon for lazy weekends, my go-to for Sunday brunch when friends show up unannounced, and my saving grace for those “I need to leave the house by 8 AM” mornings. They’re stupidly easy, they feed a crowd, and they taste like a vacation. If you’re looking for a way to stop stressing over morning meals, you need to try this. It’s the best 3-ingredient breakfast recipe I’ve ever discovered, and I’m not even being dramatic.
Why You’ll Love This Breakfast Slider Recipe
Look, I’m not going to lie to you. Cooking breakfast for a family is hard. It’s loud, it’s rushed, and it’s often messy. But these sliders change the entire dynamic. Here’s why they’ve completely taken over my weekend routine:
- Zero Morning Stress — Seriously, if you can open a package of rolls and crack an egg, you can make this. I’ve made these while half-asleep. I’ve made them while arguing with my teenager about laundry. It just works. No whisking bowls, no complicated sauces, no standing over a hot stove flipping pancakes.
- Lightning Fast — From the moment you pull the package out of the pantry to the moment you’re eating, it takes about 25 minutes. That’s it. Twenty-five minutes. I can get dressed, shower, and have these ready before the rest of the house even wakes up. It’s the perfect balance of homemade quality and speed.
- Portable and Mess-Free — This is the big one. Traditional breakfast burritos fall apart. Pancakes get cold and soggy. These sliders? They hold together. You can hand one to a toddler, a teenager, or a guest, and they can eat it while walking to the car. No fork needed. No napkin disaster. Just pure, handheld breakfast joy.
- Crowd-Pleaser Guaranteed — I’ve served these to my picky-eater nephew who only eats white foods (he ate three), my health-conscious sister who is usually skeptical of “carb bombs,” and my dad who claims he “doesn’t really like breakfast food.” Everyone loved them. The combination of salty bacon, rich egg, and savory cheese is just universally liked.
- Makes Incredible Leftovers — Okay, let’s be real: leftovers rarely last. But if you do have any, they reheat beautifully. Actually, I find they taste even better the next day because the flavors meld together. I’ll microwave one for 30 seconds and it’s still gooey and delicious. Perfect for a quick lunch or a late-night snack.
- Budget-Friendly — You probably already have most of this in your kitchen. Dinner rolls are cheap. Bacon and eggs are pantry staples (fridge staples, but you get it). This feeds 8-12 people for under $10. That’s less than what I’d spend on a single meal at a diner.
This is my go-to when I need breakfast to just work. No complicated techniques, no weird ingredients, just reliable, delicious food that makes everyone happy. And honestly? It makes me feel like a hero without putting in the effort.
Ingredients You’ll Need
Here’s the best part: you probably have most of this already. I’m not asking you to go to three different stores for obscure items. This is true comfort food, built on basics. I’m particular about three things here, and I’ll tell you exactly why.
For the Base
Soft Dinner Rolls (1 package, usually 8-12 rolls / about 1 lb) — This is your foundation. I always use soft, brioche-style rolls. They’re sweet enough to contrast the savory bacon but sturdy enough to hold the egg. Hawaiian rolls work too, but they’re sweeter. I’ve tried whole wheat, and it’s too dense for this. Stick to white or brioche. Look for brands like King’s Hawaiian or your local bakery’s softest rolls.
Eggs (8-10 large eggs) — Fresh is best, obviously. But honestly, these are baked, so even slightly older eggs work fine. I use one egg per slider for a rich, custardy center. If you have 12 rolls, use 12 eggs. Don’t skimp on the eggs; that’s the protein and the glory.
Heavy Cream or Whole Milk (2 tablespoons / 30ml) — This is the secret weapon. Adding a splash of cream or milk to the beaten eggs makes them fluffy and tender, like scrambled eggs. If you’re being lazy, milk works. If you want restaurant-quality fluff, use cream. I keep a small carton of cream just for this.
For the Flavor
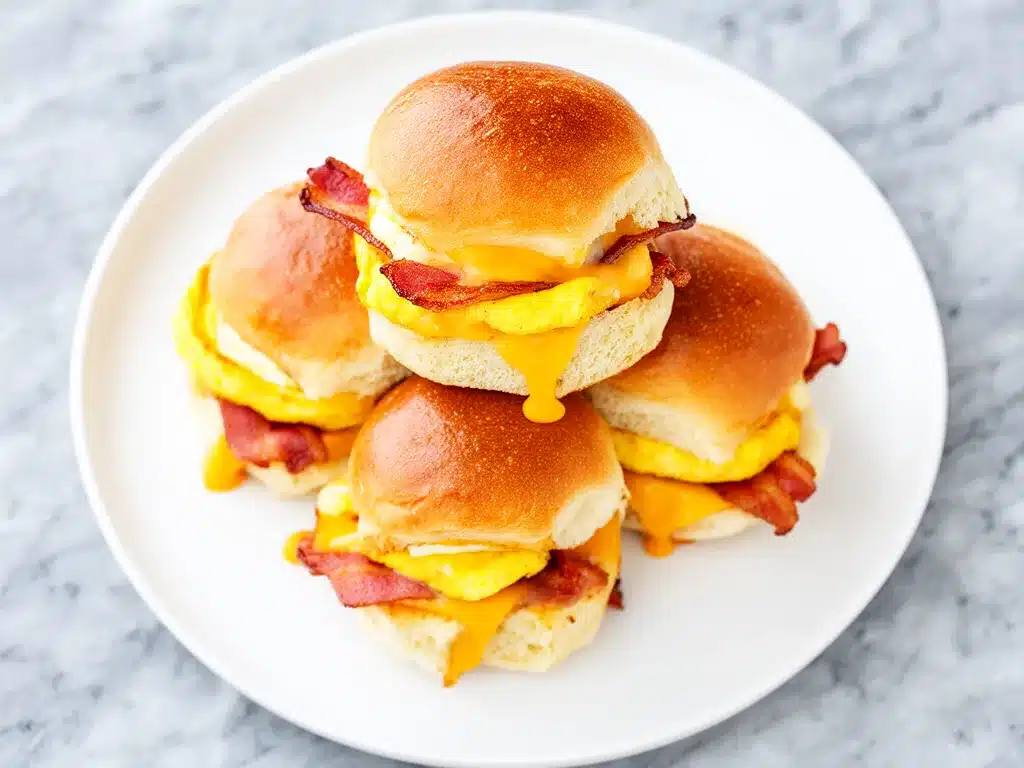
Cooked Bacon (1 package / about 12-16 slices) — Pre-cooked bacon is fine if you’re in a rush, but fresh-cooked is better. I cook it until it’s crispy, then chop it into small pieces. You want bacon bits, not strips. If you use pre-cooked, chop it up small so it distributes evenly. I use applewood smoked bacon for that extra smoky depth.
Shredded Cheese (1.5 cups / about 150g) — Cheddar is classic. Sharp cheddar cuts through the richness of the egg and bacon. American cheese is too mild. Pepper Jack adds a nice kick if you like spice. I mix half sharp cheddar and half pepper jack for my family. Grate your own block cheese if you can—pre-shredded has anti-caking agents that make it melt less smoothly.
Optional Add-ins
Diced Ham (½ cup) — If you’re not a bacon purist, ham works great. I usually use leftover ham from a previous meal. It adds a different savory note.
Shredded Hash Browns (½ cup) — For extra crunch and potato goodness. I use frozen shredded hash browns, thawed and squeezed dry. It makes it feel like a breakfast sandwich from a diner.
Fresh Chives (2 tablespoons, chopped) — I sprinkle these on top after baking. It adds a fresh, oniony bite that cuts through the fat. It looks pretty too.
Hot Sauce (to taste) — I keep a bottle of Frank’s RedHot or Cholula nearby. A few dashes on top after baking is life-changing.
Personal Tips
- Roll Selection: I always buy the softest rolls I can find. If they’re stale, they won’t puff up nicely. Check the expiration date!
- Bacon Prep: Cook your bacon ahead of time. It saves morning stress. You can cook it in the microwave on a paper towel for speed.
- Cheese Choice: Don’t use pre-shredded cheese if you want the best melt. It takes 3 minutes to grate a block, and it’s worth it.
- Egg Beating: Beat the eggs well before pouring. You want a smooth mixture, not big chunks of yolk and white. Whisk until uniform.
Equipment Needed
You don’t need fancy equipment for this. Here’s what I actually use. Most of this is already in your kitchen.
Baking Dish (9×13 inch / 23×33 cm) — I use a glass Pyrex dish. It heats evenly. A metal pan works too, but glass is easier to clean. Make sure it’s large enough to hold all the rolls in a single layer without too much crowding.
Mixing Bowl (Medium / about 2 cups) — For beating the eggs, cream, and cheese. A standard ceramic or glass bowl works fine. I use a small one so I don’t spill.
Whisk — Essential for beating the eggs. A fork works in a pinch, but a whisk makes it smoother. I have a cheap one from the dollar store that’s perfect for this.
Knife — For chopping the bacon. A serrated knife is best if the bacon is still a bit chewy. Dull knives make you cry more—learned this the hard way.
Pastry Brush (Optional) — For brushing the tops with butter. A regular butter knife works too, but a brush gives an even coat. I use silicone brushes because they’re easy to wash.
Oven — Standard home oven. Preheat to 350°F (175°C). No fancy convection settings needed, though it works too.
Aluminum Foil — To cover the dish for part of the baking time. This keeps the rolls from burning on top while the eggs cook through. I keep a box in my pantry.
Spatula — For lifting the sliders out. A wide spatula helps keep them intact. If you don’t have one, a large spoon works, but be gentle.
Cutting Board — Any size works. I use plastic for easier cleanup.
Measuring Cups and Spoons — Pretty standard stuff. Dollar store versions work fine. You don’t need to be precise here, but it helps.
How to Make It: Step-by-Step
Alright, let’s make this! I’m walking you through exactly how I do it, including the little tricks I’ve picked up. It’s simple, but there are a few things that make the difference between “okay” and “amazing.”
Step 1: Prep Your Oven and Dish (2 minutes)
Preheat your oven to 350°F (175°C). Grease your 9×13 inch baking dish with a little butter or cooking spray. This prevents sticking and adds flavor. I usually just rub a pat of butter around the bottom and sides. It melts and creates a non-stick layer.
Step 2: Arrange the Rolls (3 minutes)
Open your package of dinner rolls. If they’re connected in a sheet (like Hawaiian rolls), keep them together. If they’re individual rolls, place them close together in the dish, leaving just a tiny gap. You want them snug so they support each other. I usually press them down slightly to create a shallow “well” in each roll. This holds the egg mixture better.
Step 3: Mix the Egg Filling (2 minutes)
In your mixing bowl, crack the eggs. Add the heavy cream (or milk), a pinch of salt, and a pinch of black pepper. Whisk vigorously until the mixture is smooth and uniform. It should look like liquid gold. Don’t skip the salt and pepper—it seasons the eggs from the inside out. Add the shredded cheese and chopped bacon. Stir gently to combine. You want the cheese and bacon distributed evenly.
Step 4: Pour and Fill (3 minutes)
Pour the egg mixture over the rolls. Use a spoon to gently guide the mixture into the gaps between rolls. You want every roll to get some egg. Don’t be afraid to get generous—these are breakfast sliders, not diet food. If there’s leftover mixture, pour it over the top. The rolls will soak it up like sponges.
Step 5: Cover and Bake (15 minutes)
Cover the dish loosely with aluminum foil. This traps steam and helps the eggs cook through without burning the tops. Place in the preheated oven and bake for 15 minutes. The foil keeps the tops soft and allows the eggs to set gently.
Step 6: Uncover and Brown (5-10 minutes)
Remove the foil. The rolls should be puffed and the eggs should be mostly set. If you want a golden-brown top, brush the tops with melted butter. Then, bake for another 5-10 minutes, or until the tops are crispy and golden. Keep an eye on them—ovens vary. You want them to look like little golden nuggets.
Step 7: Cool and Serve (5 minutes)
Let them cool for 5 minutes. This is crucial. Hot sliders are messy and can burn your mouth. They need a moment to set so they don’t fall apart when you pick them up. Sprinkle with fresh chives if using. Serve warm with hot sauce on the side.
Total Time: About 25-30 minutes (5 minutes active, 20-25 minutes baking)
Built-in Troubleshooting
- Eggs are runny? Bake for 5 more minutes. If they’re still runny, check your oven temperature with a thermometer.
- Rolls are burning? Cover with foil immediately. Lower the oven temperature by 25°F next time.
- Sliders are falling apart? Let them cool longer. Or, use a wider spatula to lift them out.
- Too salty? Next time, skip the salt in the egg mixture since bacon is already salty.
Expert Tips & Tricks
Here’s everything I’ve learned from making this dozens of times. These tips will save you from my mistakes.
Don’t Skip the Butter Brush
Brushing the tops with melted butter before the final bake is non-negotiable. It creates that crispy, bakery-style crust. I’ve tried skipping it, and the rolls stay soft and pale. It’s a small step that makes a huge difference.
Chop the Bacon Small
I used to put big strips of bacon in, and they’d fall out. Chop it into small bits. This ensures every bite has bacon. It also distributes the flavor better. Use a sharp knife and chop quickly.
Use Freshly Grated Cheese
Pre-shredded cheese doesn’t melt as smoothly. It has cornstarch to prevent clumping, which makes the texture grainy. Grate your own cheddar or pepper jack. It takes 3 minutes and makes the sauce inside the slider creamy.
Let Them Rest
I know it’s hard to wait, but letting them cool for 5 minutes is key. The eggs need to set. If you pull them out hot, they’ll be soupy. Patience pays off.
Make Ahead Option
You can assemble these the night before. Cover and refrigerate overnight. In the morning, just pop them in the oven. Add 5-10 minutes to the baking time since they’re cold. This is perfect for busy mornings.
Variations & Substitutions
Once you’ve nailed the basic version, here’s how you can mix it up. I’ve tried all of these.
Sausage and Egg Version
Swap bacon for cooked breakfast sausage crumbles. I use Jimmy Dean sausage, browned and drained. It’s heartier and saltier. Great for meat lovers.
Veggie Lover’s
Add diced bell peppers, onions, and spinach to the egg mixture. Sauté the veggies first so they’re soft. This adds color and nutrition. My kids don’t even notice the veggies.
Hash Brown Sliders
Add a layer of shredded hash browns at the bottom of the dish before adding the rolls. It makes it feel like a breakfast casserole. Use frozen hash browns, thawed and squeezed dry.
Gluten-Free
Use gluten-free dinner rolls. Most soft rolls are available in GF versions. I’ve used Udi’s and they work well. Everything else is naturally gluten-free.
Dairy-Free
Use dairy-free cheese and milk alternatives. It’s not as creamy, but it still works. I use almond milk and Daiya cheese. It’s different, but tasty.
Spicy Kick
Add diced jalapeños to the egg mixture. Or use pepper jack cheese. For extra heat, drizzle hot sauce on top after baking.
Serving & Storage
How to Serve:
I usually serve these straight from the baking dish. They look rustic and inviting. But here are other ways I’ve enjoyed them:
- Breakfast Sandwiches: Split a slider in half and serve with a side of fruit. It’s a complete meal.
- Brunch Buffet: Set them out with coffee and juice. Guests love them. Pair with healthy green apple spinach smoothie for a balanced spread.
- Party Food: These are perfect for holiday brunches. Make a double batch. They disappear fast.
Toppings Bar:
Put out hot sauce, extra bacon bits, and fresh chives. Let everyone customize their slider.
Storage Instructions:
Refrigerator: Store in an airtight container for up to 3 days. They reheat well in the microwave for 30-60 seconds.
Freezing: You can freeze these! Let them cool completely, then wrap individually in plastic wrap and foil. Freeze for up to 2 months. Reheat in the oven at 350°F for 15 minutes.
Reheating: Microwave works, but oven is better for crispiness. If using microwave, add a damp paper towel to keep them moist.
Nutrition Information
I’m not a nutritionist, but here’s the breakdown if you’re tracking. Per slider (based on 12 sliders):
- Calories: 280
- Protein: 12g
- Carbs: 22g
- Fiber: 1g
- Sugar: 2g
- Fat: 16g
- Saturated Fat: 6g
- Cholesterol: 110mg
- Sodium: 450mg
What’s Good:
- Decent protein from eggs and cheese
- Calcium from cheese
- Can add veggies to boost nutrition
What to Know:
- Higher in calories from cheese and bacon
- Contains dairy and gluten
- Moderate sodium (use low-sodium bacon to reduce)
My Take:
Look, this is comfort food. It’s not a diet recipe. But it’s way better than fast food, costs less, and I know exactly what’s in it. When I want to make it lighter, I use turkey bacon and less cheese. But usually? I just enjoy it.
Final Thoughts
So that’s my go-to savory bacon egg and cheese breakfast sliders! I’ve probably talked your ear off at this point, but when you make a recipe this often, you have a lot to say about it.
This has saved weekend mornings more times than I can count. It’s my answer to “what’s for breakfast” when I’m tired, don’t want to cook, and still want something that tastes really good. My kids are happy, my husband’s happy, and I’m happy because I’m not stressed.
Make it yours! Try different cheeses, add veggies, or swap the bacon. The best recipes are the ones you adapt to your family’s tastes.
If you make this, drop a comment and let me know what you think! I love hearing how recipes turn out in your kitchen. And if something doesn’t work, tell me that too—I’m here to help troubleshoot.
Happy cooking! And I hope your kitchen smells half as good as mine does right now.
Frequently Asked Questions
Can I use egg whites instead of whole eggs?
You can, but the result will be less rich and fluffy. Egg whites cook faster and can become rubbery. If you want to use whites, mix them with a little cream to add moisture. But honestly, whole eggs taste so much better. I use whole eggs for that custardy texture.
Can I make these ahead of time?
Yes! Assemble them the night before, cover, and refrigerate. In the morning, bake as directed, adding 5-10 minutes to the cooking time since they’re cold. This is perfect for busy mornings. I do this all the time for weekend brunch.
Why did my sliders fall apart?
Usually, this means they weren’t cooled long enough. The eggs need time to set. Let them rest for 5-10 minutes before lifting. Also, make sure you’re using a wide spatula to support the whole slider when removing it.
Can I freeze these?
Absolutely! Let them cool completely, then wrap individually in plastic wrap and foil. Freeze for up to 2 months. Reheat in the oven at 350°F for 15 minutes, or in the microwave for 1-2 minutes. They reheat surprisingly well.
What cheese is best for these?
Sharp cheddar is my favorite. It has enough flavor to stand up to the bacon. Pepper Jack adds a nice kick. American cheese is too mild but melts very smoothly. I often mix cheddar and pepper jack for the best of both worlds.
Can I use turkey bacon?
Yes, turkey bacon works great. It’s leaner and has a different flavor. You may want to add a little more salt to the egg mixture since turkey bacon is less salty than pork bacon. It’s a good option for a lighter version.
How do I store leftovers?
Store in an airtight container in the fridge for up to 3 days. Reheat in the microwave for 30-60 seconds, or in the oven at 350°F for 10 minutes. They’re best eaten fresh, but leftovers are still delicious.
Pin This Recipe!
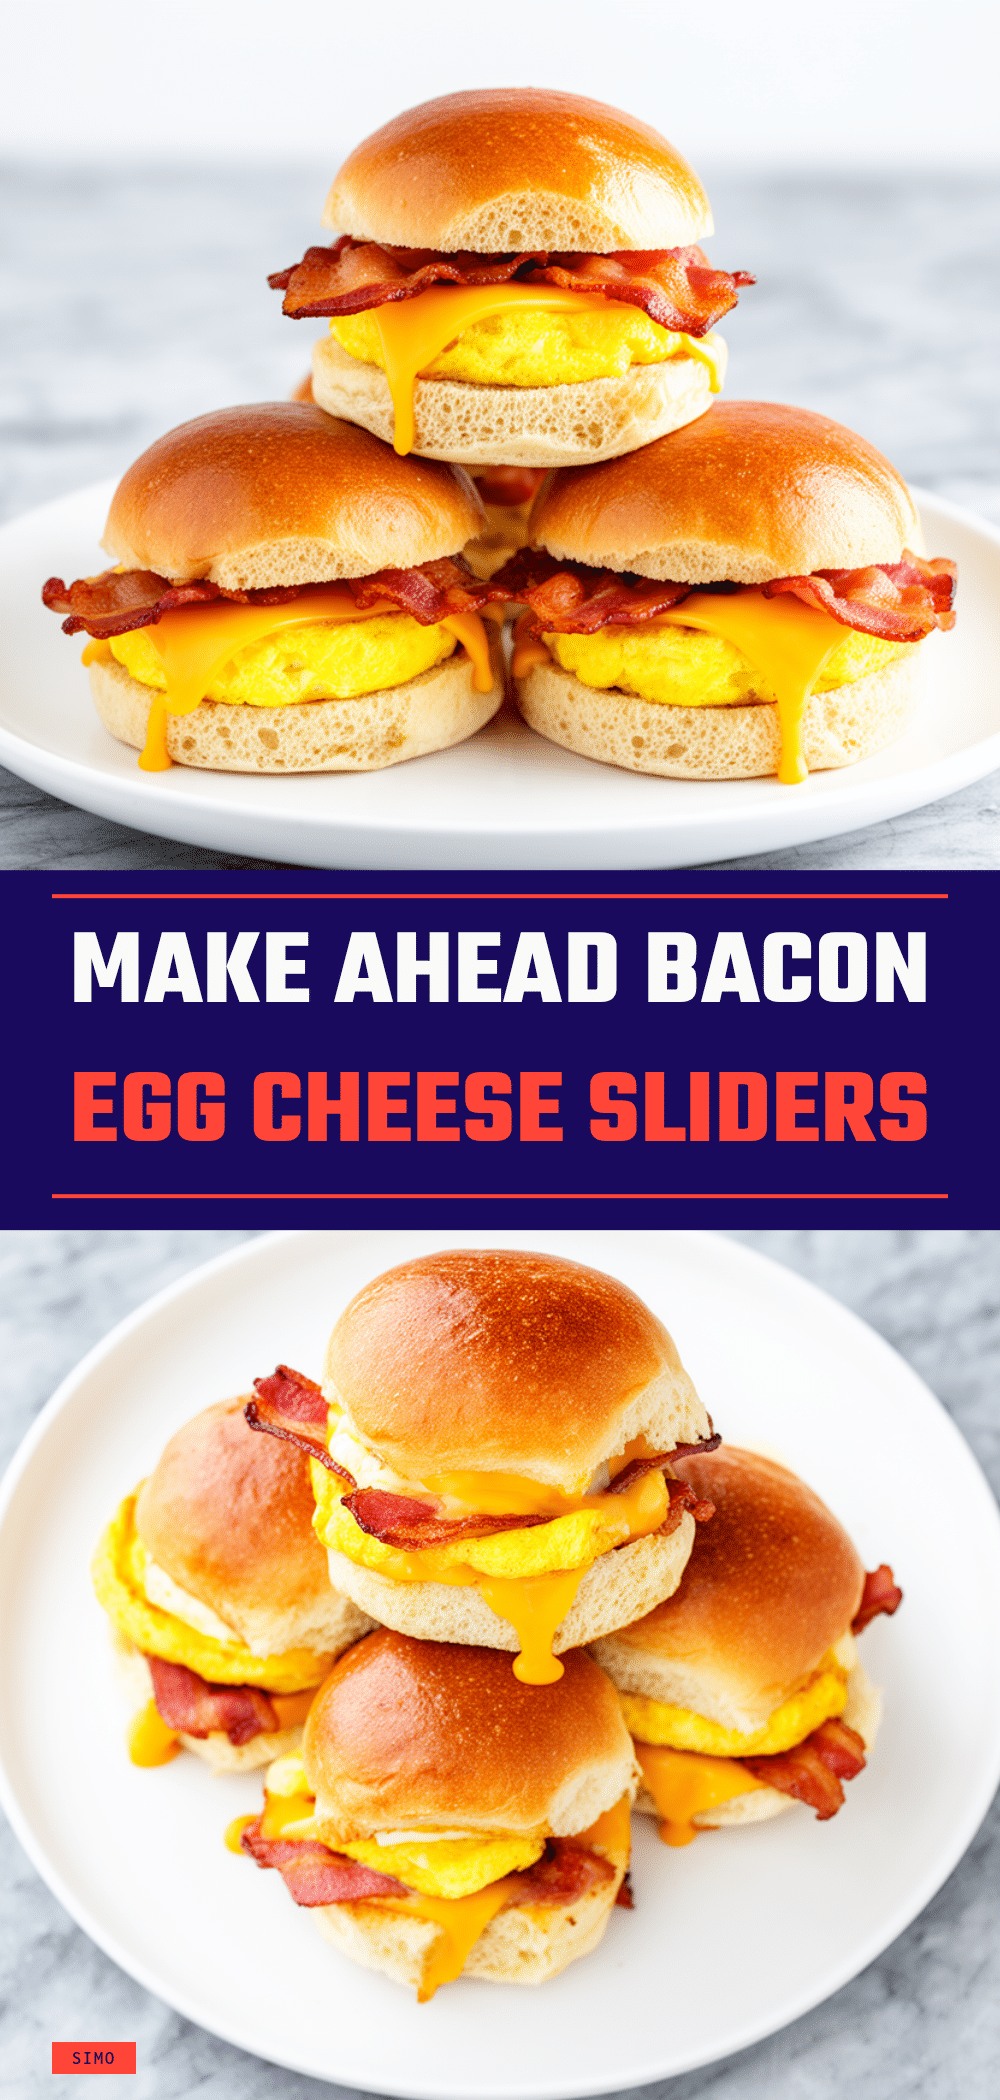

Savory Bacon Egg and Cheese Breakfast Sliders
- Total Time: 30 minutes
- Yield: 12 servings 1x
Description
A simple, 3-ingredient breakfast slider recipe using soft dinner rolls, eggs, and bacon. These handheld sliders are perfect for feeding a crowd, require minimal prep time, and offer a delicious balance of savory bacon, fluffy eggs, and melted cheese.
Ingredients
- 1 package (8-12 rolls) soft dinner rolls or brioche rolls
- 8–10 large eggs
- 2 tablespoons heavy cream or whole milk
- 1 package (12-16 slices) bacon, cooked until crispy and chopped into small bits
- 1.5 cups (150g) shredded cheese (sharp cheddar or pepper jack)
- Pinch of salt
- Pinch of black pepper
- Butter or cooking spray for greasing the dish
- Melted butter for brushing tops (optional)
- Fresh chives, chopped (optional garnish)
- Hot sauce (optional serving suggestion)
Instructions
- Preheat oven to 350°F (175°C). Grease a 9×13 inch baking dish with butter or cooking spray.
- Arrange the dinner rolls in the baking dish. If they are connected, keep them together; if individual, place them snugly with tiny gaps. Press down slightly to create shallow wells.
- In a medium mixing bowl, crack the eggs and add the heavy cream (or milk), salt, and pepper. Whisk vigorously until smooth and uniform.
- Stir the chopped bacon and shredded cheese into the egg mixture.
- Pour the egg mixture over the rolls, ensuring every roll gets some filling. Pour any remaining mixture over the top.
- Cover the dish loosely with aluminum foil and bake for 15 minutes.
- Remove the foil. If desired, brush the tops with melted butter. Bake uncovered for another 5-10 minutes until the tops are golden brown and crispy.
- Let the sliders cool for 5 minutes to allow the eggs to set before serving.
- Garnish with fresh chives and serve warm with hot sauce on the side.
Notes
For best results, use soft brioche-style rolls. Chop bacon into small bits to ensure even distribution. Letting the sliders cool for 5 minutes is crucial to prevent them from falling apart. You can assemble these the night before and refrigerate; add 5-10 minutes to baking time if baking from cold. For a lighter version, use turkey bacon and less cheese.
- Prep Time: 10 minutes
- Cook Time: 20-25 minutes
- Category: Breakfast
- Cuisine: American
Nutrition
- Serving Size: 1 slider
- Calories: 280
- Sugar: 2
- Sodium: 450
- Fat: 16
- Saturated Fat: 6
- Carbohydrates: 22
- Fiber: 1
- Protein: 12
Keywords: breakfast sliders, bacon egg cheese, easy breakfast, brunch recipe, crowd-pleaser breakfast, 3-ingredient recipe, dinner rolls breakfast