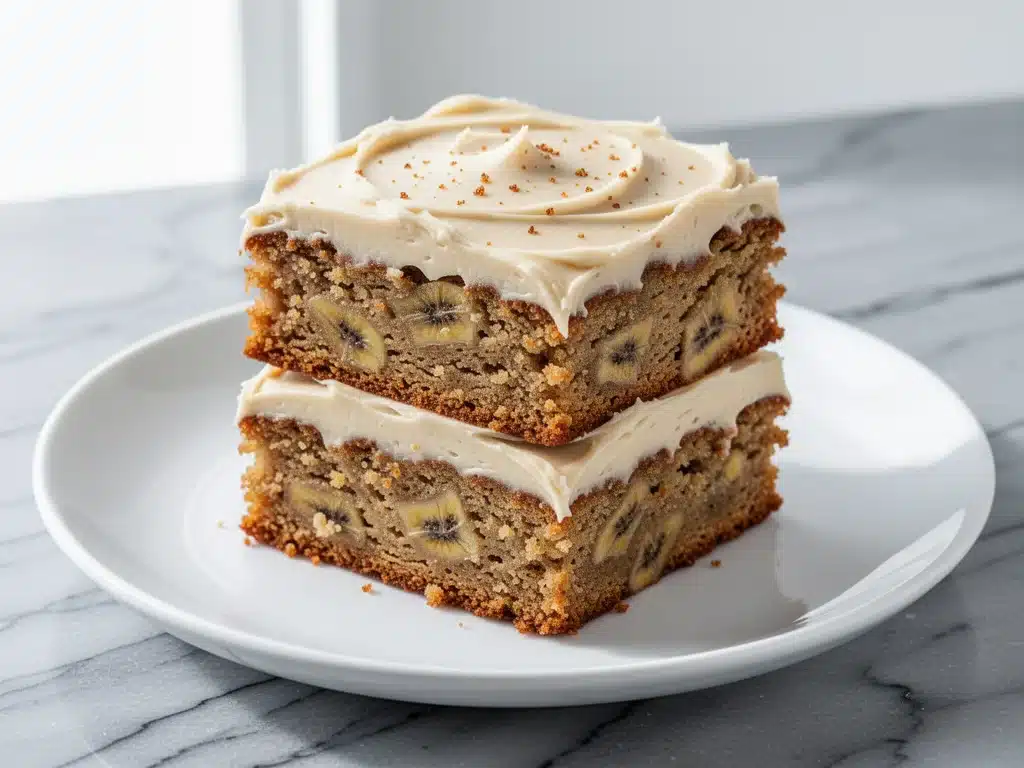
I have a confession to make. For years, I was loyal to the classic loaf. You know the type—the dense, golden-brown cylinder that demands a sharp serrated knife and a lot of patience to slice without crumbling into a thousand pieces. I loved banana bread. I really did. But somewhere between my third attempt at slicing a perfectly even crumb and my fourth batch of overripe bananas sitting on my counter, I realized I was tired of the struggle.
I didn’t hate banana bread. I just hated the logistics of it. The loaf pans are weirdly narrow. The edges always get darker than the center, leaving you with that one sad, slightly burnt corner piece that no one wants. And let’s be honest, if I’m going to bake, I want maximum crust, maximum ease, and maximum flavor in every single bite. I wanted something that felt like a treat but didn’t require a master’s degree in baking to execute.
That’s when I discovered the bar format. Specifically, these ultra-moist banana bread bars with brown butter frosting. I stumbled onto the idea almost by accident when I was trying to use up a bag of bananas that had turned into black mush. I smashed them, mixed them into a simple batter, and baked them in a sheet pan instead of a loaf pan. The result? Moist, tender, and infinitely easier to serve. But the real game-changer? The brown butter frosting.
I’ve made this recipe at least fifteen times in the last six months. I’ve tested it with different types of bananas (spoiler: the spottier, the better), different flours, and even different frostings. Nothing beats the nutty, caramelized depth of brown butter. It takes banana bread from “grandma’s kitchen” to “bakery window” in about twenty minutes. If you’ve ever tried my one-bowl banana bread with chocolate chips, you’ll love this version because it uses the same simple, forgiving technique but elevates the flavor profile significantly. It’s the upgrade your weekend baking routine didn’t know it needed.
Why You’ll Love This Banana Bread Bar Recipe
There are a lot of banana bread recipes out there. So why this one? Why the bars? Why the brown butter? Here’s the real talk on why these bars have taken over my kitchen (and probably will take over yours, too).
Maximum Moisture, Zero Dry Corners — This is the biggest selling point. Because these bake in a wide, shallow pan, the ratio of crust to crumb is much higher than in a loaf. Every piece is moist and tender. You don’t get that dry, cardboard-like center that happens in loaf pans sometimes. I’ve never had a dry slice. Ever.
Brown Butter Changes Everything — I know, I know. Browning butter sounds intimidating. It’s not. It’s just melting butter until it smells like hazelnuts. This nutty, toasty flavor adds a level of sophistication that plain butter just can’t touch. It pairs perfectly with the sweetness of the bananas and the warmth of cinnamon. If you liked my brown butter chocolate chip cookies, you already know I’m obsessed with this technique.
Sheet Pan Simplicity — Loaf pans are finicky. Sheet pans are forgiving. You mix everything in one bowl, pour it into a 9×13, and bake. Cleanup is a breeze because you can line the pan with parchment paper and just lift the bars out. No scraping stuck bread out of a greased pan at 7 PM on a Tuesday.
Perfect for Parties — Loaf bread is awkward to serve at a potluck. Bars? Everyone loves bars. They’re portable, they’re easy to grab, and they look beautiful when cut into neat squares. I’ve brought these to office meetings, church gatherings, and family dinners, and they always disappear first. People ask for the recipe within ten minutes of the first bite.
Uses Ripe Bananas — We’ve all been there. You buy bananas for smoothies, and they turn brown before you use them. Instead of throwing them away or making a mess with banana bread loaf, this recipe is the perfect solution. It encourages you to use those overripe bananas that are actually the sweetest and most flavorful.
Ingredients You’ll Need
Here’s the best part: you probably have most of these ingredients already. This isn’t a recipe that requires a special trip to the grocery store for obscure items. It’s pantry-friendly, simple, and straightforward. I’m particular about a few things here, especially the bananas and the butter, so pay attention to those details.
For the Banana Bread Bars:
Ripe bananas (3 large / about 450g peeled) — This is non-negotiable. You want bananas that are covered in brown spots, or even completely black. The darker they are, the sweeter and more intense the banana flavor. If they’re yellow, the bars will taste bland. Mash them thoroughly with a fork.
Granulated sugar (3/4 cup / 150g) — White sugar keeps the bars light and moist. I’ve tried brown sugar, and it makes them too dense and chewy. Stick with white for that classic tender crumb.
Melted butter (1/3 cup / 75g) — This adds richness and tenderness. Make sure it’s melted but not piping hot, or you’ll scramble the eggs.
Egg (1 large) — Room temperature is best. It helps the batter emulsify properly. If you forget to take it out, just drop it in warm water for 5 minutes.
Vanilla extract (1 teaspoon) — Good quality vanilla makes a difference. I use pure vanilla, not imitation. It adds that warm, comforting aroma.
All-purpose flour (1 ½ cups / 190g) — Don’t over-measure! Spoon the flour into the measuring cup and level it off. If you scoop directly, you’ll pack it down and get dry bars. Cake flour works too if you want them even softer, but all-purpose is standard.
Baking soda (1 teaspoon) — This is what makes them rise. Make sure it’s fresh. If your baking soda is older than six months, it might not work well. Test it by dropping a little in vinegar—it should fizz vigorously.
Salt (½ teaspoon) — Essential for balancing the sweetness. Don’t skip it.
Cinnamon (1 teaspoon) — Adds warmth. If you love spice, bump this up to 1 ½ teaspoons.
Walnuts or pecans (½ cup / 60g, optional) — I usually add chopped nuts for texture. Toast them first if you can. It brings out their flavor. If you’re allergic or just don’t like nuts, leave them out. The bars are still delicious without them.
For the Brown Butter Frosting:
Unsalted butter (½ cup / 115g) — You’ll need to brown this. Use high-quality butter if you can afford it. The flavor of the butter is front and center here.
Powdered sugar (2 cups / 240g) — Sift this to avoid lumps. Nobody wants a lumpy frosting.
Heavy cream (2-3 tablespoons) — Add this gradually. You want a spreadable consistency, not too thick, not too runny.
Vanilla extract (1 teaspoon) — Again, pure vanilla.
Salt (pinch) — Just a pinch to cut the sweetness.
Equipment Needed
You don’t need fancy gadgets for this. Here’s what I actually use in my kitchen.
9×13 inch baking pan — A standard metal or glass pan works fine. I prefer metal because it conducts heat evenly. Glass can sometimes lead to over-browning on the bottom.
Parchment paper — This is your best friend. Line the pan with parchment, leaving an overhang on the sides. This acts as “handles” so you can lift the entire block of bars out after baking. No more scraping!
Mixing bowls — One large bowl for the batter, one medium for the frosting. You can use the same bowl for both if you wash it in between, but two is easier.
Whisk — For mixing the batter and frosting. A whisk incorporates air better than a spoon, giving you a smoother texture.
Spatula — A rubber or silicone spatula is great for scraping the bowl clean and folding in the nuts.
Small saucepan — For browning the butter. A light-colored pan is helpful so you can see the color changes clearly. Stainless steel or non-stick both work.
Cooling rack — Essential for cooling the bars before frosting. Putting frosting on warm bars is a disaster waiting to happen.
How to Make It: Step-by-Step
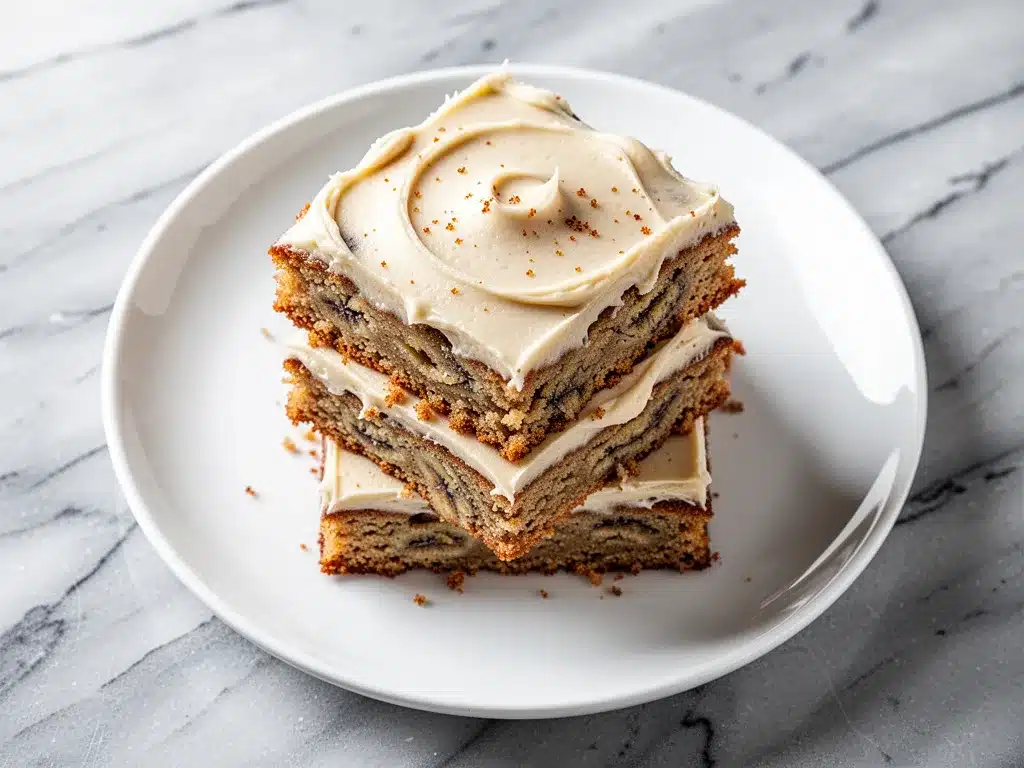
Alright, let’s make these! I’m walking you through exactly how I do it, including the little tricks I’ve picked up along the way. This process is straightforward, but timing matters.
Step 1: Prep Your Pan and Oven
Preheat your oven to 350°F (175°C). Line your 9×13 inch baking pan with parchment paper. Let the parchment hang over the short ends of the pan like handles. Lightly grease the parchment with butter or cooking spray. This ensures the bars won’t stick, even if you forget to grease.
Step 2: Mash and Mix the Wet Ingredients
In a large bowl, mash the ripe bananas with a fork until they’re mostly smooth. There’s no need for a food processor—chunks are fine. Add the melted butter, sugar, egg, and vanilla extract. Whisk everything together until well combined. The mixture should look glossy and uniform. Scrape down the sides of the bowl to make sure you don’t miss any sugar.
Step 3: Add the Dry Ingredients
Add the flour, baking soda, salt, and cinnamon to the wet mixture. Use a spatula to gently fold the dry ingredients in. Stop as soon as you no longer see streaks of flour. Overmixing develops gluten, which leads to tough bars. If you’re adding nuts, fold them in now. The batter will be thick and sticky. That’s exactly what you want.
Step 4: Bake the Bars
Pour the batter into the prepared pan and spread it out evenly with your spatula. Bake for 25-30 minutes. You’ll know they’re done when the top is golden brown and a toothpick inserted into the center comes out clean or with just a few moist crumbs attached. Do not overbake! If the toothpick has wet batter on it, bake for 2 more minutes. If it’s completely clean, they might be done. Check at 25 minutes.
Step 5: Brown the Butter
While the bars are baking, make the frosting. Melt the butter in a small saucepan over medium heat. Swirl the pan occasionally. The butter will foam up, then settle down. You’ll start to see brown bits forming at the bottom and smell a nutty aroma. This takes about 5-7 minutes. Don’t walk away! It goes from perfect to burnt very quickly. Once it’s golden brown and smells amazing, immediately pour it into a heatproof bowl to stop the cooking. Let it cool for 10 minutes.
Step 6: Make the Frosting
Once the brown butter has cooled slightly, add the sifted powdered sugar, vanilla, and salt. Start with 2 tablespoons of heavy cream. Whisk until smooth. If the frosting is too thick, add more cream, one teaspoon at a time. You want it to be spreadable but thick enough to hold its shape. If it’s too thin, add a bit more powdered sugar.
Step 7: Cool and Frost
Let the banana bread bars cool completely in the pan on a wire rack. This is crucial. If you frost them while warm, the frosting will melt and soak into the bread. Once cool, lift the bars out of the pan using the parchment handles. Spread the brown butter frosting evenly over the top. Use an offset spatula for a smooth finish, or just a regular knife if you’re feeling rustic.
Step 8: Slice and Serve
Use a sharp knife to cut the bars into squares. Wipe the knife between cuts for clean edges. Serve at room temperature. These bars are best eaten within 2 days, but they’ll last up to 4 days if stored properly.
Expert Tips & Tricks
Here’s everything I’ve learned from making these dozens of times. These tips will save you from my mistakes.
The Banana Rule — The riper, the better. I keep bananas in my fruit bowl until they are basically black. Those spots contain natural sugars that concentrate the banana flavor. If you don’t have ripe bananas, you can bake them in their skins at 300°F for 15 minutes until black, then peel and use them.
Don’t Skip the Parchment — I cannot stress this enough. Lining the pan makes removal effortless. Without it, you’ll be fighting to get the bars out, and you’ll break them. The overhang handles are a lifesaver.
Brown Butter Safety — When browning butter, keep the heat at medium. If it’s too high, the milk solids will burn before they turn golden. If you see smoke, it’s too late. Listen for the crackling sound to subside. That’s when the water has evaporated and the browning is happening.
Frosting Consistency — The humidity in your kitchen affects powdered sugar frosting. If it’s humid, add less cream. If it’s dry, add a bit more. Aim for a consistency that spreads easily but doesn’t run off the sides of the bar.
Cooling is Key — I know the temptation to frost immediately. Resist it. Warm bars + frosting = mess. Let them cool completely. It’s worth the wait.
Variations & Substitutions
Once you’ve nailed the basic version, here’s how you can mix it up. I’ve tried all of these.
Chocolate Chip Banana Bars — Add ½ cup chocolate chips to the batter. They melt into gooey pockets of goodness. This is my kids’ favorite version.
Peanut Butter Banana Bars — Swirl 2 tablespoons of peanut butter into the batter before baking. It adds protein and a nice salty-sweet contrast.
Gluten-Free — Use a 1:1 gluten-free flour blend. Make sure it contains xanthan gum, or add ½ teaspoon. The texture will be slightly more delicate, but still delicious.
Dairy-Free — Use coconut oil instead of butter in the bars, and coconut milk instead of heavy cream in the frosting. The frosting will be slightly softer, so chill it before spreading.
Vegan — Replace the egg with a flax egg (1 tablespoon ground flaxseed + 3 tablespoons water). Use coconut oil in the bars and coconut cream in the frosting. It works surprisingly well.
Spiced Variation — Add a pinch of nutmeg and allspice along with the cinnamon for a warmer, more complex flavor. Great for fall.
Serving & Storage
How to Serve: I usually serve these at room temperature. They’re perfect for breakfast with coffee, or as a dessert after dinner. They also travel well for potlucks and picnics. Just wrap them tightly in plastic wrap if you’re taking them somewhere.
Side Dishes: These bars are sweet, so they pair well with savory dishes if you’re serving them as part of a brunch spread. Try them with my savory bacon egg and cheese breakfast sliders for a sweet-and-savory combo. Or serve them alongside a simple green salad for a light lunch.
Refrigerator: Store in an airtight container for up to 4 days. The frosting might firm up in the fridge, so let them sit at room temperature for 15 minutes before eating.
Freezing: You can freeze the unfrosted bars for up to 3 months. Wrap them tightly in plastic wrap and then foil. Thaw overnight in the fridge. Make the frosting fresh when you’re ready to serve. Frosting doesn’t freeze well—it can separate and become grainy.
Pro Tip: If you’re meal prepping, cut the bars into smaller squares. They make great grab-and-go snacks for busy weekdays.
Nutrition Information
I’m not a nutritionist, but here’s the breakdown if you’re tracking. Keep in mind that nutrition can vary based on brands and specific ingredients used.
Per Serving (based on 12 bars):
- Calories: 320
- Protein: 3g
- Carbs: 45g
- Fiber: 1g
- Sugar: 30g
- Fat: 14g
- Saturated Fat: 8g
- Cholesterol: 35mg
- Sodium: 250mg
These bars are definitely a treat. They’re higher in sugar and fat due to the frosting and butter. But they’re also made with real bananas, which provide some potassium and fiber. If you’re watching your sugar, try reducing the sugar in the batter to ½ cup and skipping the frosting, or using a light cream cheese frosting instead.
Final Thoughts
So that’s my go-to ultra-moist banana bread bars! I’ve probably talked your ear off at this point, but when you make a recipe this often, you have a lot to say about it. These bars have saved my weekends. They’re my answer to “I have too many bananas” and “I want something sweet but easy.”
They’re tender, flavorful, and infinitely more satisfying than the old loaf version. The brown butter frosting is the star of the show, adding a nutty depth that makes everyone ask for the recipe. Whether you’re baking for your family, bringing to a party, or just treating yourself, these bars are a winner.
Make them yours! Try different nuts, add chocolate chips, or adjust the spices. The best recipes are the ones you adapt to your tastes. If you make these, drop a comment and let me know how they turned out! I love hearing how recipes work in your kitchen. And if something doesn’t work, tell me that too—I’m here to help troubleshoot.
Happy baking! I hope your kitchen smells as amazing as mine does right now.
Frequently Asked Questions
Can I use frozen bananas?
Yes! Frozen bananas work great. Just thaw them completely and drain any excess liquid before mashing. The texture will be slightly softer, but the flavor is just as good. I actually prefer frozen bananas because they mash easier.
Why did my bars turn out dry?
This usually happens if you overbake them or if you used unripe bananas. Check them at 25 minutes. The toothpick should come out with moist crumbs, not completely clean. Also, make sure you’re using very ripe bananas. The darker the banana, the more moisture and sugar it adds.
Can I make the frosting ahead of time?
You can, but it’s best made fresh. If you need to make it ahead, store it in an airtight container in the fridge for up to 2 days. Let it come to room temperature and whisk it again before spreading. It might need a splash of cream to loosen it up.
Why did my brown butter burn?
Brown butter goes from perfect to burnt very quickly. Keep the heat at medium and watch it closely. Swirl the pan frequently to ensure even cooking. If you smell smoke, it’s too late. The key is the nutty aroma. As soon as it smells like hazelnuts, take it off the heat.
Can I use whole wheat flour?
You can, but the bars will be denser and heavier. I recommend substituting only half the all-purpose flour with whole wheat flour for a lighter texture. If you use 100% whole wheat, expect a heartier, more robust crumb.
How do I store leftover bars?
Store them in an airtight container at room temperature for up to 4 days. If your kitchen is very hot or humid, refrigerate them. Let them come to room temperature before eating for the best texture and flavor.
Can I double this recipe?
Yes, but you’ll need a larger pan. A 9×13 pan is standard for this recipe. If you double it, you might need a 9×13 and a smaller pan, or a very large sheet pan. Adjust the baking time accordingly—it might take a few minutes longer. Keep an eye on them!
Pin This Recipe!
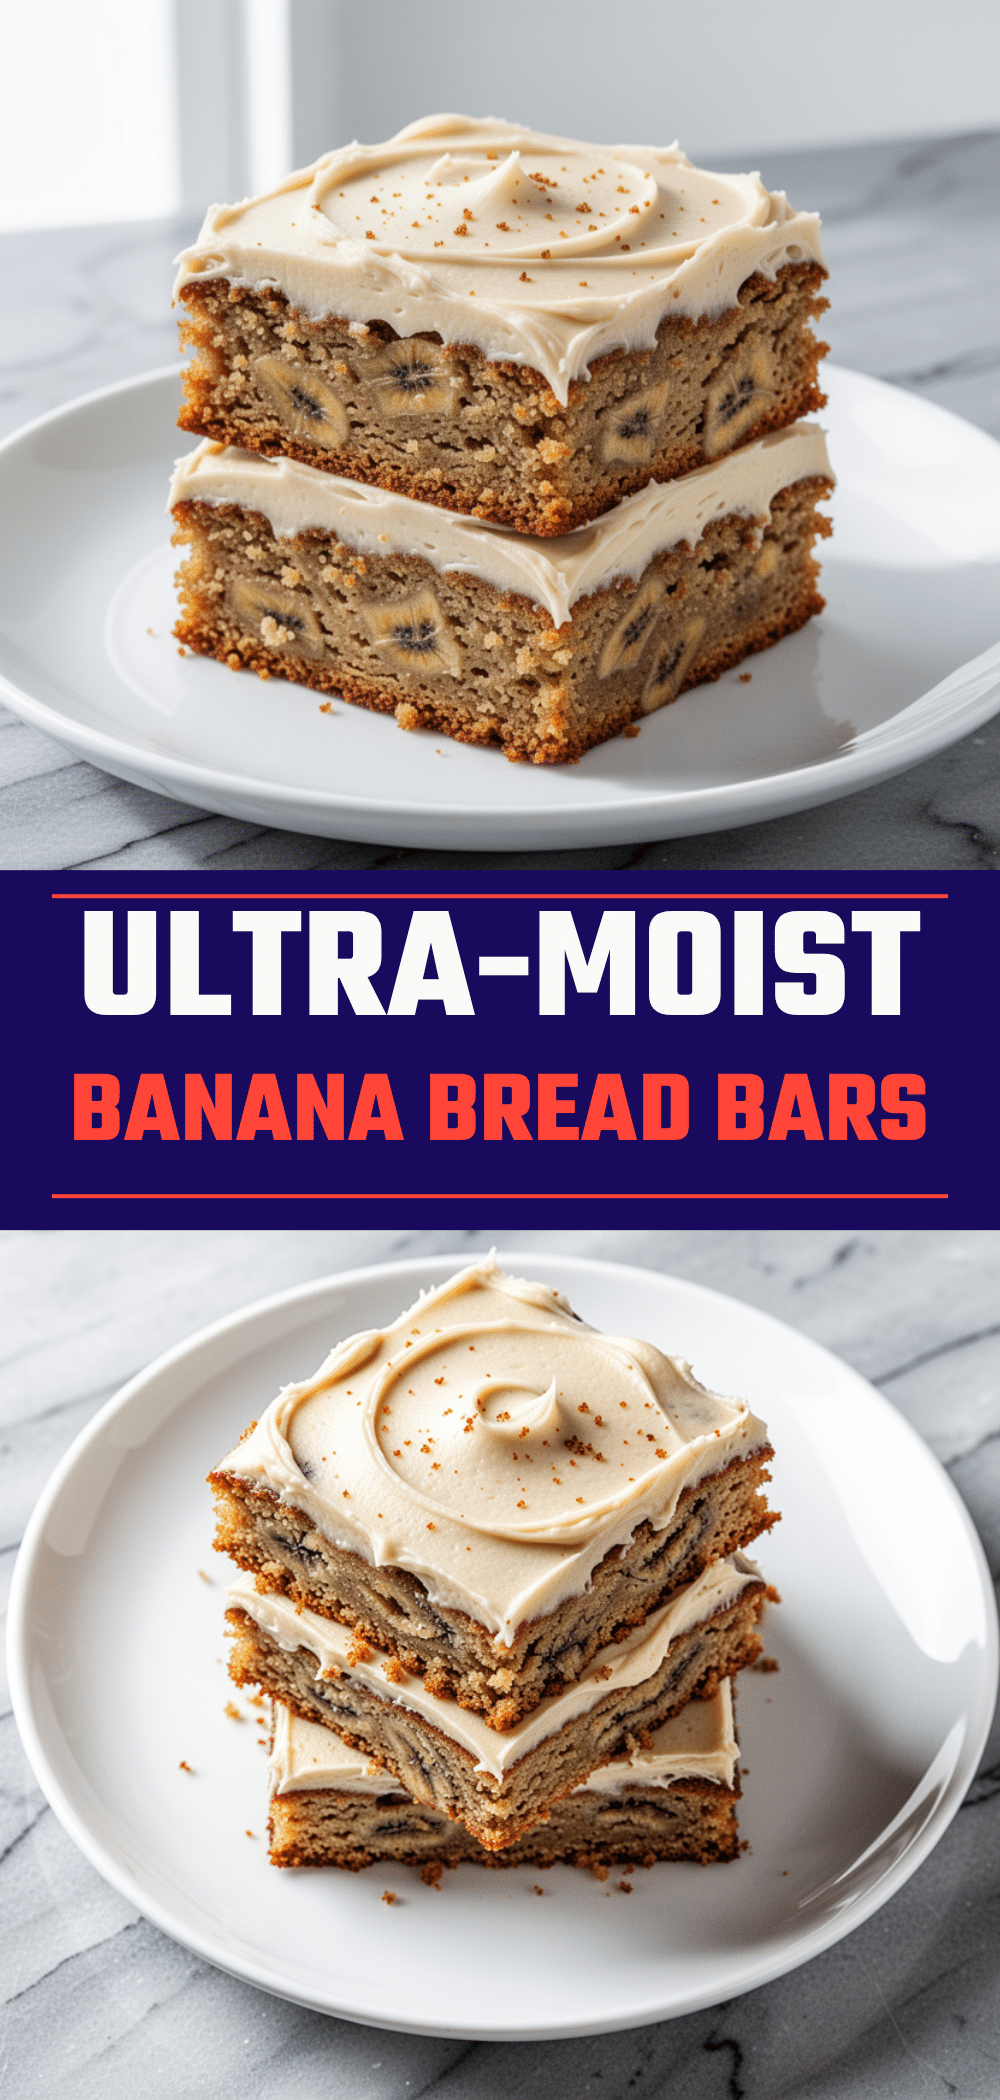
Ultra-Moist Banana Bread Bars with Brown Butter Frosting
- Total Time: 45 minutes
- Yield: 12 servings 1x
Description
These ultra-moist banana bread bars are baked in a sheet pan for maximum ease and crust, topped with a rich, nutty brown butter frosting. A simple, forgiving recipe that uses ripe bananas for intense flavor.
Ingredients
- 3 large ripe bananas (about 450g peeled)
- 3/4 cup granulated sugar
- 1/3 cup melted butter
- 1 large egg
- 1 teaspoon vanilla extract
- 1 ½ cups all-purpose flour
- 1 teaspoon baking soda
- ½ teaspoon salt
- 1 teaspoon cinnamon
- ½ cup walnuts or pecans (optional)
- ½ cup unsalted butter (for frosting)
- 2 cups powdered sugar
- 2–3 tablespoons heavy cream
- 1 teaspoon vanilla extract (for frosting)
- pinch of salt (for frosting)
Instructions
- Preheat oven to 350°F (175°C). Line a 9×13 inch baking pan with parchment paper, leaving an overhang on the short ends, and lightly grease the parchment.
- In a large bowl, mash ripe bananas with a fork. Add melted butter, sugar, egg, and vanilla extract; whisk until well combined and glossy.
- Add flour, baking soda, salt, and cinnamon to the wet mixture. Gently fold with a spatula until just combined. Fold in nuts if using.
- Pour batter into the prepared pan and spread evenly. Bake for 25-30 minutes until golden brown and a toothpick inserted in the center comes out clean.
- While bars bake, melt butter in a small saucepan over medium heat. Swirl occasionally until it foams, settles, and turns golden brown with a nutty aroma (5-7 minutes). Pour into a heatproof bowl and cool for 10 minutes.
- Whisk cooled brown butter, sifted powdered sugar, vanilla, and salt. Add heavy cream gradually until a spreadable consistency is reached.
- Let bars cool completely in the pan on a wire rack. Lift bars out using parchment handles and spread frosting evenly over the top.
- Slice into squares and serve at room temperature.
Notes
Use very ripe, spotted bananas for maximum sweetness and moisture. Do not overmix the batter to avoid tough bars. Ensure bars are completely cool before frosting to prevent melting. Brown butter requires close attention to prevent burning.
- Prep Time: 15 minutes
- Cook Time: 30 minutes
- Category: Dessert
- Cuisine: American
Nutrition
- Serving Size: 1 bar
- Calories: 320
- Sugar: 30
- Sodium: 250
- Fat: 14
- Saturated Fat: 8
- Carbohydrates: 45
- Fiber: 1
- Protein: 3
Keywords: banana bread bars, brown butter frosting, sheet pan banana bread, easy banana bread, moist banana bread, party dessert, ripe banana recipe


