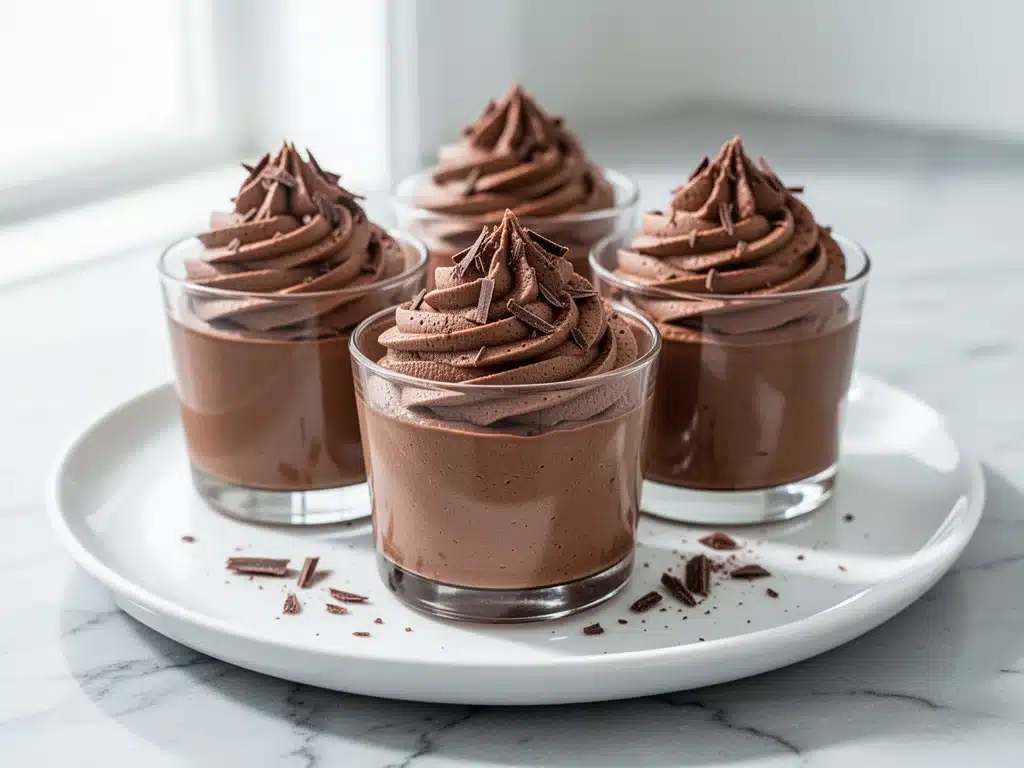
I have a confession to make. For years, I avoided cottage cheese with the same intensity I reserve for eating vegetables that aren’t roasted in bacon fat. It was that weird, lumpy, slightly salty texture that made me think of sad, diet-culture salads from the early 2000s. I’d see recipes online promising that cottage cheese could make things “creamy” and “healthy,” and I’d scroll past them, skeptical. How could something so… curdy possibly mimic the rich, velvety mouthfeel of real chocolate mousse?
Then, three weeks ago, I was standing in my kitchen at 9 PM, staring into the open fridge. I had zero willpower for baking. I didn’t want to preheat the oven, I didn’t want to wash a dozen bowls, and I certainly didn’t want to order expensive takeout. I just wanted chocolate. Deep, dark, indulgent chocolate. I spotted a container of cottage cheese near the back—probably forgotten from a protein shake experiment—and an impulse decision changed everything. I blended it with cocoa powder, a splash of vanilla, and a little sweetener, expecting a chalky disaster.
Instead, I got silk. I got the smoothest, richest chocolate mousse I’ve ever tasted, and it happened in literally three minutes. No eggs, no melting chocolate, no gelatin. Just five ingredients in a blender. I took one bite and immediately checked the expiration date on the cottage cheese to make sure I wasn’t hallucinating. It was real. And honestly? It was better than the mousse I used to make with heavy cream and egg whites, which took forty-five minutes and left me with a sticky sink.
Since that night, I’ve made these ultra-creamy cottage cheese chocolate mousse cups at least eight times. I’ve served them to my husband, who claims he hates “diet food.” I’ve handed them to my niece, who usually turns her nose up at anything that isn’t straight from a candy wrapper. I’ve even brought them to a dinner party where I had to admit the secret ingredient only after three people asked for the recipe. The truth is, once you try this, you’ll wonder why you ever bothered with traditional mousse at all. It’s lighter, it’s packed with protein, and it’s stupidly easy. Here’s how you make the best dessert of your life.
Why You’ll Love This Recipe
This isn’t just a “healthy alternative” that tastes like compromise. This is genuinely delicious chocolate mousse that happens to be good for you. I’ve tested this method so many times that I can tell you exactly why it works, and why it’s become my new obsession.
Zero Cooking Required
If you can blend, you can make this. There’s no stovetop, no double boiler, no tempering chocolate. I make this while my kids are doing homework or while I’m waiting for a pizza to arrive. It takes about 5 minutes of active time, and the rest is just chilling in the fridge. It’s the ultimate lazy-night-in dessert.
Actually Creamy (Not Lumpy)
I know what you’re thinking: “Cottage cheese is lumpy.” Yes, but only if you eat it that way. When you blend it—especially with a high-speed blender or food processor—the curds completely disappear. The result is a texture so smooth it feels like you’re eating ganache. I’ve tried it with a regular hand blender, and it works too, but you just have to blend it a minute longer. The texture is non-negotiable for this recipe, and it delivers.
Packed with Protein
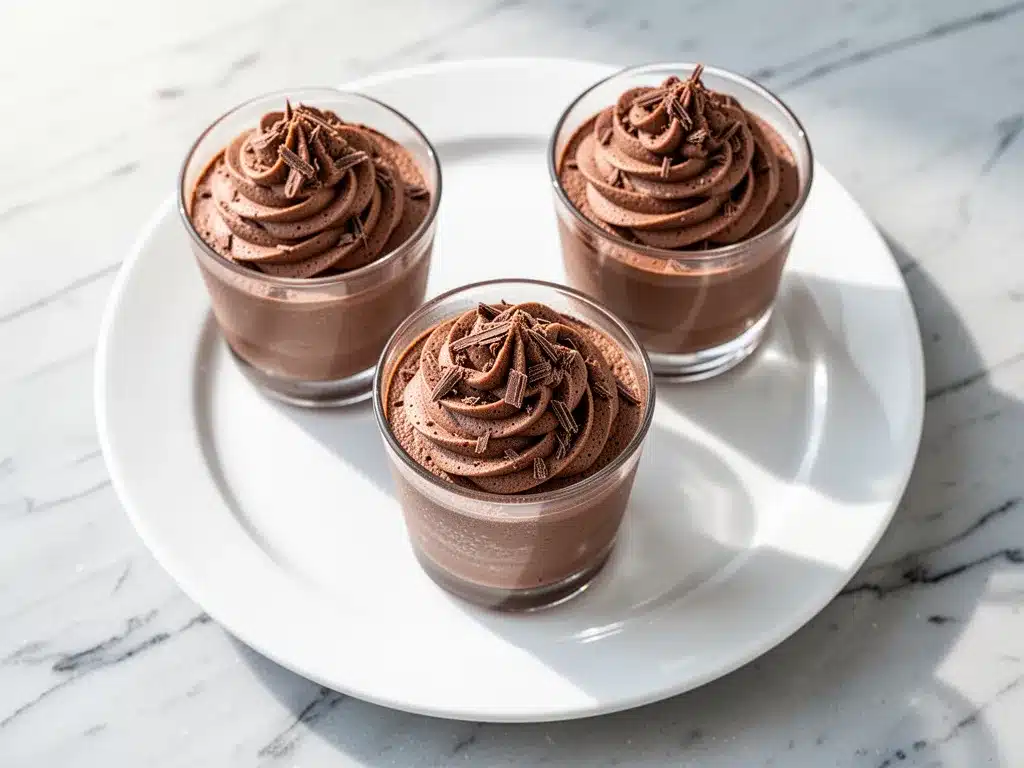
Most desserts are just empty calories and sugar. This mousse has about 15-20 grams of protein per serving, depending on the brand of cottage cheese you use. It’s satisfying. I eat two cups of this and I’m not craving another snack an hour later. It’s the perfect late-night treat that doesn’t leave you feeling sluggish or guilty.
Customizable Sweetness
Because the base is neutral (yes, really, you can’t taste the cottage cheese), you get to control the sweetness. I use a mix of maple syrup and a pinch of salt, but you can use honey, stevia, or even just extra cocoa if you want it super dark. It’s your canvas.
This recipe has completely changed my relationship with dessert. It’s fast, it’s nutritious, and it tastes like a cheat day. I make a big batch on Sundays and scoop it into little glasses all week long. It’s my go-to when I need a sweet fix that actually fuels my body.
Ingredients You’ll Need
Here’s the best part: you probably have almost all of this already. This isn’t a recipe that requires a trip to three different specialty stores. It’s simple, pantry-friendly, and uses ingredients that are easy to find.
For the Mousse Base
Cottage cheese (1 cup / 225g) — This is the star. Use full-fat cottage cheese for the creamiest result. Low-fat works, but the texture will be slightly less rich. I use brands like Daisy or Good Culture because they blend up extra smooth. Don’t use the “curds and whey” kind where the whey is separate; get the creamy style.
Unsweetened cocoa powder (3 tablespoons / 15g) — Use good quality here. I prefer Dutch-processed cocoa because it’s less acidic and gives a deeper, darker chocolate flavor. Regular natural cocoa works too, but the taste will be slightly brighter and less intense. Just make sure it’s unsweetened.
Maple syrup (2-3 tablespoons / 30-45ml) — I love the subtle caramel notes maple adds to chocolate. Honey works too, but it has a stronger flavor that might clash with the cocoa. Agave is fine if you prefer that, but maple is my go-to. Adjust based on how sweet you like it.
Vanilla extract (1 teaspoon / 5ml) — Pure vanilla extract, not imitation. It rounds out the chocolate flavor and makes it taste more “dessert-like” and less like hot cocoa mix.
Salt (½ teaspoon / 3g) — This is non-negotiable. Salt enhances the chocolate flavor. Without it, the mousse tastes flat. Use fine sea salt or table salt.
Heavy cream or coconut cream (2 tablespoons / 30ml) — Optional, but I highly recommend it. Adding a splash of heavy cream makes it even richer. If you’re dairy-free, use full-fat coconut cream. It adds that luxurious mouthfeel without altering the flavor much.
For the Cocoa Whip Topping
Coconut cream (½ can / 120ml) — You need the thick part from a can of full-fat coconut milk. Chill the can overnight, then scoop out the solid cream. This whips up into a stable, dairy-free whipped cream. If you eat dairy, you can use heavy whipping cream instead.
Cocoa powder (1 tablespoon / 5g) — Just a dusting to flavor the whip.
Powdered sugar (1 tablespoon / 8g) — Optional, depending on how sweet you want the topping. I usually skip it because the mousse is sweet enough, but a little sweetness on top is nice.
Vanilla extract (½ teaspoon / 2.5ml) — Same as the base.
Chocolate shavings or cocoa nibs — For garnish. I use dark chocolate shavings because they look fancy and add a crunch.
Quick tip: If you’re using coconut cream for the whip, make sure your bowl is cold. I often chill my mixing bowl in the freezer for 10 minutes before whipping. It helps the cream hold its peaks.
Equipment Needed
You don’t need fancy gadgets for this. Here’s what I actually use, and what you can swap.
High-speed blender or food processor — This is the most important tool. I use my Vitamix, and it blends the cottage cheese smooth in seconds. If you have a Ninja or Blendtec, those work great too. A regular countertop blender works, but it might take 30-60 seconds longer to get rid of all the curds. I’ve also tried a hand immersion blender, and it works if you’re patient, but you have to scrape down the sides often.
Mixing bowls — Two medium bowls. One for the mousse, one for the whip. Any bowls will do.
Electric hand mixer or stand mixer — For whipping the coconut cream or heavy cream. I use a hand mixer because it’s faster for small batches. A whisk works, but it takes arm strength.
Spatula — A silicone spatula is great for scraping the blender jar and folding the whip into the mousse if you want it swirled.
Serving glasses or jars — I love using small mason jars or little ramekins. It looks cute and makes portion control easy. You can also just eat it straight from the blender jar (I won’t judge).
Measuring cups and spoons — Standard stuff. Dollar store versions work fine for this.
Optional: Microplane grater — If you want to make chocolate shavings from a bar of dark chocolate, a microplane is the easiest way. Just grate the chocolate over a plate.
How to Make It: Step-by-Step
Alright, let’s make this! I’m walking you through exactly how I do it, including the little tricks I’ve picked up to ensure that silky smooth texture.
Step 1: Prep Your Ingredients (2 minutes)
Before you start, make sure your cottage cheese is at room temperature if you can. Cold cheese blends less smoothly. If you’re in a rush, microwave it for 15 seconds. Measure out your cocoa powder, maple syrup, and vanilla. If you’re using coconut cream for the whip, scoop the solid cream into a chilled bowl now. Set everything out so you’re ready to go.
Step 2: Blend the Mousse Base (3 minutes)
Add the cottage cheese, cocoa powder, maple syrup, vanilla, salt, and heavy cream (if using) to your blender. Start on low speed, then gradually increase to high. Blend for about 45-60 seconds. Stop and scrape down the sides with a spatula. Blend again for another 30 seconds. You’re looking for a completely smooth, glossy mixture with zero visible curds. It should look like chocolate pudding batter. If you see any white bits, keep blending. Patience here pays off.
Step 3: Taste and Adjust
Before you chill it, taste the mixture. Does it need more sweetness? Add another teaspoon of maple syrup. Does it need more chocolate punch? Add another teaspoon of cocoa powder. Does it taste flat? Add a pinch more salt. This is your chance to make it perfect for your palate.
Step 4: Whip the Cocoa Cream (5 minutes)
If you’re using coconut cream, add the solid cream, cocoa powder, powdered sugar (if using), and vanilla to a chilled bowl. Beat with an electric mixer on medium-high speed for 2-3 minutes until stiff peaks form. It should look like whipped cream. If using heavy cream, the process is the same. Don’t overbeat it, or it might turn to butter. Stop when it holds its shape.
Step 5: Assemble the Cups
Take your serving glasses or jars. Spoon a layer of the chocolate mousse into the bottom—about 2-3 tablespoons. Then, dollop a spoonful of the cocoa whip on top. You can swirl them together for a marbled effect, or keep them separate for layers. Repeat until the glass is full, finishing with a big dollop of whip on top.
Step 6: Garnish and Chill
Sprinkle chocolate shavings or cocoa nibs on top. If you have mint leaves, a tiny sprig adds a nice color pop. Cover the glasses with plastic wrap and refrigerate for at least 30 minutes. This helps the mousse set and the flavors meld. It’s ready to eat after 30 minutes, but it tastes even better after an hour.
Total Time: About 10 minutes active, plus 30 minutes chilling.
Troubleshooting Tips
Mousse is too thin? You might have used low-fat cottage cheese or added too much liquid. Chill it for longer, or add a bit more cocoa powder to thicken it.
Whip won’t stiffen? Your coconut cream might not have been cold enough, or you used light coconut milk. Make sure you use full-fat and chill the bowl. If it’s still runny, you can add a teaspoon of powdered sugar and beat longer.
Tastes too tangy? If your cottage cheese has a strong tang, add a bit more maple syrup or vanilla to balance it out. Full-fat brands are usually milder.
Expert Tips & Tricks
Here’s everything I’ve learned from making this dozens of times. These tips will save you from my mistakes and ensure your mousse is perfect.
Blend It Until It’s Gone
I cannot stress this enough: blend until you can’t see any curds. I once rushed this step and served it to my mom. She took one bite and said, “This tastes like… cheese?” I was mortified. Now I blend for a full minute, even if the blender sounds like it’s struggling. The texture is everything.
Use High-Quality Cocoa
Since there are only five ingredients, the cocoa powder is the main flavor. Cheap cocoa powder tastes dusty and acidic. I buy Guittard or Ghirardelli Dutch-processed cocoa. It’s worth the extra dollar. Your mousse will taste like it came from a high-end chocolate shop.
Chill Your Bowl for the Whip
If you’re using coconut cream, temperature is key. I keep my mixing bowls in the freezer. When I scoop the coconut cream into a frozen bowl, it whips up faster and holds its shape better. If the cream is warm, it’ll stay liquid.
Don’t Skip the Salt
Salt is a flavor enhancer, not just a seasoning. In chocolate desserts, it makes the chocolate taste more chocolatey. I use ½ teaspoon for this batch. If you skip it, the mousse will taste flat and one-dimensional.
Make-Ahead Friendly
This mousse actually improves overnight. The flavors meld together, and the texture sets up nicely. I make it on Sunday morning and eat it all week. It keeps in the fridge for up to 4 days. Just cover it tightly.
Variations & Substitutions
Once you’ve nailed the basic version, here’s how you can mix it up. I’ve tried all of these, and they all work.
Mint Chocolate Chip
Add ½ teaspoon peppermint extract to the mousse base. After blending, fold in 2 tablespoons of mini chocolate chips. It tastes like an After Eight mint. My kids love this version.
Strawberry Cream
Swap the cocoa powder for ½ cup of frozen strawberries (thawed and drained). Blend the strawberries with the cottage cheese, then add 1 tablespoon of cocoa powder for a pink, fruity-chocolate swirl. Top with fresh strawberries.
Peanut Butter Cup
Add 1 tablespoon of peanut butter to the mousse base. Top with a drizzle of melted peanut butter and crushed peanuts. It tastes like a Reese’s cup but with way less sugar.
Espresso Mocha
Add 1 teaspoon of instant espresso powder to the mousse. It intensifies the chocolate flavor without making it taste like coffee. Perfect for coffee lovers.
Dairy-Free Version
Use full-fat coconut milk instead of cottage cheese (chill it overnight and scoop the cream). Use coconut cream for the whip. Use maple syrup for sweetness. It’s rich and creamy, though the texture is slightly different.
Lower Sugar Version
Use stevia or monk fruit sweetener instead of maple syrup. You’ll need about ½ teaspoon of liquid stevia or 2 tablespoons of powdered monk fruit. Taste as you go, as these sweeteners vary in intensity.
Serving & Storage
How to serve and store your mousse so it stays perfect.
How to Serve
I usually serve these in small glass jars or ramekins. It looks elegant and makes portion control easy. I like to garnish with chocolate shavings, cocoa nibs, or a few fresh berries. A mint leaf adds a nice touch. Serve them chilled straight from the fridge.
Side Dishes
This mousse is a dessert, so it doesn’t need much else. But if you’re having a dinner party, pair it with a simple fruit tart or a cheese board. It’s light enough that it won’t weigh people down.
Storage Instructions
Refrigerator: Store in an airtight container for up to 4 days. The mousse will thicken in the fridge, which is normal. Stir it gently before serving if it’s too thick.
Freezing: You can freeze the mousse, but the texture might change slightly. Thaw it in the fridge overnight and stir well. It won’t be as smooth as fresh, but it’s still good.
Reheating: Don’t heat this. It’s a cold dessert. Eating it warm will break the emulsion and make it runny.
Pro Tip
If you’re meal-prepping, make a big batch of the mousse and scoop it into freezer-safe containers. Freeze in portions for a quick dessert later. Just thaw in the fridge for an hour before eating.
Nutrition Information
I’m not a nutritionist, but here’s the breakdown if you’re tracking. This is per serving (based on 4 servings).
Per Serving:
- Calories: 220
- Protein: 18g
- Carbs: 15g
- Fiber: 3g
- Sugar: 10g (natural from maple syrup)
- Fat: 12g
- Saturated Fat: 8g
- Cholesterol: 15mg
- Sodium: 250mg
What’s Good: High protein, low sugar, no refined flour. It’s a nutrient-dense dessert.
What to Know: Higher in fat from the coconut cream and cottage cheese. Contains dairy (unless you use coconut substitutes).
My Take: This is a guilt-free treat. It’s satisfying and nutritious, but it’s still a dessert. Enjoy it in moderation, and you’ll love how it makes you feel.
Final Thoughts
So that’s my ultra-creamy cottage cheese chocolate mousse! I’ve probably talked your ear off at this point, but when you make a recipe this often, you have a lot to say about it. This has saved my late-night dessert cravings more times than I can count. It’s my answer to “what’s for dessert” when I’m tired, don’t want to bake, and still want something that tastes indulgent. My family is happy, I’m happy because it’s healthy, and I’m happy because I’m not stressed about cooking.
Make it yours! Try different add-ins, swap in your favorite sweetener, or top it with your favorite fruit. The best recipes are the ones you adapt to your tastes. If you make this, drop a comment and let me know what you think! I love hearing how recipes turn out in your kitchen. And if something doesn’t work, tell me that too—I’m here to help troubleshoot.
Happy cooking! And I hope your kitchen smells half as good as mine does right now.
Frequently Asked Questions
Can I use low-fat cottage cheese?
You can, but the texture will be less rich and creamy. Full-fat cottage cheese has more fat, which mimics the mouthfeel of heavy cream. If you use low-fat, the mousse will be lighter and slightly less dense. It’s still delicious, just not as luxurious.
Why is my mousse lumpy?
You didn’t blend it long enough. Cottage cheese curds need to be completely broken down. Use a high-speed blender and blend for at least 60 seconds. Stop and scrape down the sides, then blend again. If you’re using a hand blender, it might take longer. The goal is a completely smooth, glossy texture.
Can I make this ahead of time?
Yes! This mousse actually tastes better after it’s chilled for a few hours. Make it up to 4 days in advance. Store it in an airtight container in the fridge. It’s perfect for meal prep or dinner parties.
Can I freeze this mousse?
You can, but the texture might change slightly. Thaw it in the fridge overnight and stir well. It won’t be as smooth as fresh, but it’s still good. I don’t recommend freezing the whipped cream topping, as it might separate.
Can I use honey instead of maple syrup?
Yes, honey works great. It has a stronger flavor, so you might want to use a bit less. Maple syrup adds a subtle caramel note that I love, but honey is a fine substitute. Agave or stevia also work.
How long does the cocoa whip last?
If you use coconut cream, it lasts about 2-3 days in the fridge. If you use heavy cream, it lasts about 1-2 days. It will deflate over time, so it’s best to whip it right before serving.
Is this recipe gluten-free?
Yes, this recipe is naturally gluten-free. Just make sure your cocoa powder and maple syrup are certified gluten-free, as some brands are processed in facilities that handle wheat.
Pin This Recipe!
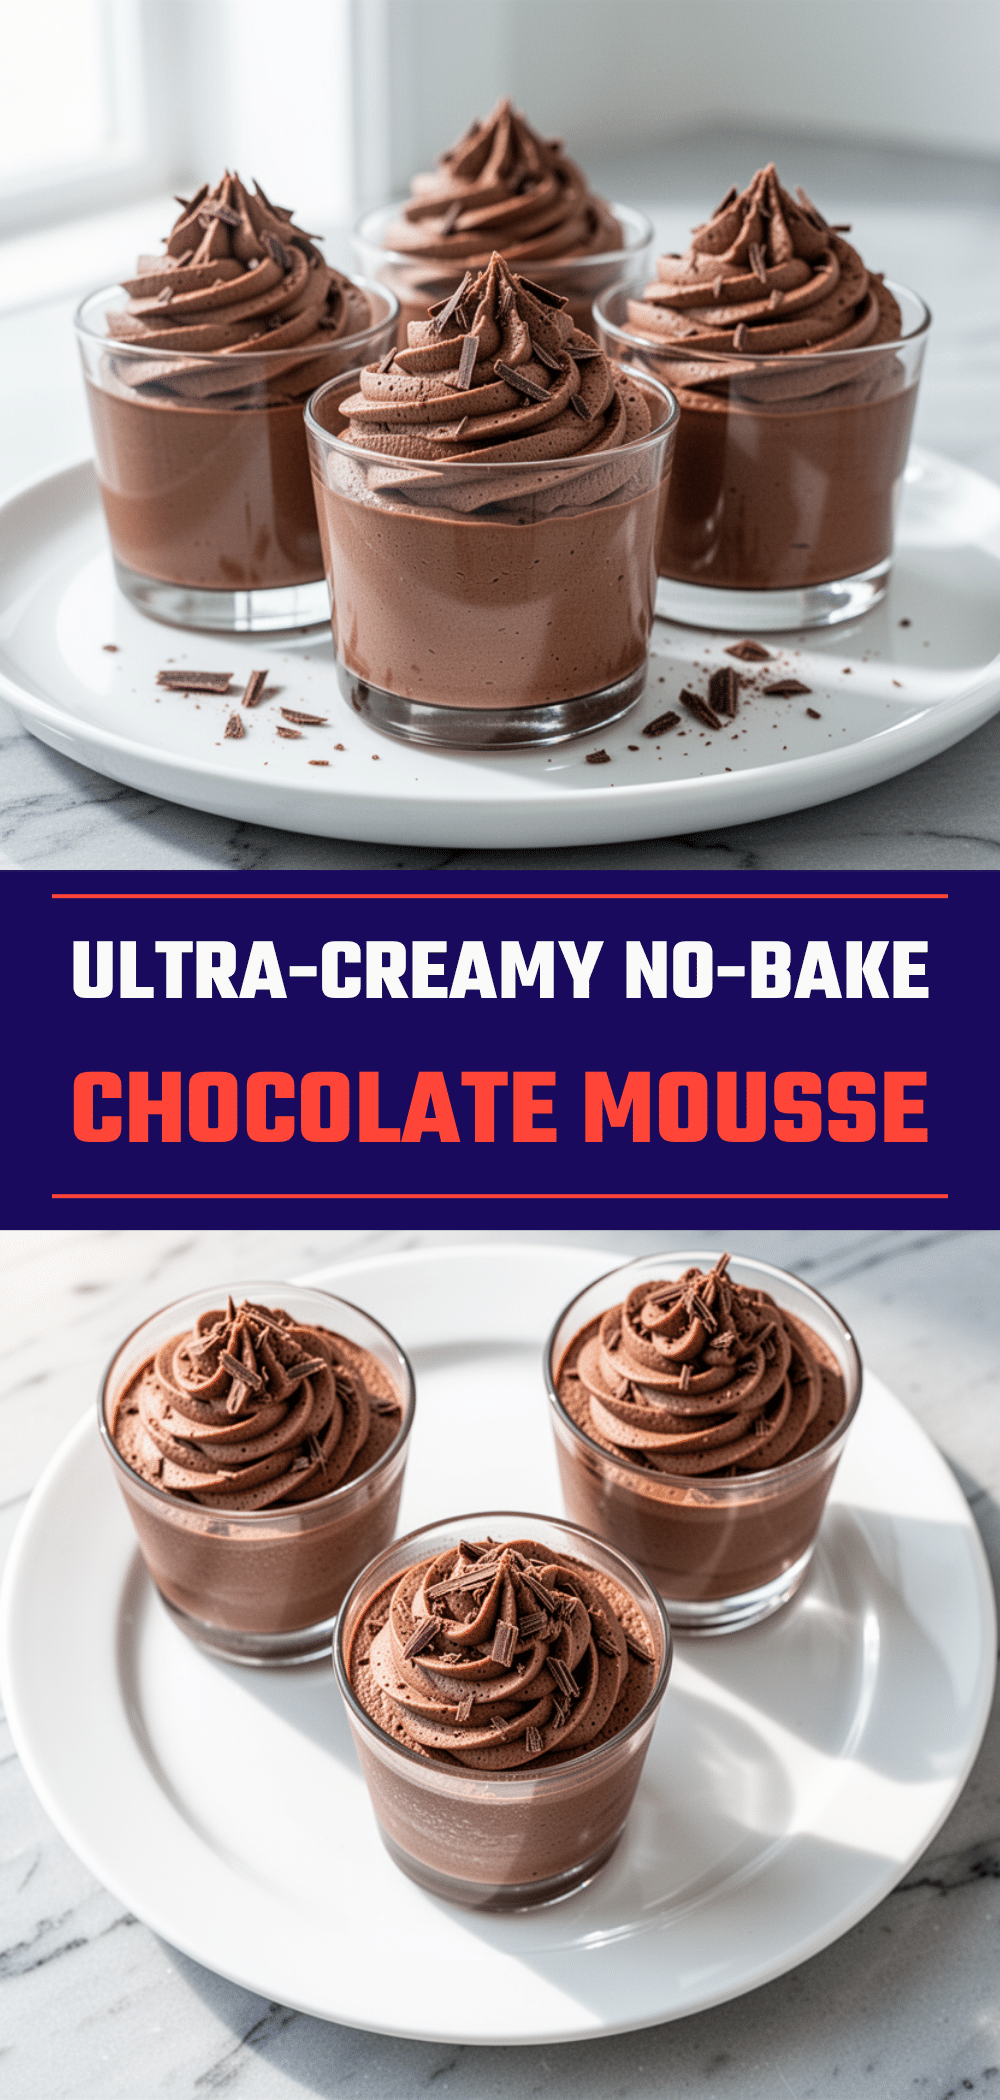

Ultra-Creamy Cottage Cheese Chocolate Mousse Cups
- Total Time: 40 minutes
- Yield: 4 servings 1x
Description
A silky, protein-packed chocolate mousse made in just minutes with no baking or eggs. This healthy dessert uses blended cottage cheese for a rich, creamy texture that rivals traditional mousse.
Ingredients
- 1 cup (225g) full-fat cottage cheese
- 3 tablespoons (15g) unsweetened cocoa powder
- 2–3 tablespoons (30-45ml) maple syrup
- 1 teaspoon (5ml) vanilla extract
- 1/2 teaspoon (3g) salt
- 2 tablespoons (30ml) heavy cream or coconut cream
- 1/2 can (120ml) full-fat coconut cream (chilled)
- 1 tablespoon (5g) cocoa powder (for topping)
- 1 tablespoon (8g) powdered sugar (optional, for topping)
- 1/2 teaspoon (2.5ml) vanilla extract (for topping)
- Dark chocolate shavings or cocoa nibs (for garnish)
Instructions
- Ensure cottage cheese is at room temperature for smoother blending. If in a rush, microwave for 15 seconds.
- Add cottage cheese, cocoa powder, maple syrup, vanilla, salt, and heavy cream (if using) to a high-speed blender.
- Blend on low, then increase to high speed for 45-60 seconds. Stop to scrape down sides, then blend for another 30 seconds until completely smooth with no visible curds.
- Taste the mixture and adjust sweetness or chocolate intensity if needed.
- In a chilled bowl, whip the solid coconut cream (or heavy cream) with cocoa powder, powdered sugar (if using), and vanilla using an electric mixer on medium-high speed for 2-3 minutes until stiff peaks form.
- Spoon a layer of chocolate mousse into serving glasses or jars.
- Dollop cocoa whip on top of the mousse. Swirl or layer as desired.
- Garnish with chocolate shavings or cocoa nibs.
- Refrigerate for at least 30 minutes to set before serving.
Notes
For the best texture, blend the cottage cheese until absolutely smooth. Use full-fat cottage cheese for a richer result. If using coconut cream for the whip, ensure the bowl is chilled in the freezer for 10 minutes beforehand to help it whip properly. This mousse keeps in the fridge for up to 4 days.
- Prep Time: 10 minutes
- Cook Time: 0 minutes
- Category: Dessert
- Cuisine: American
Nutrition
- Serving Size: 1 cup
- Calories: 220
- Sugar: 10
- Sodium: 250
- Fat: 12
- Saturated Fat: 8
- Carbohydrates: 15
- Fiber: 3
- Protein: 18
Keywords: cottage cheese mousse, healthy dessert, high protein dessert, no bake dessert, gluten free dessert, chocolate mousse, keto friendly, meal prep dessert


