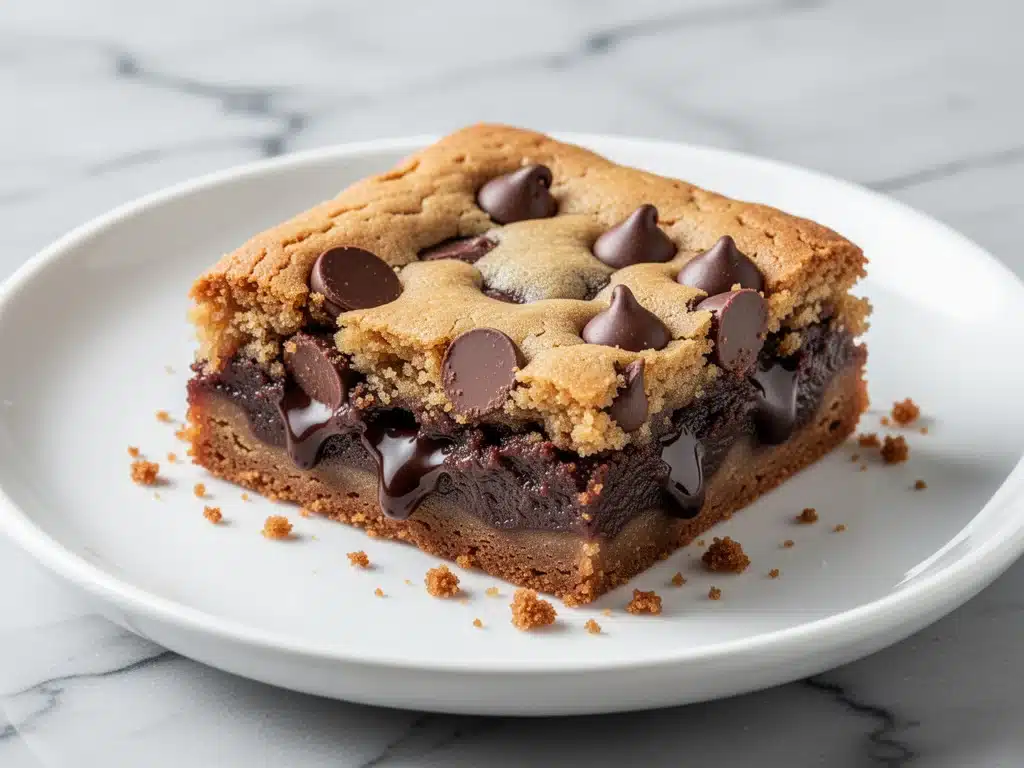
There is a specific kind of panic that hits when you pull a batch of cookies out of the oven, only to realize you’ve underbaked them by three full minutes. Usually, this results in a flat, sad pancake of dough that sticks to your cooling rack. But with these bakery-style chocolate chip cookie bars? That “mistake” is actually the secret to getting that molten, gooey center everyone is obsessed with.
I’ve been making cookie bars for as long as I can remember, mostly because they’re easier than individual cookies. No rolling balls of dough. No spacing them out perfectly. Just dump, spread, bake, and cut. But for years, my version was just… fine. Good, sure. But not the kind of dessert that makes your friends stop mid-bite and ask for the recipe.
That changed last month. I was craving something sweet after dinner but didn’t want to wash a dozen cookie sheets. I threw together a batch of these bars, aiming for a chewy texture. Instead, I got something closer to a brownie—thick, fudgy, and impossibly rich. My husband took one bite, looked at me, and said, “Okay, we are never buying store-bought cookies again.”
Since then, I’ve made this best easy chocolate chip cookie bar recipe at least four times. Four. I’ve tested different flours, different sugars, and even tried swapping out the chocolate chips for chunks (which, honestly, makes it even better). Each time, I tweaked the method slightly until I landed on the perfect ratio of crispy edges to soft, gooey centers.
If you’ve ever struggled with cookies that are too cakey or too dry, this is the recipe for you. It’s basically a brownie disguised as a cookie, but with the familiar comfort of buttery dough and melty chocolate. It’s the ultimate crowd-pleaser, perfect for potlucks, holiday parties, or just Tuesday night when you need a win. Trust me, once you try these, you’ll be making them on repeat.
Why You’ll Love This Recipe
Let’s be real: baking cookies can be tedious. You have to scoop, roll, space, and then clean up the mess. These bars cut out all that fuss while delivering a dessert that tastes like it came from a high-end bakery. Here’s why this recipe has earned a permanent spot in my rotation:
- Zero Rolling Required — Seriously, if you can mix batter in a bowl, you can make these. I’ve made this while helping my kids with homework. One bowl, one pan. Done.
- Perfectly Gooey Every Time — The trick is in the baking time. Pull them when they look slightly underdone, and they set into that perfect fudgy texture. No more dry, crumbly bars.
- Great for Feeding a Crowd — Cut into squares, this feeds 12-16 people easily. It’s my go-to for office parties and family gatherings because it disappears fast.
- Make-Ahead Friendly — These actually taste better the next day. The flavors meld together, and the texture becomes even richer. I often make them the night before an event.
- Customizable — Want to add nuts? Go for it. Swirl in some peanut butter? Yes please. This base recipe is incredibly forgiving and takes any mix-in you throw at it.
- Budget-Friendly — You likely have most of these ingredients in your pantry. Flour, sugar, butter, chocolate chips—it’s cheap comfort food.
This is the dessert I reach for when I want to impress without stressing. It’s reliable, delicious, and always a hit.
Ingredients You’ll Need
Here’s the good news: you probably have 90% of this already. This isn’t a recipe that requires a trip to three different specialty stores. It’s simple, honest ingredients that come together to create something magical.
For the Dough Base:
Unsalted butter (1 cup / 226g) — This is the foundation. Use real butter, not margarine. I like to soften it to room temperature so it creams easily with the sugar. If you’re in a rush, you can microwave it in 10-second bursts, but don’t let it melt into liquid.
Granulated sugar (1 cup / 200g) — This gives the bars their slight crispness on the edges. Don’t skip it for all brown sugar; you need that contrast.
Brown sugar (1 cup / 220g, packed) — This is where the chewiness and moisture come from. Use light or dark brown sugar, but make sure it’s packed down tightly when you measure it.
Eggs (2 large) — Room temperature eggs mix better into the batter. If you forget to take them out, just drop them in a bowl of warm water for 5 minutes.
Vanilla extract (2 teaspoons) — Use real vanilla, not imitation. It makes a huge difference in the flavor profile. I keep a bottle of Nielsen-Massey on hand.
All-purpose flour (2 ¼ cups / 280g) — Don’t use cake flour or self-rising. Standard AP flour is perfect here. Spoon it into the measuring cup and level it off—don’t scoop directly from the bag, or you’ll end up with too much flour and dry bars.
Baking soda (1 teaspoon) — This helps the bars rise slightly and brown. Make sure it’s fresh; old baking soda won’t work.
Salt (½ teaspoon) — Even though these are sweet, salt is crucial to balance the flavor. Use fine sea salt.
For the Mix-Ins:
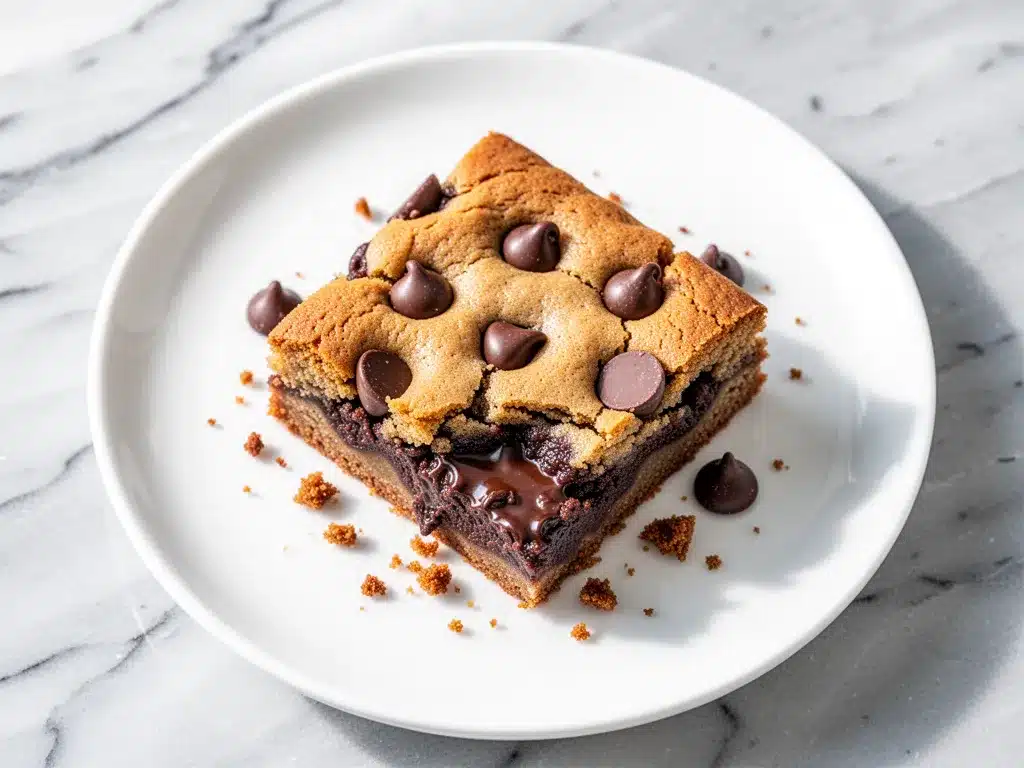
Semi-sweet chocolate chips (2 cups / 340g) — I use Ghirardelli or Nestlé Toll House. But honestly? Chopped chocolate bars make these even better. The irregular chunks create pockets of melted chocolate that are pure heaven.
Optional: White chocolate chips (½ cup) — I like to add a handful of white chips for variety. The sweetness contrasts nicely with the semi-sweet.
Optional: Chopped nuts (1 cup) — Walnuts or pecans add a nice crunch. If you’re allergic, just skip them.
For the Topping:
Flaky sea salt (like Maldon) — This is non-negotiable for me. Sprinkling it on right after baking elevates the flavor from “good” to “bakery-quality.” The salt crystals crunch against the soft chocolate.
Equipment Needed
You don’t need fancy gadgets for this. Here’s what I actually use:
9×13 inch baking pan — I use a metal pan, which promotes browning. Glass or ceramic pans will bake slower and might not get those crispy edges. Grease it well with butter or non-stick spray.
Large mixing bowl — Something big enough to hold all the ingredients without splattering. Glass or stainless steel works best.
Electric mixer — Handheld or stand mixer. Creaming the butter and sugar by hand is possible but tiring. I use my hand mixer for about 2 minutes.
Spatula — A sturdy silicone spatula for folding in the chocolate chips. Don’t use a wooden spoon here; you need to scrape the sides.
Wire cooling rack — Essential for cooling the bars evenly. If you leave them in the hot pan, the bottom will keep cooking and become soggy.
Sharp knife or pizza cutter — For cutting clean squares. A pizza cutter works wonders if the bars are still slightly warm.
How to Make It: Step-by-Step
Alright, let’s make these! I’m walking you through exactly how I do it, including the little tricks I’ve picked up over the years.
Step 1: Prep Your Pan and Oven (5 minutes)
Preheat your oven to 350°F (175°C). Grease a 9×13 inch baking pan thoroughly with butter or non-stick spray. I like to line the pan with parchment paper, leaving an overhang on the sides. This makes lifting the bars out super easy for cutting and prevents sticking. If you don’t have parchment, just grease it well.
Step 2: Cream the Butter and Sugars (3 minutes)
In a large bowl, beat the softened butter, granulated sugar, and brown sugar together until light and fluffy. This takes about 2-3 minutes with a mixer. You want the mixture to look pale and creamy. This step incorporates air, which helps the bars have a nice texture. If you skip this, the bars will be dense and flat.
Step 3: Add Eggs and Vanilla (1 minute)
Add the eggs one at a time, beating well after each addition. Scrape down the sides of the bowl. Stir in the vanilla extract. The mixture might look a little separated at first—don’t worry, it will come together once you add the flour.
Step 4: Mix in Dry Ingredients (2 minutes)
Reduce your mixer speed to low. Add the flour, baking soda, and salt. Mix just until combined. Do not overmix. Once you see no more streaks of flour, stop. Overmixing develops gluten, which leads to tough, chewy bars instead of tender, fudgy ones. It should take less than a minute.
Step 5: Fold in Chocolate Chips (2 minutes)
Switch to your spatula. Fold in the chocolate chips (and nuts, if using). Use a gentle motion, scraping from the bottom up. Make sure the chips are evenly distributed. If you’re using chopped chocolate, be careful not to crush the pieces.
Step 6: Spread and Bake (25-28 minutes)
Spread the batter evenly into your prepared pan. It should be thick and chunky. Bake at 350°F for 25-28 minutes. Here’s the key: The edges should be golden brown, but the center should still look slightly underbaked and soft. It might look like it’s too raw, but that’s what creates the gooey center. If you bake it until the center looks fully set, it will dry out as it cools.
Step 7: Cool and Top (30 minutes)
Remove the pan from the oven and immediately sprinkle with flaky sea salt. Let the bars cool in the pan for at least 20-30 minutes. They will continue to set as they cool. If you try to cut them while they’re hot, they’ll be a mess. Use a sharp knife or pizza cutter to slice into squares. Serve warm or at room temperature.
Expert Tips & Tricks
Here’s everything I’ve learned from making these dozens of times. These tips will save you from my mistakes.
Don’t Overbake
This is the #1 mistake people make. Pull the bars when the center still looks slightly soft. They will firm up as they cool. If you wait until they look perfectly set in the oven, they’ll be dry by the time they’re cool.
Use Chopped Chocolate
While chips work, chopped chocolate bars create irregular chunks that melt into pockets of goo. I buy a bar of semi-sweet chocolate and chop it with a knife. It’s worth the extra two minutes.
Room Temperature Ingredients
Soft butter and room temperature eggs mix more evenly. Cold butter creates lumps, and cold eggs can seize the batter. Plan ahead and let your butter sit out for 30 minutes.
Measure Flour Correctly
Spoon flour into your measuring cup and level it off. Scooping directly from the bag packs the flour down, leading to too much flour and dry bars. I’ve ruined batches this way, so I’m strict about this now.
Let Them Cool Completely
I know it’s tempting to eat them hot, but cooling allows the structure to set. If you cut them too soon, they’ll crumble. Patience pays off.
Add a Pinch of Espresso Powder
For a deeper chocolate flavor, add ½ teaspoon of instant espresso powder to the dry ingredients. You won’t taste coffee, but it makes the chocolate taste more intense.
Variations & Substitutions
Once you’ve nailed the basic version, here’s how you can mix it up. I’ve tried all of these:
Peanut Butter Swirl
Drop dollops of peanut butter on top of the batter and swirl with a knife before baking. Adds a salty-sweet kick that’s addictive.
Double Chocolate
Add ¼ cup cocoa powder to the dry ingredients and use dark chocolate chips. This makes them more brownie-like.
Chewy Oatmeal Version
Replace ½ cup of flour with rolled oats. Adds heartiness and texture. Great for breakfast bars.
Gluten-Free
Use a 1:1 gluten-free flour blend. The texture will be slightly more tender, but it works well. Ensure your chocolate chips are certified GF.
Dairy-Free
Use dairy-free butter sticks (not tub margarine) and dairy-free chocolate chips. Coconut oil can work but changes the flavor. I’ve used Miyoko’s butter and it works great.
Vegan
Replace butter with vegan butter, eggs with flax eggs (2 tbsp ground flax + 6 tbsp water), and use vegan chocolate chips. The texture will be denser, but still delicious.
Serving & Storage
How to Serve:
I usually serve these warm, right out of the oven with a scoop of vanilla ice cream or a dollop of whipped cream. But they’re also great at room temperature. For a fancy touch, garnish with a drizzle of caramel sauce or a sprinkle of extra sea salt.
Storage:
Store in an airtight container at room temperature for up to 4 days. If your kitchen is hot, keep them in the fridge, but let them come to room temperature before eating for the best texture.
Freezing:
These freeze beautifully! Cut into squares, wrap tightly in plastic wrap, and place in a freezer bag. Freeze for up to 3 months. Thaw at room temperature or microwave for 10 seconds for a warm treat.
Reheating:
Microwave a square for 10-15 seconds to restore that gooey, fresh-baked texture. Avoid the oven, as it can dry them out.
Nutrition Information
I’m not a nutritionist, but here’s the breakdown if you’re tracking. This is a rich dessert, so moderation is key.
Per Serving (based on 16 bars):
- Calories: 280
- Protein: 3g
- Carbs: 38g
- Fiber: 1g
- Sugar: 26g
- Fat: 14g
- Saturated Fat: 8g
- Cholesterol: 35mg
- Sodium: 180mg
What’s Good:
It’s a comforting treat that satisfies a sweet tooth without needing to buy expensive bakery items. You control the ingredients, so you can use high-quality chocolate and less sugar if you prefer.
What to Know:
Higher in calories and sugar due to the butter and chocolate. It’s not a health food, but it’s a joyous indulgence. Pair with a cup of coffee or tea to balance the sweetness.
Final Thoughts
So that’s my go-to bakery-style chocolate chip cookie bar recipe! I’ve probably talked your ear off at this point, but when you make a recipe this often, you have a lot to say about it.
This has saved dessert nights more times than I can count. It’s my answer to “what’s for dessert” when I’m tired, don’t want to bake complicated cakes, and still want something that tastes really good. My kids are happy, my husband’s happy, and I’m happy because I’m not stressed about cooking.
Make it yours! Try different mix-ins, swap in your favorite chocolate, or add a pinch of espresso. The best recipes are the ones you adapt to your family’s tastes. If you make these, drop a comment and let me know what you think! I love hearing how recipes turn out in your kitchen. And if something doesn’t work, tell me that too—I’m here to help troubleshoot.
Happy baking! And I hope your kitchen smells half as good as mine does right now.
Frequently Asked Questions
Can I use margarine instead of butter?
You can, but the flavor and texture won’t be as good. Margarine has a higher water content, which can make the bars cakey or greasy. Real butter gives you that rich, bakery-style taste. If you must use margarine, choose a high-fat stick variety, not tub spread.
Why are my bars too cakey?
Usually, this means you added too much flour or overmixed the batter. Spoon and level your flour, and mix the dry ingredients just until combined. Also, make sure you’re not overbaking. Pull them when the center looks slightly soft.
Can I make these ahead for a party?
Absolutely. These bars actually taste better the next day. Make them 1-2 days ahead, store in an airtight container, and bring to room temperature before serving. They freeze well too, so you can make them weeks in advance.
Can I use milk chocolate chips instead of semi-sweet?
Yes, but they will be sweeter. Semi-sweet or dark chocolate balances the sweetness of the sugar and butter better. If you use milk chocolate, you might want to reduce the sugar slightly, but it’s not necessary.
How do I get crispy edges?
The edges get crispy from the granulated sugar and the direct heat of the pan. Make sure your pan is metal, not glass or dark non-stick, which can burn the edges. Also, ensure your oven is fully preheated to 350°F.
Can I double this recipe?
I don’t recommend doubling this recipe in a 9×13 pan. The batter will be too thick and won’t bake evenly. If you need more bars, make two batches or use a 9×13 pan and just accept that the bars will be thicker (and fudgier!).
What if I don’t have flaky sea salt?
Regular table salt works, but it’s finer and less crunchy. You can sprinkle a little bit on top, but it won’t have that same textural contrast. If you have kosher salt, that’s a decent substitute, though not as pretty.
If you’re looking for more easy dessert ideas, you might also enjoy my brown butter pecan cookie bars for a nutty twist, or my small batch fudgy brownies if you’re craving something even denser. Both are equally easy and just as delicious!
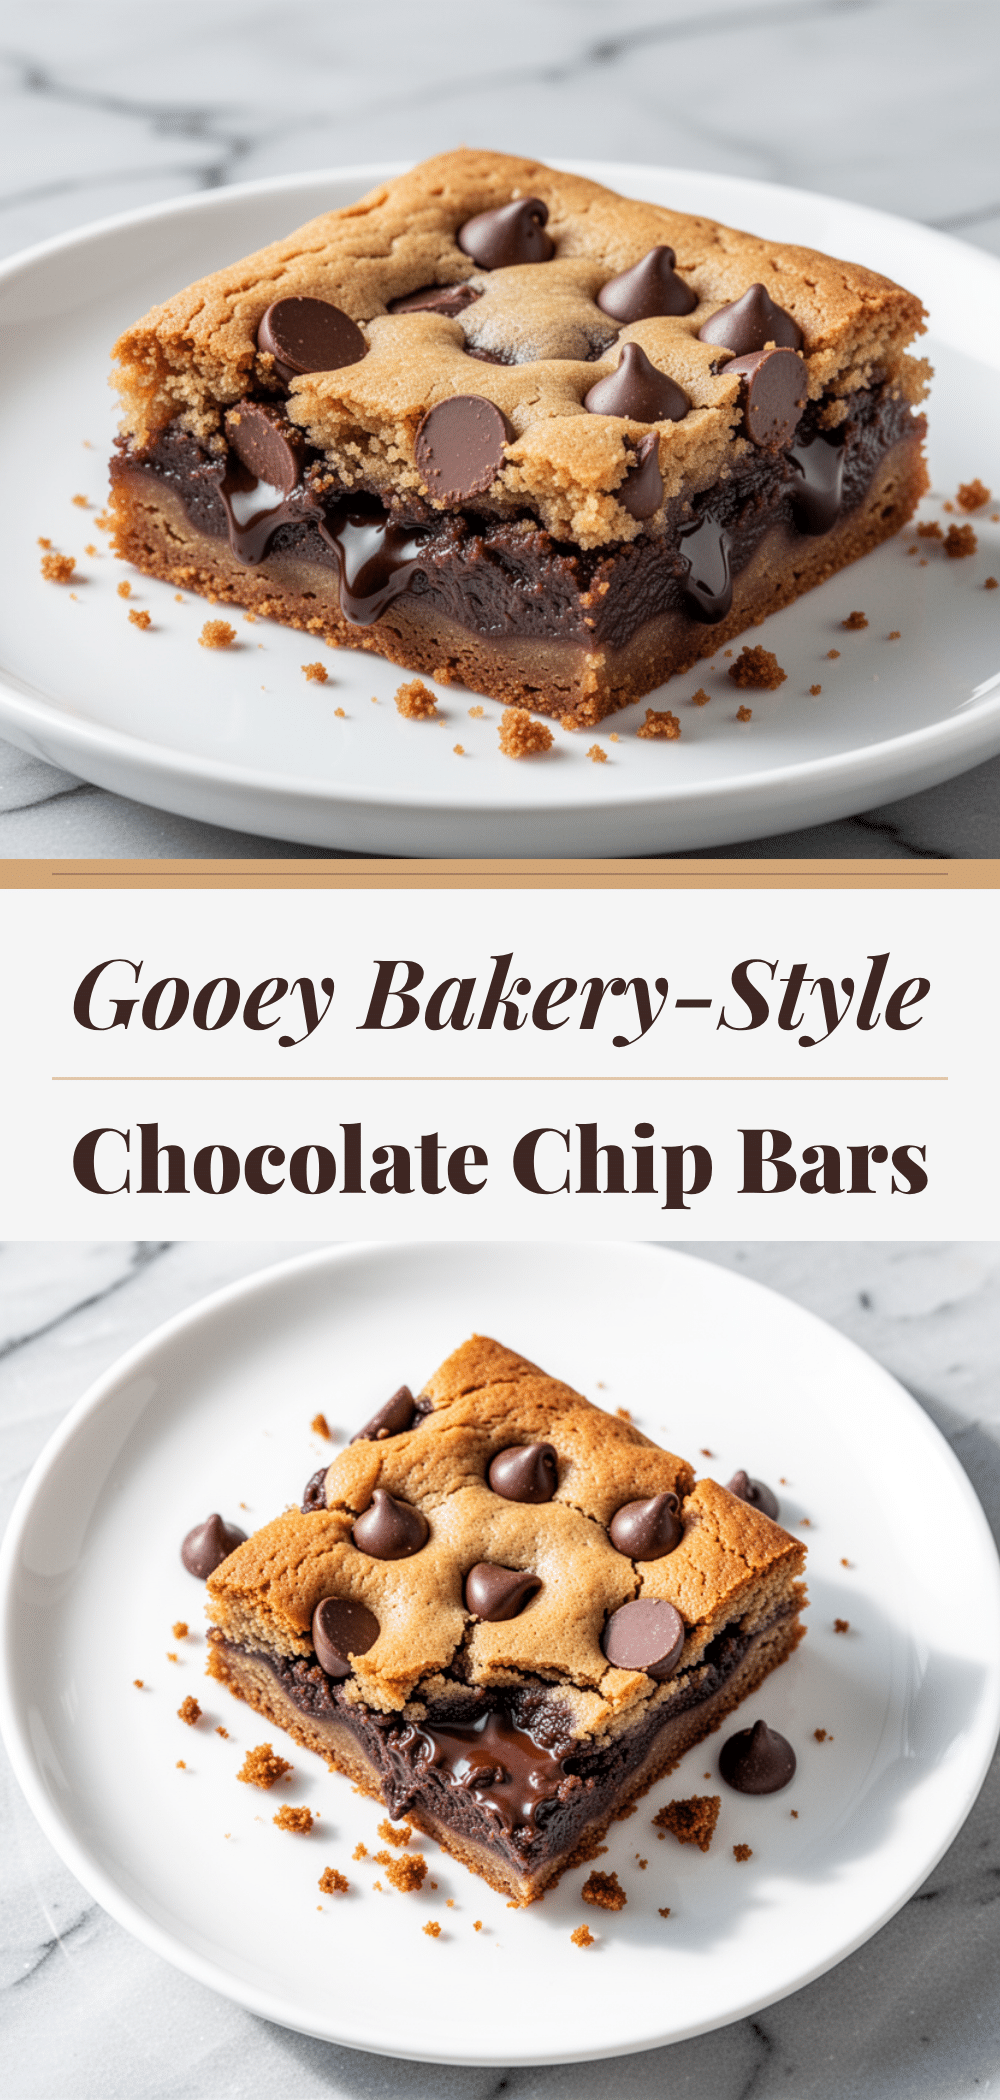
Pin This Recipe!
Bakery-Style Chocolate Chip Cookie Bars: Best Easy Recipe
- Total Time: 30-33 minutes
- Yield: 16 servings 1x
Description
These bakery-style chocolate chip cookie bars are thick, fudgy, and impossibly rich with crispy edges and a molten, gooey center. They are easy to make in one bowl and perfect for feeding a crowd.
Ingredients
- 1 cup (226g) unsalted butter, softened to room temperature
- 1 cup (200g) granulated sugar
- 1 cup (220g) packed brown sugar
- 2 large eggs, room temperature
- 2 teaspoons vanilla extract
- 2 ¼ cups (280g) all-purpose flour
- 1 teaspoon baking soda
- ½ teaspoon fine sea salt
- 2 cups (340g) semi-sweet chocolate chips
- Optional: ½ cup white chocolate chips
- Optional: 1 cup chopped nuts (walnuts or pecans)
- Flaky sea salt (like Maldon) for topping
Instructions
- Preheat oven to 350°F (175°C). Grease a 9×13 inch baking pan thoroughly and line with parchment paper, leaving an overhang on the sides.
- In a large bowl, beat the softened butter, granulated sugar, and brown sugar together until light and fluffy (about 2-3 minutes).
- Add the eggs one at a time, beating well after each addition. Scrape down the sides of the bowl and stir in the vanilla extract.
- Reduce mixer speed to low. Add the flour, baking soda, and salt. Mix just until combined; do not overmix.
- Switch to a spatula and fold in the chocolate chips and nuts (if using) until evenly distributed.
- Spread the batter evenly into the prepared pan. Bake at 350°F for 25-28 minutes. The edges should be golden brown, but the center should still look slightly underbaked and soft.
- Remove from oven and immediately sprinkle with flaky sea salt.
- Let the bars cool in the pan for at least 20-30 minutes to set before cutting into squares.
Notes
Do not overbake; the bars will firm up as they cool. For best results, use real butter and measure flour by spooning it into the cup and leveling it off. These bars taste better the next day as flavors meld. They can be frozen for up to 3 months.
- Prep Time: 5 minutes
- Cook Time: 25-28 minutes
- Category: Dessert
- Cuisine: American
Nutrition
- Serving Size: 1 bar
- Calories: 280
- Sugar: 26
- Sodium: 180
- Fat: 14
- Saturated Fat: 8
- Carbohydrates: 38
- Fiber: 1
- Protein: 3
Keywords: chocolate chip cookie bars, bakery style cookies, easy dessert, fudgy cookie bars, one bowl dessert, make ahead dessert


