Last November, I was sitting on my kitchen floor at 11 PM, surrounded by crumbs and empty coffee cups, trying to decide if I was an adult or just a giant toddler with a credit card. It was one of those nights where the house was quiet, the kids were finally asleep, and the only thing standing between me and a peaceful sleep was a craving so specific it felt personal. I didn’t want cake. I didn’t want ice cream. I wanted something dark, rich, and slightly caffeinated. I wanted a cookie that tasted like a hug from a barista who really knew their beans.
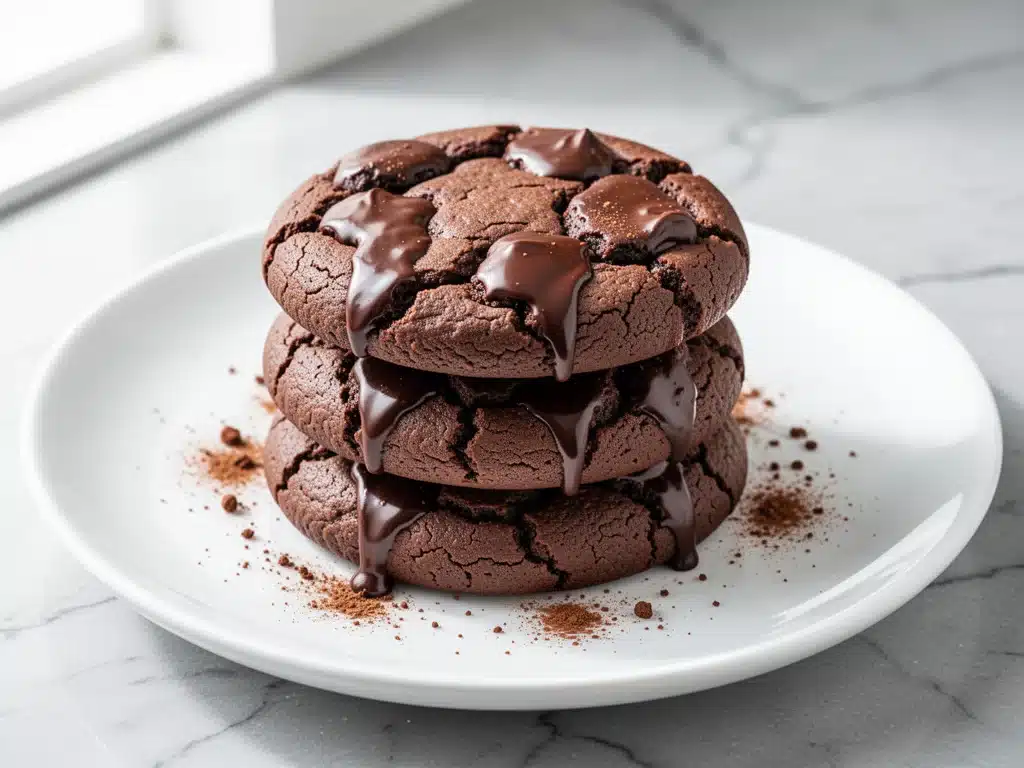
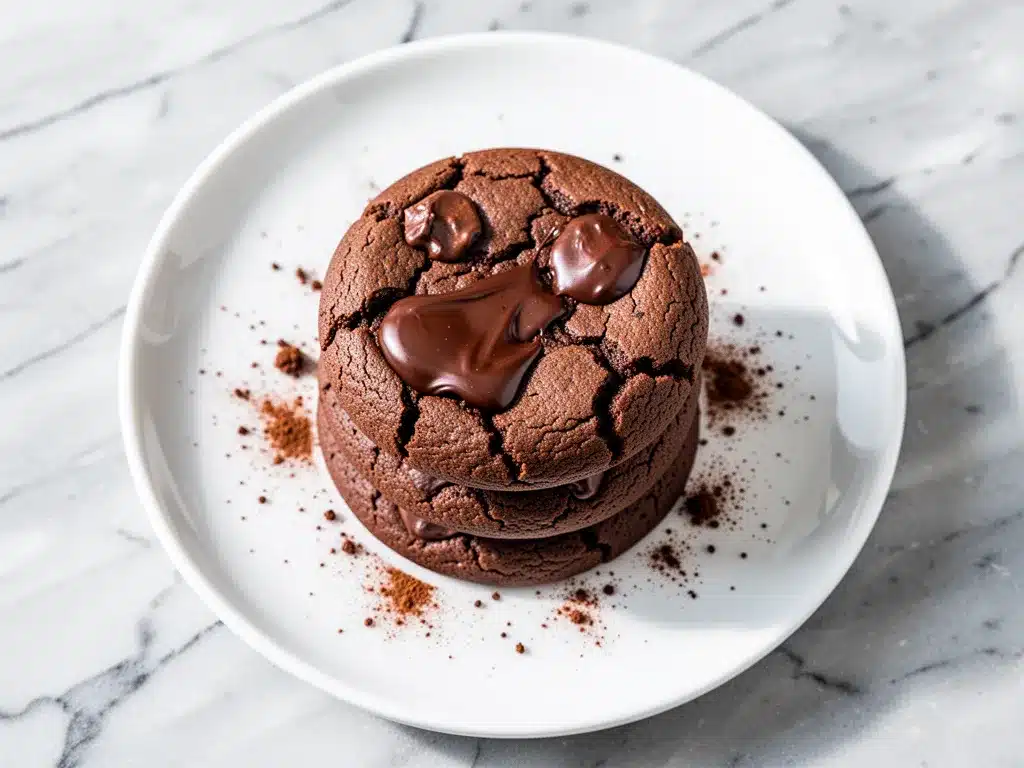
So I grabbed the last of the dark chocolate chips, opened a fresh bag of espresso powder (because apparently, I sleep in my kitchen), and threw together what I thought would be a mediocre late-night snack. What came out of the oven ten minutes later was honestly terrifying. Not because it was bad, but because it was too good. These chewy double chocolate espresso cookies with melted chocolate puddles were dense, fudgy, and had that incredible crackly top that makes you think you’re eating a brownie masquerading as a cookie. I ate three in one sitting. My husband woke up to an empty batch and a wife with a serious problem, and he didn’t even mind. He just asked for the recipe.
That was the night I fell in love with this recipe. I’ve made these cookies more times than I can count—maybe 15, maybe 20. I’ve tweaked the sugar ratios, tested different chocolates, and argued with myself about whether to chill the dough (yes, you must chill the dough). Every time, the result is the same: a cookie that looks simple but tastes like you spent hours in a professional kitchen. And the best part? They’re stupidly easy. If you can melt chocolate and mix a bowl, you can make these. They’re the ultimate crowd-pleaser, whether you’re hosting a holiday party or just need to survive a Tuesday evening.
These aren’t your standard chocolate chip cookies. These are dense, fudgy, intensely chocolatey discs of joy with a hint of coffee that makes the chocolate flavor pop in a way you didn’t know was possible. The espresso powder doesn’t make them taste like coffee; it makes them taste like chocolate. It’s a flavor enhancer, a secret weapon that turns good cookies into unforgettable ones. I promise, once you try these, you’ll never go back to plain chocolate cookies again.
Why You’ll Love This Chewy Double Chocolate Espresso Cookie Recipe
There are about ten reasons I keep making these cookies, but let’s be real—you’re here because you want cookies that actually impress people without making you want to cry. Here’s why this recipe has earned a permanent spot in my rotation, right next to my brown butter chocolate chip cookies.
- They’re Fudgy, Not Cakey — Seriously, if you’re tired of dry, crumbly cookies that taste like cardboard, this is your answer. The ratio of brown sugar to white sugar, combined with the extra egg yolk, creates a texture that’s almost bar-like. Chewy in the center, crisp at the edges. Perfect.
- Espresso is the Secret Weapon — I know, I know. You’re thinking, “I don’t want my cookies to taste like coffee.” Trust me on this. The espresso powder doesn’t make them taste like a latte. It deepens the chocolate flavor, making it richer and more complex. It’s the difference between a crayon and a painting. You won’t taste the coffee; you’ll just taste amazing chocolate.
- Melted Chocolate Puddles — We’re not just stirring in chips. We’re folding in chunks of chocolate bar. This ensures that every single bite has a gooey, molten center. It’s messy, it’s glorious, and it’s what makes these cookies look like they came from a high-end bakery.
- Make-Ahead Friendly — These cookies are actually better the next day. The flavors meld together overnight, and the texture gets even chewier. I make the dough on Sunday, scoop it into balls, and freeze them. Then I bake them fresh whenever the craving hits. It’s like having fresh cookies on demand.
- Impress Without the Stress — I’ve brought these to book clubs, office parties, and random potlucks. People always ask, “Where did you buy these?” When I tell them I made them in my pajamas, they don’t believe me. They’re easy to make but look incredibly sophisticated. Zero judgment, all praise.
This is my go-to when I need dessert to just work. No complicated techniques, no weird ingredients you can’t find, just reliable, delicious food that makes everyone happy. And honestly? They’re cheaper than buying them at the bakery, and they taste way better.
Ingredients You’ll Need
Here’s the best part: you probably have most of this already. But there are a few key items that make all the difference, so pay attention to the details.
For the Dough Base
Unsalted butter (1 cup / 226g, softened) — I use Kerrygold or Plugra. Room temperature is crucial here. If it’s too cold, it won’t cream properly. If it’s melted, you’ll get flat, greasy cookies. Softened means it should indent when you poke it, not squish like yogurt.
Brown sugar (1 cup / 200g, packed) — This is the main source of moisture and chew. Don’t skimp. Light brown sugar works, but dark brown has more molasses and gives a deeper flavor. I usually keep both on hand.
Granulated sugar (½ cup / 100g) — This helps with the crisp edges and that crackly top. It balances the moisture from the brown sugar.
Egg (1 large) — Room temperature eggs incorporate better. Cold eggs can seize the butter.
Egg yolk (1 large) — This is the secret to the fudgy texture. The extra fat and emulsifiers from the yolk make the cookies denser and richer. Don’t skip it.
Vanilla extract (2 teaspoons) — Use real vanilla, not imitation. The flavor matters here.
For the Dry Mix
All-purpose flour (1 ½ cups / 190g) — Spoon and level, don’t scoop. Scooping packs the flour and leads to dry cookies. If you’re worried about gluten, you can use a 1:1 gluten-free flour blend, but regular AP flour gives the best texture.
Cocoa powder (½ cup / 50g) — Use unsweetened cocoa powder. Dutch-process is nice, but natural cocoa works too. Just be consistent. This gives the chocolate base.
Espresso powder (1 tablespoon) — This is non-negotiable. Instant espresso powder, not granules. Brands like Nescafé Azúcar or Starbucks work great. If you don’t have it, instant coffee crystals work in a pinch, but espresso powder dissolves better.
Baking soda (½ teaspoon) — Helps the cookies spread and brown.
Salt (½ teaspoon) — Flavors the chocolate. Don’t skip it.
For the Chocolate Puddles
Dark chocolate chips (1 cup / 170g) — I use Ghirardelli 60% or 70% semi-sweet. Avoid the cheap kind that melts into gray sludge.
Chocolate bar chunks (1 bar, chopped) — This is for the melty pockets. Chop a 4-ounce bar of dark chocolate into irregular chunks. The irregular shapes create those beautiful puddles.
Optional: Sea salt flakes — For sprinkling on top after baking. It adds a nice crunch and contrast.
Equipment Needed
You don’t need fancy equipment for this. Here’s what I actually use.
Stand mixer or hand mixer — Creaming the butter and sugars takes effort. A stand mixer makes it easy, but you can definitely do it by hand if you have strong arms. Just be prepared for a workout.
Large mixing bowls — One for wet ingredients, one for dry. Two medium bowls work too.
Measuring cups and spoons — Accuracy matters in baking. I use the metal measuring cups for dry ingredients and glass for wet.
Baking sheets — I use half-sheet pans. Rimmed or rimless, doesn’t matter. Just make sure they’re flat. Warped pans lead to uneven baking.
Parchment paper — Line your baking sheets. Cleanup is so much easier, and the cookies slide off perfectly. I don’t use silicone mats; they can sometimes prevent the bottom from crisping up.
Cooling rack — Let the cookies cool on the pan for 5 minutes, then transfer to a rack. This stops the cooking process and prevents them from getting soggy.
Microplane or sharp knife — For chopping the chocolate bar. A microplane makes fine shavings, but chunks are better for this recipe.
How to Make It: Step-by-Step
Alright, let’s make this! I’m walking you through exactly how I do it, including the little tricks I’ve picked up.
Step 1: Prep Your Chocolate and Pan (5 minutes)
Chop your chocolate bar into chunks. Set aside 1 cup of chips and 1 cup of chunks for folding into the dough. Save the rest for topping later. Line two baking sheets with parchment paper. Preheat your oven to 350°F (175°C). I usually preheat while I’m mixing the dough so it’s ready when I am.
Step 2: Cream the Butter and Sugars (3-4 minutes)
In a large bowl, beat the softened butter, brown sugar, and granulated sugar together until light and fluffy. This takes about 3 minutes with a mixer. If you’re doing it by hand, it’ll take 5-7 minutes of arm work. You want the mixture to look pale and creamy, not gritty. This step incorporates air, which helps the cookies rise slightly.
Step 3: Add Wet Ingredients (1 minute)
Beat in the egg, egg yolk, and vanilla extract. Mix until just combined. Don’t overmix here. The mixture might look slightly separated, but that’s okay. It will come together in the next step.
Step 4: Mix Dry Ingredients (2 minutes)
In a separate bowl, whisk together the flour, cocoa powder, espresso powder, baking soda, and salt. Whisking ensures the espresso powder and baking soda are evenly distributed, so you don’t get bitter bits or uneven spread.
Step 5: Combine Wet and Dry (2 minutes)
Gradually add the dry ingredients to the wet ingredients. Mix on low speed until just combined. Stop as soon as you no longer see streaks of flour. Overmixing develops gluten, which makes cookies tough. You want tender, chewy cookies, not bread.
Step 6: Fold in Chocolate (2 minutes)
Using a spatula, gently fold in the chocolate chips and chocolate chunks. Be generous here. I like to see big chunks of chocolate in every bite. Reserve a handful of chocolate for topping later.
Step 7: Chill the Dough (Crucial Step!)
Cover the bowl and refrigerate the dough for at least 30 minutes, or up to 24 hours. I know, I know, you want to bake them now. But chilling is non-negotiable. It firms up the butter, which prevents the cookies from spreading too much and becoming flat discs. It also allows the flavors to meld. If you skip this, your cookies will be greasy and spread into oblivion.
Step 8: Scoop and Bake (12-14 minutes)
Preheat oven to 350°F (175°C). Scoop the dough into balls (about 2 tablespoons each) and place them on the prepared baking sheets, spacing them 2 inches apart. Press a few reserved chocolate chunks on top of each ball. Bake for 12-14 minutes. The cookies should look puffy and set on the edges but still soft in the center. They will continue to cook on the hot pan after you take them out.
Step 9: Cool and Serve
Let the cookies cool on the baking sheet for 5 minutes. Then transfer them to a wire rack to cool completely. Sprinkle with sea salt flakes if using. Enjoy warm with a glass of milk or a black coffee.
Expert Tips & Tricks
Here’s everything I’ve learned from making these dozens of times. These tips will save you from my mistakes.
Don’t Overbake — This is the #1 mistake. These cookies are supposed to be soft and fudgy. If you bake them until they’re firm, they’ll be dry. Take them out when they look slightly underdone. They’ll set as they cool. I usually pull them out when the edges are just starting to crisp but the center still looks soft.
Chill Longer for Thicker Cookies — If you want thicker, more cake-like cookies, chill the dough for 24 hours. If you want thinner, crispier cookies, bake them right after scooping (but they might spread too much). The 30-minute chill is the sweet spot for chewy cookies.
Use Good Chocolate — You’re tasting the chocolate. Don’t use cheap chips. Buy a good quality bar from the grocery store or a specialty shop. The difference is night and day. I love using Lindt 70% or Ghirardelli 60%.
Espresso Powder Dissolves — Make sure the espresso powder is fully dissolved into the dry mix. If you have lumps, whisk the dry ingredients longer. Lumps of espresso powder taste bitter and intense.
Scale Up or Down — This recipe scales easily. I often double it and freeze half the dough balls. Just bake them straight from frozen, adding 1-2 minutes to the bake time.
Storage — Store cookies in an airtight container at room temperature for up to 5 days. They stay fresh longer if you put a piece of bread in the container—the cookies will absorb the moisture from the bread and stay soft.
Variations & Substitutions
Once you’ve nailed the basic version, here’s how you can mix it up. I’ve tried all of these.
White Chocolate Chip Version — Swap the dark chocolate chips for white chocolate chips. The espresso still enhances the sweetness. It’s a fun twist.
Peanut Butter Swirl — Add a dollop of peanut butter on top of each dough ball before baking. Swirl it in with a knife. It’s like a Reese’s cup in cookie form.
Red Velvet Twist — Add 1 teaspoon of red food coloring to the wet ingredients. It’s subtle but pretty. Pair it with white chocolate chips for a red velvet cookie.
Mint Chocolate Chip — Add 1 teaspoon of peppermint extract to the wet ingredients. Use mint chocolate chips. It’s a holiday favorite.
Gluten-Free — Use a 1:1 gluten-free flour blend. The texture might be slightly more crumbly, but it’s still delicious. I’ve used Bob’s Red Mill and it works great.
Dairy-Free — Use vegan butter and dairy-free chocolate chips. Many brands now make excellent vegan chocolate that melts beautifully.
Vegan — Replace the egg with a flax egg (1 tablespoon ground flaxseed + 3 tablespoons water). Use vegan butter and chocolate. The texture will be slightly different but still good.
Serving & Storage
How to Serve: I usually serve these warm, right out of the oven. They’re best with a cold glass of milk or a hot black coffee. The contrast of hot cookie and cold milk is perfection. I also like to serve them with a dollop of whipped cream or a scoop of vanilla ice cream for a fancy dessert.
Side Dishes: These cookies stand alone, but if you’re serving them as part of a dessert table, pair them with fruit tarts or small batch fudgy brownies for variety. They also go well with a cheese board—dark chocolate and sharp cheddar are a match made in heaven.
Storage Instructions:
Refrigerator: Store in an airtight container for up to 5 days. They stay soft and chewy.
Freezer: You can freeze the baked cookies for up to 3 months. Thaw at room temperature. Or freeze the dough balls for up to 3 months. Bake from frozen, adding 1-2 minutes to the bake time.
Reheating: Microwave a cookie for 10-15 seconds to soften it up. Or bake at 350°F for 3-4 minutes to crisp the edges.
Nutrition Information
I’m not a nutritionist, but here’s the breakdown if you’re tracking. These are rich cookies, so a little goes a long way.
Per Cookie (makes approx. 24 cookies):
- Calories: 180
- Protein: 3g
- Carbs: 24g
- Fiber: 1g
- Sugar: 16g
- Fat: 9g
- Saturated Fat: 5g
- Cholesterol: 25mg
- Sodium: 110mg
What’s Good: Dark chocolate has antioxidants. Espresso has caffeine and antioxidants. It’s a treat, but not entirely empty calories.
What to Know: Higher in sugar and fat due to butter and chocolate. Moderate sodium. Contains dairy and gluten.
My Take: Look, these are cookies. They’re meant to be enjoyed, not judged. I make them in moderation and share them with people I love. That’s the best part.
Final Thoughts
So that’s my chewy double chocolate espresso cookie recipe! I’ve probably talked your ear off at this point, but when you make a recipe this often, you have a lot to say about it. These cookies have saved my social life more times than I can count. They’re my answer to “what should I bring?” when I’m invited somewhere, or “what should I bake?” when I need a pick-me-up.
They’re dense, fudgy, and packed with chocolate flavor. The espresso powder is the secret ingredient that makes them taste like they came from a fancy bakery. And the best part? They’re easy to make. You can have the dough ready in 10 minutes, and the cookies in 20. It’s the perfect balance of effort and reward.
Make them yours! Try different chocolates, add nuts, or skip the espresso if you’re sensitive to caffeine. The best recipes are the ones you adapt to your tastes. If you make these, drop a comment and let me know what you think! I love hearing how recipes turn out in your kitchen. And if something doesn’t work, tell me that too—I’m here to help troubleshoot.
Happy baking! And I hope your kitchen smells half as good as mine does right now.
Frequently Asked Questions
Can I use instant coffee instead of espresso powder?
Yes, you can. Instant coffee crystals work in a pinch. Just make sure they’re finely ground so they dissolve into the dough. Espresso powder is finer and dissolves more easily, but instant coffee will give you the same flavor boost. Use the same amount: 1 tablespoon.
Why did my cookies spread too much?
This usually happens if the butter was too warm or if you didn’t chill the dough. Make sure your butter is softened, not melted. And don’t skip the chilling step! Chilling firms up the butter, which prevents spreading. If your cookies still spread, try chilling the dough balls on the baking sheet for 15 minutes before baking.
Can I make these cookies ahead of time?
Absolutely. You can make the dough up to 3 days ahead and store it in the fridge. Or scoop the dough balls and freeze them for up to 3 months. Bake them straight from the fridge or freezer (add 1-2 minutes to bake time if frozen). This is my favorite way to make them—I prep on Sunday and bake on Wednesday.
Why are my cookies dry?
You might be overbaking them. These cookies are supposed to be soft and fudgy. Take them out when they look slightly underdone. They’ll continue to cook on the hot pan. Also, make sure you’re measuring your flour correctly. Scooping packs the flour, leading to dry cookies. Spoon and level instead.
Can I use milk chocolate instead of dark chocolate?
You can, but the cookies will be sweeter and less intense. Dark chocolate balances the sweetness of the sugars and the bitterness of the espresso. If you prefer milk chocolate, reduce the granulated sugar by 2 tablespoons to balance the sweetness. But I recommend sticking with dark chocolate for the best flavor.
How do I store leftover cookies?
Store them in an airtight container at room temperature for up to 5 days. They stay soft and chewy. If they start to dry out, put a piece of bread in the container—the cookies will absorb the moisture. You can also freeze them for up to 3 months.
Can I add nuts to these cookies?
Yes! Walnuts or pecans are a great addition. Add ½ cup of chopped nuts when you fold in the chocolate. It adds crunch and texture. I like walnuts because they pair well with the espresso flavor.
Pin This Recipe!
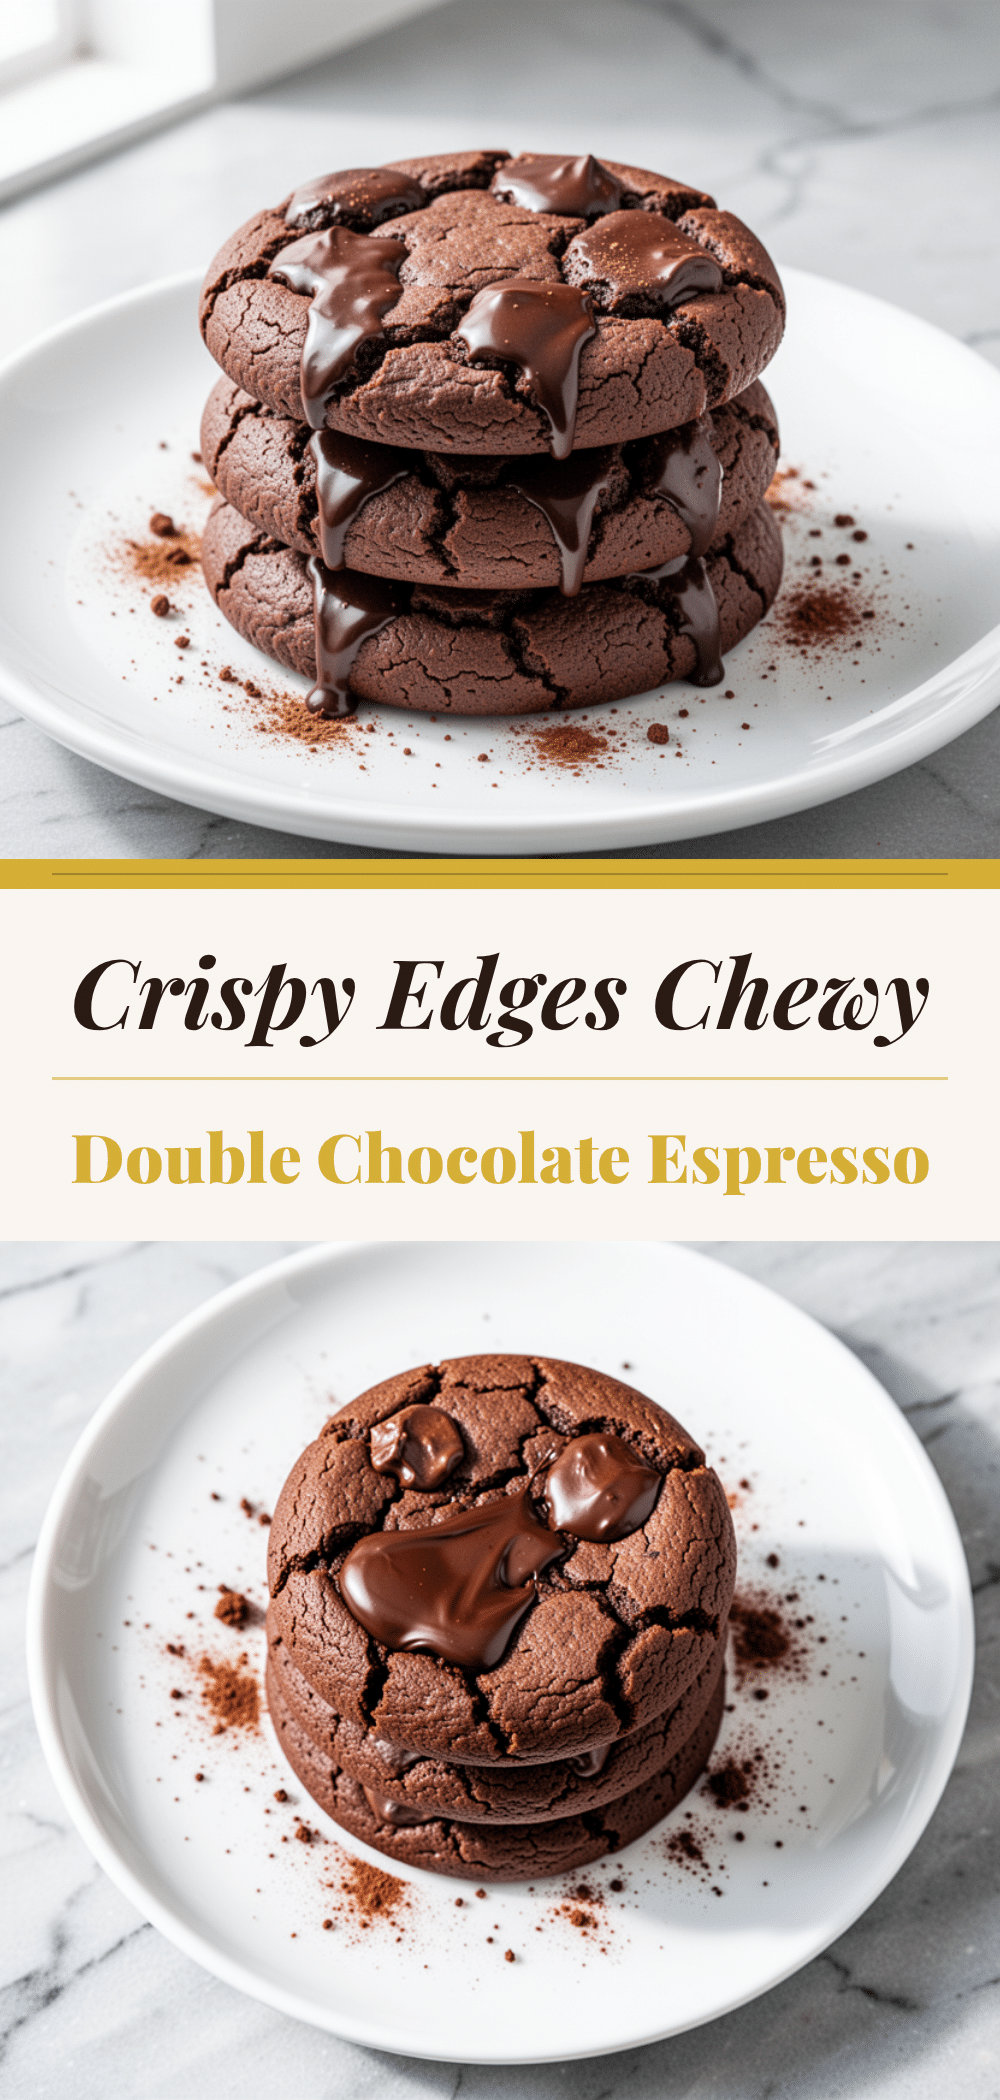
Chewy Double Chocolate Espresso Cookies
- Total Time: 45 minutes
- Yield: 24 cookies 1x
Description
Dense, fudgy, and intensely chocolatey cookies with a hint of coffee that enhances the cocoa flavor. These cookies feature a crackly top, chewy center, and melted chocolate puddles.
Ingredients
- 1 cup (226g) unsalted butter, softened
- 1 cup (200g) packed brown sugar
- 1/2 cup (100g) granulated sugar
- 1 large egg, room temperature
- 1 large egg yolk
- 2 teaspoons vanilla extract
- 1 1/2 cups (190g) all-purpose flour
- 1/2 cup (50g) unsweetened cocoa powder
- 1 tablespoon instant espresso powder
- 1/2 teaspoon baking soda
- 1/2 teaspoon salt
- 1 cup (170g) dark chocolate chips
- 1 bar (4 oz) dark chocolate, chopped into chunks
- Sea salt flakes, optional for topping
Instructions
- Preheat oven to 350°F (175°C). Line two baking sheets with parchment paper.
- In a large bowl, cream together the softened butter, brown sugar, and granulated sugar until light and fluffy (about 3-4 minutes).
- Beat in the egg, egg yolk, and vanilla extract until just combined.
- In a separate bowl, whisk together the flour, cocoa powder, espresso powder, baking soda, and salt.
- Gradually add the dry ingredients to the wet ingredients, mixing on low speed until just combined.
- Fold in the chocolate chips and chopped chocolate chunks using a spatula.
- Cover the bowl and refrigerate the dough for at least 30 minutes (or up to 24 hours).
- Scoop dough into balls (about 2 tablespoons each) and place on prepared baking sheets, spacing them 2 inches apart. Press reserved chocolate chunks on top.
- Bake for 12-14 minutes until edges are set but centers are still soft.
- Let cookies cool on the baking sheet for 5 minutes, then transfer to a wire rack to cool completely. Sprinkle with sea salt flakes if desired.
Notes
Chilling the dough is crucial to prevent spreading and ensure chewy texture. Do not overbake; cookies should look slightly underdone when removed from the oven as they will continue to cook on the hot pan. Store in an airtight container at room temperature for up to 5 days.
- Prep Time: 15 minutes
- Cook Time: 12-14 minutes
- Category: Dessert
- Cuisine: American
Nutrition
- Serving Size: 1 cookie
- Calories: 180
- Sugar: 16
- Sodium: 110
- Fat: 9
- Saturated Fat: 5
- Carbohydrates: 24
- Fiber: 1
- Protein: 3
Keywords: chocolate cookies, espresso cookies, double chocolate, fudgy cookies, baking, dessert, coffee cookies


