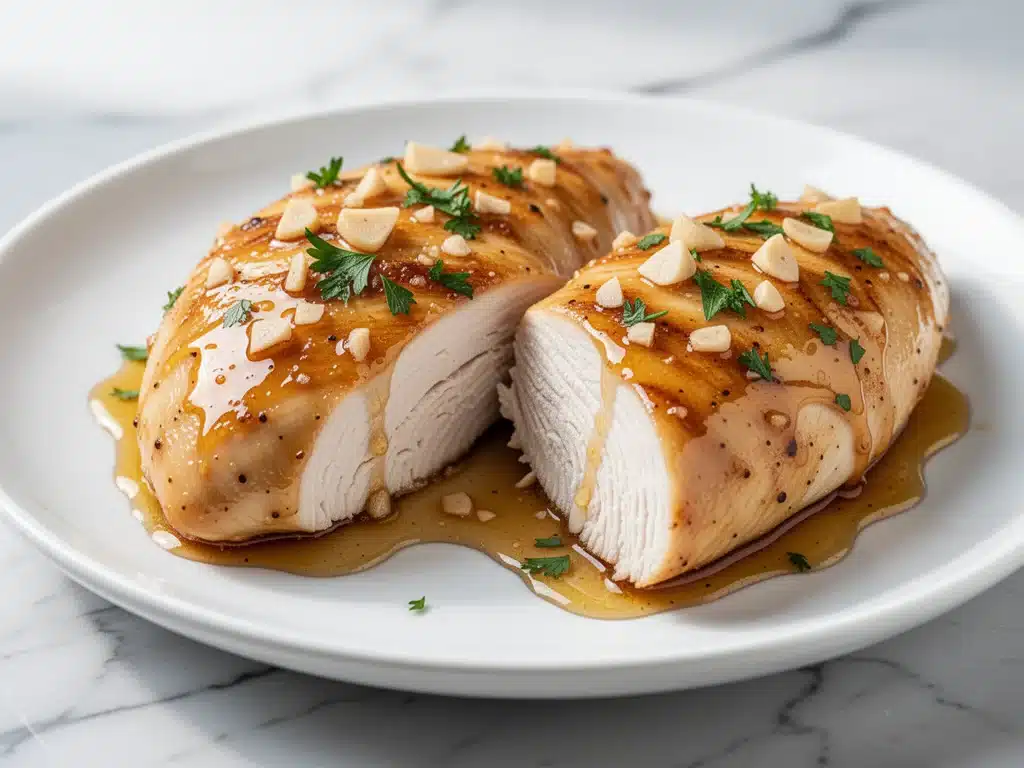
Last Thursday, I was staring into the abyss of my refrigerator at 6:45 PM. You know the look. It’s that specific blend of desperation and denial where you hope something magical will jump out at you. I had half a jar of honey, a bottle of soy sauce that was slowly turning into a science experiment, and two sad-looking chicken breasts that had been living in the crisper drawer since Tuesday.
I was exhausted. I didn’t want to chop onions. I didn’t want to deal with a pan that would need scrubbing later. I definitely didn’t want to order takeout and pay $25 for food that would arrive cold. So, I did what any tired parent does: I threw everything into the air fryer and prayed.
Twenty minutes later, my kitchen smelled like a high-end Asian fusion restaurant, and my kids were asking for “more of the sticky chicken.” That’s when I knew I’d stumbled onto something special. This isn’t just another chicken recipe. This is the Air Fryer Honey Garlic Chicken that has become our absolute go-to for those nights when “dinner” feels like a four-letter word.
I’ve tested this version multiple times—adjusting the honey, tweaking the garlic, playing with the crisping settings—until I landed on the perfect balance. It’s sweet, it’s savory, it’s garlicky (in the best way), and it cooks in the time it takes to set the table. Seriously. If you can chop a chicken breast and stir a bowl, you can make this. And once you taste it? You’ll never go back to dry, boring baked chicken ever again.
Why You’ll Love This Honey Garlic Chicken
There are about ten reasons I keep making this, but let’s be real. You’re here because you need dinner on the table fast, and you want it to taste like you put in actual effort. Here’s why this Air Fryer Honey Garlic Chicken is currently living rent-free in my weekly rotation:
- Stupid Simple Ingredients — You probably have all of this in your pantry right now. Honey, soy sauce, garlic, ginger, and chicken. That’s it. No weird sauces from the international aisle that you’ll use once and forget. It’s pantry-friendly and budget-smart.
- Lightning Fast — From preheating to plating, this takes about 20-25 minutes. The air fryer does the heavy lifting while you handle the quick sauce prep. It’s perfect for those chaotic weeknights when you’re racing against the clock.
- Actually Crispy (Not Soggy) — The biggest complaint about honey garlic chicken is that it can turn into a sticky, soggy mess in the oven. Not here. The air fryer circulates hot air, giving you that restaurant-style crispy exterior while keeping the inside juicy. It’s a texture game-changer.
- Kid-Approved — I’ve served this to my picky 8-year-old (who usually only eats bread) and my food-snob husband. Both asked for seconds. The sweet-savory combo is universally loved, and it’s easy to customize spice levels if you have heat-sensitive eaters.
- One-Bowl Sauce, One Air Fryer Basket — Cleanup is minimal. You mix the sauce in a small bowl, toss the chicken, air fry, and you’re done. I love a dinner that doesn’t require me to wash a mountain of dishes afterward.
This is my answer to “what’s for dinner” when I have zero energy but high standards. It’s reliable, delicious, and makes everyone happy. No stress. Just good food.
Ingredients You’ll Need
Here’s the best part: this Air Fryer Honey Garlic Chicken uses simple ingredients you likely already own. I’m particular about quality on a few items, but mostly, this is about pantry staples working together to create something greater than the sum of its parts.
For the Chicken
Chicken breasts (2 large, about 1.5 lbs / 680g) — I use boneless, skinless breasts. They cook evenly and quickly. Pro tip: Pound them to an even thickness (about ½ inch) so they cook at the same rate. Nobody likes one dry piece and one raw piece.
Cornstarch (2 tablespoons) — This is the secret weapon. It creates a light, crispy coating that helps the sauce cling to the chicken without getting heavy or gummy. Don’t skip it!
Oil (1 tablespoon, neutral like avocado or vegetable) — Just a light coat to help the cornstarch crisp up. You don’t need much.
Salt and Black Pepper — Basic seasoning to build flavor from the inside out.
For the Honey Garlic Sauce
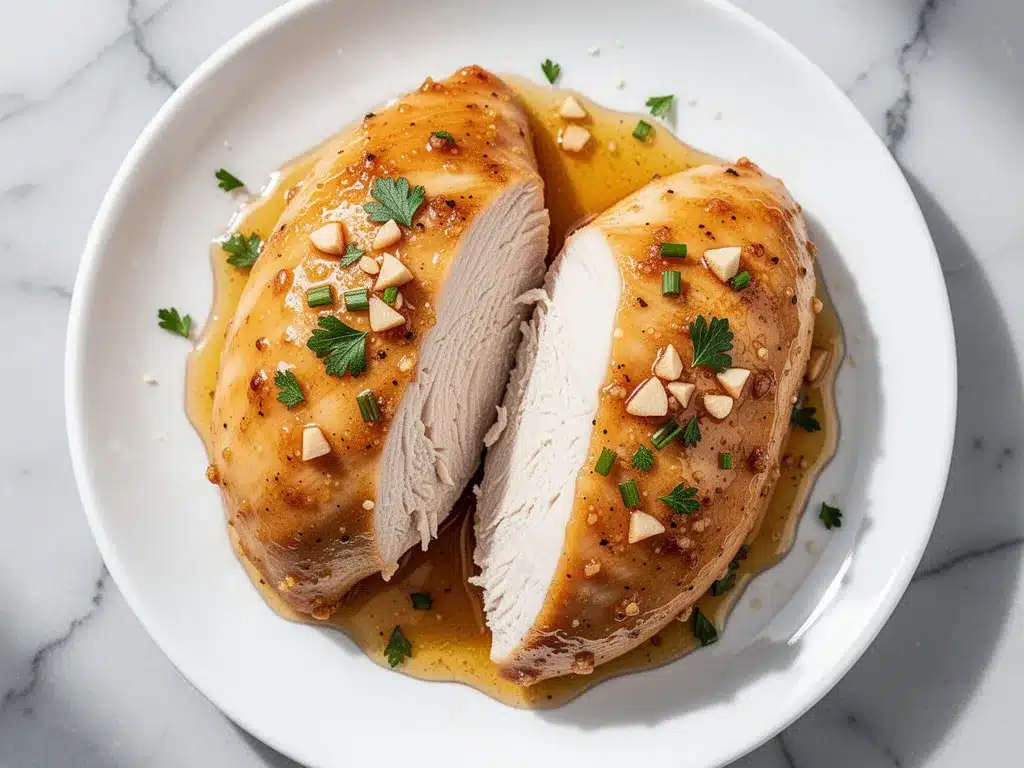
Honey (¼ cup / 85g) — Use real honey. The kind in the bear bottle is fine, but if you have a local jar, that’s even better. It gives that floral sweetness that balances the salt.
Soy Sauce (¼ cup / 60ml) — I use low-sodium soy sauce so I can control the saltiness. Regular works, but you might want to reduce added salt elsewhere. It provides that deep, savory umami base.
Garlic (4-5 cloves, minced) — Yes, five cloves. Fresh garlic is non-negotiable here. Jarred garlic has a metallic aftertaste that clashes with the honey. Fresh makes this taste homemade and vibrant.
Fresh Ginger (1 teaspoon, grated) — Adds a warm, spicy kick that brightens up the sweet sauce. If you don’t have fresh, ½ teaspoon of ground ginger works, but fresh is best.
Rice Vinegar (1 teaspoon) — Just a splash to cut through the sweetness and add brightness. It’s subtle but necessary so the sauce doesn’t taste like pure syrup.
Water (2 tablespoons) — Thins the sauce slightly so it coats the chicken evenly without being too thick.
Sesame Oil (½ teaspoon) — Optional, but I always add it. It adds that nutty aroma that screams “Asian-inspired” and elevates the whole dish.
Red Pepper Flakes (½ teaspoon, optional) — If you like a little heat, this is your friend. It balances the sweetness perfectly.
For Garnish
Green Onions (2, sliced) — Adds fresh crunch and color. It makes the dish look restaurant-ready.
Sesame Seeds (1 teaspoon) — A nice finishing touch. Toasted sesame seeds are even better if you have them.
Equipment Needed
You don’t need fancy gadgets for this. Here’s what I actually use to make this Air Fryer Honey Garlic Chicken work perfectly.
Air Fryer — Obviously. I use a 5.8-quart basket style. If you have a smaller one, you might need to cook in two batches to avoid overcrowding. Overcrowding leads to steaming, not crisping, and we want crispy!
Meat Mallet or Rolling Pin — Not strictly necessary, but highly recommended for pounding the chicken to even thickness. It ensures uniform cooking. I use a simple plastic mallet from the dollar store.
Small Mixing Bowl — For whisking the sauce. Just a standard 1-cup bowl works fine.
Pastry Brush or Tongs — To toss the chicken in the sauce. Tongs give you better control, but a brush works if you want to coat it evenly before cooking.
Sharp Knife and Cutting Board — For mincing garlic and slicing green onions. Keep your knife sharp—it makes mincing garlic way less painful.
Measuring Spoons and Cups — Accuracy matters a bit here, especially with the cornstarch and honey. I use standard plastic measuring sets.
How to Make It: Step-by-Step
Alright, let’s make this! I’m walking you through exactly how I do it, including the little tricks I’ve picked up to ensure your chicken is juicy and your sauce is glossy.
Step 1: Prep the Chicken (5 minutes)
Start by patting your chicken breasts completely dry with paper towels. Moisture is the enemy of crispiness. If the chicken is wet, the cornstarch won’t stick, and you’ll get soggy edges. Place the breasts between two sheets of plastic wrap or in a heavy-duty ziplock bag. Use a meat mallet or rolling pin to pound them to an even ½-inch thickness. This is crucial—uneven chicken means uneven cooking. Season both sides lightly with salt and pepper.
Step 2: Coat with Cornstarch (2 minutes)
Dust the chicken breasts lightly with cornstarch. You don’t need a thick layer; just a fine coating. Shake off any excess. This thin layer will turn golden and crispy in the air fryer. It’s like a light batter without the mess.
Step 3: Make the Sauce (3 minutes)
While you’re prepping the chicken, whisk together the honey, soy sauce, minced garlic, grated ginger, rice vinegar, water, sesame oil, and red pepper flakes in a small bowl. Stir until the honey is fully dissolved. It should look glossy and fragrant. Taste it—it should be sweet, salty, and garlicky. Adjust to your liking.
Step 4: Air Fry the Chicken (12-15 minutes)
Preheat your air fryer to 400°F (200°C) for 3 minutes. Lightly spray the basket with oil. Place the chicken breasts in a single layer. Do not overlap them! Air needs to circulate. Cook for 12-15 minutes, flipping halfway through. The chicken is done when it reaches an internal temperature of 165°F (74°C) and the edges are golden brown.
Pro Tip: If your air fryer runs hot, check at 12 minutes. Honey burns easily, so we want the chicken cooked through before adding the sauce.
Step 5: Add the Sauce (3 minutes)
Once the chicken is cooked, open the air fryer. Pour half of the honey garlic sauce over the chicken. Close the basket and cook for another 2-3 minutes. This allows the sauce to caramelize slightly on the chicken without burning. The heat will thicken the sauce and make it sticky.
Step 6: Glaze and Serve (2 minutes)
Remove the chicken from the air fryer and place it on a cutting board. Pour the remaining sauce over the top. Let it rest for 2 minutes—this helps the juices redistribute. Slice the chicken against the grain into strips. Drizzle any extra sauce from the cutting board over the top. Garnish with sliced green onions and sesame seeds.
Total Time: About 25 minutes (5 min prep, 20 min cook)
Expert Tips & Tricks
Here’s everything I’ve learned from making this dozens of times. These tips will save you from my early mistakes.
Pound the Chicken Evenly
I cannot stress this enough. Thin, uneven chicken breasts cook at different rates. The thin parts dry out before the thick parts are done. Pounding them to ½ inch ensures they cook together. It takes 30 seconds and makes a huge difference in texture.
Don’t Skip the Preheat
Just like an oven, your air fryer needs to be hot before the chicken goes in. Preheating for 3-5 minutes ensures the chicken starts crisping immediately rather than steaming. It’s a small step that yields big results.
Watch the Honey
Honey burns faster than you think. That’s why I cook the chicken first, then add the sauce for the last few minutes. If you put the sauce on at the beginning, the sugar will char and taste bitter. Patience pays off.
Use Low-Sodium Soy Sauce
Honey is sweet, and soy sauce is salty. If you use regular soy sauce, the dish can become overly salty. Low-sodium gives you control. You can always add a pinch more salt if needed, but you can’t take it away.
Rest the Chicken
Letting the chicken rest for 2 minutes after cooking keeps it juicy. If you cut into it immediately, the juices run out, and the meat dries up. Trust me, a 2-minute wait is worth it.
Variations & Substitutions
Once you’ve nailed the basic version, here’s how you can mix it up. I’ve tried all of these variations.
Spicy Honey Garlic
Add 1 tablespoon of Sriracha or chili crisp to the sauce. It adds a kick that pairs beautifully with the sweetness. Great for heat lovers.
Chicken Thighs
Use boneless, skinless chicken thighs instead of breasts. They’re more forgiving and stay juicier, though they cook slightly faster. Adjust time to 10-12 minutes.
Gluten-Free
Swap regular soy sauce for tamari. Everything else is naturally gluten-free. This works perfectly.
Lower Sugar
Reduce honey to 2 tablespoons and use a sugar-free sweetener like erythritol or monk fruit. It’s not identical, but it works if you’re watching sugar intake.
Veggie Add-Ins
Roast broccoli or bell peppers in the air fryer alongside the chicken. Toss them in the sauce at the end. It makes a complete meal in one basket.
Serving & Storage
This Air Fryer Honey Garlic Chicken is versatile and delicious. Here’s how I serve and store it.
How to Serve
I usually serve this over steamed jasmine rice or fluffy quinoa. The sauce is amazing for soaking up carbs. It’s also fantastic in lettuce wraps, on top of a salad, or even in a bowl with noodles. For sides, I like simple steamed broccoli, roasted asparagus, or a crisp cucumber salad. It pairs well with oven-baked chicken styles if you want to compare methods, but the air fryer is just faster.
Storage Instructions
Refrigerator: Store leftovers in an airtight container for up to 3 days. The sauce will thicken as it cools, which is normal.
Reheating: Reheat in the air fryer at 350°F for 3-4 minutes to restore crispiness. Microwave works too, but the chicken will lose some crunch. Add a splash of water to the sauce if it’s too thick after reheating.
Freezing: I don’t recommend freezing this dish. The cornstarch coating can get mushy, and the honey sauce may separate. It’s best enjoyed fresh.
Nutrition Information
I’m not a nutritionist, but here’s the breakdown if you’re tracking. Per serving (based on 4 servings):
- Calories: 280
- Protein: 32g
- Carbs: 22g
- Fiber: 0g
- Sugar: 18g
- Fat: 8g
- Sodium: 520mg
It’s a high-protein, relatively low-carb meal (if you skip the rice). The honey adds natural sugars, so keep that in mind if you’re watching your intake. But honestly? It’s way better than takeout, and you control the ingredients.
Final Thoughts
So that’s my go-to Air Fryer Honey Garlic Chicken! I’ve probably talked your ear off at this point, but when you make a recipe this often, you have a lot to say about it. This has saved weeknight dinners more times than I can count. It’s my answer to “what’s for dinner” when I’m tired, don’t want takeout, and still want something that tastes really good.
Make it yours! Try different add-ins, swap in your favorite vegetables, adjust the garlic (though more is always better in my opinion). The best recipes are the ones you adapt to your family’s tastes. If you make this, drop a comment and let me know what you think! I love hearing how recipes turn out in your kitchen. And if something doesn’t work, tell me that too—I’m here to help troubleshoot.
Happy cooking! And I hope your kitchen smells half as good as mine does right now.
Frequently Asked Questions
Can I use chicken thighs instead of breasts?
Absolutely. Chicken thighs are juicier and more forgiving. They cook a bit faster, so check them at 10 minutes. The sauce clings to them beautifully too. Just make sure they’re boneless and skinless for the best texture.
Why is my sauce too runny?
The sauce should thicken as it cooks in the air fryer. If it’s still thin after the final 2-3 minutes, you can mix 1 teaspoon of cornstarch with 1 tablespoon of water and drizzle it in. Cook for another minute until it coats the back of a spoon.
Can I make this in the oven?
You can, but the texture won’t be the same. Bake at 400°F for 20 minutes, then broil for 2-3 minutes to crisp up. Add the sauce in the last 5 minutes. But honestly? The air fryer is just faster and crispier. I’ve tried both, and the air fryer wins every time.
Is this recipe spicy?
Not by default. It’s sweet and savory. But if you add red pepper flakes or Sriracha, you can make it as spicy as you like. My kids eat it plain, while my husband adds a generous amount of chili crisp.
Can I double this recipe?
Yes, but you’ll need to cook in batches. Don’t overcrowd the air fryer basket, or the chicken will steam instead of crisp. Cook the sauce separately and toss the cooked chicken in it. It works great for meal prep.
What goes well with this chicken?
I love serving it with steamed rice, quinoa, or fried rice. It’s also delicious in lettuce wraps or on top of a salad. For sides, roasted broccoli, green beans, or a simple cucumber salad work perfectly. It’s versatile and pairs with almost anything.
Pin This Recipe!
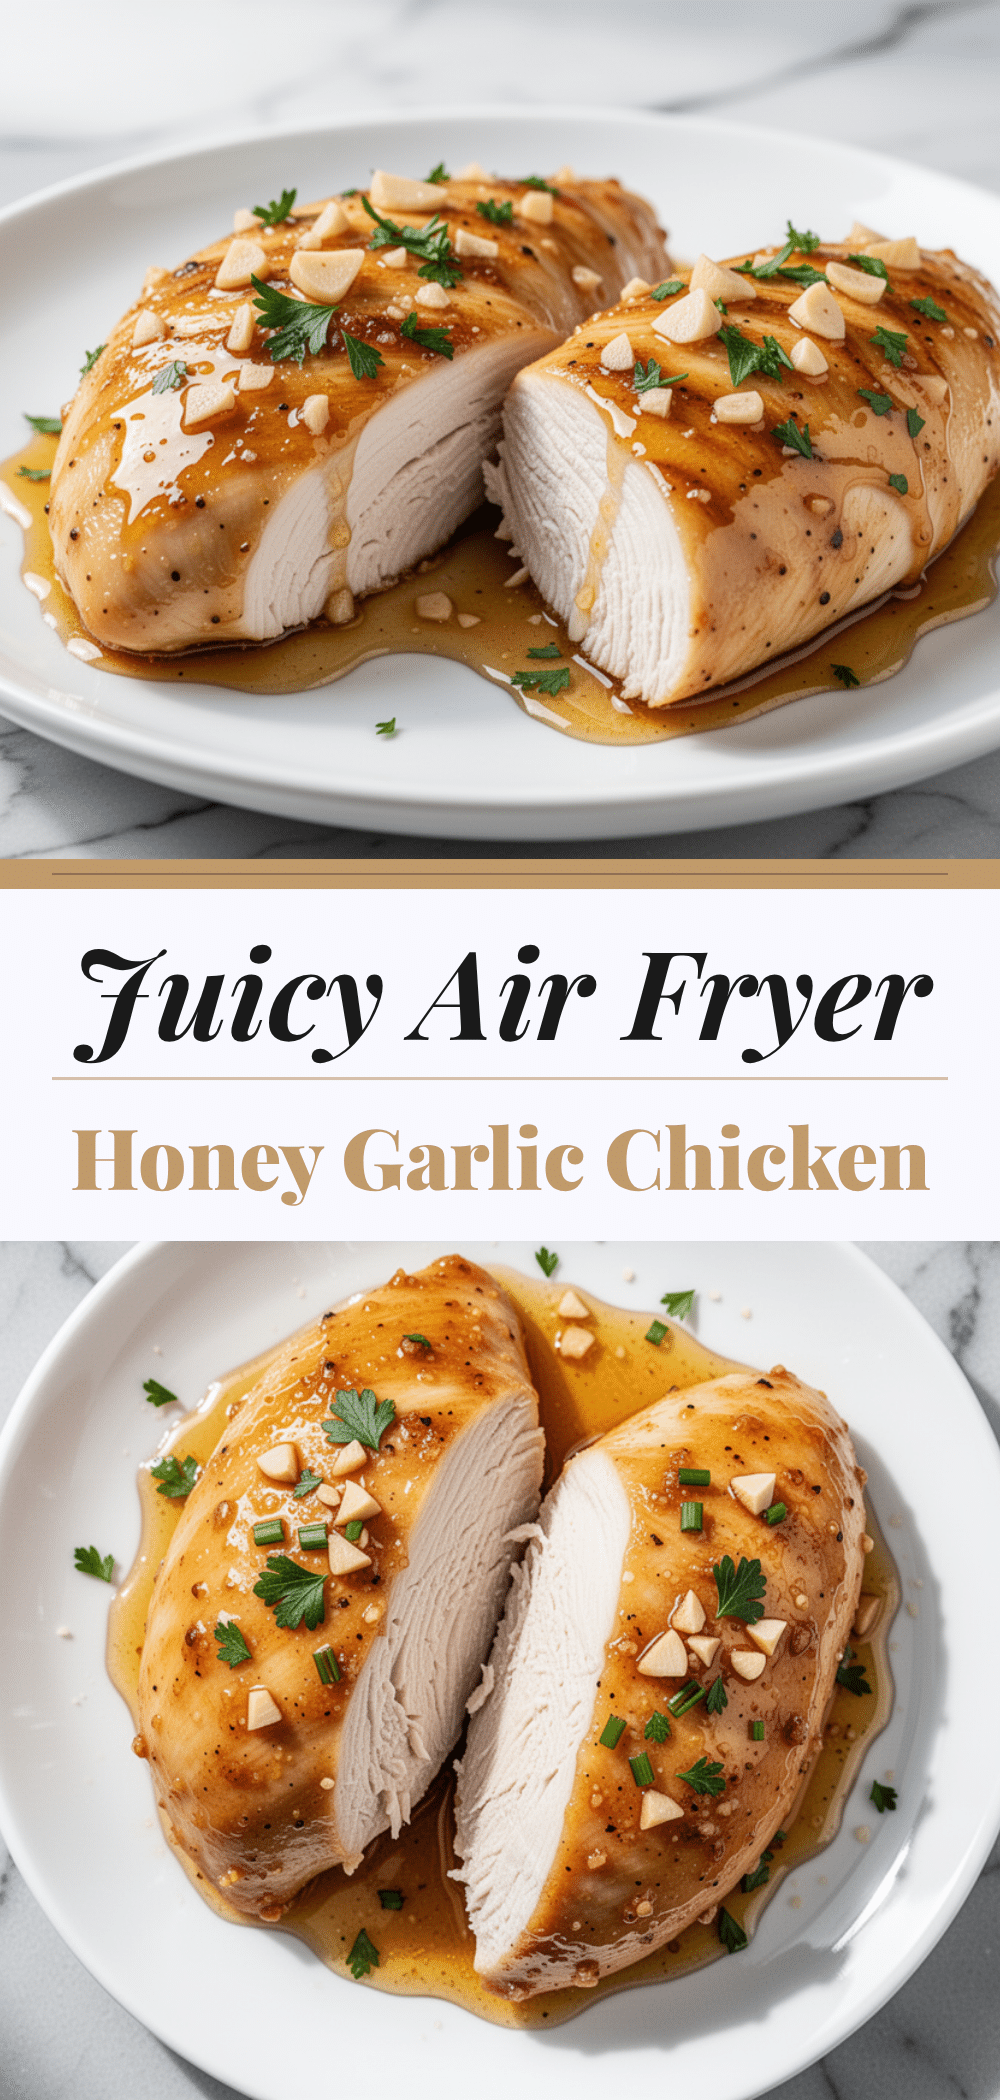
Air Fryer Honey Garlic Chicken: Easy 5-Ingredient Dinner
- Total Time: 25 minutes
- Yield: 4 servings 1x
Description
A quick and easy 25-minute dinner featuring crispy chicken breasts coated in a sweet, savory, and garlicky honey garlic sauce, cooked to perfection in an air fryer.
Ingredients
- 2 large boneless, skinless chicken breasts (about 1.5 lbs / 680g)
- 2 tablespoons cornstarch
- 1 tablespoon neutral oil (avocado or vegetable)
- Salt and black pepper
- ¼ cup honey
- ¼ cup low-sodium soy sauce
- 4–5 cloves garlic, minced
- 1 teaspoon fresh ginger, grated
- 1 teaspoon rice vinegar
- 2 tablespoons water
- ½ teaspoon sesame oil
- ½ teaspoon red pepper flakes (optional)
- 2 green onions, sliced (for garnish)
- 1 teaspoon sesame seeds (for garnish)
Instructions
- Pat chicken breasts dry and pound to an even ½-inch thickness. Season lightly with salt and pepper.
- Dust chicken breasts lightly with cornstarch, shaking off any excess.
- Whisk together honey, soy sauce, minced garlic, grated ginger, rice vinegar, water, sesame oil, and red pepper flakes in a small bowl until honey is dissolved.
- Preheat air fryer to 400°F (200°C) for 3 minutes. Lightly spray basket with oil.
- Place chicken in a single layer in the air fryer basket. Cook for 12-15 minutes, flipping halfway through, until internal temperature reaches 165°F (74°C).
- Pour half of the sauce over the chicken and cook for another 2-3 minutes to caramelize.
- Remove chicken, pour remaining sauce over top, and let rest for 2 minutes.
- Slice chicken against the grain, drizzle with extra sauce, and garnish with green onions and sesame seeds.
Notes
Pound chicken to even thickness for uniform cooking. Do not overcrowd the air fryer basket. Cook chicken first, then add sauce to prevent burning the honey. Rest chicken for 2 minutes before slicing to retain juices.
- Prep Time: 5 minutes
- Cook Time: 20 minutes
- Category: Main Course
- Cuisine: Asian
Nutrition
- Serving Size: 1 chicken breast wit
- Calories: 280
- Sugar: 18
- Sodium: 520
- Fat: 8
- Saturated Fat: 1
- Carbohydrates: 22
- Protein: 32
Keywords: air fryer, honey garlic chicken, easy dinner, 5-ingredient recipe, quick meals, healthy chicken, gluten-free option


