Let’s be real for a second. Chicken breast is the ultimate budget hero in my kitchen. It’s cheap, it’s lean, and it feeds a crowd without breaking the bank. But we all know the dark side of that bargain: the rubbery, dry, flavorless sawdust that comes out of the oven if you look at it wrong. I’ve thrown away more dry chicken breasts than I care to admit. It’s wasteful, it’s frustrating, and honestly? It makes me feel like a bad cook.
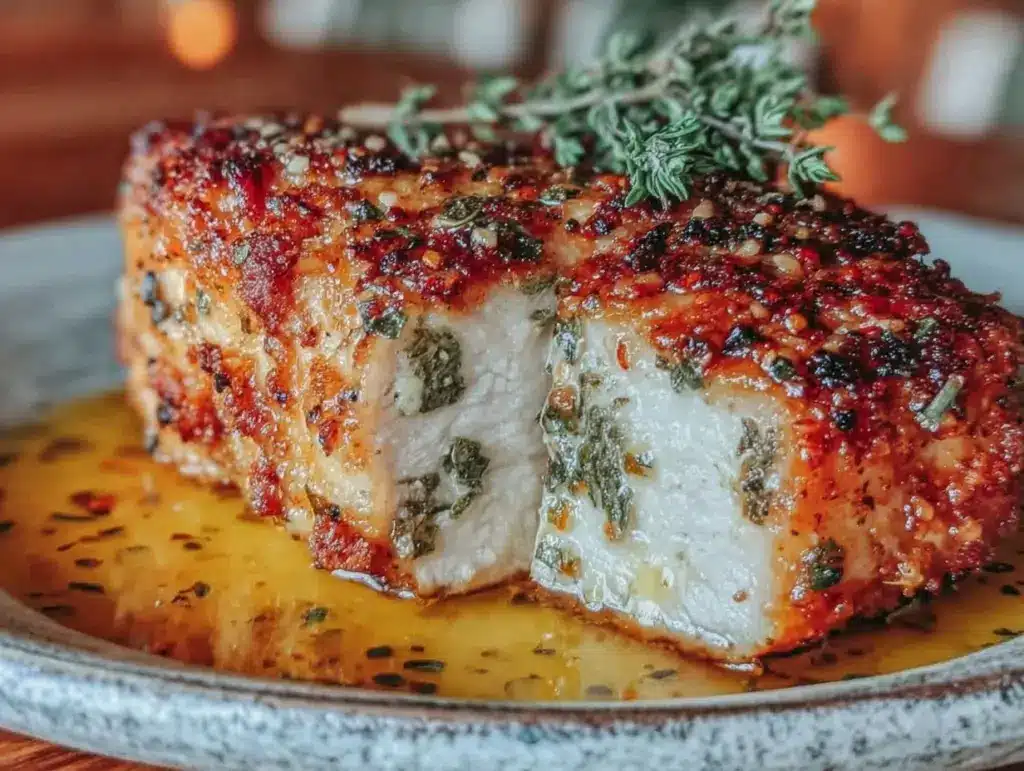
Last month, I was staring at a package of five boneless, skinless breasts on clearance. I needed dinner for four, and I didn’t want to spend an hour fussing over a skillet. So I tried a new method: baking them low and slow with a slab of herb butter right on top. I pulled them out of the oven, sliced one open, and waited for that tell-tale dryness. Nothing. It was juicy. Tender. Actually delicious.
That was three months ago. Since then, I’ve made this never-dry oven-baked chicken breast with herb butter at least a dozen times. It’s become the backbone of our weeknight meals. It’s cheaper than takeout, healthier than fried chicken, and it tastes like you spent twenty minutes actually cooking (even though it’s mostly hands-off). If you’ve been struggling with dry chicken, or if you just want a reliable, affordable protein that your family will actually ask for, this is the recipe you need to bookmark.
I’ve tested this with cheap store-brand breasts and pricier organic ones, and the method works for both. The herb butter is the secret weapon—it keeps the meat moist from the inside out while adding that savory, aromatic flavor that plain chicken just lacks. Let’s get into how to make it right, every single time.
Why You’ll Love This Recipe
I know, I know. Another chicken recipe? But hear me out. This isn’t just “chicken in the oven.” This is the method that changed how I cook poultry. Here’s why this never-dry oven-baked chicken breast with herb butter is now a permanent fixture in our rotation:
- Zero Dry Chicken Ever Again — Seriously. The butter bastes the meat as it cooks. I’ve made this for my skeptical brother-in-law, who usually complains about chicken being “chewy,” and he went back for seconds. The texture is consistently tender and juicy.
- Stupid Simple Cleanup — You’re baking on a sheet pan. Maybe a rack if you’re fancy, but not required. That means one pan to wash. On nights when I’m exhausted from work and school runs, this low-effort cleanup is a huge win.
- Pantry Staples Only — You don’t need to go to the store for this. Butter, garlic, parsley, salt, pepper. If you have those in your fridge and pantry, you’re good to go. It’s perfect for those “I have nothing to eat” nights.
- Budget-Friendly — Chicken breast is one of the most affordable proteins you can buy, especially when you catch it on sale. This recipe stretches a pound of chicken into a filling main dish for 3-4 people, keeping your grocery bill low.
- Meal Prep Friendly — This recipe scales up easily. I often make a double batch on Sunday. The chicken stores well in the fridge for 4 days and reheats beautifully in the microwave or a toaster oven. I slice it up for salads, wrap it in tortillas for lunch, or just eat it with roasted veggies.
This is the kind of recipe that takes the stress out of dinner. No standing over the stove, no flipping, no guessing if it’s done. Just throw it in, set a timer, and let the oven do the work. My kids love it because it’s not dry, and I love it because it’s cheap and easy.
Ingredients You’ll Need
Here’s the best part: you probably already have most of these items. I’m not asking for anything fancy or hard to find. This is practical, everyday cooking.
For the Chicken
Boneless, skinless chicken breasts (2 to 3 pounds / 900g – 1.3kg) — Look for uniform size if you can. If they’re wildly different sizes, you’ll need to adjust cooking times. I usually buy the family pack when it’s on sale and freeze what I don’t use right away. Thaw them in the fridge overnight before cooking.
High-quality olive oil (2 tablespoons / 30ml) — Just regular extra virgin works fine here. It helps the seasoning stick and adds a bit of richness. Don’t worry about saving your most expensive oil for this; you’ll taste the herbs more.
Salt and black pepper — Kosher salt is best because it’s easier to control, but table salt works too. Freshly cracked black pepper adds a nice bite. Don’t be shy with the salt; chicken needs it.
For the Herb Butter
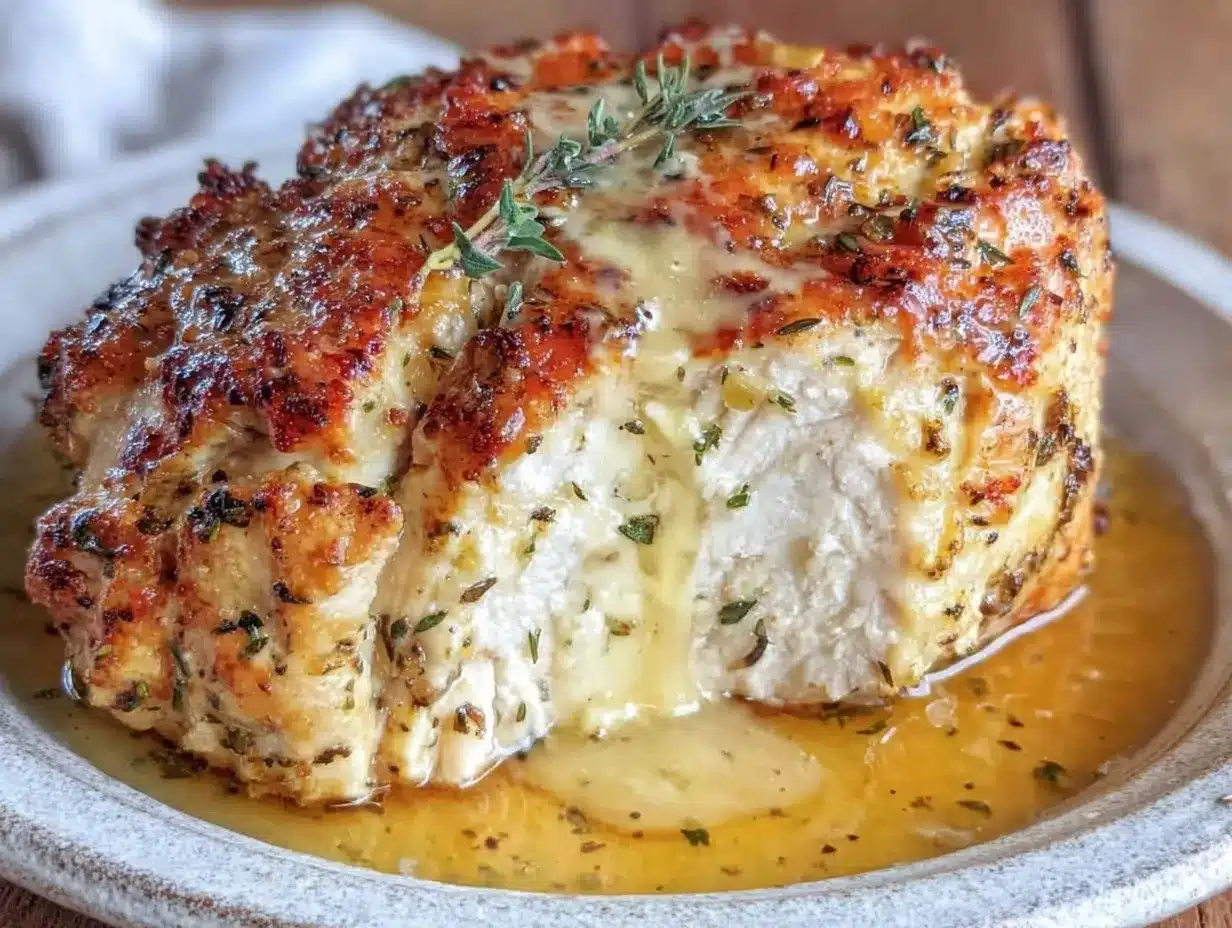
Unsalted butter (4 tablespoons / 60g, softened) — This is key. Softened butter mixes easily with the herbs. If you use salted butter, reduce the added salt in the seasoning by half. Unsalted gives you more control over the final flavor.
Fresh garlic (3 cloves, minced / about 1 tablespoon) — Fresh garlic is non-negotiable here. Jarred garlic has a weird metallic taste that really shows up in butter. If you’re in a rush, you can use 1 teaspoon of garlic powder, but fresh is better.
Dried parsley (1 teaspoon) — I use dried because it holds up better in the oven than fresh. If you only have fresh, use 1 tablespoon chopped, but add it after cooking if you want it to stay bright green. Dried is more convenient and pantry-staple friendly.
Dried thyme (½ teaspoon) — Thyme pairs beautifully with chicken and garlic. It’s subtle but adds a sophisticated herbal note. If you don’t have thyme, oregano or Italian seasoning works too.
Optional: Red pepper flakes (¼ teaspoon) — If you like a tiny kick, add this. It cuts through the richness of the butter. I usually skip it for the kids but add a pinch for myself.
Optional: Lemon zest — A little zest adds brightness. I love this if I’m serving the chicken with roasted veggies or a salad.
Equipment Needed
You don’t need fancy gadgets for this. Here’s what I actually use:
- Baking sheet or rimmed skillet — A standard 13×9 inch baking sheet works perfectly. I line mine with parchment paper for easy cleanup, but it’s not strictly necessary. A cast-iron skillet also works great if you want to go from oven to table.
- Small mixing bowl — Just for mashing the butter and herbs together. Any small bowl will do.
- Fork — To mash the butter and herbs into a paste.
- Instant-read thermometer — This is the most important tool. It takes the guesswork out. You want the chicken to hit 165°F (74°C). If you don’t have one, you can cut into the thickest part to check, but a thermometer is way more reliable.
- Tongs — For handling the chicken. If you don’t have tongs, a sturdy spatula works.
Pro Tip: If you don’t have a baking sheet, you can use a roasting pan or even a large oven-safe skillet. The goal is to have a flat surface so the butter can pool around the chicken slightly.
How to Make It: Step-by-Step
Alright, let’s make this! I’m walking you through exactly how I do it, including the little tricks I’ve picked up over the years.
Step 1: Prep the Oven and Pan (5 minutes)
Preheat your oven to 375°F (190°C). This temperature is the sweet spot. It’s hot enough to cook the chicken through without drying it out, but not so hot that the outside burns before the inside is done. Line your baking sheet with parchment paper or foil for easy cleanup. I prefer parchment because nothing sticks.
Step 2: Make the Herb Butter
In a small bowl, combine the softened butter, minced garlic, dried parsley, dried thyme, salt, and pepper (and red pepper flakes if using). Mash it all together with a fork until it’s a uniform green paste. This is your flavor bomb. If the butter is too cold, microwave it for 10 seconds to soften it up.
Step 3: Season the Chicken
Pat the chicken breasts dry with paper towels. This sounds basic, but removing excess moisture helps the seasoning stick and promotes better browning. Place the chicken breasts on the prepared baking sheet. Season the tops lightly with salt and pepper. Then, take a generous spoonful of the herb butter and spread it directly on top of each chicken breast. You want a thick layer, about a tablespoon per breast. Don’t be shy! The butter will melt and baste the chicken as it cooks.
Step 4: Bake
Place the baking sheet in the preheated oven. Bake for 20-25 minutes. The exact time depends on the thickness of your breasts. Thinner cutlets might take 18 minutes, while thick, chunky breasts could take 25-30. Do not open the oven door too much in the first 15 minutes. You want the heat to stay consistent.
Step 5: Check for Doneness
At the 20-minute mark, check the chicken with an instant-read thermometer. Insert it into the thickest part of the breast. When it reads 165°F (74°C), it’s done. If it’s lower, give it 2-3 more minutes and check again. If you don’t have a thermometer, cut into the thickest part. The juices should run clear, and the meat should be opaque white, not pink.
Step 6: Rest the Chicken
This step is crucial. Remove the chicken from the oven and let it rest on the pan for 5 minutes before slicing. Resting allows the juices to redistribute throughout the meat. If you cut into it immediately, all that delicious juice will run out onto the plate, leaving the chicken dry. Trust me, the 5-minute wait is worth it.
Total Time: About 30 minutes (5 minutes prep, 25 minutes cooking)
Expert Tips & Tricks
Here’s everything I’ve learned from making this dozens of times. These tips will save you from my mistakes.
- Uniform Thickness Matters — If your chicken breasts are uneven, pound the thick ends with a rolling pin or meat mallet until they’re about ½ inch thick all over. This ensures even cooking. No more dry ends and raw middles.
- Don’t Overcrowd the Pan — Give each breast a little space. If they’re touching too much, they’ll steam instead of bake. If you’re cooking a large batch, use two pans.
- Softened Butter is Key — Hard butter won’t spread or melt evenly. Make sure it’s room temperature or microwaved briefly. This helps it penetrate the surface of the chicken better.
- Resting is Non-Negotiable — I know it’s tempting to cut in immediately, but resting is what keeps it juicy. Set a timer for 5 minutes.
- Double the Batch — This recipe doubles easily. I often make 6-8 breasts at once. They store well in the fridge for meal prep. I slice them up and use them for salads, wraps, or grain bowls throughout the week.
Common Mistake: Sauce Too Thin — If you want a pan sauce, you can deglaze the pan with a little chicken broth or white wine after removing the chicken. Simmer for 2 minutes to reduce. But honestly, the herb butter on top is usually enough flavor.
Variations & Substitutions
Once you’ve nailed the basic version, here’s how you can mix it up. I’ve tried all of these.
- Italian Herb Version — Swap thyme for Italian seasoning. Add a pinch of oregano and basil. This pairs great with pasta or pizza.
- Lemon Herb — Add the zest of one lemon to the butter. It adds a bright, fresh flavor that cuts through the richness. Perfect for spring and summer.
- Spicy Garlic — Double the garlic and add ½ teaspoon of red pepper flakes or a dash of cayenne. This is great if you like a kick.
- Herb Crust — Mix the herb butter with ¼ cup of breadcrumbs or grated Parmesan before spreading on top. It creates a crispy, cheesy crust. I love this version for company.
- Gluten-Free — This recipe is naturally gluten-free, provided your butter and spices are certified GF. It’s a safe bet for gluten-free diets.
- Dairy-Free — Swap the butter for olive oil or dairy-free butter. The texture will be slightly different, but it will still be juicy if you don’t overcook it.
If you’re looking for other chicken recipes, I also love making creamy marry me chicken for a richer treat, or these crispy honey garlic chicken wings for game day. But for everyday weeknight dinners, this baked method is my go-to.
Serving & Storage
How to Serve: I usually serve this chicken with simple sides. Roasted potatoes, steamed broccoli, or a fresh green salad work well. It’s also great in sandwiches or wraps. My kids love it with mashed potatoes and gravy.
Leftovers: Store leftover chicken in an airtight container in the fridge for up to 4 days. It reheats well in the microwave (cover with a damp paper towel to keep it moist) or in a toaster oven. For meal prep, slice the chicken and use it in salads or grain bowls.
Freezing: You can freeze cooked chicken breast, but the texture may change slightly. Wrap individual breasts in plastic wrap and then foil. They’ll last for 2-3 months. Thaw in the fridge overnight before reheating.
Pro Tip: If you’re making this for meal prep, I recommend slicing the chicken after it rests. It makes it easier to portion and use in different meals throughout the week.
Nutrition Information
I’m not a nutritionist, but here’s the breakdown if you’re tracking. Per serving (based on 4 servings, 1 breast per serving):
- Calories: 320
- Protein: 35g
- Carbs: 1g
- Fat: 18g
- Saturated Fat: 9g
- Cholesterol: 110mg
- Sodium: 350mg
Look, this is healthy, high-protein food. It’s not a diet recipe, but it’s way better than fried chicken or processed meats. When I want to make it lighter, I reduce the butter to 2 tablespoons. But usually? I just eat a reasonable portion and enjoy it. It’s satisfying and keeps me full.
Final Thoughts
So that’s my go-to never-dry oven-baked chicken breast with herb butter! I’ve probably talked your ear off at this point, but when you make a recipe this often, you have a lot to say about it.
This has saved weeknight dinners more times than I can count. It’s my answer to “what’s for dinner” when I’m tired, don’t want takeout, and still want something that tastes really good. My kids are happy, my husband’s happy, and I’m happy because I’m not stressed about cooking.
Make it yours! Try different herbs, add some lemon zest, or serve it with your favorite sides. The best recipes are the ones you adapt to your family’s tastes.
If you make this, drop a comment and let me know what you think! I love hearing how recipes turn out in your kitchen. And if something doesn’t work, tell me that too—I’m here to help troubleshoot.
Happy cooking! And I hope your kitchen smells half as good as mine does right now.
Frequently Asked Questions
Can I use frozen chicken breasts?
You can, but it’s better to thaw them first. Cooking frozen chicken directly in the oven can lead to uneven cooking. If you must cook from frozen, add 5-10 minutes to the cooking time and check the temperature carefully. But for best results, thaw overnight in the fridge.
Why did my chicken turn out dry?
Usually, this means it was overcooked. Chicken breast cooks quickly, and it’s easy to leave it in too long. Use an instant-read thermometer and pull it at 165°F. Also, make sure you’re using enough butter and that it’s spread evenly on top.
Can I make this in a skillet?
Yes! You can sear the chicken in a skillet on the stovetop first, then finish it in the oven. This gives you a nicer crust. Just reduce the oven time to 10-15 minutes.
What herbs can I use instead of parsley and thyme?
Any dried herbs work! Rosemary, sage, oregano, or Italian seasoning are all great options. Just keep the total amount of herbs around 1-2 teaspoons so it doesn’t overpower the chicken.
How do I reheat leftovers without drying them out?
Add a splash of chicken broth or water to the chicken when reheating. Cover it with a damp paper towel or foil to trap steam. Heat in 30-second intervals, checking frequently. Avoid high heat, which can dry out the meat further.
Can I double this recipe?
Absolutely! Double the chicken and the herb butter. Use two baking sheets if needed. The cooking time will be the same, but make sure not to overcrowd the pans so the chicken bakes evenly.
Is this recipe kid-friendly?
Yes! The herb butter makes it flavorful without being spicy. Kids usually love it because it’s juicy and tender. If your kids are sensitive to herbs, you can use just butter and garlic, which is still delicious.
Can I add vegetables to the pan?
Yes! You can roast vegetables like asparagus, zucchini, or bell peppers on the same pan. Just add them in the last 15 minutes of cooking so they don’t overcook. It makes for an easy one-pan meal.
Pin This Recipe!
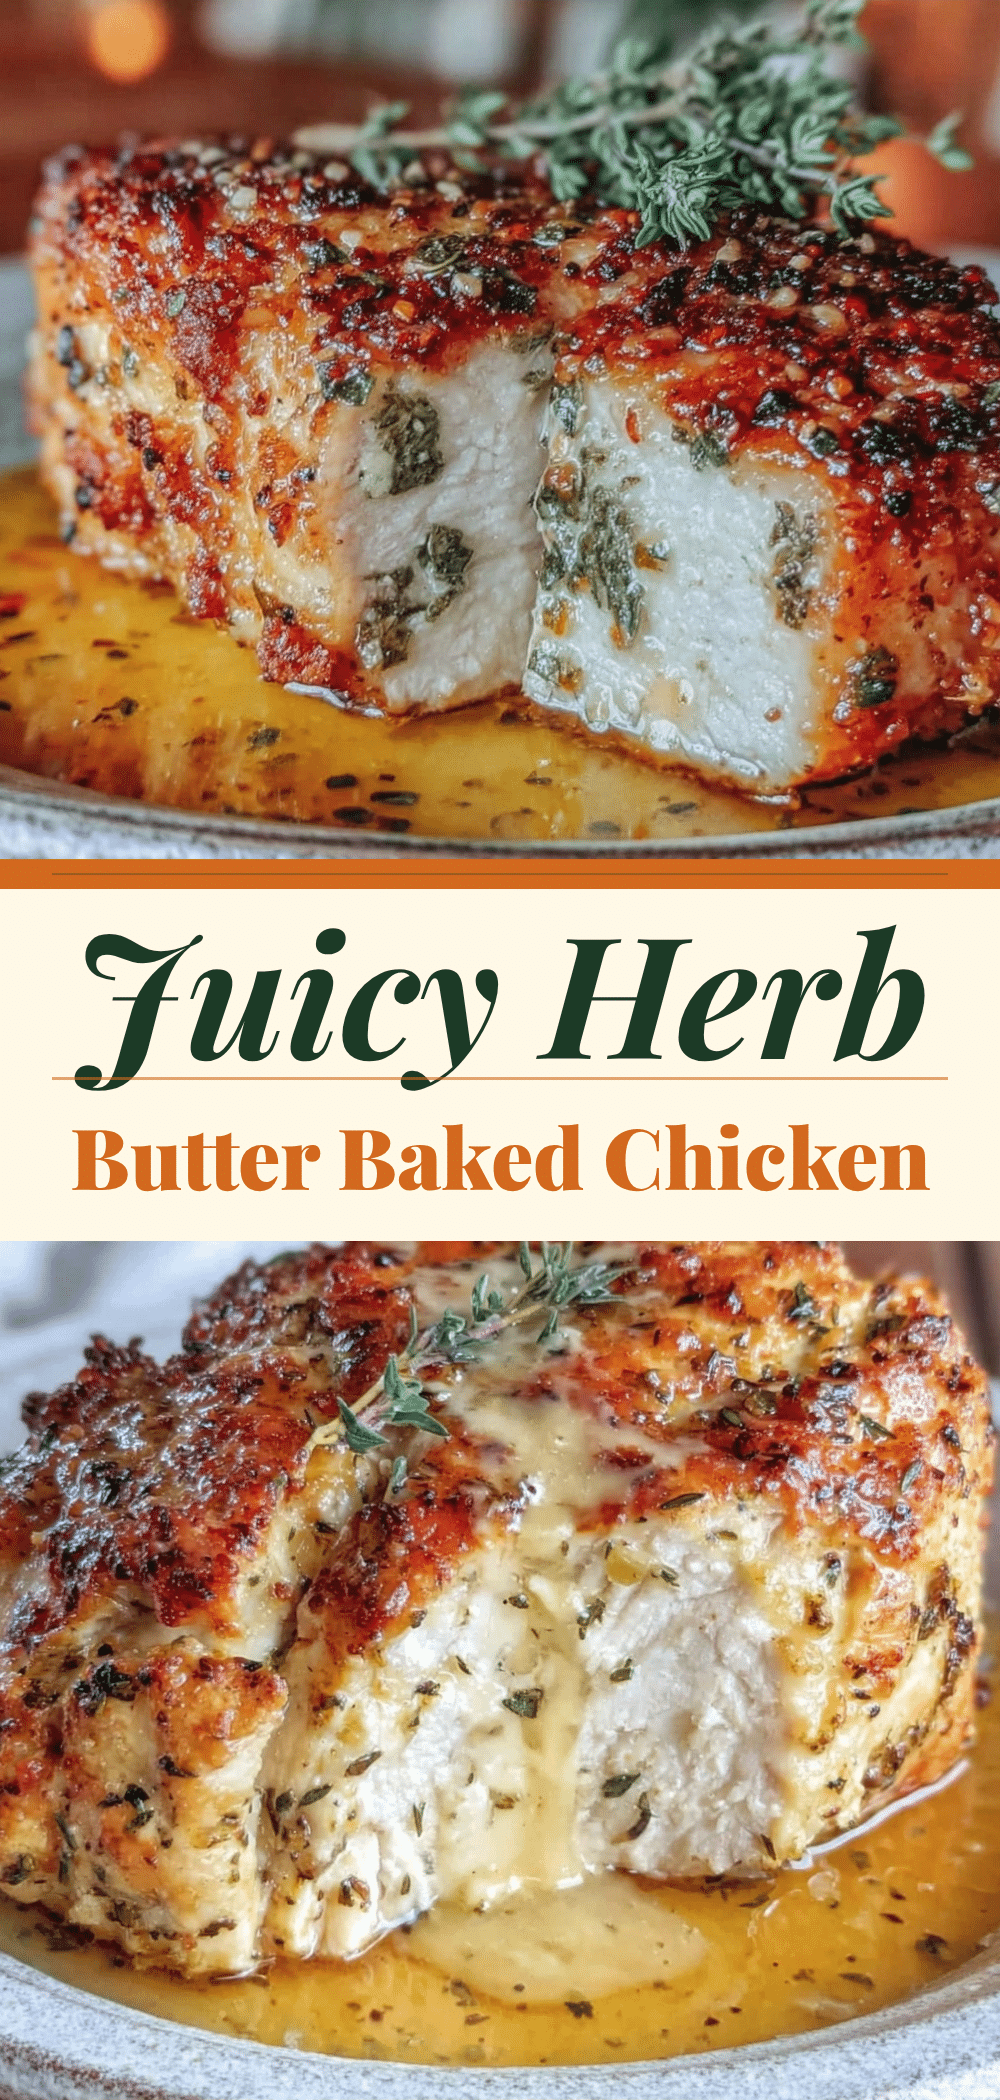
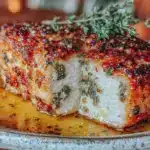
Never-Dry Oven-Baked Chicken Breast with Herb Butter
- Total Time: 30 minutes
- Yield: 4 servings 1x
Description
A simple, budget-friendly recipe for juicy and tender oven-baked chicken breasts using a secret herb butter topping. This method ensures the meat stays moist and flavorful with minimal cleanup.
Ingredients
- 2 to 3 pounds boneless, skinless chicken breasts
- 2 tablespoons high-quality olive oil
- Salt and black pepper to taste
- 4 tablespoons unsalted butter, softened
- 3 cloves fresh garlic, minced
- 1 teaspoon dried parsley
- 1/2 teaspoon dried thyme
- 1/4 teaspoon red pepper flakes (optional)
- Lemon zest (optional)
Instructions
- Preheat oven to 375°F (190°C). Line a baking sheet with parchment paper or foil.
- In a small bowl, mash together softened butter, minced garlic, dried parsley, dried thyme, salt, pepper, and red pepper flakes (if using) until a uniform paste forms.
- Pat chicken breasts dry with paper towels. Place them on the prepared baking sheet and season lightly with salt and pepper.
- Spread a generous tablespoon of the herb butter mixture directly on top of each chicken breast.
- Bake for 20-25 minutes, or until the internal temperature reaches 165°F (74°C). Avoid opening the oven door frequently during the first 15 minutes.
- Remove from oven and let the chicken rest for 5 minutes before slicing to allow juices to redistribute.
Notes
For even cooking, pound chicken breasts to uniform thickness if they vary in size. Ensure butter is softened for easy spreading. Resting the chicken is crucial for juiciness. This recipe is naturally gluten-free if using certified GF spices.
- Prep Time: 5 minutes
- Cook Time: 25 minutes
- Category: Main Course
- Cuisine: American
Nutrition
- Serving Size: 1 chicken breast per
- Calories: 320
- Sodium: 350
- Fat: 18
- Saturated Fat: 9
- Carbohydrates: 1
- Protein: 35
Keywords: chicken breast, oven baked chicken, herb butter, easy dinner, meal prep, juicy chicken, weeknight dinner, gluten-free