Last Tuesday, I came home from work feeling like a zombie. You know that specific kind of exhaustion where your brain is foggy, your stomach is growling, and the very idea of chopping vegetables feels like climbing Mount Everest. I opened the fridge, stared at a bag of russet potatoes, a head of garlic that had seen better days, and a jar of dried herbs. I didn’t have the energy for a complex meal. I didn’t want takeout. I just wanted something hot, comforting, and, ideally, made with ingredients I already had.
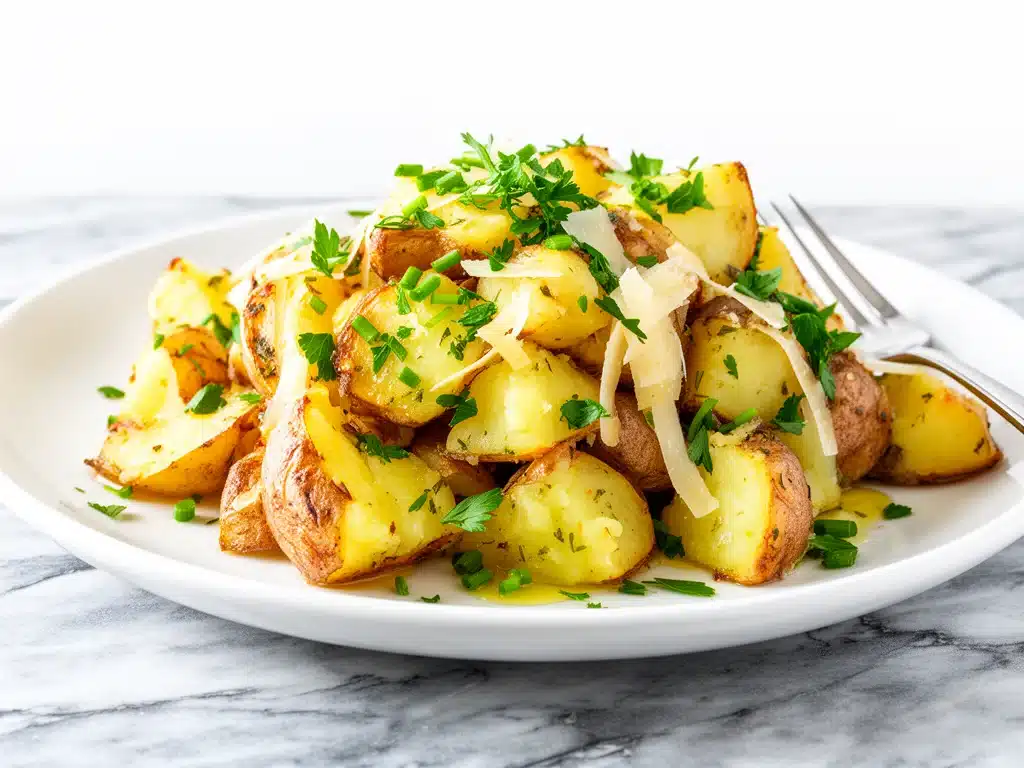
I threw everything into a bowl, tossed it with oil, and shoved it into the oven. Thirty minutes later, I pulled out a sheet pan of golden, crispy, garlic-scented potatoes that smelled like a high-end restaurant. My kids devoured them before the main course was even cooked. That was the moment I realized I had found the ultimate weeknight hack. These Crispy Garlic Herb Roasted Potatoes are now my go-to side dish, and honestly, they’ve earned a spot right next to Labor Day no-bake strawberry pretzel salad in my rotation of “I don’t know what to make” dinners.
Here’s the thing about roasted potatoes: most people get them soggy. They end up steamed in their own juices, pale and sad. But not these. I’ve tested this method dozens of times, tweaking the oil ratio, the herb blend, and the oven temperature, until I landed on the perfect formula. It’s fast (prep takes less than 10 minutes), it’s forgiving (you can’t really mess it up), and it delivers that addictive crunch with every bite. If you’re looking for a side dish that feels fancy but requires zero effort, this is it.
Why You’ll Love This Recipe
There are about ten reasons I keep making these potatoes, but here are the big ones that will win you over after just one bite.
Stupid Simple Prep — Seriously, if you can chop a potato, you can make this. I’ve walked my teenage son through it over FaceTime while he was at college. No fancy techniques, no special skills required. Just chop, toss, and roast.
Lightning Fast — From start to finish, you’re looking at about 40 minutes, but only 10 of those are active work. The rest is hands-off oven time. I make this on weeknights when I get home at 7pm and need dinner on the table by 8:30. It’s faster than waiting for a pizza delivery.
Crunch That Actually Lasts — This is the game-changer. Most roasted potatoes get soft within 15 minutes of coming out of the oven. These stay crispy. I’ve served them to dinner guests who specifically asked for the recipe because they thought they were fries. They’re not fries, but they’re close.
Pantry-Friendly — You probably have 80% of these ingredients already. Potatoes, oil, garlic, salt, pepper, and dried herbs. I keep these stocked specifically so I can throw this together on a whim. It’s my answer to “What’s for dinner?” when the pantry is bare.
Makes Leftovers Taste Amazing — Okay, full disclosure: I rarely have leftovers. But if I do, reheating them in an air fryer or toaster oven brings back that crunch. They’re great cold, too, straight from the fridge. I’ll admit, sometimes I eat them for breakfast with a fried egg on top. Don’t judge me.
This is my go-to when I need dinner to just work. No complicated techniques, no weird ingredients, just reliable, delicious food that makes everyone happy. And because they’re naturally vegetarian and gluten-free, they fit into almost any diet without modification.
Ingredients You’ll Need
Here’s the best part: this recipe relies on simple, affordable ingredients. You don’t need fancy truffle oil or exotic spices. Here’s what I use and why it matters.
Russet Potatoes (3 large, about 1.5 lbs / 680g) — Russets are the gold standard for roasting. They have high starch content, which means they get fluffy on the inside and crispy on the outside. Yukon Golds work too, but they’re waxy and won’t get as crunchy. If you use sweet potatoes, reduce the cooking time slightly.
Vegetable or Olive Oil (3 tablespoons / 45ml) — I use a neutral oil like vegetable or canola for high heat, but olive oil works fine if you don’t mind a stronger flavor. Don’t skimp on the oil. Potatoes need fat to crisp up. If you’re watching calories, you can drop to 2 tablespoons, but the texture will suffer slightly.
Garlic (4 cloves, minced / about 2 tablespoons) — Fresh garlic is non-negotiable here. Jarred garlic has a metallic taste that clashes with the herbs. Minced fresh garlic caramelizes beautifully in the oven, creating those sweet, savory bites. If you’re lazy, you can use garlic powder, but the fresh stuff is worth the extra minute.
Dried Herbs (2 teaspoons total) — I use a mix of dried thyme, rosemary, and oregano. Dried herbs hold up better to high heat than fresh ones, which can burn. Fresh herbs? Add them after you take the potatoes out of the oven. I keep a jar of “Italian Seasoning” on hand for this exact purpose.
Garlic Powder (1 teaspoon) — This adds a concentrated garlic punch that complements the fresh cloves. It’s the secret weapon for that “takeout” flavor.
Salt and Black Pepper (1 teaspoon salt, ½ teaspoon pepper) — Use kosher salt or sea salt. Table salt is too fine and can make the potatoes too salty if you’re not careful. Freshly cracked black pepper adds a nice bite.
Parmesan Cheese (Optional) (¼ cup / 25g, grated) — I add this in the last 5 minutes of cooking. It creates a salty, crispy crust that is absolutely irresistible. If you’re dairy-free, skip it, but I highly recommend trying it.
Red Pepper Flakes (Optional) (¼ teaspoon) — For a little heat. I sprinkle this on at the end. It wakes up the dish and adds complexity.
Equipment Needed
You don’t need fancy equipment for this. Here’s what I actually use.
Large Sheet Pan — I use a standard 18×13 inch baking sheet. Don’t overcrowd the pan! If the potatoes are touching, they’ll steam instead of roast. If you’re making a big batch, use two pans.
Large Mixing Bowl — Something big enough to toss the potatoes with oil and herbs. A bowl with a lip is helpful so you don’t spill oil everywhere.
Sharp Knife — For chopping the potatoes. A dull knife makes you cry more—learned this the hard way. A chef’s knife works perfectly.
Peeler — I leave the skins on for extra texture and nutrients, but if you prefer peeled potatoes, use a standard peeler.
Garlic Press or Microplane — I prefer a microplane for mincing garlic because it creates a fine paste that distributes evenly. A garlic press works too, but you have to scrape it out carefully.
Spatula — For flipping the potatoes halfway through. A silicone spatula is great because it won’t scratch your pan if you’re using non-stick.
How to Make It: Step-by-Step
Alright, let’s make this! I’m walking you through exactly how I do it, including the little tricks I’ve picked up over the years.
Step 1: Prep the Potatoes (5 minutes)
Preheat your oven to 425°F (220°C). This high heat is crucial for crispiness. While the oven heats, wash the potatoes thoroughly. I leave the skins on for that rustic, hearty look and extra fiber. Cut the potatoes into even chunks—about 1-inch cubes. Try to keep them uniform so they cook at the same rate. If you have some huge chunks and some tiny ones, the small ones will turn to mush before the big ones are done.
Step 2: The Toss (2 minutes)
Place the potato cubes in your large mixing bowl. Drizzle with the oil and sprinkle with the salt, pepper, garlic powder, and dried herbs. Toss everything together with your hands or a spoon until every single potato piece is coated. You want a shiny, even layer of oil. If some pieces look dry, add a little more oil. This step ensures that every bite is flavorful and crispy.
Step 3: Spread Them Out (1 minute)
Line your baking sheet with parchment paper or aluminum foil for easy cleanup (though it’s not strictly necessary). Spread the potatoes in a single layer. Do not crowd the pan. This is the most common mistake people make. If the potatoes are piled on top of each other, they will steam. They need space to breathe and get crispy. If you’re making a large batch, use two pans.
Step 4: The First Roast (20 minutes)
Put the pan in the preheated oven. Roast for 20 minutes. After 10 minutes, give the pan a gentle shake or use your spatula to flip the potatoes. This ensures even browning on all sides. You’ll start to smell the garlic and herbs filling the kitchen. It’s a comforting smell that makes you hungry.
Step 5: The Finish (15 minutes)
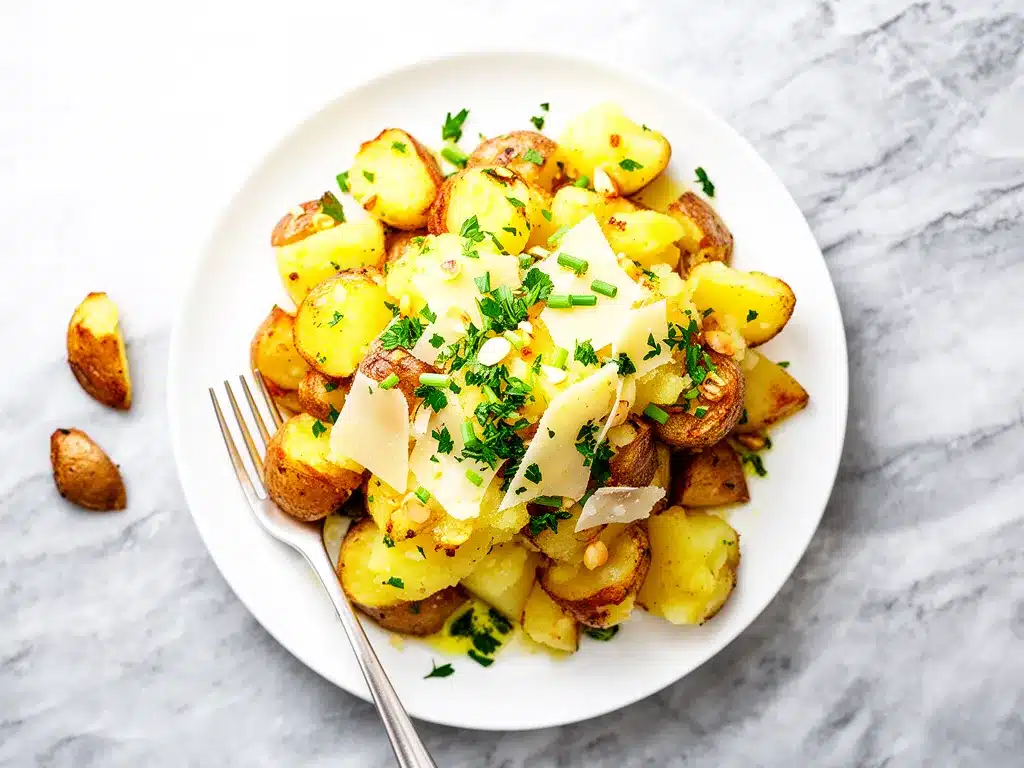
After 20 minutes, the potatoes should be starting to brown. If you’re adding Parmesan cheese, sprinkle it evenly over the potatoes now. Return to the oven for another 15 minutes, or until the potatoes are golden brown and crispy on the outside and tender on the inside. You can test doneness by piercing a piece with a fork—it should slide in easily.
Step 6: Serve Immediately
Take the pan out of the oven. If you’re using red pepper flakes, sprinkle them on now. Serve immediately while hot and crispy. They pair perfectly with almost any main course, from roast chicken to my favorite back-to-school chicken Caesar wraps (which are great for lunch, but the flavors work well together). Don’t let them sit in the pan too long, or they’ll lose their crunch.
Expert Tips & Tricks
Here’s everything I’ve learned from making this dozens of times. These tips will save you from my mistakes.
Soak Your Potatoes (Optional but Recommended)
If you have time, soak the cut potatoes in cold water for 30 minutes before cooking. This removes excess surface starch, which leads to extra-crispy results. Dry them thoroughly with a towel before tossing with oil. Wet potatoes = steam = soggy potatoes. I soak them when I’m planning ahead, but I skip it on busy weeknights and it still works.
Don’t Skip the Salt
Your potatoes need salt to taste good. Season the water if you’re boiling them first (which I don’t do here), but definitely salt the oil mixture. Taste a piece after it’s cooked—it should be seasoned throughout, not just on the surface.
Use Fresh Herbs at the End
If you have fresh rosemary or thyme, chop it up and sprinkle it on the potatoes right after they come out of the oven. The residual heat will release the oils without burning the herbs. Dried herbs go in before roasting; fresh herbs go in after.
The Parmesan Trick
Adding cheese halfway through prevents it from burning. If you add it at the start, it’ll turn black and bitter. If you add it at the end, it won’t have time to melt and crisp up. The 15-minute mark is the sweet spot.
Flip, Don’t Stir
When flipping the potatoes, use a spatula to turn them over individually if you can. This exposes more surface area to the heat. Stirring them around just rolls them over without getting new sides crispy.
Variations & Substitutions
Once you’ve nailed the basic version, here’s how you can mix it up. I’ve tried all of these.
Herb-Infused Oil
Instead of dried herbs, infuse your oil with fresh rosemary and thyme branches before tossing the potatoes. It adds a more subtle, aromatic flavor.
Smoky Paprika Version
Swap the Italian herbs for smoked paprika, cumin, and chili powder. These taste like smoky barbecue potatoes. Great with burgers or grilled steak.
Herb-Crusted Chicken Pairing
These potatoes go perfectly with soft-baked ham and cheese pretzel bites if you’re making a snack-heavy meal, or with a simple herb-crusted chicken breast for a full dinner.
Vegan Option
Simply omit the Parmesan cheese. The potatoes are already vegan-friendly with oil and herbs. You can add nutritional yeast for a cheesy flavor if you miss the dairy.
Gluten-Free
This recipe is naturally gluten-free. Just double-check that your dried herbs and garlic powder don’t have any anti-caking agents containing gluten (rare, but possible). Stick to pure spices to be safe.
Sweet Potato Variation
Use sweet potatoes instead of russets. They take slightly less time to cook (about 30-35 minutes total). Add a drizzle of maple syrup after roasting for a sweet and savory twist.
Serving & Storage
How to Serve:
I usually serve these straight from the sheet pan to the table—it looks rustic and keeps them warm. But here are other ways I’ve enjoyed them:
Side Dishes:
– Roasted broccoli or asparagus
– A simple green salad with vinaigrette
– Grilled chicken or fish
– Apple peanut butter energy bites make a great pre-dinner snack if the kids are hungry early!
Toppings Bar:
When I have guests, I put out: extra Parmesan, fresh chopped parsley, red pepper flakes, and hot sauce. Everyone customizes their bowl.
Storage Instructions:
Store leftovers in an airtight container in the refrigerator for up to 4 days. The potatoes will soften as they cool, which is normal.
Reheating:
Best method: Air fryer or toaster oven at 400°F for 5-7 minutes. This restores the crunch.
Microwave method: Works in a pinch, but they’ll be soft. Not recommended if you care about texture.
Never works: Reheating in the microwave for too long. They turn rubbery. Ask me how I know.
Freezing:
Honestly, roasted potatoes don’t freeze well. The texture becomes mealy and soft upon thawing. Make them fresh or store in the fridge for up to 4 days.
Nutrition Information
I’m not a nutritionist, but here’s the breakdown if you’re tracking.
Per Serving (based on 6 servings):
- Calories: 180
- Protein: 3g
- Carbs: 28g
- Fiber: 3g
- Sugar: 1g
- Fat: 7g
- Saturated Fat: 1g
- Cholesterol: 0mg
- Sodium: 250mg
- Calcium: 30mg
What’s Good:
– Decent fiber from the potato skins
– Naturally gluten-free and vegan (without cheese)
– Low in saturated fat if you use neutral oil
What to Know:
– Higher in carbs due to potatoes
– Sodium content can be adjusted by reducing salt
– Not a diet food, but a healthy side dish option
My Take:
Look, these are roasted potatoes with oil. They’re not a salad. But they’re way better than fries, cost less, and I know exactly what’s in them. When I want to make it lighter, I reduce the oil to 2 tablespoons and load up on herbs. But usually? I just eat a reasonable portion and enjoy the crunch.
Final Thoughts
So that’s my go-to Crispy Garlic Herb Roasted Potatoes! I’ve probably talked your ear off at this point, but when you make a recipe this often, you have a lot to say about it.
This has saved weeknight dinners more times than I can count. It’s my answer to “what’s for dinner” when I’m tired, don’t want takeout, and still want something that tastes really good. My kids are happy, my husband’s happy, and I’m happy because I’m not stressed about cooking.
Make it yours! Try different herbs, swap in your favorite vegetables, adjust the garlic (though more is always better in my opinion). The best recipes are the ones you adapt to your family’s tastes.
If you make this, drop a comment and let me know what you think! I love hearing how recipes turn out in your kitchen. And if something doesn’t work, tell me that too—I’m here to help troubleshoot.
Happy cooking! And I hope your kitchen smells half as good as mine does right now.
Frequently Asked Questions
Can I use baby potatoes instead of russets?
Yes! Baby potatoes work great. Halve them instead of cubing them. They cook faster, so check them at 25 minutes. They’re naturally waxy, so they won’t get as fluffy inside, but they’ll still be crispy outside.
Why did my potatoes come out soggy?
Usually means two things: either the pan was overcrowded, or the potatoes weren’t dry enough before oiling. Make sure you spread them out in a single layer, and pat them dry with a towel after washing. Also, ensure your oven is fully preheated to 425°F.
Can I make this ahead for a dinner party?
Sort of. You can prep the potatoes (cut and toss with oil/herbs) up to 4 hours ahead and store them in the fridge in a sealed container. Take them out 30 minutes before roasting to come to room temperature. But don’t roast them ahead—reheating roasted potatoes is tricky. Roast them fresh for best results.
Can I use fresh herbs instead of dried?
You can, but use less. Dried herbs are more concentrated. If using fresh, use about 1 tablespoon of chopped fresh herbs for every 1 teaspoon of dried. Add them in the last 5 minutes of cooking to prevent burning.
How do I reheat leftovers without them getting dry?
Use an air fryer or toaster oven. Microwave makes them soft and chewy. If you must use the microwave, add a splash of water and cover with a damp paper towel to create steam, but expect a softer texture.
Can I add other vegetables to the pan?
Yes! Carrots, Brussels sprouts, and onions roast well alongside potatoes. Just cut them to similar sizes so they cook evenly. Onions might burn if they’re too small, so use larger wedges.
Is this recipe healthy?
It’s a balanced side dish. Potatoes are a great source of potassium and vitamin C. The oil adds healthy fats. It’s not low-carb, but it’s much healthier than fried foods. Moderation is key!
Pin This Recipe!
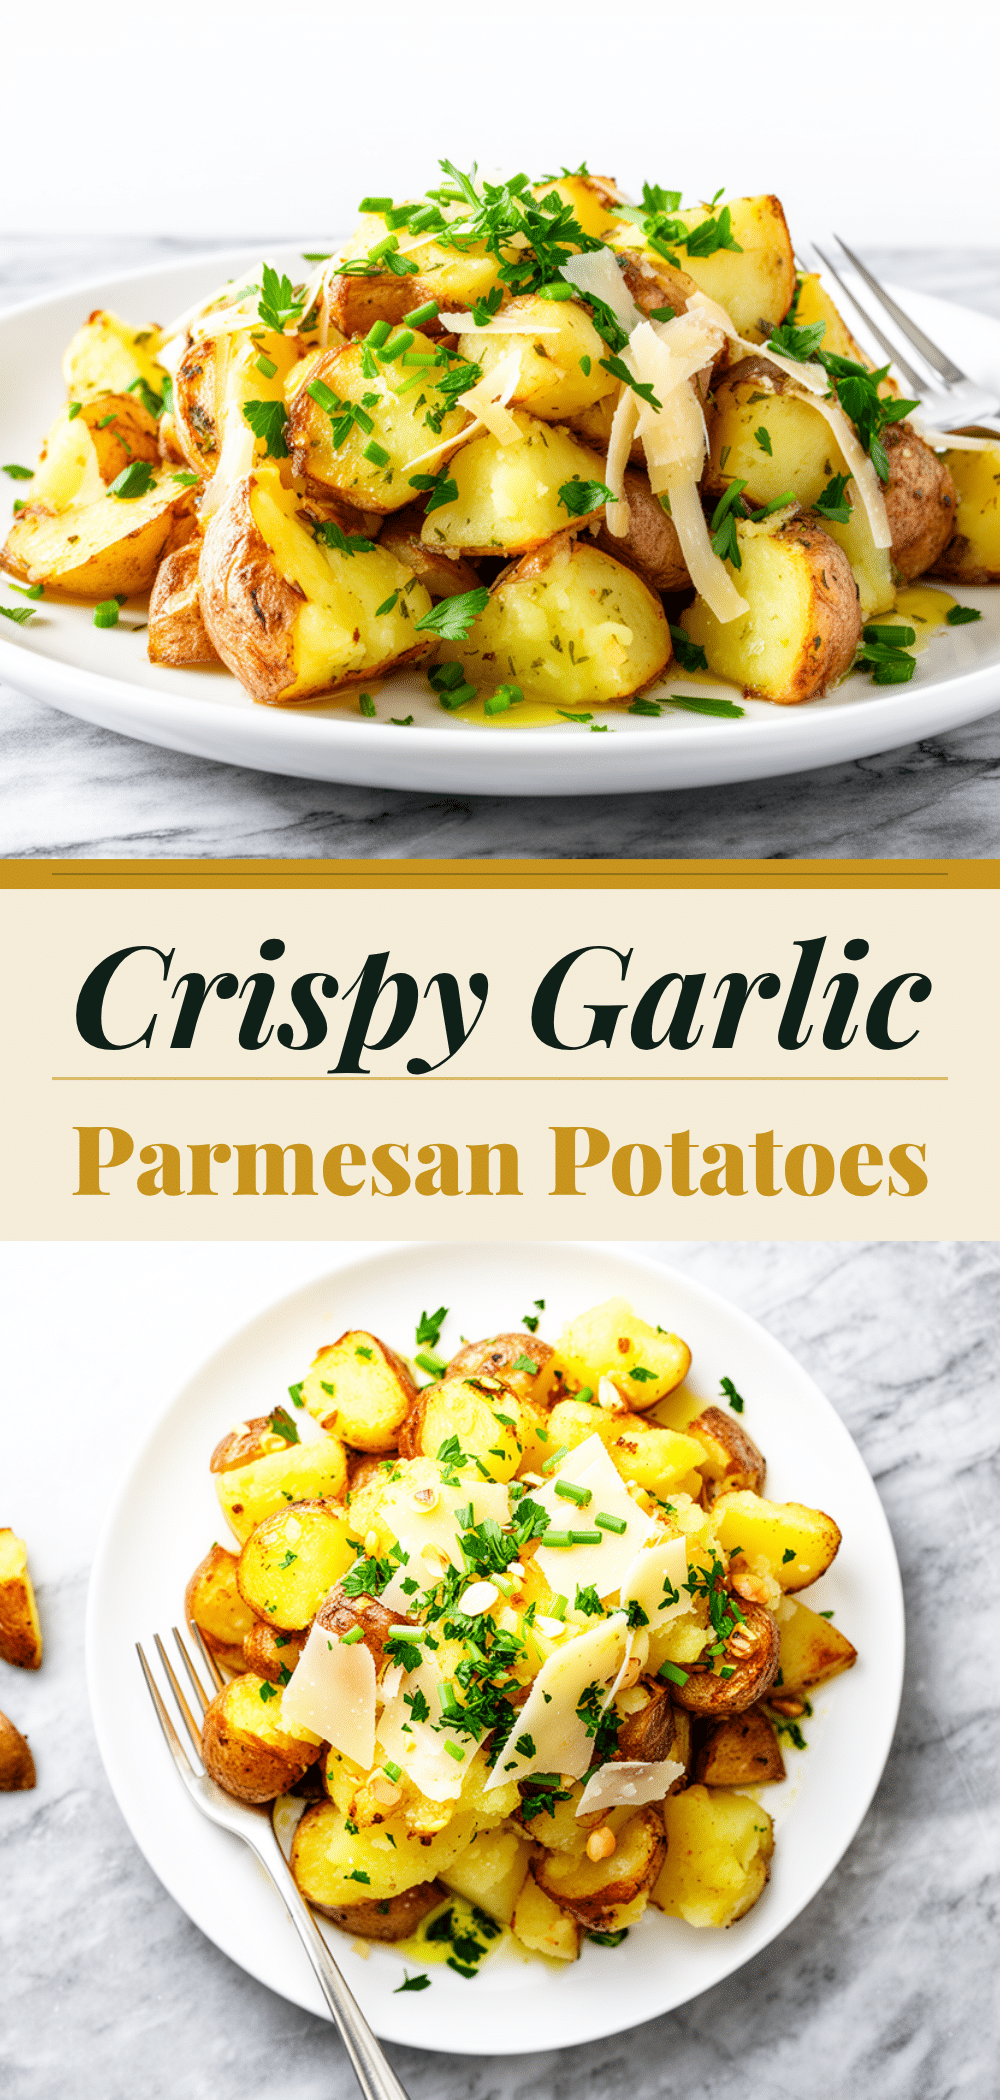
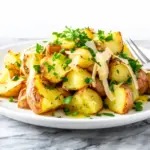
Crispy Garlic Herb Roasted Potatoes: 20-Min Easy Side
- Total Time: 45 minutes
- Yield: 6 servings 1x
Description
A simple, weeknight-friendly side dish featuring golden, crispy russet potatoes tossed with garlic, dried herbs, and oil. This recipe is naturally vegetarian and gluten-free, requiring minimal prep time for maximum flavor.
Ingredients
- 3 large russet potatoes (about 1.5 lbs / 680g), cut into 1-inch cubes
- 3 tablespoons vegetable or olive oil
- 4 cloves garlic, minced
- 2 teaspoons dried herbs (thyme, rosemary, oregano)
- 1 teaspoon garlic powder
- 1 teaspoon kosher or sea salt
- ½ teaspoon freshly cracked black pepper
- ¼ cup grated Parmesan cheese (optional)
- ¼ teaspoon red pepper flakes (optional)
Instructions
- Preheat oven to 425°F (220°C).
- Wash potatoes thoroughly and cut into uniform 1-inch cubes, leaving skins on.
- Place potato cubes in a large mixing bowl.
- Drizzle with oil and sprinkle with salt, pepper, garlic powder, and dried herbs.
- Toss until every piece is evenly coated in oil and seasoning.
- Line a large sheet pan with parchment paper or foil.
- Spread potatoes in a single layer, ensuring they are not crowded.
- Roast for 20 minutes, flipping or shaking the pan halfway through.
- If using Parmesan cheese, sprinkle it over the potatoes after 20 minutes.
- Return to oven and roast for another 15 minutes until golden brown and crispy.
- Remove from oven, sprinkle with red pepper flakes if desired, and serve immediately.
Notes
For extra crispiness, soak cut potatoes in cold water for 30 minutes before cooking and dry thoroughly. Do not overcrowd the pan, as this causes steaming instead of roasting. If using fresh herbs, add them after roasting to prevent burning. Leftovers reheat best in an air fryer or toaster oven.
- Prep Time: 10 minutes
- Cook Time: 35 minutes
- Category: Side Dish
- Cuisine: American
Nutrition
- Serving Size: Approximately 1 cup
- Calories: 180
- Sugar: 1
- Sodium: 250
- Fat: 7
- Saturated Fat: 1
- Carbohydrates: 28
- Fiber: 3
- Protein: 3
Keywords: roasted potatoes, crispy potatoes, garlic herb potatoes, side dish, vegetarian, gluten-free, weeknight dinner, easy recipe