It was 6:45 AM on a Saturday in October, and my kitchen looked like a war zone. Flour was everywhere, three different pots were boiling over, and I was staring at a cooler that was supposed to hold forty pounds of wings. My brother-in-law had just texted: “Hey, can you bring the wings? I forgot to buy food.” I had exactly forty-five minutes to feed a crowd of twenty people before the big game, and my bank account was screaming at me to order pizza instead.
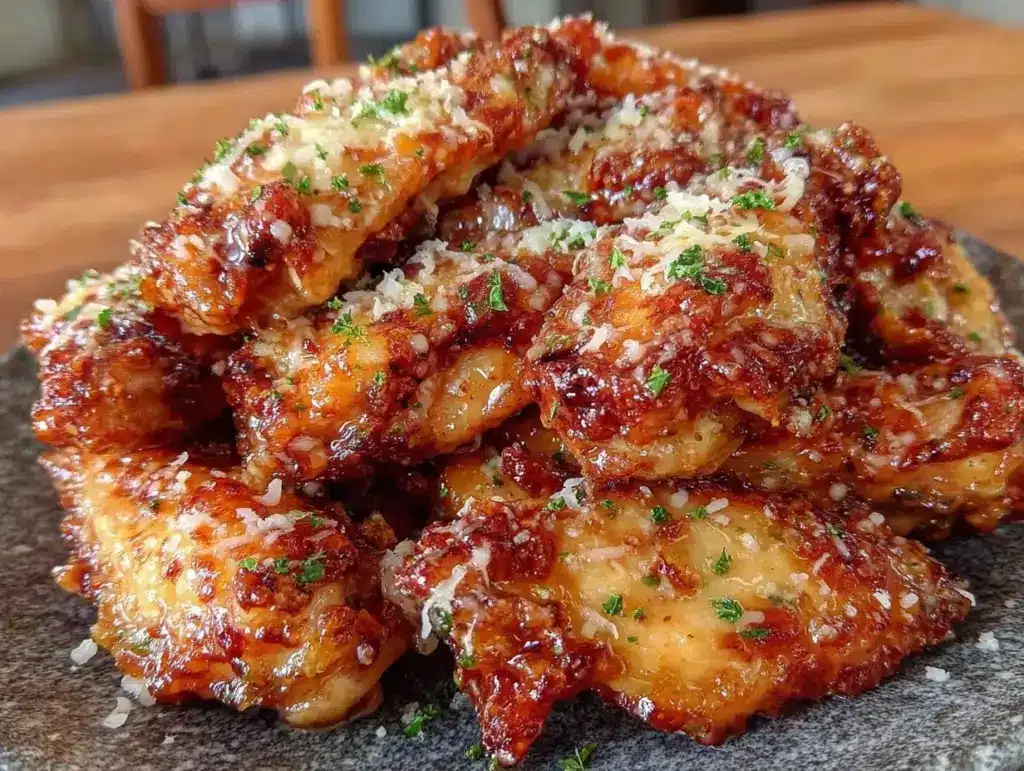
But I’ve been feeding families on a budget for fifteen years, and I’ve learned that takeout is a trap. It’s expensive, it arrives lukewarm, and it never tastes quite right. So I did what I always do: I raided the pantry, checked the clearance aisle, and threw together what I call my Football Tailgate Garlic Parmesan Chicken Wings. They turned out crispy, golden, and absolutely addictive. By kickoff, the cooler was empty, and my husband was already asking if I could make “those wings” for the playoffs.
Here’s the thing about tailgate food: it needs to be finger food, it needs to travel well, and it needs to cost less than the price of admission. These wings hit every single mark. They’re better than takeout because you control the quality, they’re cheaper because you’re buying raw chicken in bulk, and they’re infinitely customizable. I’ve made this batch for Super Bowl parties, backyard barbecues, and even Tuesday night dinners when the kids want something fun. It’s become my go-to strategy for feeding a crowd without breaking the bank.
If you’ve ever stood in the grocery store staring at the price of pre-cooked wings, you know the pain. This recipe solves that problem. It’s simple, it’s scalable, and it uses ingredients you probably already have. Let me walk you through how I make these every season.
Why You’ll Love This Recipe
I’ve made these wings for at least ten different gatherings now, and the reaction is always the same. People ask if I ordered from that fancy wing place downtown. I say no, and they look genuinely confused. Here’s why this recipe has earned a permanent spot in my tailgate rotation:
- Stupid Simple — Seriously, if you can toss chicken in flour and melt butter, you can make this. I’ve handed the prep job to my teenagers, and they’ve nailed it every time. No complicated techniques, no fancy tools.
- Lightning Fast — From oven to table is about 45 minutes. That’s less time than it takes to wait for delivery. I start preheating the oven while the kids are putting on their jerseys.
- Pantry-Friendly — You need chicken, flour, butter, garlic, and Parmesan. That’s it. You probably have half of this in your kitchen right now. I keep extra Parmesan on hand specifically for this.
- Crowd-Pleaser — I’ve served these to picky eaters, football fans who claim they “don’t like wings,” and my health-conscious sister (who secretly went back for thirds). Everyone loves them.
- Travel-Ready — These wings hold up beautifully in a cooler. They don’t get soggy like fried takeout, and they stay crispy even after an hour in a warm car. I’ve driven them 40 miles and they still tasted fresh.
- Budget-Smart — Feeds 10-12 people for under $20 if you shop smart. That’s less than $2 per person for a protein-heavy dish. Compare that to $8 a wing at a sports bar, and you’re saving enough for some good beer or soda.
This is my answer to “what’s for the game?” when I need to feed a lot of people with little stress. No complicated marinades, no weird ingredients, just reliable, delicious food that makes everyone happy.
Ingredients You’ll Need
Here’s the best part: you probably have most of this already. I’m particular about three ingredients here, and I’ll tell you exactly why. This isn’t a gourmet recipe, so don’t overthink it.
For the Chicken Base
Chicken wings (4 pounds / 1.8kg) — Buy the whole wing (flat and drumette) or just flats if you prefer. Look for sales. I usually buy two 2-pound bags when they’re on clearance. Raw is always cheaper than pre-cooked. Rinse them and pat them *very* dry. This is crucial for crispiness.
All-purpose flour (1/2 cup / 60g) — This is the secret to the crispy coating. It creates a light, crunchy shell that holds the sauce. Don’t use cornstarch here; it gets too hard. Just regular flour.
Garlic powder (1 teaspoon) — I use this in the flour mix for that initial flavor kick. It penetrates the coating better than fresh garlic at this stage.
Salt and black pepper — Generous amounts. Season the flour, not just the chicken. Taste is key.
For the Garlic Parmesan Sauce
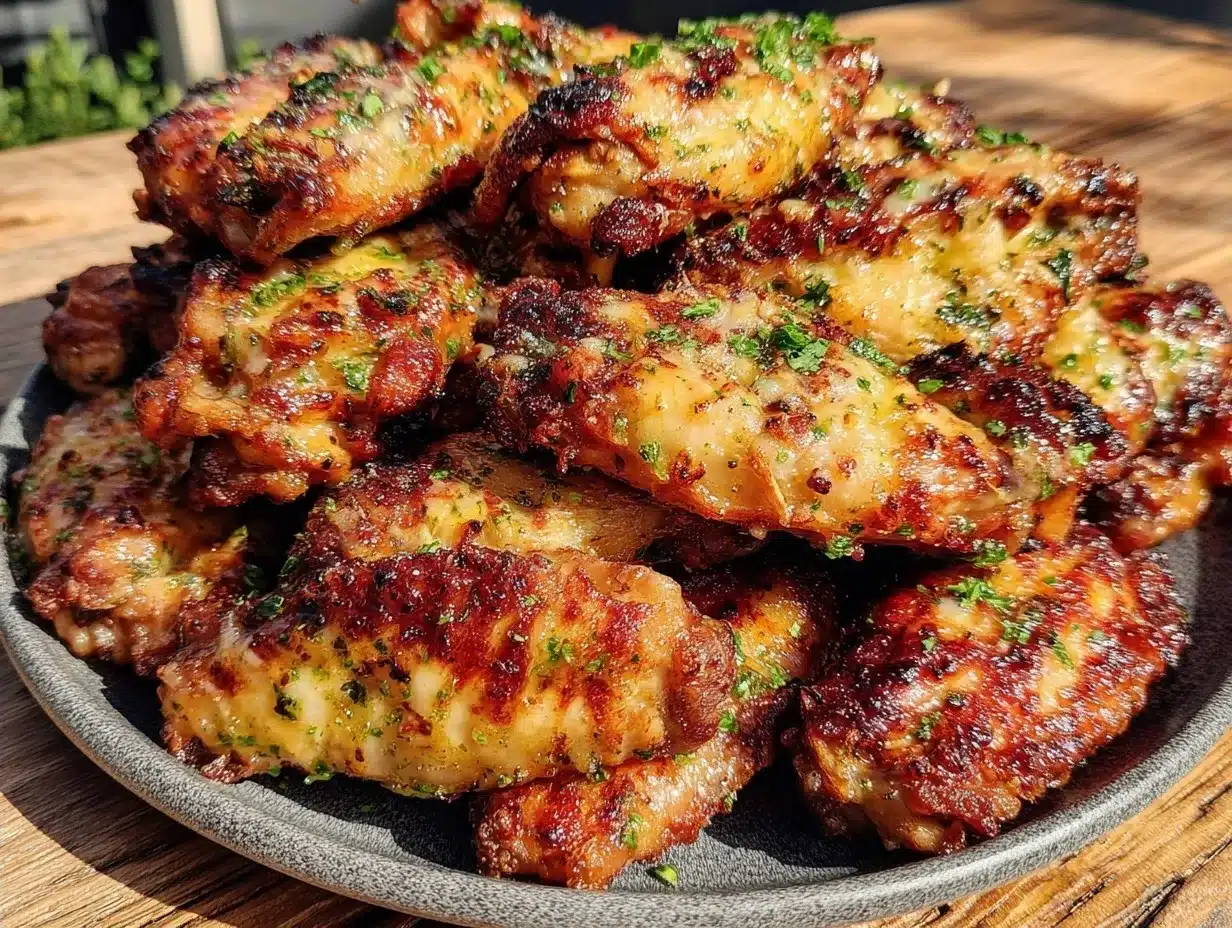
Unsalted butter (1/2 cup / 115g) — Use real butter. Margarine won’t give you that rich flavor. I use unsalted so I can control the sodium, but if you’re in a rush, salted works too.
Garlic (6-8 cloves, minced / about 2-3 tablespoons) — Yes, that many. Don’t skimp. Fresh garlic is non-negotiable here. Jarred garlic has a metallic taste that ruins the sauce. Mince it fine so it distributes evenly.
Grated Parmesan cheese (1 cup / 100g) — Buy the block and grate it yourself. Pre-grated cheese has anti-caking agents that make the sauce grainy and prevent it from melting smoothly. It takes 2 minutes and makes a huge difference.
Parsley flakes (1 tablespoon) — Dried parsley is fine. It adds color and a hint of freshness. Fresh parsley is nice but wilts quickly in a cooler. I stick to dried for tailgating.
Lemon juice (1 tablespoon) — Just a splash. It cuts through the richness of the butter and cheese. You won’t taste it as “lemon,” but it brightens everything up.
Optional Add-ins
Red pepper flakes — If you want a little heat, add 1/2 teaspoon to the butter sauce. My husband loves it spicy.
Extra Parmesan — Keep some extra on hand for sprinkling on top right before serving. It looks fancy and tastes even better.
Equipment Needed
You don’t need fancy equipment for this. Here’s what I actually use:
Baking sheet — I use two large half-sheet pans. If you only have one, you’ll need to cook in batches. Don’t crowd the wings!
Wire rack — This is optional but highly recommended. Placing the wings on a wire rack over the baking sheet allows air to circulate, making them crispier on all sides. If you don’t have one, just line the pan with foil and spray it with oil. It works, but the rack is better.
Large mixing bowls — One for the flour mixture, one for the tossed wings. I use two large bowls because it’s easier to toss.
Small saucepan or microwave-safe bowl — For melting the butter and garlic. I use a small saucepan on the stove for control, but the microwave works if you’re in a hurry.
Large serving bowl or chafing dish — Something to toss the wings in after saucing. I use a big metal bowl because it’s easy to toss and clean.
Tongs — For flipping the wings and tossing them in sauce. Plastic tongs are fine, but metal lasts longer.
Sharp knife and cutting board — For mincing the garlic. If you have a garlic press, use it, but mincing gives you better texture control.
How to Make It: Step-by-Step
Alright, let’s make this! I’m walking you through exactly how I do it, including the little tricks I’ve picked up over the years.
Step 1: Prep the Chicken (5 minutes)
Preheat your oven to 400°F (200°C). Line your baking sheets with foil for easy cleanup, and place a wire rack on top if you have one. Pat the chicken wings completely dry with paper towels. Moisture is the enemy of crispiness, so don’t rush this step. I usually dry them twice to be sure.
Step 2: Coat the Wings (5 minutes)
In a large bowl, mix the flour, garlic powder, salt, and pepper. Toss the dried wings in the flour mixture, one batch at a time, until they are lightly coated. You don’t want a thick batter, just a light dusting. Shake off any excess flour. Place the coated wings on the wire rack in a single layer. Make sure they aren’t touching each other.
Step 3: Bake Until Crispy (35-40 minutes)
Place the wings in the oven. Bake for 35-40 minutes, flipping them halfway through. You want them to be golden brown and crispy. The internal temperature should reach 165°F (74°C). If you’re cooking in batches, keep the finished wings warm in a low oven (200°F) while you cook the rest.
Step 4: Make the Sauce (5 minutes)
While the wings bake, melt the butter in a small saucepan over medium heat. Add the minced garlic and cook for 1-2 minutes, stirring constantly. Be careful not to burn the garlic—it will turn bitter. Once the garlic is fragrant and golden, remove from heat and stir in the grated Parmesan, parsley, and lemon juice. The mixture will thicken slightly as the cheese melts.
Step 5: Toss and Serve (5 minutes)
Transfer the hot wings to a large bowl. Pour the garlic Parmesan sauce over the wings and toss gently until every piece is coated. Taste and add more salt or pepper if needed. Serve immediately with extra Parmesan on the side.
Total Time: About 45 minutes (10 minutes active, 35 minutes mostly hands-off)
Expert Tips & Tricks
Here’s everything I’ve learned from making this dozens of times. These tips will save you from my mistakes.
Pat Dry, Then Pat Dry Again
I can’t stress this enough. Wet wings = steamed wings = soggy wings. Use fresh paper towels, and don’t be afraid to press down on them. If they’re still damp, keep drying.
Don’t Crowd the Pan
If the wings are touching, they’ll steam instead of bake. Use two pans if you have to. Overcrowding is the #1 reason people’s wings don’t get crispy.
Flip Halfway
This ensures even browning. I usually set a timer for 20 minutes so I don’t forget.
Low Heat for Garlic
Garlic burns fast. Keep the heat low when melting the butter and adding garlic. You want it fragrant, not brown.
Toss Immediately
Add the sauce to the wings while they’re still hot. The heat helps the sauce adhere better. If you wait until they’re cold, the sauce will slide off.
Common Mistakes (and how to avoid them):
- Mistake: Wings are soggy. Fix: Make sure you patted them dry and didn’t crowd the pan. Also, check your oven temperature with a thermometer—ovens can be inaccurate.
- Mistake: Sauce is too thick. Fix: Add a splash of milk or chicken broth to thin it out. You want a coating consistency, not a paste.
- Mistake: Wings are undercooked. Fix: Use a meat thermometer. 165°F is the safe internal temp. If they’re still pink, bake for 5 more minutes.
Variations & Substitutions
Once you’ve nailed the basic version, here’s how you can mix it up. I’ve tried all of these.
Spicy Garlic Parmesan
Add 1 teaspoon of red pepper flakes or 1/2 teaspoon of cayenne pepper to the butter sauce. My nephew loves it this way. It adds a nice kick without overpowering the garlic.
Herb-Crusted
Add 1 teaspoon of dried oregano and 1 teaspoon of dried thyme to the flour mixture. It adds an earthy depth that pairs well with the cheese.
Lighter Version
Use half the butter and substitute with olive oil. Reduce the Parmesan to 1/2 cup. It’s lighter but still tasty. I make this when I’m trying to be “healthy,” though it’s still pretty rich.
Buffalo-Style Twist
Skip the Parmesan and mix the melted butter with 1/2 cup of hot sauce. It’s a classic combo—garlic Parmesan and Buffalo. I’ve done both on the same platter for parties.
Dietary Modifications:
Gluten-FreeUse gluten-free flour instead of all-purpose. I’ve used Bob’s Red Mill 1-to-1 blend, and it works great. The texture is slightly different but still crispy.
Dairy-Free
Replace butter with olive oil or dairy-free butter, and use nutritional yeast instead of Parmesan. It’s different but still flavorful. My lactose-intolerant friend requests this version.
Lower-Carb
Use almond flour or coconut flour instead of all-purpose flour. It absorbs more moisture, so use less (about 1/4 cup). The coating will be thicker but still good.
Serving & Storage
How to Serve:
I usually serve these straight from the bowl at the tailgate. They look rustic and are easy to grab. But here are other ways I’ve enjoyed them:
Side Dishes:
- Celery sticks with blue cheese or ranch dip (classic wing companion)
- Coleslaw (the crunch balances the rich wings)
- French fries or potato wedges
- Simple green salad with vinaigrette
Toppings Bar:
When I have guests, I put out: extra Parmesan, red pepper flakes, fresh parsley, lemon wedges, and ranch dressing. Everyone customizes their bowl.
Storage Instructions:
Refrigerator:
Store in an airtight container for up to 3 days. The wings will lose some crispiness, but they’re still good cold or reheated.
Reheating:
Best method: Oven or air fryer. Reheat at 375°F (190°C) for 10-15 minutes. This restores the crispiness. Microwave reheating makes them soggy, so avoid it if you can.
Freezing:
You can freeze the cooked wings (without sauce) for up to 2 months. Thaw in the fridge and reheat in the oven. Add the sauce after reheating. I do this for meal prep.
Meal Prep:
Make the wings ahead and store them plain. Reheat and toss with sauce right before serving. This is my favorite way to handle tailgates—less stress on game day.
Nutrition Information
I’m not a nutritionist, but here’s the breakdown if you’re tracking.
Per Serving (based on 12 servings, approx. 4 wings per serving):
- Calories: 380
- Protein: 25g
- Carbs: 8g
- Fiber: 0g
- Sugar: 1g
- Fat: 28g
- Saturated Fat: 14g
- Cholesterol: 95mg
- Sodium: 450mg
What’s Good:
- High protein from chicken
- Calcium from Parmesan
- Low carb (if using regular flour)
What to Know:
- Higher in calories from butter and cheese
- Contains dairy and gluten
- Moderate sodium (use low-sodium broth or skip added salt if watching sodium)
My Take:
Look, these are wings. They’re not a diet food. But they’re way better than takeout, costs less, and I know exactly what’s in them. When I want to make them lighter, I use less butter and more herbs. But usually? I just enjoy them and balance it out with veggies later.
Final Thoughts
So that’s my Football Tailgate Garlic Parmesan Chicken Wings! I’ve probably talked your ear off at this point, but when you make a recipe this often, you have a lot to say about it.
This has saved tailgate parties more times than I can count. It’s my answer to “what’s for the game?” when I need to feed a crowd with little stress. My family is happy, my friends are happy, and I’m happy because I’m not stressed about cooking.
Make it yours! Try different add-ins, swap in your favorite herbs, adjust the garlic (though more is always better in my opinion). The best recipes are the ones you adapt to your family’s tastes.
If you make this, drop a comment and let me know what you think! I love hearing how recipes turn out in your kitchen. And if something doesn’t work, tell me that too—I’m here to help troubleshoot.
Happy cooking! And I hope your kitchen smells half as good as mine does right now.
Frequently Asked Questions
Can I use an air fryer instead of an oven?
Absolutely! Air fryer wings are even crispier. Cook at 400°F (200°C) for 20-25 minutes, shaking the basket halfway through. You won’t need the flour coating if you want them extra crispy, but the flour helps the sauce stick. I usually skip the flour for air fryer wings and just season them well. Check out my crispy air fryer chicken wings recipe for more tips on air frying techniques.
Why did my wings turn out soggy?
Usually means you didn’t pat them dry enough, or you crowded the pan. Moisture is the enemy of crispiness. Also, make sure your oven is fully preheated before putting the wings in. If the oven isn’t hot enough, the wings will steam instead of bake.
Can I make this ahead for a party?
Yes! Bake the wings ahead and store them in the fridge. Reheat them in the oven at 375°F for 10-15 minutes to crisp them up. Add the sauce right before serving. This saves you time on game day. I do this all the time for big parties.
Can I use pre-minced garlic?
You can, but fresh tastes so much better. Pre-minced garlic has a stronger, sometimes metallic taste. If you must use it, use half the amount because it’s more concentrated. But honestly, mincing 6 cloves takes like 2 minutes. Buy pre-peeled garlic cloves if you want to save time.
How do I reheat leftovers without them getting dry?
Use the oven or air fryer, not the microwave. Reheat at 375°F for 10-15 minutes. This restores the crispiness. If you do microwave, add a splash of water and cover it, but the texture won’t be the same. For more reheating tips for chicken dishes, check out my creamy Tuscan garlic chicken post.
Can I double this recipe?
Yes! Double everything and use two baking sheets. Make sure you have enough oven space. If you don’t, cook in batches. The cooking time stays the same. I double this when I’m feeding a crowd.
What sauce goes well with these wings?
Ranch or blue cheese are classics. But you can also try honey mustard, buffalo sauce, or even a simple balsamic glaze. I’ve served these with BBQ sauce before, and it was a hit. Experiment and see what your family likes.
Pin This Recipe!
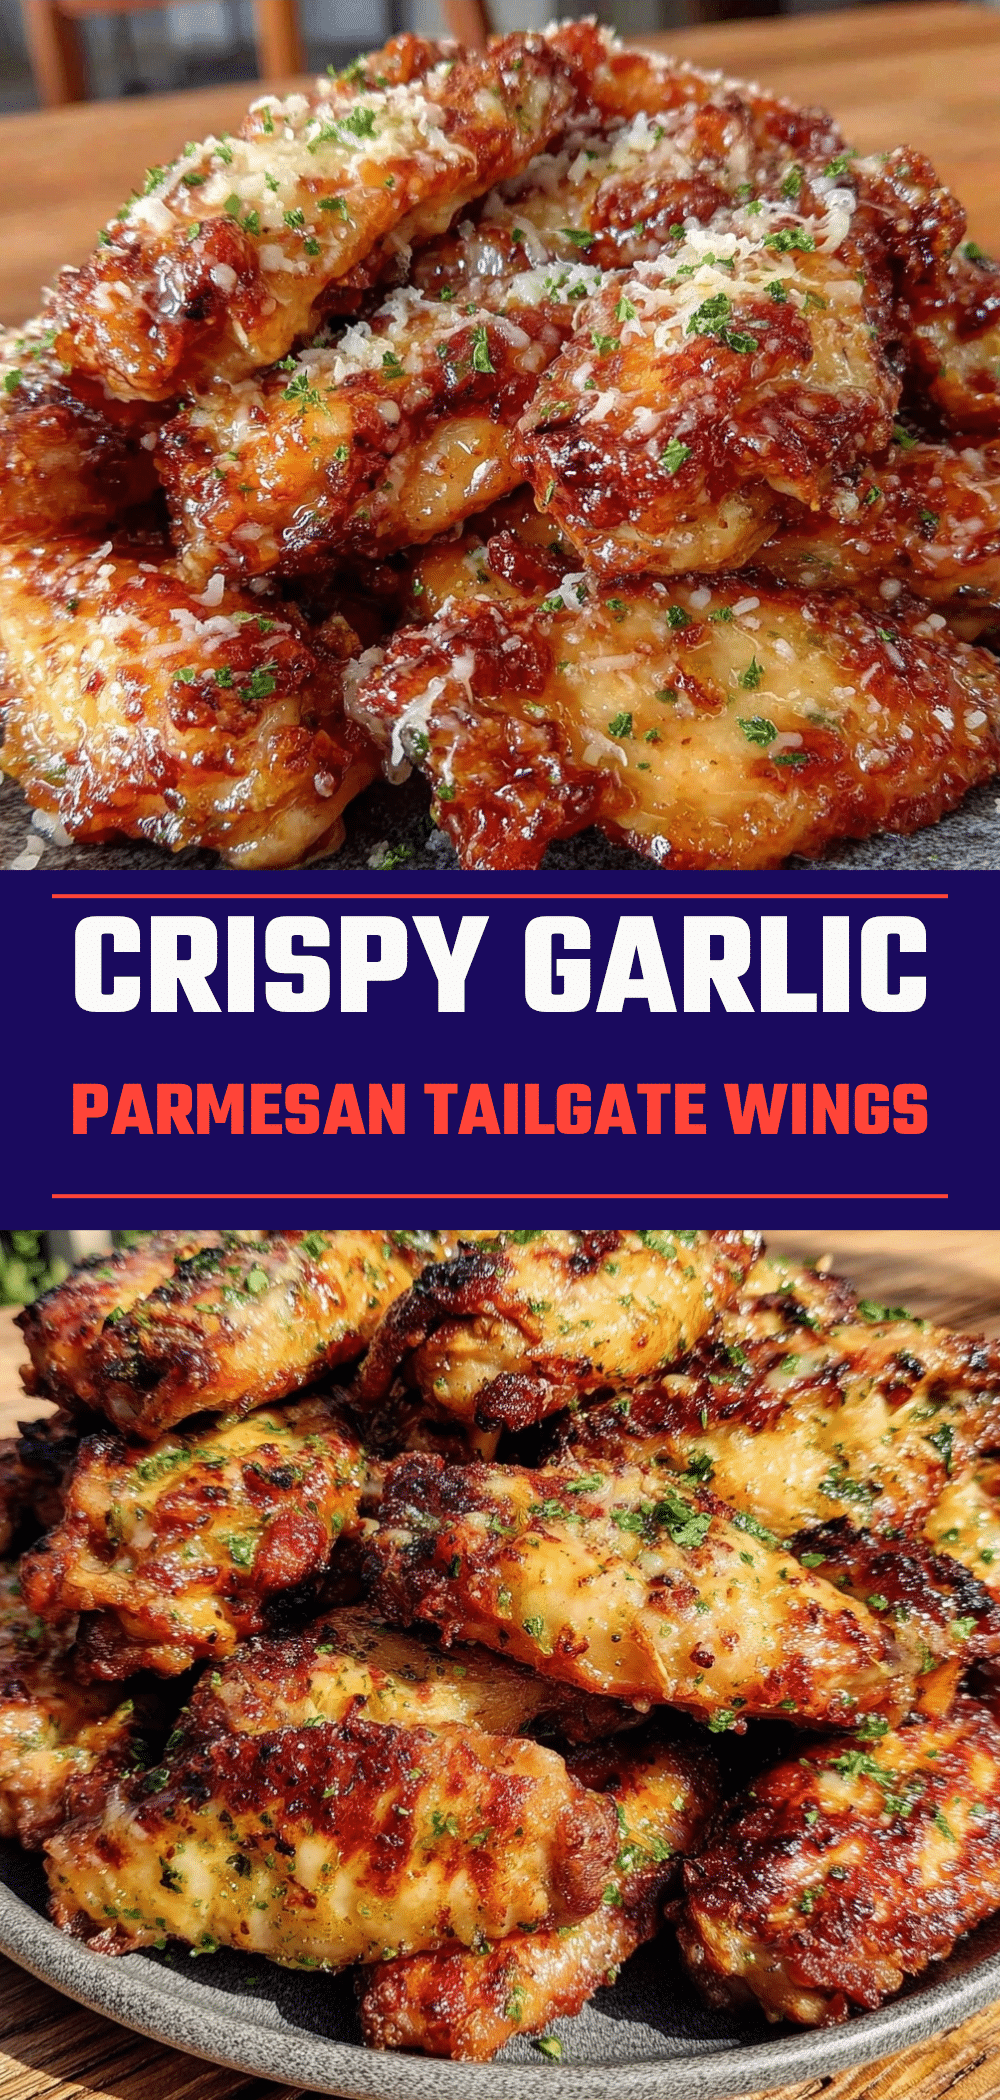
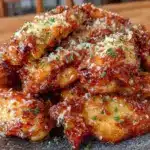
Football Tailgate Garlic Parmesan Chicken Wings: Budget-Friendly
- Total Time: 45 minutes
- Yield: 12 servings 1x
Description
Crispy, golden, and addictive oven-baked chicken wings tossed in a rich garlic and Parmesan butter sauce. This budget-friendly recipe feeds a crowd in under 45 minutes and travels well for tailgating.
Ingredients
- 4 pounds chicken wings (whole or flats)
- 1/2 cup all-purpose flour
- 1 teaspoon garlic powder
- Salt and black pepper (generous amounts)
- 1/2 cup unsalted butter
- 6–8 cloves garlic, minced
- 1 cup grated Parmesan cheese
- 1 tablespoon dried parsley flakes
- 1 tablespoon lemon juice
- 1/2 teaspoon red pepper flakes (optional)
Instructions
- Preheat oven to 400°F (200°C). Line baking sheets with foil and place a wire rack on top if available.
- Pat chicken wings completely dry with paper towels to ensure crispiness.
- In a large bowl, mix flour, garlic powder, salt, and pepper.
- Toss dried wings in the flour mixture until lightly coated. Shake off excess flour.
- Place coated wings on the wire rack in a single layer, ensuring they are not touching.
- Bake for 35-40 minutes, flipping halfway through, until golden brown and crispy (internal temp 165°F).
- While wings bake, melt butter in a small saucepan over medium heat.
- Add minced garlic and cook for 1-2 minutes until fragrant, being careful not to burn.
- Remove from heat and stir in Parmesan cheese, parsley, and lemon juice.
- Transfer hot wings to a large bowl, pour sauce over, and toss gently to coat.
- Serve immediately with extra Parmesan on the side.
Notes
Pat wings dry thoroughly to avoid steaming. Do not crowd the pan; use two sheets if necessary. Flip wings halfway through baking. Use fresh minced garlic for best flavor. Reheat in oven or air fryer to maintain crispiness.
- Prep Time: 10 minutes
- Cook Time: 35 minutes
- Category: Appetizer
- Cuisine: American
Nutrition
- Serving Size: Approximately 4 wing
- Calories: 380
- Sugar: 1
- Sodium: 450
- Fat: 28
- Saturated Fat: 14
- Carbohydrates: 8
- Protein: 25
Keywords: chicken wings, garlic parmesan wings, tailgate food, budget recipes, oven baked wings, party food, football snacks, crispy wings