I still remember the exact moment I lost my patience with those little foil packets of “fruit snacks.” It was a Tuesday afternoon, and I was standing in the cereal aisle staring at a brightly colored package that claimed to be made with real fruit. I read the ingredients list: high fructose corn syrup, modified food starch, artificial colors, and… wait, where was the actual strawberry?
My daughter had just eaten half a pack before lunch, and I was already feeling guilty about the sugar crash that was inevitably coming. That’s when I decided enough was enough. I was done paying $4 for a pack of sugar sticks that my kids treated like candy. I wanted something real. Something cheap. Something I could make while the pasta boiled on the stove.
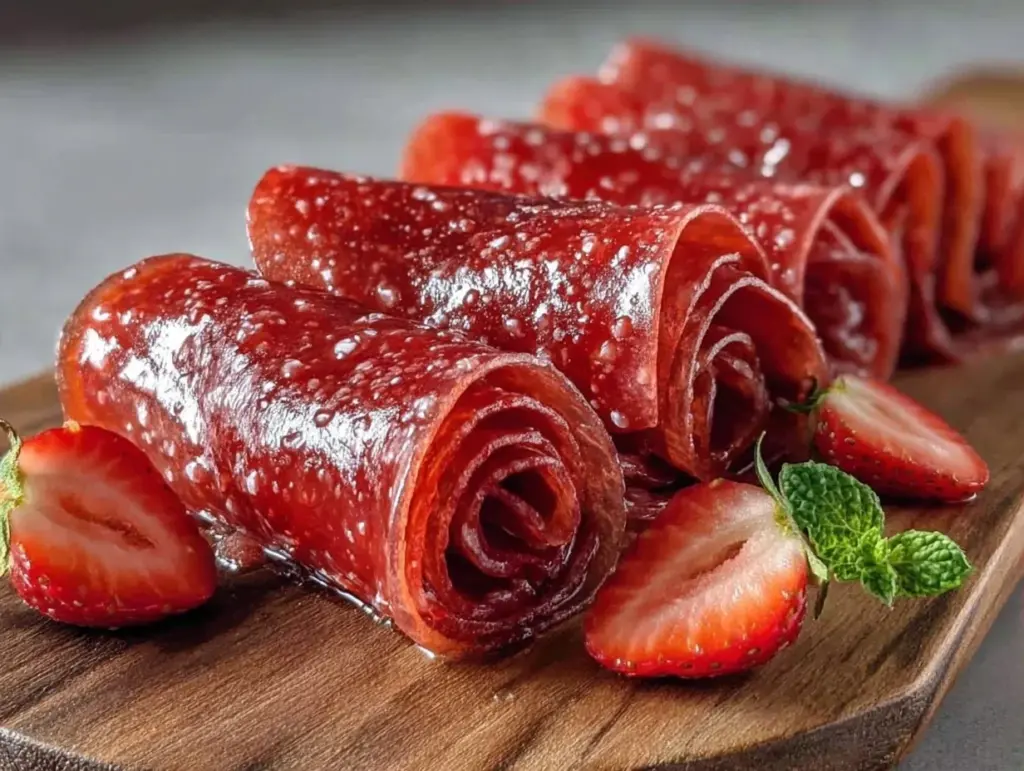
That afternoon, I whipped up a batch of homemade strawberry fruit roll-ups using nothing but frozen strawberries, a little honey, and a baking sheet. They took maybe 10 minutes of active prep time, and now? They are the hero of our weekday snack rotation. They’re tart, sweet, sticky in the best way, and completely free of the stuff I don’t want in my kids’ bodies.
If you’ve been looking for a way to sneak more actual fruit into your family’s diet without spending a fortune, you need to try this. It’s surprisingly easy, and once you make these, you’ll never look at those colorful foil packets the same way again. Plus, they pair perfectly with the kind of simple, budget-friendly dinners we love, like honey chipotle grilled chicken skewers for a complete meal that feels fancy but costs pennies.
Why You’ll Love These Homemade Strawberry Fruit Roll-Ups
There are a few reasons these have replaced every other snack in our house, but let’s be real: it’s mostly because they’re ridiculously easy and save us money. Here’s the breakdown:
- Pennies Per Snack — Seriously. A bag of frozen strawberries is usually under $3. You can make three or four sheets of fruit roll-ups from one bag. That works out to less than a nickel per serving. Compare that to the dollar-store snacks, and it’s a no-brainer.
- Actual Ingredients — Just strawberries, honey (or maple syrup), and lemon juice. That’s it. No weird preservatives, no red dye number 40, no mystery powders. When I make these, I know exactly what my kids are eating.
- Grab-and-Go Convenience — Once they’re rolled up, they’re ready to go. I keep a stack in the freezer for school lunches or quick afternoon hunger strikes. They don’t melt as fast as ice cream, and they don’t squish like cookies.
- Kids Love Helping — My daughter is five, and she loves watching the strawberry mixture spread onto the baking sheet. She gets to sprinkle the powdered sugar on top. It’s a great way to get them excited about eating fruit because they helped make it.
- Perfect for Meal Prep — I make a double batch on Sunday while I’m prepping creamy tuscan garlic chicken. While the chicken is in the oven, I’m rolling out fruit snacks. It’s efficient, and it keeps the snack supply stocked for the whole week.
These are my go-to when the pantry is empty but I need to stop a meltdown before dinner. They’re reliable, cheap, and actually taste like strawberries.
Ingredients You’ll Need
Here’s the best part: you probably already have everything you need in your kitchen. I keep this recipe simple because life is busy enough without running to the store for exotic ingredients.
Frozen Strawberries (20 oz / 570g) — I always use frozen. They’re cheaper than fresh, often higher quality because they’re picked at peak ripeness, and they break down into a smooth puree way easier. Fresh strawberries can be watery and expensive, especially out of season. Just thaw them first so they’re soft enough to blend.
Honey (2-3 tablespoons) — I use honey for its natural sweetness and slight thickness. Maple syrup works too if you want to keep it vegan. Agave nectar is another good option if you have it. You don’t need much because the strawberries are already sweet. Start with 2 tablespoons, taste the puree, and add more if needed.
Lemon Juice (1 tablespoon) — This is the secret weapon. It brightens up the flavor and cuts through the sweetness so it doesn’t taste cloying. It also helps with the natural pectin in the fruit to give it that slight chew. Freshly squeezed is best, but bottled works in a pinch.
Powdered Sugar (1-2 tablespoons, optional) — This is for dusting the rolling surface so they don’t stick. You can also use cornstarch if you prefer, but powdered sugar adds a tiny bit of extra sweetness that kids usually love.
Equipment You’ll Need
You don’t need fancy gadgets for this. Here’s what I actually use:
- Blender or Food Processor — A high-speed blender gives the smoothest result, but a regular blender works fine. Just blend longer to get out any chunks.
- Baking Sheet — I use a standard 13×9 inch sheet pan. It’s the perfect size for making two long strips at once.
- Parchment Paper — Essential. Do not skip this. The fruit mixture is sticky. Parchment paper is your best friend here. Silicone mats work too, but parchment is cheaper and easier to clean up.
- Offset Spatula — This helps spread the puree evenly into thin layers. A regular spoon works, but it’s harder to get an even thickness.
- Rolling Pin — Only needed if you’re rolling them up by hand. If you have a silicone rolling mat, it makes this step way easier.
How to Make Homemade Strawberry Fruit Roll-Ups
Alright, let’s get these rolling! I’m walking you through exactly how I do it, including the little tricks I’ve picked up so you don’t end up with sticky messes.
Step 1: Prep Your Berries (5 minutes)
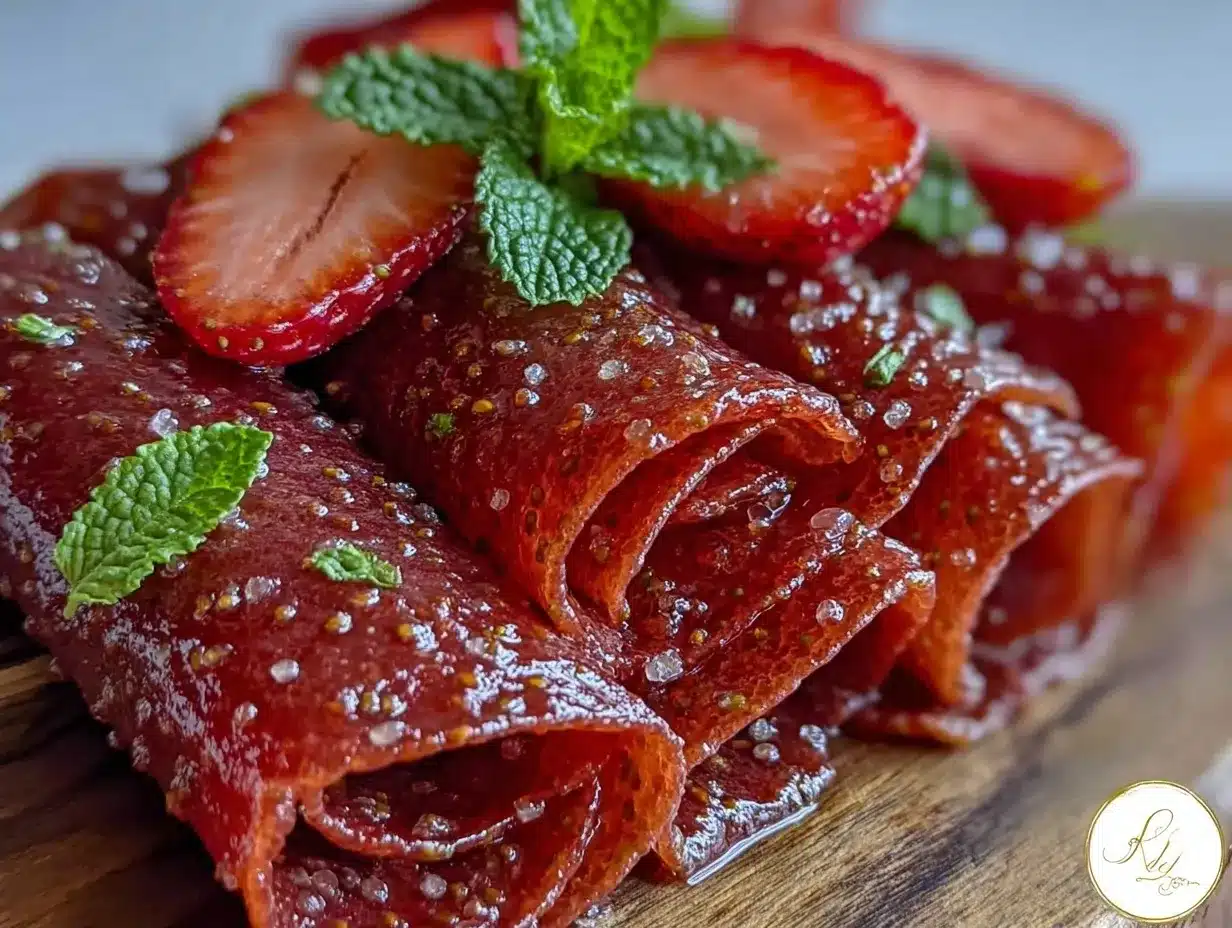
Start by taking your frozen strawberries out of the freezer. Let them thaw completely. This usually takes about 30 minutes, but if you’re in a hurry, you can microwave them on low for a minute or two until they’re soft. Drain off any excess liquid that pools at the bottom of the bowl. You don’t want a watery puree, or it’ll take forever to dry. Toss the thawed berries into your blender.
Step 2: Blend Until Smooth (2 minutes)
Add the honey and lemon juice to the blender. Pulse a few times to break up the berries, then blend on high until the mixture is completely smooth. I’m talking silky smooth. If you see little white seeds or chunks, blend it longer. Strain it through a fine-mesh sieve if you want to remove the seeds entirely (some kids are seed-sensitive), but I usually leave them in for texture and nutrition.
Step 3: Prepare the Baking Sheet (2 minutes)
Line your baking sheet with parchment paper. If your parchment isn’t non-stick grade, you can lightly grease it with a tiny bit of oil, but usually, it’s not needed. Dust the parchment lightly with powdered sugar. This creates a barrier so the fruit roll-up doesn’t stick when you try to roll it later.
Step 4: Spread the Puree (5 minutes)
Pour the strawberry mixture onto the center of the parchment paper. Use your offset spatula to spread it out into an even rectangle. Aim for about 1/8 inch thickness. This is the most important step for even drying. If it’s too thick in the middle, it’ll take forever to dry. If it’s too thin at the edges, it might burn. Try to keep it consistent. You should have two long strips on the pan.
Step 5: Dehydrate (3-4 hours)
This is the waiting part. You have two options: an oven or a food dehydrator. I use the oven because it’s faster and I don’t have a dehydrator. Set your oven to the lowest possible temperature (usually 170°F or 180°F / 75°C – 80°C). If your oven doesn’t go that low, prop the door open slightly with a wooden spoon to let moisture escape. Bake for 3 to 4 hours. The fruit is done when it’s no longer sticky to the touch and pulls away easily from the parchment. It should feel like leather—pliable but not wet.
Step 6: Roll and Store (5 minutes)
Once cooled, lift the parchment paper off the baking sheet. Using the parchment as a guide, roll the fruit strips up tightly. You can cut them into smaller pieces if you want, or keep them long. Wrap them tightly in plastic wrap or store them in an airtight container. If you’re packing them for lunch, keep them in the fridge or freezer to prevent them from getting too sticky in the heat.
Expert Tips & Tricks for Success
Here’s everything I’ve learned from making these dozens of times. These tips will save you from my early sticky disasters.
Get the Thickness Right
The number one reason fruit roll-ups fail is uneven thickness. Use a ruler if you have to. Aim for that 1/8 inch mark. Thicker spots will remain chewy or wet, while thin spots become brittle.
Low and Slow is Key
Do not crank up the heat. If the temperature is too high, the outside will cook while the inside stays raw, or it will caramelize and burn. I know ovens vary, so keep an eye on them. If you see browning, lower the temp or move them to a lower rack.
The Parchment Paper Trick
Never try to peel the fruit roll-up off the pan with your hands. It will tear. Always roll it up *with* the parchment paper inside, then transfer to storage. If you want to eat it immediately, you can peel it off gently, but it’s fragile.
Add Texture
If you want to get fancy, stir in some chia seeds or hemp hearts before spreading. They add a nice crunch and boost the nutrition without changing the flavor much. My kids actually like the little specks.
Doubling the Batch
I always make two sheets at once. The drying time is the same, so it’s free labor. Freeze the extras in ziplock bags. They last for months in the freezer, which is perfect for when you’re running low on snacks before a grocery run.
Variations & Substitutions
Once you’ve nailed the basic strawberry version, here’s how you can mix it up. I’ve tried all of these, and they all work great.
Mixed Berry Blend
Swap half the strawberries for raspberries or blackberries. Raspberries are tart, so you might want to add an extra teaspoon of honey. This creates a gorgeous purple swirl.
Tropical Mango
Use frozen mango chunks instead of strawberries. Add a squeeze of lime juice instead of lemon. It’s bright, sweet, and tastes like vacation. This pairs well with fresh watermelon mint agua fresca for a summer-themed snack and drink combo.
Apple Cinnamon
Simmer chopped apples with cinnamon until soft, then blend. This tastes like apple pie filling but in a roll-up form. Add a little nutmeg for extra warmth.
Gluten-Free & Vegan
This recipe is naturally gluten-free and vegan (if you use maple syrup instead of honey). No substitutions needed, which is rare for snack recipes.
Lower Sugar
Use unsweetened applesauce to bulk up the puree if you want to reduce the sugar content. It won’t be as sweet, but it stretches the fruit further and adds fiber.
Serving & Storage
How to Serve:
I usually cut these into bite-sized strips for my kids. They fit perfectly in small snack containers. For older kids or adults, leave them long and roll them into tight cylinders. They’re great with a side of mini strawberry cheesecakes if you’re having a treat day.
Refrigerator:
Store in an airtight container for up to 1 week. They will get a bit softer in the fridge, which some people prefer. Just keep them away from strong-smelling foods like onions or cheese.
Freezer:
This is the best way to store them. Place them in a freezer-safe bag, squeezing out as much air as possible. They last up to 3 months. Thaw in the fridge for 30 minutes before eating. They taste almost exactly like fresh.
Pro Tip:
If you’re packing these for a school lunch in the summer, keep them in the freezer compartment of the lunchbox. They’ll thaw by snack time and stay fresh longer than if you packed them cold from the fridge.
Nutrition Information
I’m not a nutritionist, but here’s the breakdown if you’re tracking. Keep in mind that this is a snack, so portion sizes vary.
Per Serving (approx. 1/4 of one sheet):
- Calories: 45
- Protein: 0.5g
- Carbs: 11g
- Fiber: 1.5g
- Sugar: 9g (natural fruit sugar + honey)
- Fat: 0g
What’s Good:
It’s low calorie, fat-free, and contains real fruit. The fiber from the berries helps with digestion. It’s a much better option than gummy candies or juice boxes.
What to Know:
The sugar content comes from the fruit and added honey. If you’re watching sugar intake, reduce the honey or skip it entirely. The natural fructose in strawberries is still sugar, so keep that in mind.
Final Thoughts
So that’s my go-to homemade strawberry fruit roll-up! I’ve probably talked your ear off at this point, but when you make a recipe this often, you have a lot to say about it.
This has saved our weekday snacks more times than I can count. It’s my answer to “what’s for a snack?” when I’m tired, don’t want to buy processed food, and still want something my kids will actually eat. They’re happy, I’m happy, and my wallet is happy because I’m not buying overpriced snacks.
Make it yours! Try different berries, adjust the sweetness to your taste, and don’t be afraid to experiment. The best recipes are the ones you adapt to your family’s tastes. And if you need a hearty dinner to go with these snacks, try making lemon pepper grilled chicken—it’s quick, cheap, and goes perfectly with a side of fresh fruit.
If you make these, drop a comment and let me know what you think! I love hearing how recipes turn out in your kitchen. And if something doesn’t work, tell me that too—I’m here to help troubleshoot.
Happy cooking! And I hope your kitchen smells half as good as mine does right now.
Frequently Asked Questions
Can I use fresh strawberries instead of frozen?
You can, but frozen are easier. Fresh strawberries have more water content, so the puree will be runnier and take longer to dry. If you use fresh, drain the puree through a sieve for 20 minutes to remove excess liquid before spreading. Also, fresh strawberries are expensive and often bland in winter. Frozen are picked at peak ripeness and are much more consistent.
Why are my fruit roll-ups sticky?
They probably didn’t dry long enough. Check them every 30 minutes once they’re past the 3-hour mark. They should feel dry to the touch, like leather, not tacky. If they’re still sticky, leave them in the oven for another 30-60 minutes. Also, make sure your oven is actually at the low setting. If it’s too cool, they’ll just dry out slowly and might get moldy before they’re done.
Can I use a food dehydrator instead of an oven?
Yes! This is actually the ideal method. Set your dehydrator to 135°F (57°C) and dry for 6-8 hours. The results are usually more even and chewy. Just be patient. The oven method is faster, but the dehydrator is more set-and-forget.
How do I cut them without them sticking to the knife?
Wipe your knife with a damp paper towel between cuts. Or, use kitchen shears (scissors) to cut the strips. They’re much easier to maneuver than a knife for thin, sticky items. If you’re rolling them, use a pizza cutter for straight lines.
Can I add other fruits like bananas or apples?
Bananas are tricky because they oxidize and turn brown quickly, and they don’t dry well on their own. Mix them with strawberries if you must. Apples need to be cooked down first (simmered until soft) before blending, otherwise they’re too fibrous. Strawberries and raspberries are the easiest because they break down into a smooth puree naturally.
Do these melt in hot lunches?
They can get soft, but they don’t melt like chocolate. If it’s a very hot day, keep them in the freezer part of the lunchbox. They’ll hold their shape better. If you’re worried about mess, cut them into smaller pieces and store them in a rigid container rather than loose in a bag.
Pin This Recipe!
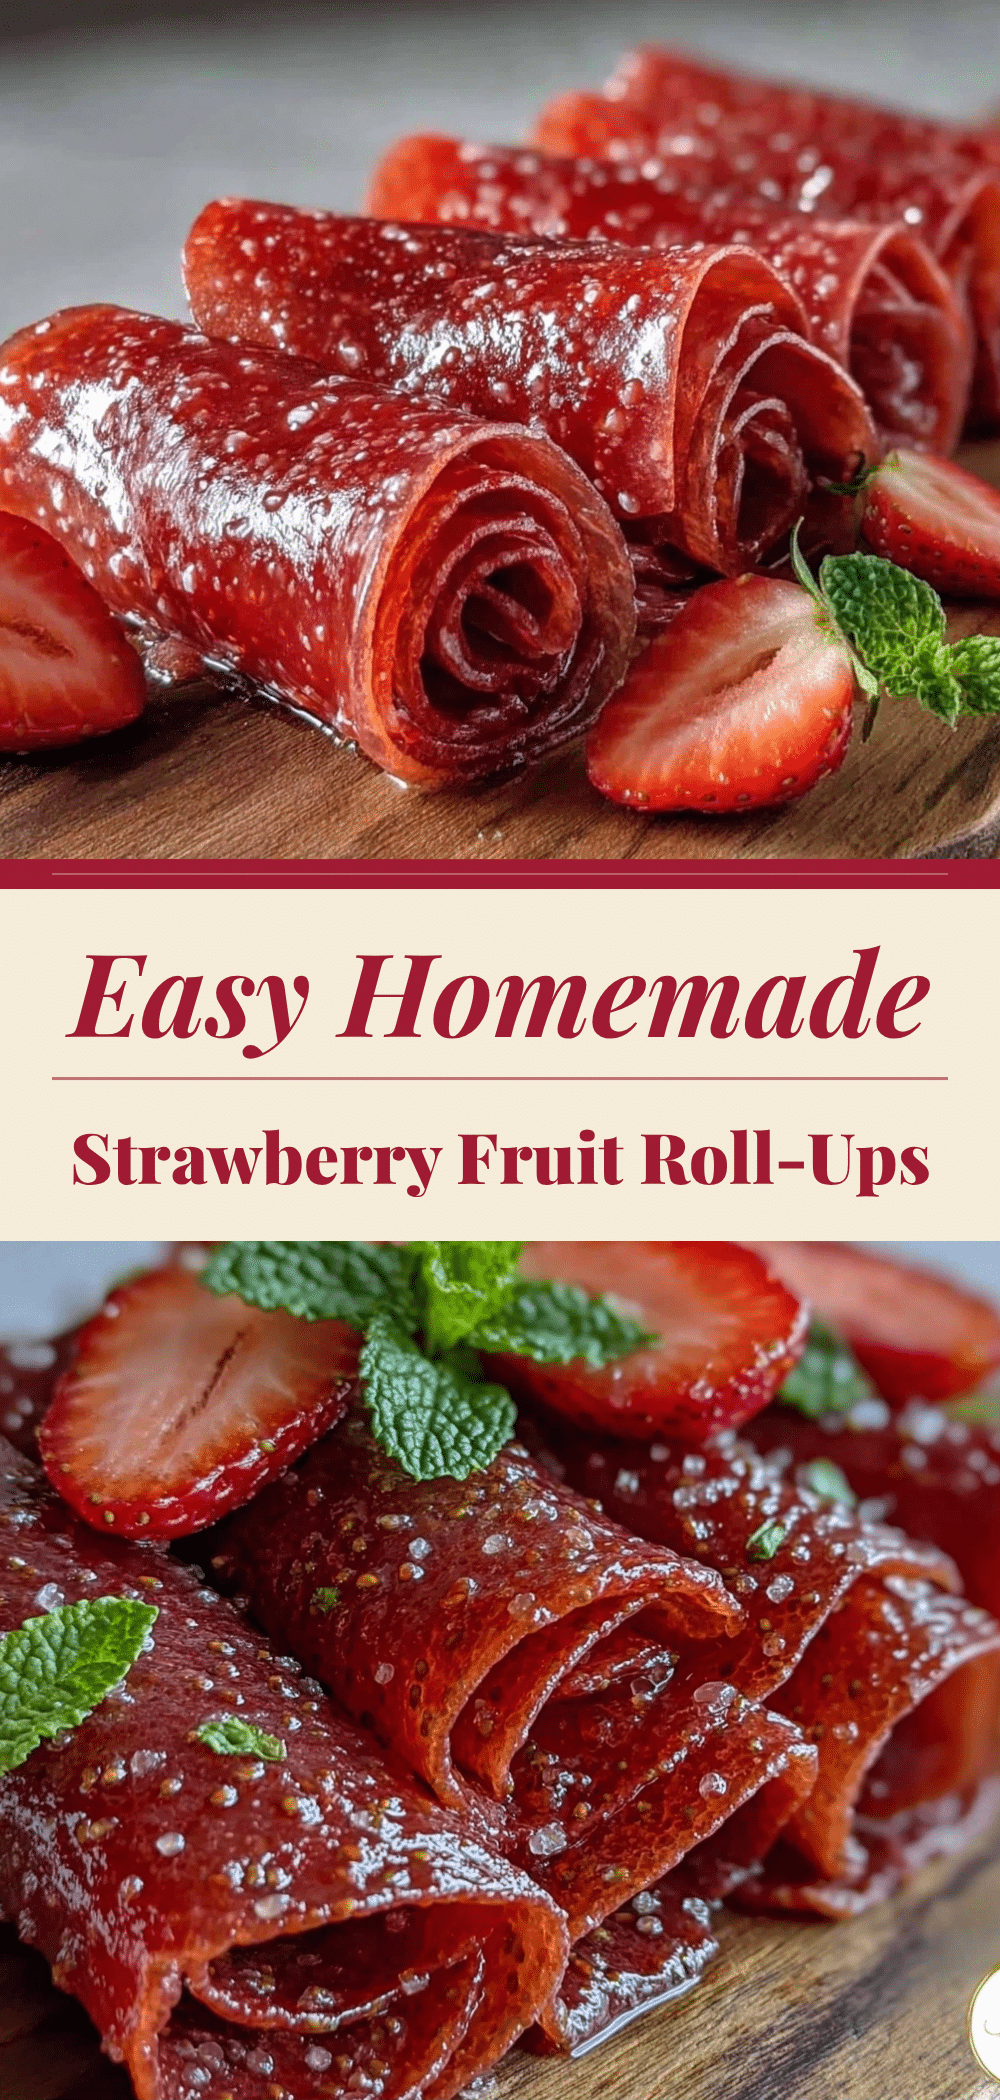

Homemade Strawberry Fruit Roll-Ups: 5-Min Easy Kids Snack
- Total Time: 3 hours 10 minutes
- Yield: 4 servings 1x
Description
A simple, healthy, and budget-friendly homemade snack made with just frozen strawberries, honey, and lemon juice. These fruit roll-ups are free of artificial ingredients and perfect for kids.
Ingredients
- 20 oz frozen strawberries
- 2–3 tablespoons honey (or maple syrup for vegan option)
- 1 tablespoon lemon juice
- 1–2 tablespoons powdered sugar (optional, for dusting)
Instructions
- Thaw frozen strawberries completely and drain off any excess liquid. Toss berries into a blender.
- Add honey and lemon juice to the blender. Pulse to break up berries, then blend on high until completely smooth. Strain through a fine-mesh sieve if desired to remove seeds.
- Line a standard 13×9 inch baking sheet with parchment paper. Lightly dust the parchment with powdered sugar to prevent sticking.
- Pour the strawberry puree onto the center of the parchment paper. Use an offset spatula to spread it into an even rectangle, aiming for about 1/8 inch thickness.
- Dehydrate in an oven set to the lowest possible temperature (170°F-180°F / 75°C-80°C) for 3-4 hours. The roll-ups are done when they are no longer sticky to the touch and feel like leather.
- Once cooled, lift the parchment paper off the sheet. Roll the fruit strips up tightly using the parchment as a guide. Store in an airtight container or wrap in plastic wrap.
Notes
Ensure the puree is spread evenly at 1/8 inch thickness for consistent drying. If using fresh strawberries, drain excess liquid before blending. Store in the freezer for up to 3 months.
- Prep Time: 10 minutes
- Cook Time: 3-4 hours
- Category: Snack
- Cuisine: American
Nutrition
- Serving Size: Approx. 1/4 of one s
- Calories: 45
- Sugar: 9
- Carbohydrates: 11
- Fiber: 1.5
- Protein: 0.5
Keywords: homemade fruit roll-ups, strawberry snacks, kids snacks, healthy snacks, gluten-free snacks, vegan snacks, budget-friendly snacks, fruit leather