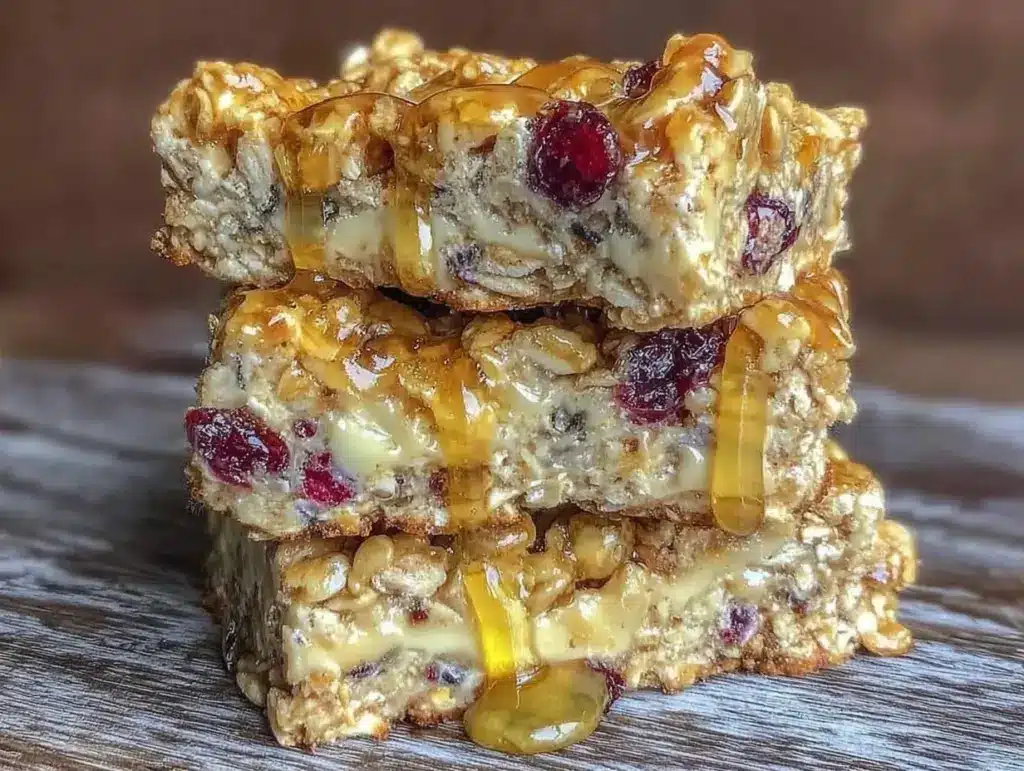
Last Tuesday, I stood in the middle of my kitchen at 6:45 AM, holding a granola bar that crumbled into a dozen pieces the second I squeezed it. It was dry, it was sweet, and it tasted like cardboard. My six-year-old looked at it, then at me, and said, “Mom, this isn’t even food.”
Ouch.
I had just spent twenty minutes trying to save our morning routine by grabbing whatever was left in the pantry. I’ve been making these back to school chewy granola bars with honey and oats for three years now, but that Tuesday was a failure. I was tired, the house was loud, and I’d forgotten to let the bars cool completely in the fridge before cutting them. Result? A sticky, crumbling mess that ended up on the floor.
But here’s the thing about parenting: you learn. I went back to the drawing board. I tweaked the ratio of sticky to crunchy. I adjusted the baking time so they set properly without drying out. I tested this recipe at least ten times that summer (yes, ten. My pantry was full of oats). And now? These bars are the reason my kids actually eat breakfast before the bus comes. They’re chewy, not hard. Sweet, but not candy-bar sweet. And best of all, they cost pennies compared to those fancy “superfood” bars at the grocery store.
If you’re drowning in morning chaos and need a snack that won’t fall apart in your kid’s backpack, this is your answer. I’ve made enough of these to fill a small cooler, and I’m sharing exactly how to get that perfect chewy texture every single time.
Why You’ll Love This Recipe
There are a lot of granola bar recipes out there. Some are too hard (seriously, who wants to break their tooth on a breakfast bar?). Some are too sweet (my kids have enough sugar at school). And some just don’t hold together. This back to school chewy granola bars with honey and oats recipe hits that sweet spot—literally and figuratively.
Here’s why this has become my morning lifesaver:
- Stupid Simple — Seriously, if you can stir a pot and press a mixture into a pan, you can make this. I’ve walked my teenage son through it over FaceTime while he was away at college. He nailed it.
- Budget-Friendly — You probably have most of these ingredients already. Oats, honey, peanut butter, sugar. That’s it. I make a batch for about $4, which feeds six kids (or me and my husband for a week).
- Actually Chewy — Not crunchy, not hard, but pleasantly chewy. This comes down to the cooking time and the ratio of wet to dry ingredients. I’ve cracked the code.
- Backpack-Tested — I’ve thrown these in backpacks, lunchboxes, and gym bags. As long as you let them cool properly (more on that later), they stay in one piece.
- Customizable — Got a kid with allergies? Skip the nuts. Got a sweet tooth? Add chocolate chips. This recipe is a blank canvas.
This is my go-to when I need dinner to just work. No complicated techniques, no weird ingredients, just reliable, delicious food that makes everyone happy. Plus, it’s a great way to use up that bag of oats that’s been sitting in the back of the cupboard for months.
Ingredients You’ll Need
Here’s the best part: you probably have most of this already. This isn’t a recipe that requires a trip to three different specialty stores. It’s pantry staples, mixed with a few fresh ingredients.
For the Base:
Old-fashioned rolled oats (3 cups / 270g) — Do not use quick oats. They turn into mush. You want the chew. Old-fashioned oats give you that structure. I buy the big family-size bag because I make these so often.
Unsalted butter (½ cup / 115g) — Room temperature is easier to melt, but I usually just chop it up and add it to the pan. Salted butter works, but reduce any added salt if you use it.
Peanut butter (½ cup / 125g) — Creamy is best for binding. Crunchy adds texture, but it can make the bars uneven. If you have nut allergies, use sunflower seed butter or soy nut butter. Same texture, different flavor.
Honey (½ cup / 170g) — This is the main sweetener and the glue. Don’t skip it. If you’re out of honey, you can use maple syrup, but the bars will be slightly less chewy. I keep a bottle of honey specifically for this recipe.
Brown sugar (½ cup / 100g, packed) — Adds moisture and a caramel note. White sugar works, but brown sugar makes them chewier. I always have this on hand.
For the Flavor:
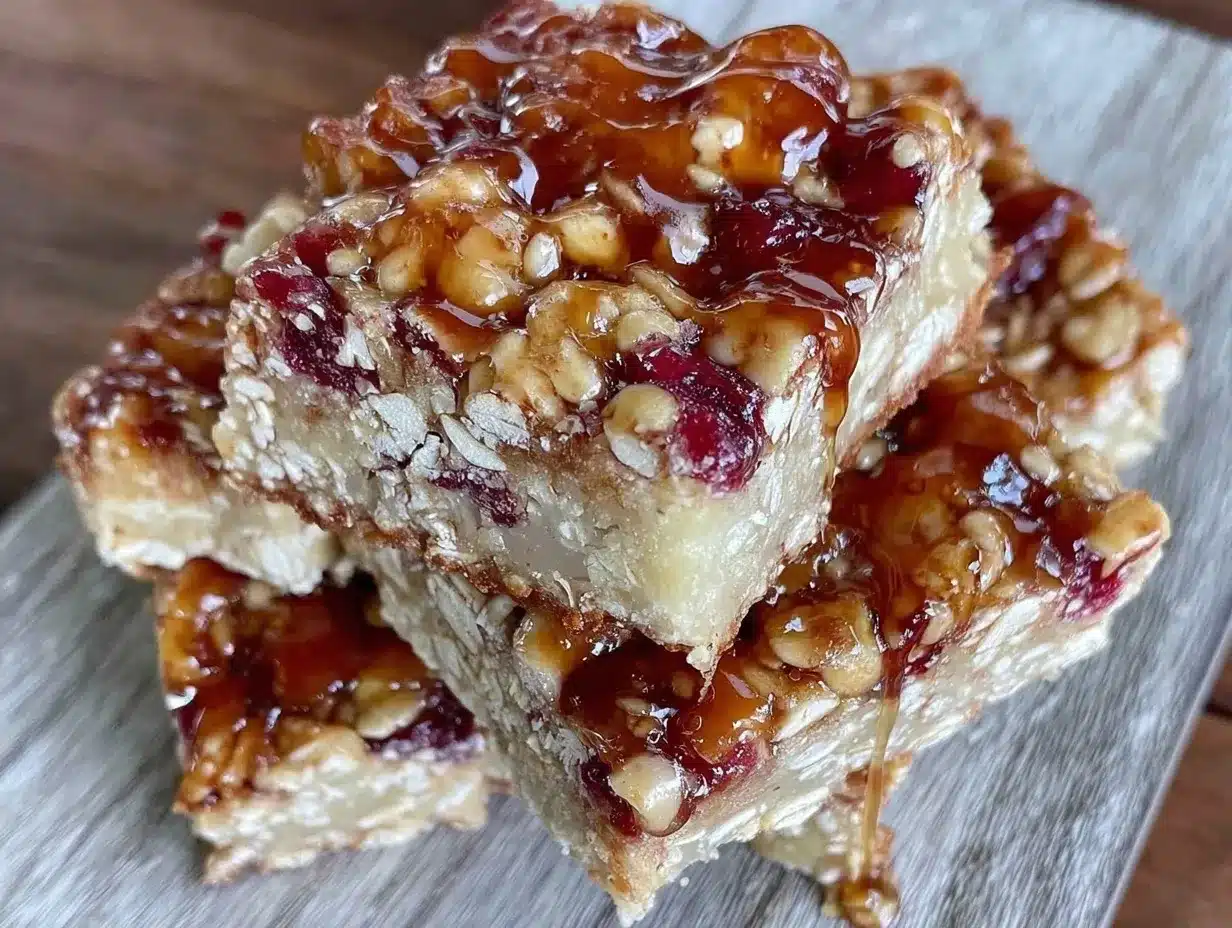
Vanilla extract (1 teaspoon) — Pure vanilla, not imitation. It sounds fancy, but it makes a huge difference in breakfast bars.
Salt (½ teaspoon) — Even with sweet ingredients, salt balances the flavor. Don’t skip it.
For the Mix-ins (Optional but Recommended):
Mini chocolate chips (½ cup / 85g) — Because why not? I use mini chips because they distribute evenly. Regular chips are fine, but you get bigger bursts of chocolate.
Chopped nuts (½ cup / 50g) — Walnuts or pecans work well. I chop them roughly. If my kids are being picky, I leave these out.
Dried cranberries or raisins (½ cup / 60g) — Adds a little tartness and chew. I love the contrast with the sweet honey.
Seeds (¼ cup / 30g) — Sunflower or pumpkin seeds. Great for adding crunch without nuts. I toss these in when I want to sneak in some nutrition.
Personal Tips: I always measure my oats by volume (cups) because it’s faster, but if you’re worried about density, weighing them is more accurate. I buy my oats in bulk bins if my store has them—it saves money. And please, please grate your own cheese if you were making a savory bar, but for this sweet version, pre-chopped nuts are totally fine if you’re in a rush.
Equipment Needed
You don’t need fancy equipment for this. Here’s what I actually use.
Large saucepan — I use a 3-quart saucepan with a heavy bottom. This helps the honey and sugar melt evenly without burning. A thin pan might scorch the honey.
9×13 inch baking pan — Standard size. Line it with parchment paper. This is non-negotiable. If you don’t line it, you’ll be scraping sticky bars out of the pan for hours. I cut a long strip of parchment, lay it in, and let the sides hang over the edges like handles.
Spatula — A heat-proof silicone spatula is perfect for stirring the wet ingredients and folding in the oats.
Mixing bowl — Any large bowl works. I usually use a 4-quart mixing bowl.
Measuring cups and spoons — Standard stuff. Dollar store versions work fine.
Knife — For chopping nuts or slicing the final bars. A sharp chef’s knife makes clean cuts.
Parchment paper — For lining the pan. This is your best friend.
Optional but nice:
– Food processor — If you want fine crumbs for the crust, but I usually just chop by hand.
Tool Tips: Don’t have a 9×13 pan? A 9×9 pan works, but the bars will be thicker. You might need to increase baking time by a few minutes. And yes, you can use aluminum foil instead of parchment if you grease it well, but parchment is so much easier for cleanup.
How to Make It: Step-by-Step
Alright, let’s make this! I’m walking you through exactly how I do it, including the little tricks I’ve picked up.
Step 1: Prep Your Pan and Oats (2 minutes)
Line your 9×13 inch baking pan with parchment paper, leaving an overhang on the long sides. This makes it easy to lift the bars out later. Sprinkle your oats into a large mixing bowl. If you’re adding nuts, dried fruit, or seeds, add them to the bowl now. Set aside.
Step 2: Melt the Wet Ingredients (5 minutes)
In a medium saucepan over medium heat, combine the butter, honey, brown sugar, and vanilla extract. Stir constantly with a wooden spoon or silicone spatula. You want the butter to melt and the sugar to dissolve. This takes about 3-4 minutes. Don’t let it boil vigorously—just a gentle simmer. Once it’s smooth and bubbly, remove it from the heat.
Why this matters: If you don’t dissolve the sugar completely, you’ll get gritty bars. If you boil it too hard, the honey can burn.
Step 3: Combine Wet and Dry (2 minutes)
Pour the hot honey mixture over the oats and mix-ins in the mixing bowl. Stir immediately and thoroughly. The heat from the mixture will help soften the oats slightly, which is key for chewiness. Make sure every oat is coated. This should take about 1-2 minutes of vigorous stirring.
Step 4: Press into the Pan (3 minutes)
Transfer the mixture to your prepared pan. Use a spatula or the back of a greased spoon to press it down firmly. I know it’s tempting to just spread it evenly, but pressing it down is crucial. The bars need to be compact so they hold together. Press until the surface is flat and dense. If it’s too sticky, wet your hands or spatula slightly.
Step 5: Bake (20-25 minutes)
Preheat your oven to 350°F (175°C). Place the pan in the oven and bake for 20-25 minutes. You’re looking for a golden-brown edge. The center might still look slightly soft—that’s okay. It will firm up as it cools. If you see dark spots on the top, they’re done.
Sensory cue: The kitchen will smell like toasted oats and honey. That’s a good sign.
Step 6: Cool Completely (At least 1 hour)
This is the hardest part. Let the bars cool in the pan on a wire rack for at least 1 hour. Ideally, let them cool completely, then refrigerate for 30 minutes. This step is non-negotiable for chewy bars. If you cut them warm, they will crumble. Trust me. I learned this the hard way on that Tuesday in July.
Step 7: Cut and Serve
Once cool, lift the bars out of the pan using the parchment handles. Place on a cutting board and slice into bars. I usually cut them into 12 large bars or 16 smaller ones. They keep well in an airtight container.
Total Time: About 30 minutes active, plus cooling time.
Built-in Troubleshooting:
- Bars are crumbling: You didn’t press them down enough, or you cut them while warm. Next time, press harder and wait longer.
- Bars are too hard: You baked them too long. Check them at 20 minutes.
- Bars are too soft/sticky: Not enough oats, or you didn’t cool them long enough.
Expert Tips & Tricks
Here’s everything I’ve learned from making this dozens of times. These tips will save you from my mistakes.
The Golden Rule of Cooling
I cannot stress this enough: let them cool completely. The bars continue to cook and set as they cool. If you cut them warm, the heat will melt the fats and sugars, causing them to fall apart. I usually make them the night before, or at least 4 hours before I need them. If you’re in a rush, refrigerate them for at least 30 minutes after they reach room temperature.
Press, Don’t Spread
When transferring the mixture to the pan, use the bottom of a measuring cup or a glass to press it down firmly. You want to eliminate air pockets. The denser the bar, the chewier it will be. If it’s loose and airy, it’ll be crunchy and fragile.
Choose the Right Honey
Thick, viscous honey works best. If your honey is very runny (like acacia honey), you might need to add a tablespoon more oats to absorb the extra liquid. Clover or wildflower honey is perfect.
Customize Your Mix-ins
This is a great recipe to use up what you have. I’ve made these with M&Ms, dried apricots, shredded coconut, and even white chocolate chips. Just keep the total mix-in amount to about 1 cup so you don’t throw off the binding ratio.
Double the Batch
Since these are so cheap to make, I often double the recipe. Use two 9×13 pans, or one 9×13 and one 8×8. They freeze beautifully (more on that later).
Common Mistakes (and how to avoid them):
- Mistake: Burning the honey. Fix: Keep the heat at medium or medium-low. Honey burns easily. Stir constantly.
- Mistake: Using quick oats. Fix: Stick to old-fashioned rolled oats. Quick oats absorb too much liquid and turn to mush.
- Mistake: Cutting too soon. Fix: Set a timer for 1 hour. Then set another for 30 minutes in the fridge. Patience pays off.
Variations & Substitutions
Once you’ve nailed the basic version, here’s how you can mix it up. I’ve tried all of these.
Chocolate Chip Oat Bars
Add 1 cup of mini chocolate chips to the dry mix. This is my kids’ favorite version. It’s basically a cookie bar.
Peanut Butter Cup Bars
Use peanut butter chips instead of chocolate chips, or drizzle melted chocolate on top after cooling.
Trail Mix Bars
Add ½ cup each of raisins, dried cranberries, and chopped almonds. Great for a savory-sweet balance.
Seeds and Sunshine
Skip the nuts and chocolate. Add ½ cup sunflower seeds, ½ cup pumpkin seeds, and ½ cup dried mango. Perfect for nut-free schools.
Dietary Modifications:
- Gluten-Free: Use certified gluten-free oats. Everything else is naturally gluten-free.
- Nut-Free: Substitute peanut butter with sunflower seed butter or soy nut butter. Skip nuts in mix-ins.
- Lower Sugar: Reduce brown sugar to ¼ cup and use more honey. It’s still sweet, but less cloying.
- Vegan: Use maple syrup instead of honey, and coconut oil or vegan butter instead of dairy butter. Use vegan chocolate chips.
Serving & Storage
How to Serve:
I usually serve these for breakfast with a glass of milk, or as an afternoon snack. They travel well in lunchboxes. I cut them into squares and wrap them in parchment paper squares for easy packing.
Refrigerator:
Store in an airtight container for up to 1 week. They actually get chewier in the fridge.
Freezer:
These freeze incredibly well. Wrap individual bars in plastic wrap or parchment paper, then place them in a freezer bag. They last up to 3 months. I keep a bag in the freezer for emergencies. Just thaw for 10 minutes before eating.
Meal Prep:
Make a batch on Sunday. Store in the fridge. Grab-and-go breakfasts for the whole week. I make two batches at a time to save effort.
Pro tip: If you’re packing them for school, wait until they are completely cool and set. Warm bars will melt and stick to each other in the lunchbox.
Nutrition Information
I’m not a nutritionist, but here’s the breakdown if you’re tracking. These are estimates based on 12 bars.
| Nutrient | Per Bar |
|---|---|
| Calories | 180 |
| Protein | 4g |
| Carbs | 28g |
| Fiber | 2g |
| Sugar | 14g |
| Fat | 7g |
| Sodium | 45mg |
What’s Good:
– Decent fiber from the oats
– Protein from peanut butter
– No artificial preservatives
– Real ingredients
What to Know:
– Higher in sugar from honey and brown sugar
– Contains nuts (unless substituted)
– Moderate calories for a snack
My Take:
Look, these are sweet bars. They’re not a health food. But they’re way better than processed granola bars with ingredients you can’t pronounce. When I want to make them lighter, I reduce the sugar and add more seeds and nuts. But usually? I just enjoy them as a treat.
Final Thoughts
So that’s my go-to back to school chewy granola bars with honey and oats! I’ve probably talked your ear off at this point, but when you make a recipe this often, you have a lot to say about it.
This has saved our mornings more times than I can count. It’s my answer to “what’s for breakfast” when we’re running late. My kids are happy, my husband’s happy, and I’m happy because I’m not stressing about buying overpriced snacks.
Make it yours! Try different mix-ins, swap in your favorite nut butter, adjust the sweetness. The best recipes are the ones you adapt to your family’s tastes.
If you make this, drop a comment and let me know what you think! I love hearing how recipes turn out in your kitchen. And if something doesn’t work, tell me that too—I’m here to help troubleshoot.
Happy cooking! And I hope your kitchen smells half as good as mine does right now.
Frequently Asked Questions
Q: Can I use quick oats instead of old-fashioned oats?
A: You can, but the texture will be different. Quick oats absorb more liquid and tend to make the bars softer and less chewy. If you only have quick oats, reduce the honey by 1-2 tablespoons. But for the best chewy texture, stick to old-fashioned rolled oats.
Q: Why are my bars crumbly?
A: This usually happens for two reasons: you didn’t press the mixture down firmly enough into the pan, or you cut them while they were still warm. Press down hard to compact the oats, and let them cool completely (preferably in the fridge) before cutting.
Q: Can I make these ahead of time?
A: Absolutely! These bars actually taste better after a day or two as the flavors meld and they set further. You can make them up to a week in advance. Store in an airtight container at room temperature or in the fridge.
Q: Can I freeze these granola bars?
A: Yes! They freeze beautifully. Wrap individual bars in plastic wrap or parchment paper, then place them in a freezer-safe bag. They will last up to 3 months. Thaw at room temperature for 10-15 minutes before eating.
Q: Can I substitute the honey?
A: Maple syrup is the best substitute. Use the same amount. Keep in mind that maple syrup has more water content, so your bars might be slightly less chewy. Brown rice syrup is another option, but it’s harder to find and stickier to work with.
Q: How do I keep them from sticking to the pan?
A: Line your pan with parchment paper, leaving an overhang on the sides. This creates “handles” to lift the bars out after baking. Grease the parchment lightly if you’re worried, but it’s usually not necessary.
Q: Can I make these nut-free?
A: Yes! Use sunflower seed butter or soy nut butter instead of peanut butter. Skip any nut mix-ins. Most other ingredients are naturally nut-free, but always check labels on oats and chocolate chips if you have a severe allergy.
Pin This Recipe!
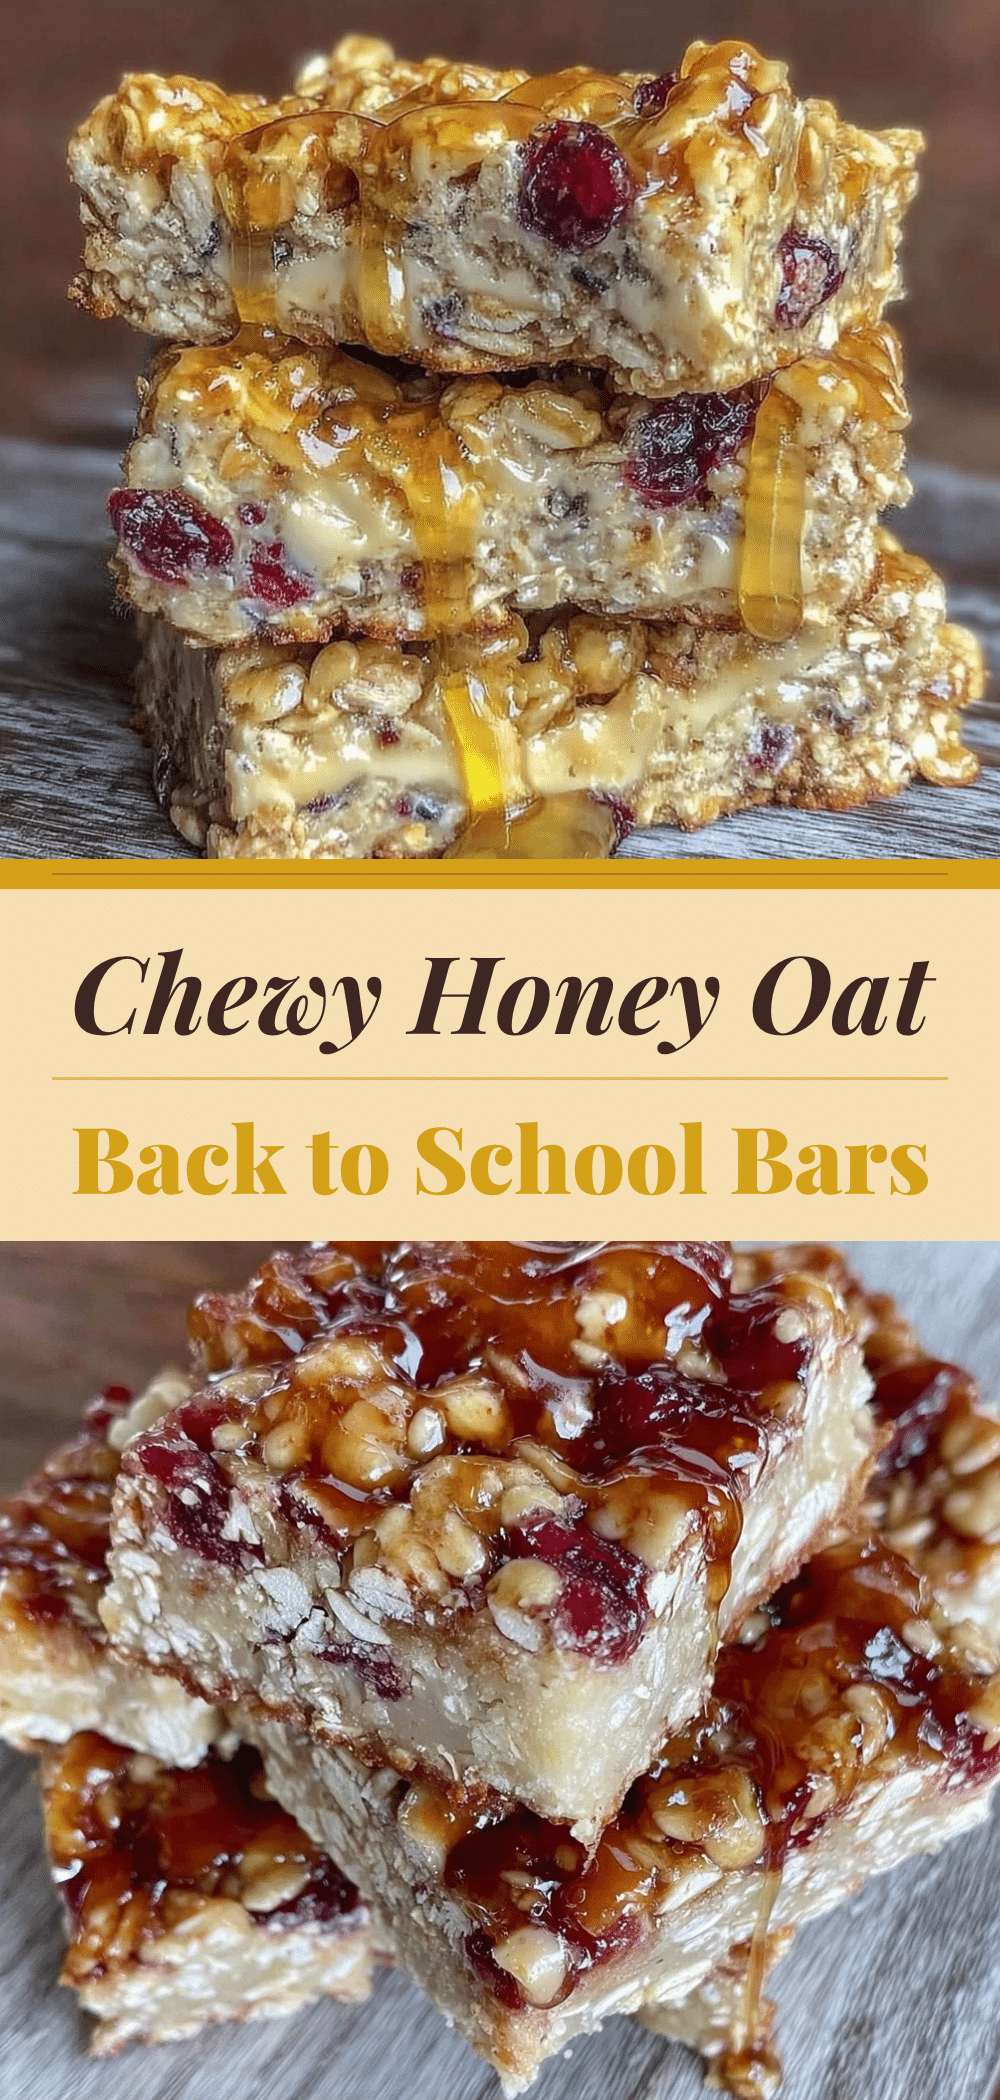
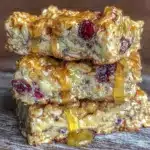
Back to School Chewy Granola Bars with Honey and Oats
- Total Time: 35 minutes (plus cooling time)
- Yield: 12 servings 1x
Description
These budget-friendly, chewy granola bars are the perfect backpack snack. Made with pantry staples like oats, honey, and peanut butter, they are easy to make, customizable, and hold together better than store-bought versions.
Ingredients
- 3 cups old-fashioned rolled oats
- ½ cup unsalted butter
- ½ cup creamy peanut butter
- ½ cup honey
- ½ cup packed brown sugar
- 1 teaspoon vanilla extract
- ½ teaspoon salt
- Optional mix-ins: ½ cup mini chocolate chips, ½ cup chopped nuts, ½ cup dried cranberries or raisins, ¼ cup seeds
Instructions
- Line a 9×13 inch baking pan with parchment paper, leaving an overhang on the long sides for easy removal.
- Sprinkle the oats into a large mixing bowl. Add any nuts, dried fruit, or seeds to the bowl and set aside.
- In a medium saucepan over medium heat, combine the butter, honey, brown sugar, and vanilla extract.
- Stir constantly until the butter melts and the sugar dissolves, about 3-4 minutes. Do not let it boil vigorously; remove from heat once smooth and bubbly.
- Pour the hot honey mixture over the oats and mix-ins in the mixing bowl. Stir immediately and thoroughly to coat every oat.
- Transfer the mixture to the prepared pan. Press it down firmly and evenly using a spatula or the back of a greased spoon to eliminate air pockets.
- Preheat oven to 350°F (175°C). Bake for 20-25 minutes, or until the edges are golden brown.
- Let the bars cool in the pan on a wire rack for at least 1 hour. For best results, refrigerate for an additional 30 minutes to ensure they set completely.
- Lift the bars out of the pan using the parchment paper handles and slice into 12 large or 16 smaller bars.
Notes
Do not use quick oats as they turn to mush; old-fashioned rolled oats are required for the proper chewy texture. It is crucial to press the mixture firmly into the pan and let it cool completely (preferably in the fridge) before cutting to prevent crumbling. If using runny honey, you may need to add a tablespoon more oats.
- Prep Time: 10 minutes
- Cook Time: 25 minutes
- Category: Breakfast
- Cuisine: American
Nutrition
- Serving Size: 1 bar
- Calories: 180
- Sugar: 14
- Sodium: 45
- Fat: 7
- Saturated Fat: 3
- Carbohydrates: 28
- Fiber: 2
- Protein: 4
Keywords: granola bars, back to school snacks, chewy granola bars, honey oat bars, budget snacks, kid-friendly snacks, meal prep, gluten-free option