I’ll be honest with you. Last week, I was standing in the grocery store aisle staring at a $6 tub of “premium” vegan chocolate mousse. It looked nice in the plastic cup, but when I flipped it over, the ingredients list was longer than my grocery receipt. And the price? Ouch. I’m a parent of three, and while I love a good treat, I’m not about to spend $6 on three servings of dessert that probably has more stabilizers than chocolate.
That’s when I remembered the avocado in my fridge. It was ripe, squishy-perfect, and begging to be used before it went brown. I’ve made creamy chocolate peanut butter protein shakes before, so I knew avocado could hide in sweet things. But mousse? That was a new frontier.
I threw together a quick batch that night. Chocolate, avocado, a splash of milk, some sweetener, and a pinch of salt. I blended it up, stuck it in the fridge for an hour, and then served it to my kids. They ate two bowls each. Not a single question about why it was green. Not a single complaint. Just pure chocolate bliss.
That was six months ago. Since then, I’ve made this vegan chocolate avocado mousse probably fifty times. It’s become my secret weapon for satisfying sweet cravings without breaking the bank or the health balance. It’s rich, it’s creamy, it’s completely plant-based, and best of all? It costs less than $3 to make. If you’re tired of expensive store-bought desserts or weird dairy-free alternatives that taste like cardboard, you need to try this. Seriously. It’s the easiest, most budget-friendly dessert you’ll ever make.
Why You’ll Love This Vegan Chocolate Avocado Mousse
There are a lot of reasons I keep coming back to this recipe, but let’s be real—it’s mostly because it works. Every single time. No fail. No weird texture. Just pure, indulgent chocolate goodness that happens to be good for you (okay, mostly good for your wallet).
- It’s Stupidly Simple — Seriously, if you can use a blender, you can make this. I’ve made this while holding a toddler on my hip. It takes about 5 minutes of active time. That’s it.
- It’s Dirt Cheap — Avocados, cocoa powder, sugar, milk. You probably have most of this in your pantry already. Compared to buying dessert or even making a complex cake, this is pennies on the dollar.
- It’s Kid-Approved — My picky eaters love it. And because it’s technically “healthy,” I don’t feel guilty serving it as a treat. It’s a win-win.
- It’s Actually Creamy — I know, I know. Avocado sounds weird for mousse. But once it’s blended with cocoa and chilled, you can’t taste the avocado at all. You just taste rich, velvety chocolate.
- It’s Make-Ahead Friendly — This is huge for busy weeknights. I make it on Sunday, and it lasts in the fridge for up to 4 days. It’s ready whenever the sugar craving hits.
- It’s Naturally Gluten-Free — No flour, no wheat. Perfect for anyone with sensitivities or just looking for a lighter dessert option.
This is my go-to when I need dessert to just work. No baking, no cleaning a bunch of dishes, no stress. Just blend, chill, and eat. My family thinks I’m a wizard, but really, I just have a really good blender and some ripe avocados.
Ingredients You’ll Need
Here’s the best part: you probably have most of this already. I’m particular about a few things here, but mostly, this is a pantry-friendly recipe. You don’t need fancy superfood powders or expensive vegan creams. Just good, simple ingredients.
For the Base
Ripe avocados (2 large / about 400g flesh) — This is the magic ingredient. They must be ripe. If you can’t press them slightly and they feel hard, they won’t blend smooth. I wait until they’re almost too soft. Hass avocados are best because they’re naturally creamier.
Unsweetened cocoa powder (½ cup / 50g) — This is where the chocolate flavor lives. Use good quality here. I use regular Dutch-processed cocoa for a deeper, darker chocolate taste. Natural cocoa works too, but it’s lighter. Avoid “drinking chocolate” mixes—they have sugar in them and will mess up the sweetness balance.
Sweetener (⅓ to ½ cup / 70-100g) — I use maple syrup because it blends seamlessly and adds a nice depth. You can also use granulated sugar, coconut sugar, or even honey (if you’re not strictly vegan). Start with less and taste as you go. You want it sweet, but not cloying.
Plant milk (2-4 tablespoons / 30-60ml) — Any milk works. I use oat milk for its creaminess, but almond, soy, or coconut milk are fine too. You only need a little bit to help the blender get moving. Don’t add too much or it’ll be soupy.
For the Flavor
Vanilla extract (1 teaspoon / 5ml) — Essential. It rounds out the chocolate flavor. Use real vanilla, not the imitation stuff. It makes a noticeable difference in a recipe with so few ingredients.
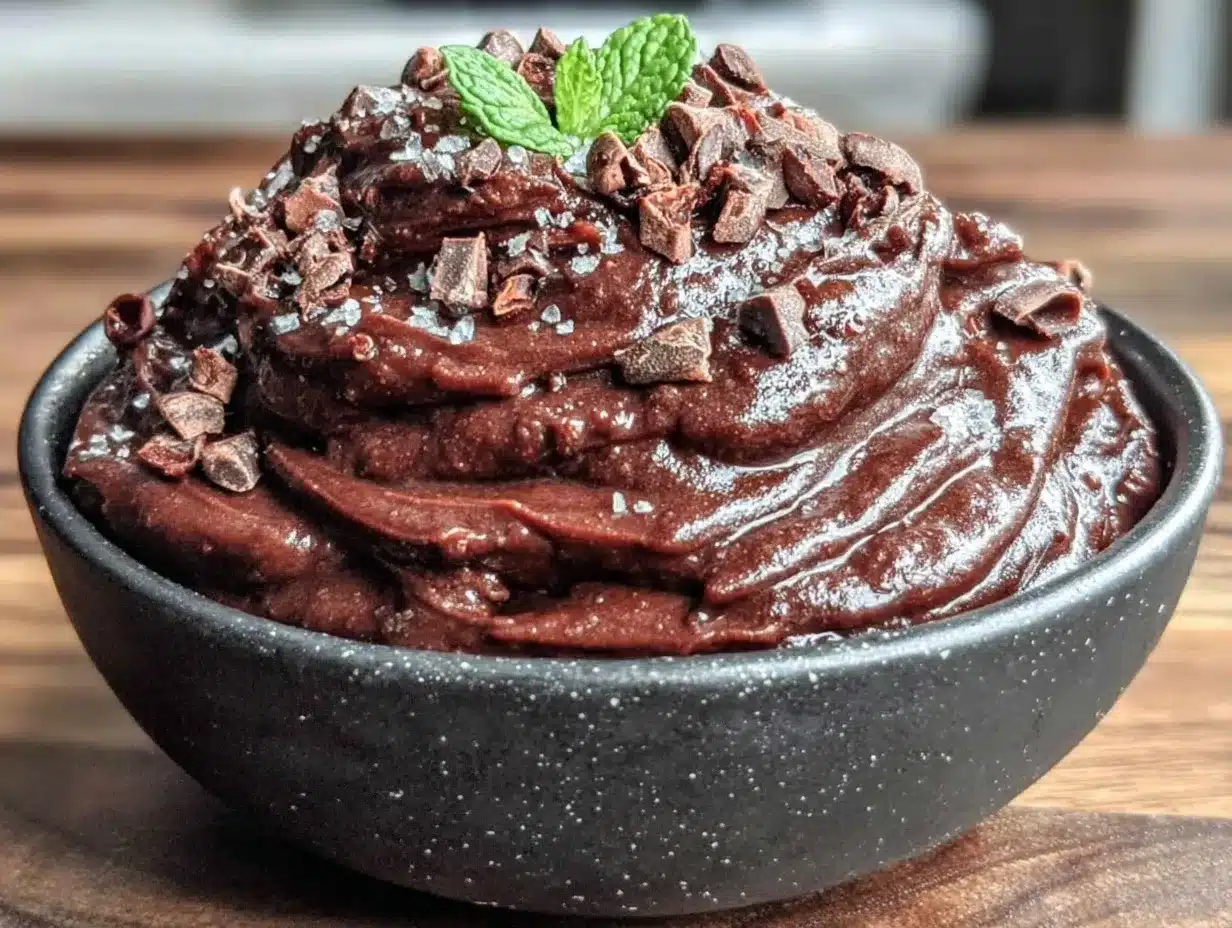
Sea salt (½ teaspoon) — Do not skip this. Salt makes chocolate taste like chocolate. Without it, it just tastes sweet and flat. I use flaky sea salt for the best flavor.
Pinch of espresso powder (optional / ½ teaspoon) — This is my secret weapon. It doesn’t make it taste like coffee. It just intensifies the chocolate flavor. If you don’t have it, skip it. But if you do, add it.
For the Topping
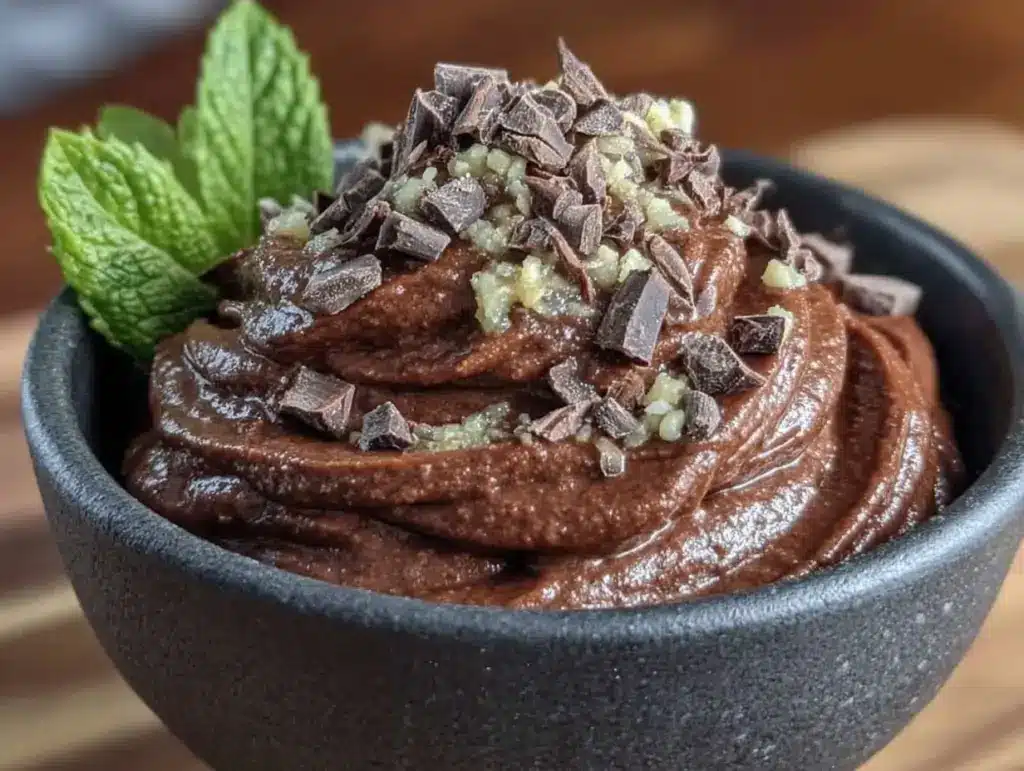
Cacao nibs (2 tablespoons / 15g) — This is what gives it that gourmet touch. Cacao nibs are crushed raw cacao beans. They’re crunchy, bitter, and look fancy. You can find them in the baking aisle or bulk bin. If you can’t find them, chopped nuts or even chocolate chips work, but nibs are the traditional topping for this specific mousse.
Optional Add-ins:
- Fresh berries — Strawberries or raspberries add a nice tart contrast to the rich chocolate.
- Coconut whipped cream — If you want it extra decadent, top with a dollop of homemade whipped cream.
- Sea salt flakes — A sprinkle on top adds a nice crunch and flavor pop.
Shopping Tip: I buy my cocoa powder in bulk. It lasts forever in the pantry and is way cheaper than buying small boxes. And for the avocados, I check them a few days before I need them so they’re perfectly ripe when I’m ready to blend.
Equipment Needed
You don’t need fancy equipment for this. Here’s what I actually use.
Blender — I use a high-speed blender like a Vitamix or Ninja because it gets things super smooth. But a regular blender works too. Just blend a bit longer. A food processor also works, but it might leave little green flecks of avocado. I prefer the smoothness of a blender.
Spatula — For scraping down the sides of the blender jar. You want every bit of that creamy goodness.
Serving bowls — Small ramekins or cute little bowls make it feel fancy. I use whatever small bowls I have in the cabinet. It doesn’t matter as long as it looks good to the kids.
Spoon — For tasting. And eating. Lots of eating.
Optional but nice:
- Mesur cups and spoons — For accuracy, though I often eyeball this one.
- Small bowls for toppings — To keep the cacao nibs separate until serving.
Tool Tip: If your blender is struggling, stop and scrape down the sides. Sometimes the avocado sticks to the bottom. Giving it a good stir mid-blend helps everything blend evenly.
How to Make It: Step-by-Step
Alright, let’s make this! I’m walking you through exactly how I do it, including the little tricks I’ve picked up to ensure it’s perfectly smooth and creamy.
Step 1: Prep Your Avocados (2 minutes)
Cut the avocados in half, remove the pit, and scoop the flesh out into a bowl. Check for any brown spots or hard bits near the pit. If you see any, scrape them off with a spoon. You want only the creamy green flesh. If your avocados are a bit under-ripe, you might want to let them sit for another day. Ripe is key.
Step 2: Blend the Base (2-3 minutes)
Add the avocado flesh, cocoa powder, sweetener, plant milk, vanilla extract, and salt to your blender. Start blending on low, then gradually increase to high. Blend for about 1-2 minutes. Stop and scrape down the sides with a spatula to make sure everything is incorporated. Blend until it’s completely smooth. There should be zero green flecks. If you see any, keep blending. This step is crucial for the right texture.
Step 3: Taste and Adjust (1 minute)
Now it’s time to taste. Scoop a little out with a spoon. Does it need more sweet? Add a bit more maple syrup. Does it taste too “avocado-y”? Add a splash more milk or a pinch more salt. Does it need more chocolate kick? Add another tablespoon of cocoa. This is your chance to make it perfect for your taste.
Step 4: Chill (At least 30 minutes)
This is the hardest part—waiting. Transfer the mousse into serving bowls or a large container. Cover tightly with plastic wrap or a lid. Put it in the fridge for at least 30 minutes, but ideally 1-2 hours. Chilling is what makes it firm up and become mousse-like. If you eat it right away, it’ll be more like a pudding. Chilled is where the magic happens.
Step 5: Top and Serve
When you’re ready to serve, take the bowls out of the fridge. Sprinkle cacao nibs on top. You can also add a few fresh berries or a dollop of coconut cream if you’re feeling fancy. Serve immediately. It’s best enjoyed cold.
Total Time: About 10 minutes active + 30 minutes chilling.
Built-in Troubleshooting:
- Too thick? Add more plant milk, one tablespoon at a time, until it reaches your desired consistency.
- Too thin? Add more cocoa powder or a bit more avocado. Or just chill it longer.
- Green flecks? Keep blending. Or strain it through a fine-mesh sieve if you’re feeling fancy (but honestly, most people don’t notice).
Expert Tips & Tricks
Here’s everything I’ve learned from making this dozens of times. These tips will save you from my mistakes.
Use Ripe Avocados
This is non-negotiable. If your avocados are hard, the mousse will be chunky and weird. I buy avocados a few days before I need them and check them daily. If they’re already too mushy, they’re fine too—just use them immediately.
Don’t Skimp on Salt
I know, it’s a chocolate dessert. But salt is essential. It balances the sweetness and enhances the chocolate flavor. I use a generous pinch. Don’t be shy.
Chill Thoroughly
I know it’s tempting to eat it right out of the blender. But give it at least 30 minutes in the fridge. The cold helps the fats in the avocado solidify slightly, giving it that mousse-like texture. It’s a game-changer.
Blend Until Smooth
I cannot stress this enough. Blend until you can’t see any green. If you’re using a weaker blender, you might need to add a bit more milk to help it move. But smooth is the goal.
Make a Big Batch
I often double or triple this recipe. It stores well in the fridge for up to 4 days. I keep it in a large container with a lid, and my kids help themselves throughout the week. It’s my secret stash.
Common Mistakes (and how to avoid them):
- Mistake: It tastes like avocado. Fix: You probably didn’t use ripe enough avocados, or you didn’t blend it long enough. Also, make sure you have enough cocoa and sweetener to mask the mild avocado flavor.
- Mistake: It’s too runny. Fix: You added too much milk. Next time, start with less milk and add only as needed to get it blending.
- Mistake: It’s too sweet. Fix: Taste as you go. Different sweeteners have different levels of sweetness. Maple syrup is less sweet than sugar, so you might need more.
Variations & Substitutions
Once you’ve nailed the basic version, here’s how you can mix it up. I’ve tried all of these, and they all work.
Mint Chocolate Chip
Add ½ teaspoon peppermint extract and fold in some dark chocolate chips after blending. It tastes like a mint chocolate chip ice cream bar. My kids love this version.
Chocolate Peanut Butter
Add 2 tablespoons of peanut butter to the blender. It adds protein and makes it even richer. This pairs well with the creamy chocolate peanut butter protein shake vibe.
Coconut Chocolate
Use coconut milk instead of regular plant milk, and top with toasted coconut flakes. It adds a tropical twist.
Chili Chocolate
Add a pinch of cayenne pepper or chili powder. It adds a subtle heat that contrasts with the sweet chocolate. It’s fancy and delicious.
Dietary Modifications:
- Sugar-Free: Use a sugar-free sweetener like stevia or monk fruit. Adjust to taste.
- Nut-Free: Use oat milk or soy milk instead of almond milk. The base recipe is already nut-free if you avoid tree nut butters.
- Low-Sugar: Use unsweetened cocoa powder and a sugar-free sweetener. It’s still sweet, just less so.
Serving & Storage
How to Serve:
I usually serve this in small dessert bowls or ramekins. It looks elegant and portion-controlled. But here are other ways I’ve enjoyed it:
- With Fruit — Top with sliced strawberries, raspberries, or banana slices. The fruit adds freshness and color.
- With Nuts — Chopped almonds or walnuts add crunch and protein.
- As a Dip — Serve it with apple slices or pretzels for dipping. It’s surprisingly good as a dip!
Storage Instructions:
Refrigerator:
Store in an airtight container for up to 4 days. The mousse will thicken in the fridge, which is perfect. Just stir it before serving if it’s too thick.
Freezing:
Honestly, this doesn’t freeze well. The texture can get a bit grainy when thawed. It’s best enjoyed fresh or chilled. But if you must freeze it, thaw it in the fridge and blend it briefly to restore the texture.
Meal Prep:
Make it on Sunday and store it in the fridge. It’s ready whenever the craving hits. I often make it on Sunday night, and it lasts through the week. It’s my go-to for busy weeknights when I don’t want to cook but still want a treat.
Pro tip: If you’re serving it to guests, top it with cacao nibs and a few fresh berries. It looks beautiful and adds a nice contrast in texture.
Nutrition Information
I’m not a nutritionist, but here’s the breakdown if you’re tracking. Keep in mind that nutrition can vary based on the specific brands and amounts of ingredients you use.
Per Serving (based on 4 servings):
- Calories: 180
- Protein: 4g
- Carbs: 22g
- Fiber: 7g
- Sugar: 12g (natural sugars from maple syrup and fruit, if added)
- Fat: 12g (healthy fats from avocado)
- Saturated Fat: 2g
- Cholesterol: 0mg
- Sodium: 150mg
What’s Good:
– High in healthy fats from avocado
– Good source of fiber
– No refined sugar (if using maple syrup)
– Vegan and gluten-free
What to Know:
– The calorie count is moderate, mostly from the avocado and sweetener
– If you use a lot of sweetener, the sugar content will be higher
– It’s a healthy dessert option compared to traditional chocolate mousse
My Take:
Look, this is a dessert. It has sweetener and fat. But it’s also packed with nutrients from the avocado. It’s a much healthier alternative to store-bought mousse or cake. I enjoy it as a treat, not a meal replacement. When I want to make it lighter, I use less sweetener and add more berries. But usually? I just enjoy it for what it is: delicious, creamy, and satisfying.
Final Thoughts
So that’s my vegan chocolate avocado mousse! I’ve probably talked your ear off at this point, but when you make a recipe this often, you have a lot to say about it. This has saved me from buying expensive desserts more times than I can count. It’s my answer to “what’s for dessert” when I’m tired, don’t want to bake, and still want something that tastes really good.
My kids are happy, my husband’s happy, and I’m happy because I’m not stressed about cooking. It’s quick, it’s cheap, and it’s delicious. Make it yours! Try different toppings, swap in your favorite sweetener, or add in some peanut butter. The best recipes are the ones you adapt to your family’s tastes.
If you make this, drop a comment and let me know what you think! I love hearing how recipes turn out in your kitchen. And if something doesn’t work, tell me that too—I’m here to help troubleshoot.
Happy cooking! And I hope your kitchen smells half as good as mine does right now (it smells like chocolate and avocado, which is a weird but good combination).
Frequently Asked Questions
Can I use frozen avocados?
You can, but they need to be thawed completely before blending. Frozen avocados can be a bit watery, so you might need to adjust the amount of milk you add. I prefer fresh avocados for the best texture, but frozen works in a pinch.
Why does my mousse taste like avocado?
This usually happens if you didn’t use ripe enough avocados, or if you didn’t add enough cocoa and sweetener to mask the flavor. Make sure your avocados are very ripe, and don’t skimp on the cocoa powder. A pinch of salt also helps balance the flavor.
Can I make this ahead for a party?
Absolutely! This is perfect for making ahead. I often make it a day or two before a party. Just store it in the fridge in an airtight container. Top it with cacao nibs and fruit right before serving. It’ll be ready to go and looks impressive.
Can I use a food processor instead of a blender?
Yes, but it might not get as smooth. A blender is ideal for getting that silky, mousse-like texture. If you use a food processor, blend it for longer and scrape down the sides often. You might end up with little green flecks, but it will still taste good.
How long does this mousse last?
It lasts in the fridge for up to 4 days. Just make sure it’s stored in an airtight container to prevent it from drying out or absorbing other smells from the fridge.
Can I add protein powder to this?
You can, but it might change the texture. Protein powder can make the mousse thicker and grainier. If you want to add protein, start with a small amount (like 1 scoop) and blend well. You might need to add a bit more milk to compensate.
Is this recipe keto-friendly?
It can be, if you use a keto-friendly sweetener like stevia or erythritol and skip the maple syrup. Avocados are high in healthy fats and low in carbs, so they fit well into a keto diet. Just watch your sweetener intake.
Pin This Recipe!
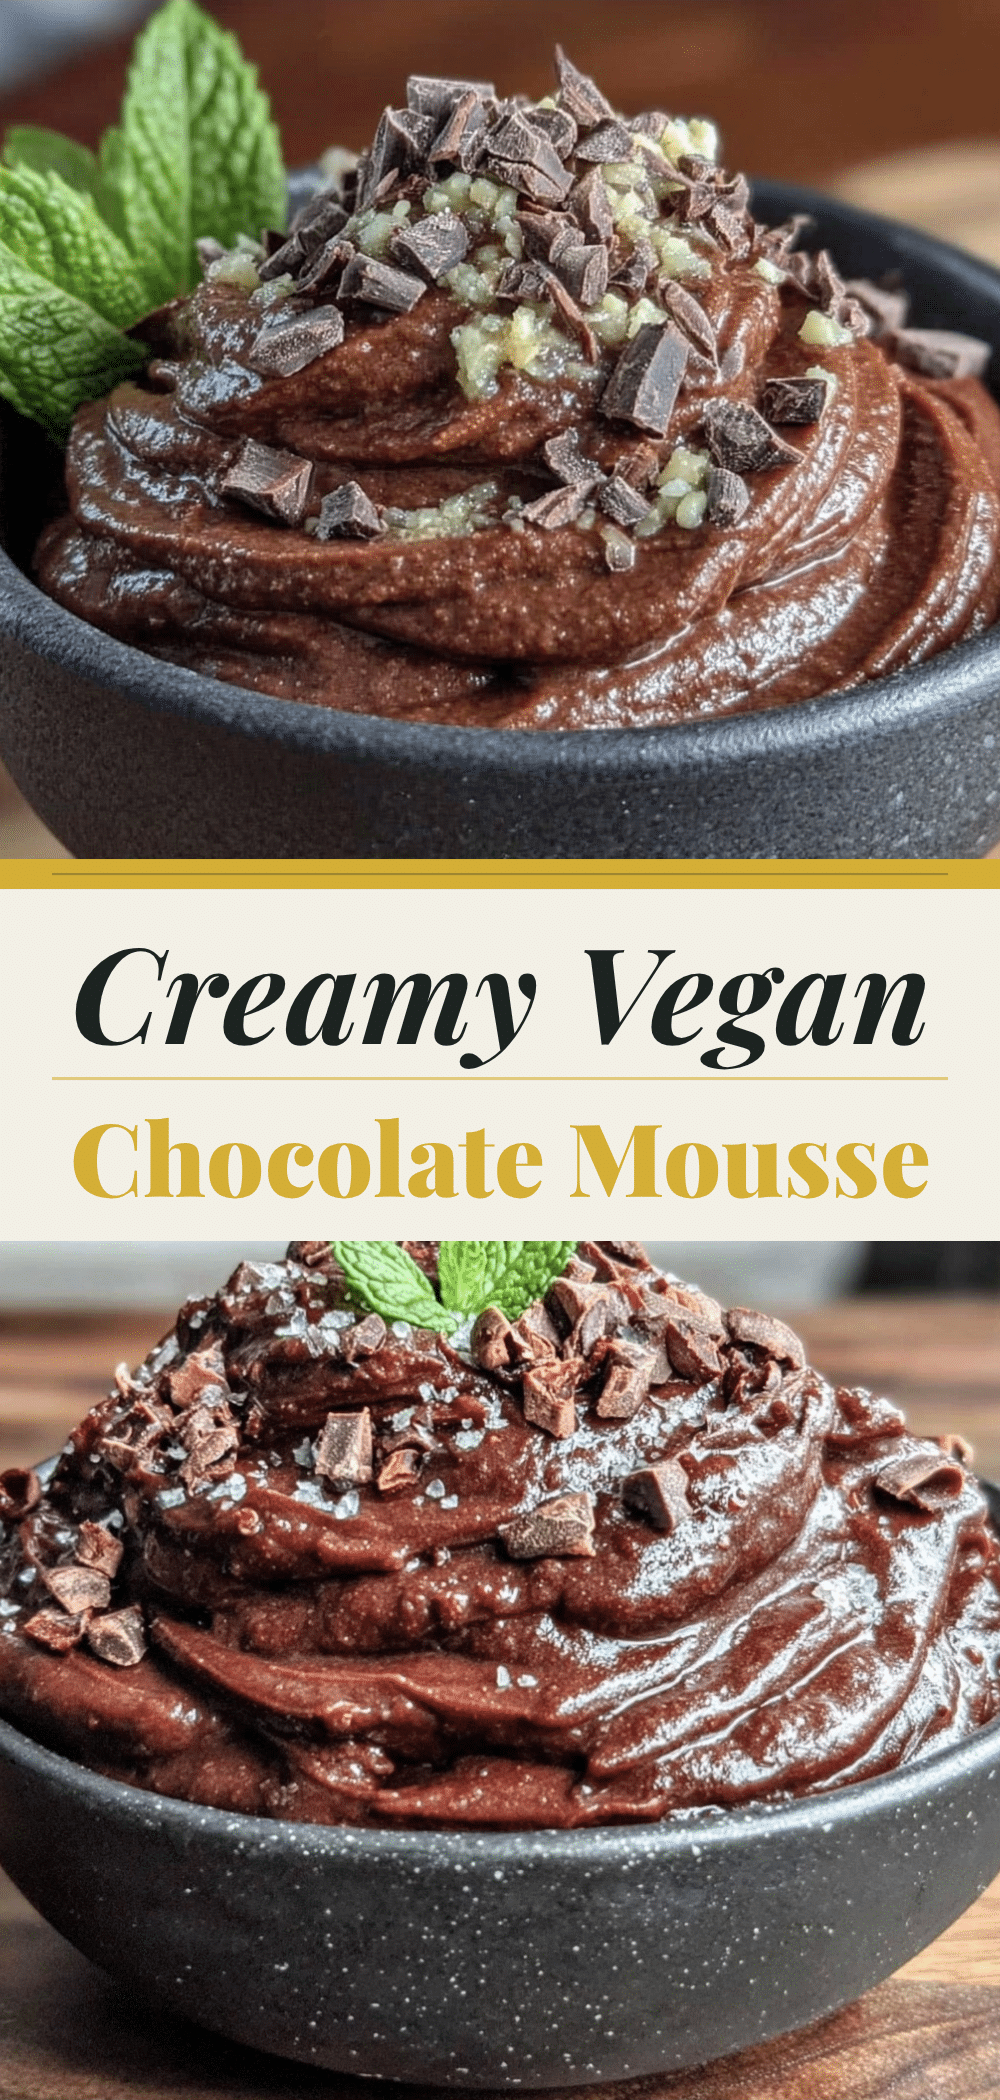
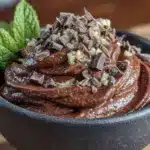
Vegan Chocolate Avocado Mousse
- Total Time: 35 minutes
- Yield: 4 servings 1x
Description
A rich, creamy, and budget-friendly vegan dessert made with ripe avocados, cocoa powder, and sweetener. It’s naturally gluten-free, kid-approved, and takes only minutes to prepare.
Ingredients
- 2 large ripe avocados (about 400g flesh)
- ½ cup (50g) unsweetened cocoa powder
- ⅓ to ½ cup (70-100g) sweetener (maple syrup, granulated sugar, or coconut sugar)
- 2–4 tablespoons (30-60ml) plant milk (oat, almond, soy, or coconut)
- 1 teaspoon vanilla extract
- ½ teaspoon sea salt
- ½ teaspoon espresso powder (optional)
- 2 tablespoons cacao nibs (for topping)
Instructions
- Cut avocados in half, remove pits, and scoop flesh into a bowl. Scrape off any brown spots or hard bits to ensure only creamy green flesh is used.
- Add avocado flesh, cocoa powder, sweetener, plant milk, vanilla extract, and salt to a blender.
- Blend on low, then gradually increase to high. Blend for 1-2 minutes, stopping to scrape down the sides with a spatula, until the mixture is completely smooth with no green flecks.
- Taste the mixture and adjust sweetness, salt, or chocolate intensity as needed.
- Transfer the mousse to serving bowls or a container, cover tightly, and chill in the refrigerator for at least 30 minutes (ideally 1-2 hours) to firm up.
- Top with cacao nibs, fresh berries, or other desired toppings before serving cold.
Notes
Ensure avocados are very ripe for a smooth texture. Do not skip the salt as it enhances the chocolate flavor. The mousse can be stored in an airtight container in the fridge for up to 4 days. It does not freeze well due to texture changes.
- Prep Time: 5 minutes
- Cook Time: 0 minutes
- Category: Dessert
- Cuisine: American
Nutrition
- Serving Size: 1 bowl
- Calories: 180
- Sugar: 12
- Sodium: 150
- Fat: 12
- Saturated Fat: 2
- Carbohydrates: 22
- Fiber: 7
- Protein: 4
Keywords: vegan, chocolate mousse, avocado dessert, gluten-free, budget-friendly, healthy dessert, no-bake, kid-friendly