It was 7:30 PM on a Tuesday, and the house was quiet in that specific, exhausted way that only happens after a long week of school runs and grocery shopping. I was staring into the pantry, looking for something to satisfy the sweet tooth that had been nagging at me since lunch. Usually, this is the moment I cave and buy those expensive, pre-packaged cookies from the bakery section. They’re convenient, sure, but they taste like cardboard and regret.
But this time, I had a bag of brown butter sitting in the fridge. I’d made maple pecan blondies the weekend before and realized I had the technique down cold. I decided to gamble. I didn’t have time for fancy ingredients or a complicated process. I just wanted something cheap, fast, and actually delicious. So I threw together a batch of brown butter chocolate chip cookies with chewy centers, and let me tell you—those ten minutes I spent watching the butter brown were worth every second.
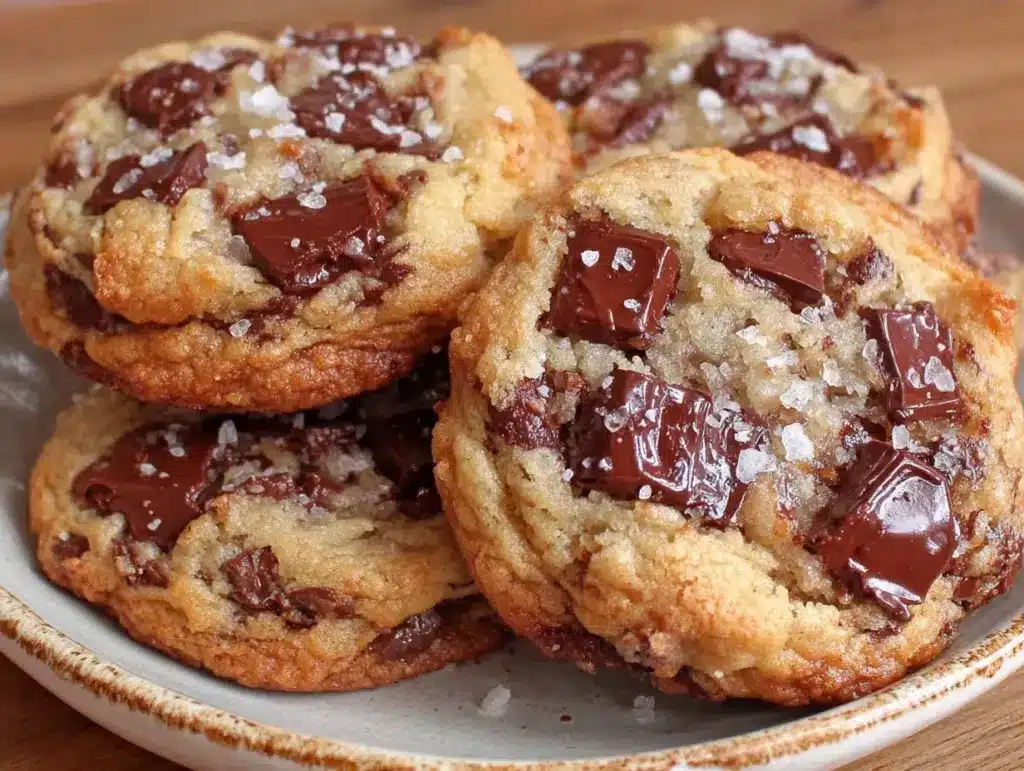
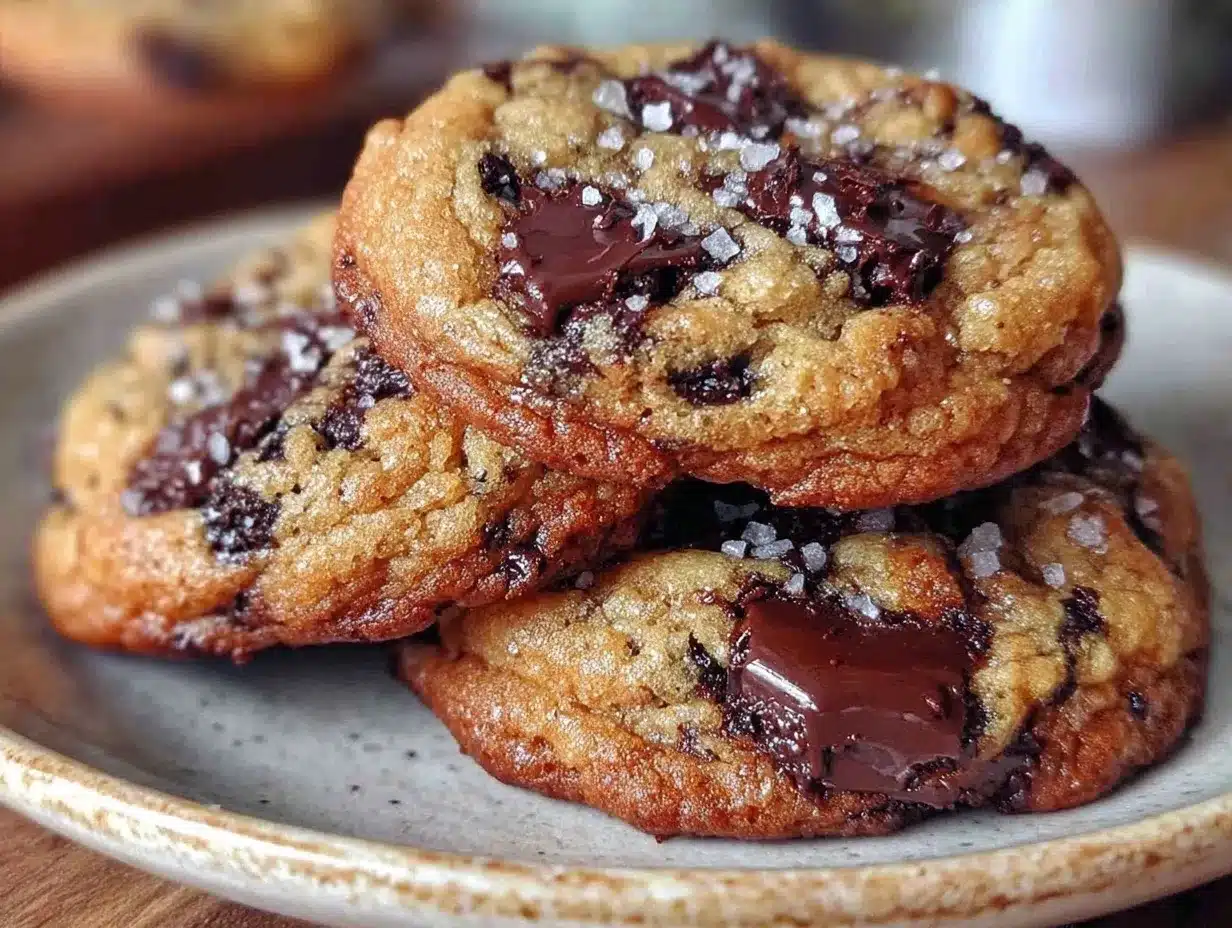
These aren’t just cookies. They’re the kind of cookie that smells like a fancy French bakery but costs pennies to make. The nutty, toasty flavor of the brown butter cuts through the sweetness of the chocolate chips perfectly, and the centers stay soft for days. My kids think I’m a wizard. My husband thinks I’ve finally mastered baking. The truth? I just burned butter once, figured out how to control it, and never looked back.
I’ve made these brown butter chocolate chip cookies with chewy centers at least a dozen times since that Tuesday. They’ve become my go-to for last-minute guests, school bake sales (when I’m feeling brave), and just because we need sugar. If you’re tired of dry, cakey cookies that fall apart, this is the recipe you need. It’s cheap, it’s make-ahead friendly, and it’s going to become your new obsession.
Why You’ll Love This Recipe
Look, I’m a budget-conscious parent. I don’t have time for recipes that require twelve different types of flour or expensive vanilla beans. This recipe is practical, affordable, and delivers big flavor without the stress. Here’s why these brown butter chocolate chip cookies with chewy centers have earned a permanent spot in our kitchen:
- It’s Dirt Cheap — Seriously. The ingredients are pantry staples. Butter, sugar, flour, eggs, chocolate chips. You probably have all of this. It costs less than $2 to make a dozen cookies, which is way cheaper than buying a box of store-bought ones or paying for delivery.
- Chewy, Not Crispy — I hate crunchy cookies. I want that soft, gooey center that sticks to your teeth. The brown butter technique, combined with a little extra brown sugar, guarantees that chewy texture. It’s the difference between a cookie and a cracker.
- Make-Ahead Magic — This is the game-changer. You can make the dough and freeze it for up to three months. When my kids ask for cookies at 8 PM, I just pull a log of dough out of the freezer. It saves me from baking in the heat during summer or stressing on weeknights.
- Deep, Nutty Flavor — Browning the butter adds a layer of complexity that regular melted butter just can’t match. It tastes like toffee and nuts, even though there are no nuts in the dough. It makes simple cookies feel gourmet without the effort.
- Kid-Friendly (and Kid-Approved) — My picky eater, who usually turns his nose up at anything “fancy,” asks for these specifically. They’re not too sweet, not too tall, just perfect. Plus, letting kids measure ingredients is a great way to get them involved in the kitchen.
This recipe is my answer to “what’s for dessert?” when I’m tired but don’t want to serve ice cream again. It’s reliable, it’s affordable, and it tastes better than anything you’ll buy at the store. Trust me on this one.
Ingredients You’ll Need
Here’s the best part: you probably have most of this already. I’m not asking you to go to three different stores. This is budget baking at its finest. I’m particular about a few things here, but mostly, it’s about using what you have.
For the Base
Unsalted butter (1 cup / 226g) — This is where the magic happens. You need unsalted so you can control the salt level. I use standard supermarket brands; no need for fancy European butter here. We’re being budget-savvy.
Brown sugar (1 cup / 200g, packed) — This is key for the chewy centers. Don’t use white sugar alone, or you’ll get crisp cookies. The molasses in brown sugar keeps them soft. If you’re out, you can mix white sugar with a teaspoon of molasses, but brown sugar is best.
Granulated sugar (½ cup / 100g) — This helps with the edges. It gives them a slight crispness to contrast the chewy center. It’s a balance.
Egg (1 large) — Room temperature is ideal, but cold works fine if you’re in a hurry. Just whisk it in well.
Egg yolk (1 large) — This is the secret weapon. The extra fat from the yolk makes the cookies richer and chewier. It’s cheap to buy eggs and separate them yourself.
For the Dry Mix
All-purpose flour (2 ¼ cups / 280g) — Don’t over-measure! Spoon it into the cup and level it off. If you scoop it straight from the bag, you’ll pack it down and get dry cookies. I weigh my flour when I can, but volume works if you’re gentle.
Baking soda (1 teaspoon) — Not baking powder. Baking soda helps the cookies spread and brown. Make sure it’s not old.
Salt (1 teaspoon) — Even though we’re using unsalted butter, salt is crucial for flavor. It makes the chocolate taste more like chocolate. Don’t skip it.
Vanilla extract (2 teaspoons) — Use real vanilla. I know it’s pricey, but a little goes a long way. If you’re on a tight budget, imitation vanilla works okay, but it won’t have that depth.
For the Good Stuff
Chocolate chips (2 cups / 340g) — I use semi-sweet. You can buy the big bags from the grocery store; they’re just as good as the fancy brands. I chop up a few chocolate bars sometimes for variety, but chips are easier and cheaper.
Flaky sea salt (optional, for topping) — This is the fancy touch. A pinch on top right after baking makes them taste like a bakery cookie. If you don’t have it, regular salt works, or skip it entirely. It’s not a dealbreaker.
Quick Tip: I always keep a backup bag of chocolate chips in the pantry. If I’m running low, I’ll break up a chocolate bar, but chips melt more evenly. Also, if you want to stretch the batch, you can add a cup of oats or nuts, but honestly, these are perfect as is.
Equipment Needed
You don’t need fancy gadgets for this. Here’s what I actually use in my kitchen:
Large saucepan — For browning the butter. I use a light-colored pan so I can see the color change. A dark pan makes it hard to tell when the butter is done.
Whisk — For mixing the butter and sugars. A wooden spoon works too, but a whisk incorporates air better.
Mixing bowls — One medium, one large. I use plastic because they don’t break.
Measuring cups and spoons — Standard stuff. Dollar store versions work fine.
Cookie sheet — I use rimmed baking sheets. I line them with parchment paper. I know some people use silicone mats, but parchment is cheaper and easier to recycle.
Cooling rack — Or just let them cool on the sheet. I don’t stress about racks.
Fridge-safe container — For storing the dough if you’re making it ahead.
Tool Tip: Don’t have a light-colored pan? Use a glass bowl over a pot of simmering water (double boiler method) to brown the butter gently. It takes longer but gives you more control. I learned this when I burned my first batch.
How to Make It: Step-by-Step
Alright, let’s make these brown butter chocolate chip cookies with chewy centers! I’m walking you through exactly how I do it, including the little tricks I’ve picked up so you don’t make my mistakes.
Step 1: Brown the Butter (5-7 minutes)
Put your butter in a saucepan over medium heat. It will melt and foam up. Keep stirring with a whisk or wooden spoon. You’ll hear it crackle. Wait for the foam to settle a bit, then keep watching. The butter will turn golden brown at the bottom, and you’ll smell a nutty aroma, like toasted hazelnuts. This is crucial. If you wait too long, it burns. Remove it from the heat immediately and pour it into a heatproof bowl to stop the cooking. Let it cool for 10-15 minutes until it’s still liquid but not hot.
Step 2: Mix Sugars and Butter (2 minutes)
Once the brown butter is cool enough to touch, pour it into your mixing bowl. Add the brown sugar and granulated sugar. Whisk vigorously for about a minute. The mixture should look glossy and dark. This step dissolves the sugar slightly, which helps with the chewy texture. Don’t rush this.
Step 3: Add Wet Ingredients (1 minute)
Whisk in the egg and egg yolk until fully combined. Add the vanilla extract. The mixture will look a bit separated, like oil and water. That’s normal. Keep whisking until it’s smooth again.
Step 4: Combine Dry Ingredients (1 minute)
In a separate bowl, whisk together the flour, baking soda, and salt. Then, gently fold this into the wet mixture. Use a spatula or wooden spoon. Mix just until no dry streaks remain. Do not overmix! Overmixing develops gluten, and that leads to tough cookies. Stop as soon as it looks uniform.
Step 5: Fold in Chocolate Chips (1 minute)
Stir in the chocolate chips. You can do this by hand. I usually fold in half the chips, then the rest, to distribute them evenly. If you want a cookie with fewer chips, use 1 cup. If you’re a chip lover, use 2 cups or more. I’m generous.
Step 6: Chill the Dough (30 minutes to 24 hours)
This is the step most people skip, but I highly recommend it. Cover the bowl with plastic wrap and refrigerate for at least 30 minutes. This solidifies the fat, so the cookies don’t spread too much in the oven. It also lets the flavors meld. If you’re making ahead, you can chill it for up to 3 days, or freeze the dough in logs for months. I often make the dough on Sunday and bake through Thursday.
Step 7: Scoop and Bake (10-12 minutes)
Preheat your oven to 350°F (175°C). Line two baking sheets with parchment paper. Scoop the dough into balls, about 2 tablespoons each. Place them on the sheet, leaving 2 inches between them. Bake for 10-12 minutes. The edges should be golden, but the centers should still look slightly soft and underdone. This is key for chewy centers. They will firm up as they cool.
Step 8: Cool and Serve
Let the cookies sit on the hot baking sheet for 5 minutes. This finishes the cooking gently. Then transfer them to a wire rack to cool completely, or eat them warm like I do. Sprinkle with flaky sea salt if you’re feeling fancy. They’re best eaten within 2 days, but they last up to 5 days in an airtight container.
Troubleshooting: If your cookies spread too much, your butter was too warm when you mixed it, or your oven is hot. If they’re too dry, you overbaked them. Take them out when they look just barely done. They’ll continue to cook on the hot pan.
Expert Tips & Tricks
Here’s everything I’ve learned from making these dozens of times. These tips will save you from my mistakes and guarantee success.
Don’t Burn the Butter
The most common mistake is burning the butter. Once it starts smelling nutty, watch it like a hawk. It goes from perfect to burnt in seconds. If it smells bitter, toss it and start over. You can’t save burnt butter.
Cool the Butter
Don’t add hot brown butter to the sugar. It will melt the sugar and make a greasy mess. Let it cool until it’s just warm to the touch. About 10-15 minutes is usually enough.
Chill the Dough
I know you want to bake them now. But chilling the dough makes a huge difference. It prevents spreading and deepens the flavor. If you’re short on time, freeze the dough balls for 15 minutes. It’s a good compromise.
Underbake Slightly
For chewy centers, underbake. The cookies should look soft in the middle when you take them out. They will set as they cool. If you bake them until they look firm, they’ll be crisp and dry.
Freeze for Later
This is my favorite tip. Scoop the dough into balls and freeze them on a baking sheet. Once frozen, transfer to a bag. You can bake them straight from frozen, just add 1-2 minutes to the bake time. This is perfect for busy weeknights.
Double the Batch
I always double this recipe. It’s not much more work, and you end up with enough for gifts, bake sales, or just because you love them. Freeze half the dough for later.
Variations & Substitutions
Once you’ve nailed the basic version, here’s how you can mix it up. I’ve tried all of these, and they work well.
White Chocolate Macadamia
Swap the chocolate chips for white chocolate chips and add 1 cup of macadamia nuts. It’s rich and tropical. My kids love this version.
Peanut Butter
Add ½ cup of peanut butter to the dough. It adds protein and makes the cookies even chewier. You can also drizzle peanut butter on top before baking.
Chewy Brown Sugar Oatmeal
If you like chewy brown sugar oatmeal cookies, you can add 1 cup of rolled oats to this recipe. It makes them heartier and more like a breakfast cookie.
Gluten-Free
Use a 1-to-1 gluten-free flour blend. The texture will be slightly more crumbly, but it still works. I’ve used Bob’s Red Mill and it’s fine.
Dairy-Free
Use a dairy-free butter stick (like Miyoko’s) and dairy-free chocolate chips. It’s not as rich, but it’s still good. Coconut oil works too, but it changes the flavor.
Vegan
Use flax eggs (1 tbsp ground flax + 3 tbsp water per egg) and vegan butter/chocolate chips. The texture will be different, but it’s a decent option.
Serving & Storage
These cookies are best served warm, straight out of the oven. But they’re also great for packing in lunches or taking to parties.
Storage:
Store in an airtight container at room temperature for up to 5 days. Add a piece of bread to the container to keep them soft. The bread will get hard, but the cookies will stay chewy.
Freezing:
You can freeze baked cookies for up to 3 months. Thaw at room temperature. Or freeze the dough balls as I mentioned above. This is my go-to for meal prep. I make the dough on Sunday, freeze it, and bake fresh cookies throughout the week.
Leftovers:
If you have leftover cookies, don’t let them go to waste. Crumble them over ice cream or use them as a topping for yogurt. I also blend them into crumbs for cheesecake crusts if they get too old.
Pro Tip:
When I’m making these for a bake sale, I freeze the dough balls in a ziplock bag. It looks professional and they bake evenly. I always label the bag with the date and type.
Nutrition Information
I’m not a nutritionist, but here’s the breakdown if you’re tracking. Keep in mind, this is an estimate based on standard ingredients.
Per Cookie (makes about 24 cookies):
– Calories: 180
– Protein: 2g
– Carbs: 24g
– Fiber: 1g
– Sugar: 14g
– Fat: 9g
– Saturated Fat: 5g
– Cholesterol: 25mg
– Sodium: 120mg
What’s Good:
– It’s a treat, so don’t stress the calories.
– The brown butter adds flavor without extra sugar.
– You can control the sweetness by using less sugar or fewer chips.
What to Know:
– High in sugar and fat, obviously.
– Contains gluten and dairy.
– Moderate sodium.
My Take:
Look, these are cookies. They’re supposed to be indulgent. But because you’re making them at home, you know exactly what’s in them. You can use dark chocolate chips for less sugar, or reduce the sugar by ¼ cup. But usually? I just enjoy them in moderation and share them with my family.
Final Thoughts
So that’s my brown butter chocolate chip cookies with chewy centers recipe! I’ve probably talked your ear off at this point, but when you make a recipe this often, you have a lot to say about it. These cookies have saved my weeknight dessert routine. They’re cheap, they’re easy, and they taste amazing. My kids love them, my husband loves them, and I love that I can make them from scratch without breaking the bank.
Make it yours! Try different chips, add nuts, or freeze the dough for later. The best recipes are the ones you adapt to your family’s tastes. If you make this, drop a comment and let me know what you think! I love hearing how recipes turn out in your kitchen. And if something doesn’t work, tell me that too—I’m here to help troubleshoot.
Happy baking! And I hope your kitchen smells half as good as mine does right now.
Frequently Asked Questions
Can I use salted butter?
You can, but reduce the added salt in the recipe to ½ teaspoon. Salted butter varies in salt content, so it’s harder to control. I prefer unsalted because I can add the exact amount I want.
Why did my cookies spread too much?
This usually happens if the butter was too warm when you mixed the dough, or if your oven wasn’t preheated enough. Chill the dough for at least 30 minutes before baking. Also, make sure you’re measuring your flour correctly (spoon and level, don’t scoop).
Can I make the dough ahead?
Yes! You can refrigerate the dough for up to 3 days, or freeze it for up to 3 months. If freezing, thaw the dough in the fridge overnight before baking. You can also bake frozen dough balls directly, just add 1-2 minutes to the bake time.
Why do my cookies look underdone?
That’s the point! For chewy centers, you want to pull them out when they look soft in the middle. They will firm up as they cool on the hot baking sheet. If you bake them until they look firm, they’ll be crisp and dry.
Can I use milk chocolate chips?
Yes, but they’re sweeter. I recommend using semi-sweet or dark chocolate chips to balance the sweetness of the brown sugar. If you use milk chocolate, you might want to reduce the sugar slightly.
How do I store leftover cookies?
Store in an airtight container at room temperature for up to 5 days. Add a piece of bread to keep them soft. You can also freeze baked cookies for up to 3 months.
Can I double this recipe?
Absolutely! Double everything and use two mixing bowls. The cooking times stay the same. I always double this recipe because I end up with enough for gifts and bake sales.
Pin This Recipe!
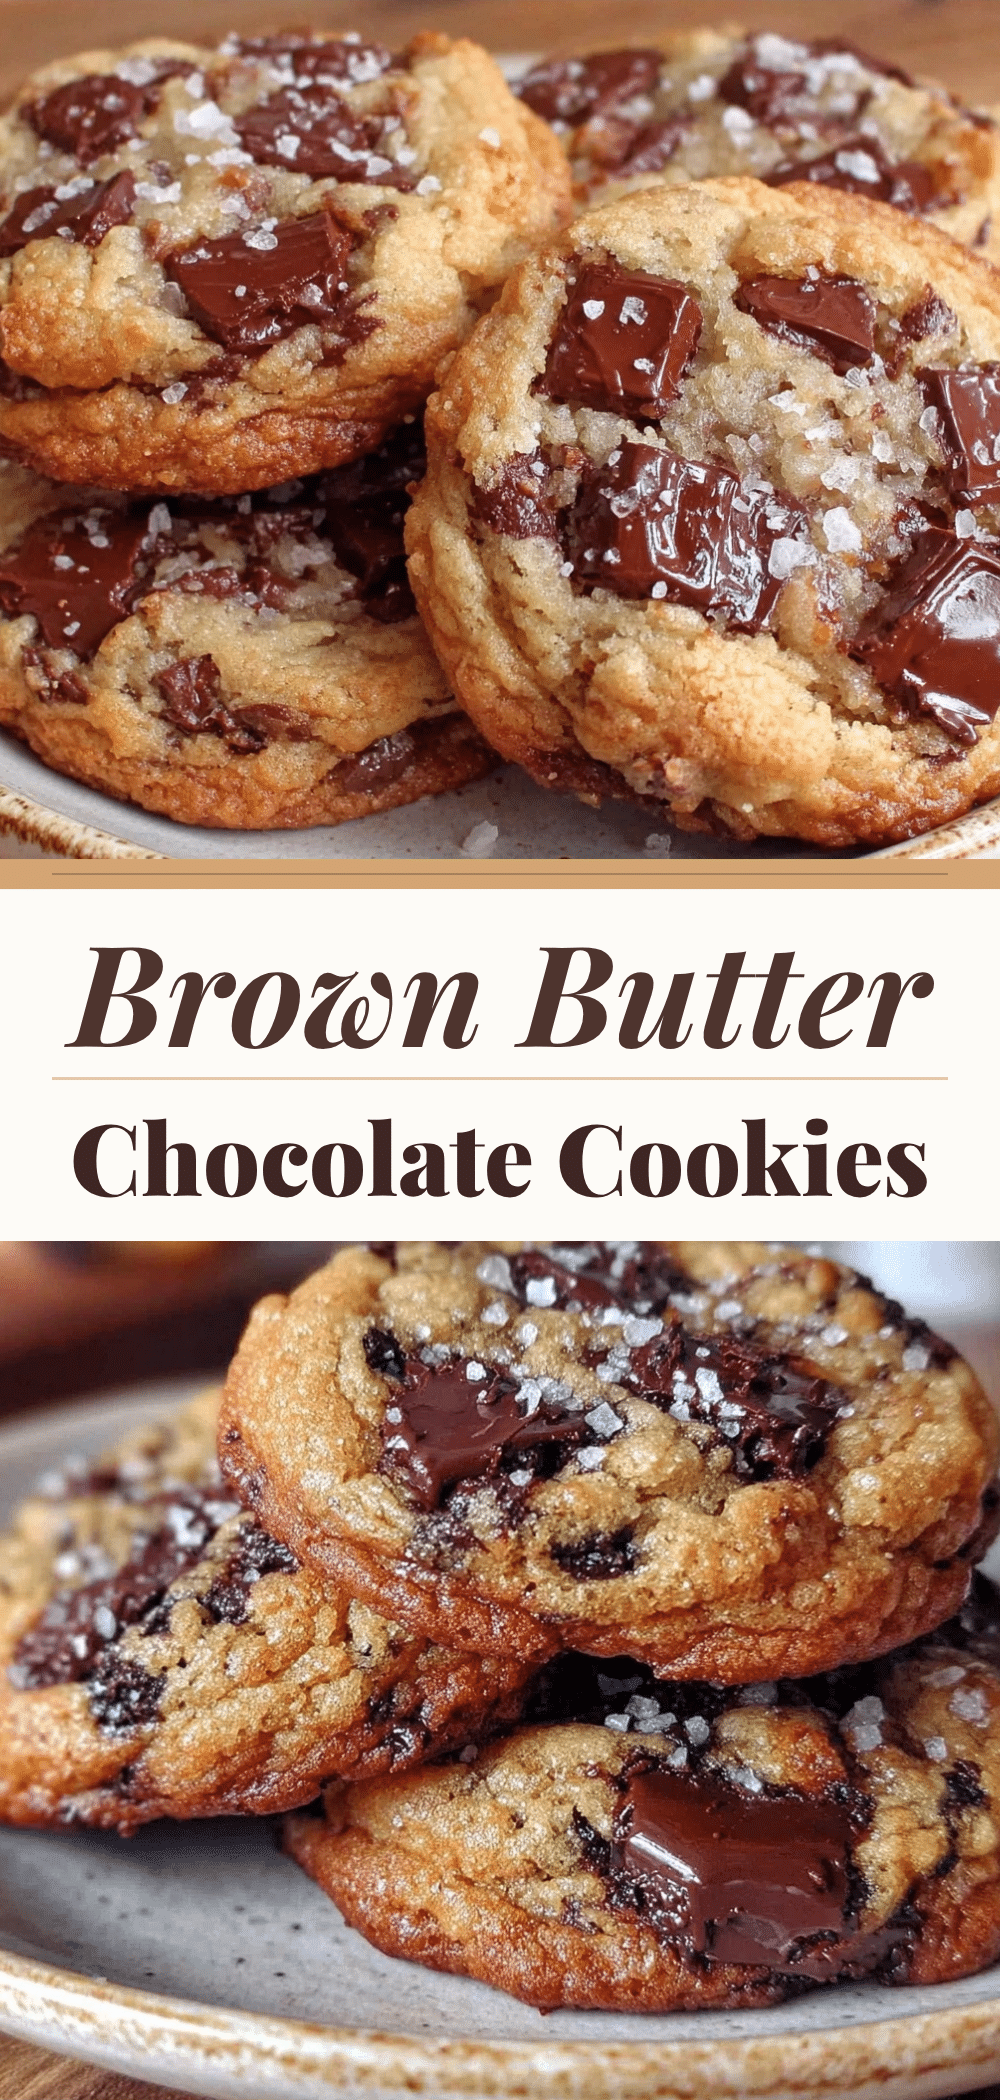
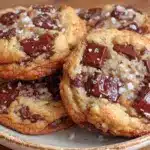
Brown Butter Chocolate Chip Cookies: Cheap, Chewy & Make-Ahead
- Total Time: 30 minutes
- Yield: 24 cookies 1x
Description
These brown butter chocolate chip cookies feature a nutty, toasty flavor and soft, chewy centers. They are budget-friendly, make-ahead friendly, and easy to make with pantry staples.
Ingredients
- 1 cup (226g) unsalted butter
- 1 cup (200g) packed brown sugar
- ½ cup (100g) granulated sugar
- 1 large egg, room temperature
- 1 large egg yolk
- 2 ¼ cups (280g) all-purpose flour
- 1 teaspoon baking soda
- 1 teaspoon salt
- 2 teaspoons vanilla extract
- 2 cups (340g) semi-sweet chocolate chips
- Flaky sea salt, optional for topping
Instructions
- Brown the butter: Melt butter in a large saucepan over medium heat. Stir constantly until the foam settles and the butter turns golden brown with a nutty aroma (5-7 minutes). Immediately pour into a heatproof bowl to stop cooking and let cool for 10-15 minutes until liquid but not hot.
- Mix sugars and butter: In a large mixing bowl, combine the cooled brown butter, brown sugar, and granulated sugar. Whisk vigorously for about a minute until the mixture is glossy and dark.
- Add wet ingredients: Whisk in the egg and egg yolk until fully combined. Add the vanilla extract and whisk until the mixture is smooth.
- Combine dry ingredients: In a separate medium bowl, whisk together the flour, baking soda, and salt.
- Fold in dry ingredients: Gently fold the dry ingredients into the wet mixture using a spatula or wooden spoon. Mix just until no dry streaks remain; do not overmix.
- Add chocolate chips: Stir in the chocolate chips until evenly distributed.
- Chill the dough: Cover the bowl with plastic wrap and refrigerate for at least 30 minutes (or up to 3 days). For make-ahead, freeze dough logs for up to 3 months.
- Preheat oven and prepare sheets: Preheat oven to 350°F (175°C). Line two rimmed baking sheets with parchment paper.
- Scoop and bake: Scoop dough into 2-tablespoon balls, placing them 2 inches apart on the baking sheets. Bake for 10-12 minutes until edges are golden but centers still look slightly soft.
- Cool and serve: Let cookies sit on the hot baking sheet for 5 minutes to finish cooking gently. Transfer to a wire rack to cool completely or eat warm. Sprinkle with flaky sea salt if desired.
Notes
Do not burn the butter; watch it closely once it smells nutty. Cool the butter before mixing with sugar to prevent a greasy mess. Chill the dough to prevent spreading and enhance flavor. Underbake slightly for chewy centers as they firm up while cooling. Store in an airtight container with a piece of bread to keep soft.
- Prep Time: 20 minutes
- Cook Time: 10-12 minutes
- Category: Dessert
- Cuisine: American
Nutrition
- Serving Size: 1 cookie
- Calories: 180
- Sugar: 14
- Sodium: 120
- Fat: 9
- Saturated Fat: 5
- Carbohydrates: 24
- Fiber: 1
- Protein: 2
Keywords: brown butter cookies, chocolate chip cookies, chewy cookies, make-ahead cookies, budget baking, easy dessert, homemade cookies