Last Tuesday, I came home from work completely drained. You know that feeling—where your brain feels like static and the only thing you want to do is collapse on the couch? I stared into the fridge, saw a bag of chicken thighs, and groaned. I didn’t have the energy to chop vegetables, I didn’t want to stand over a hot stove, and I definitely didn’t want to order takeout (which takes forever and costs way too much).
So I did the most basic thing I could think of: I threw the chicken in a bowl, added some garlic, some parmesan, and threw it in the oven. I figured it would be okay. Maybe even good.
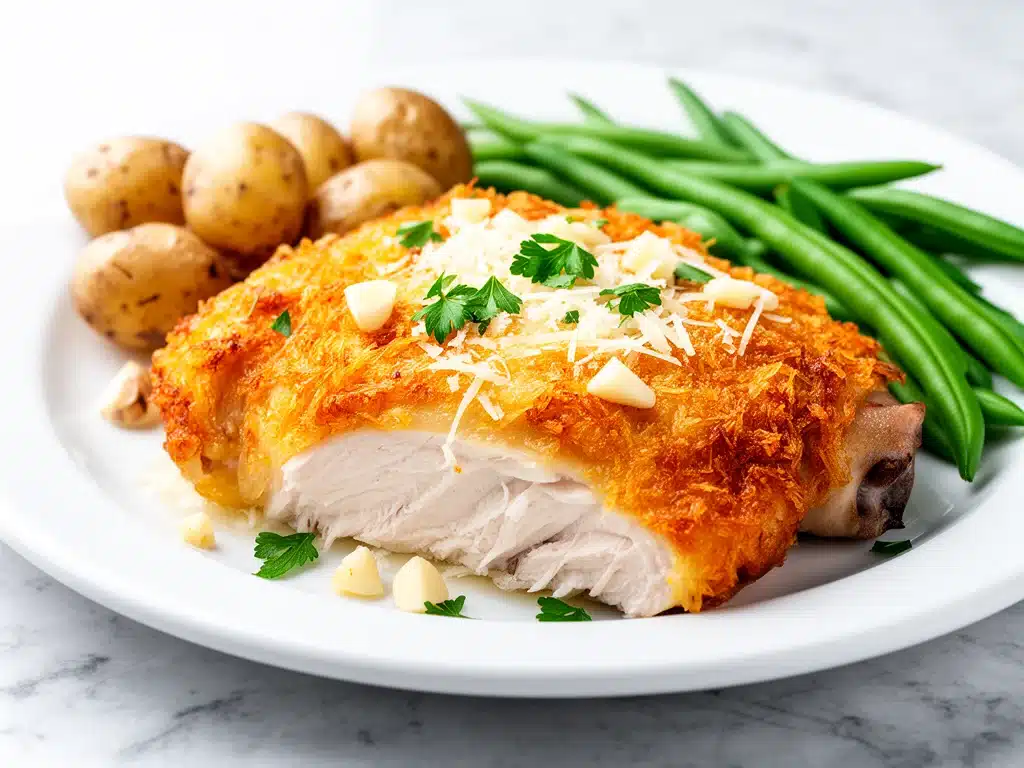
What came out of the oven thirty minutes later was shocking. The skin was crispy, golden, and crackling. The meat was juicy enough that it practically fell off the bone. And that garlic-parmesan crust? It was savory, crunchy, and addictive. My kids devoured it. My husband asked for seconds (a rare occurrence on a Tuesday). And I realized I had just created the ultimate low-effort, high-reward dinner.
I’ve made this baked garlic parmesan chicken recipe at least twenty times since that night. I’ve tweaked the seasoning, tested different baking times, and compared brands of parmesan. And I can confidently say: this is hands-down the best way to cook chicken thighs. It’s not complicated. It doesn’t require fancy equipment. It just works. Every. Single. Time.
If you’re looking for a weeknight dinner that feels fancy but takes almost zero effort, stop scrolling. This is the one. It’s crispy, it’s garlicky, and it’s about to become your new best friend.
Why You’ll Love This Recipe
There are a million chicken recipes out there, but this baked garlic parmesan chicken stands out for a few specific reasons. It’s not just “chicken with cheese on it.” It’s a complete flavor experience that requires minimal cleanup. Here’s why it’s earned a permanent spot in my weekly rotation:
- Crispy Skin, Juicy Meat — Chicken thighs are naturally forgiving. They don’t dry out like breasts do. When you bake them with this coating, the skin gets shatteringly crisp while the meat stays tender and juicy. It’s the best of both worlds.
- Five Ingredients Max — Seriously. You probably have everything you need in your pantry right now. Chicken thighs, parmesan, garlic, oil, and seasoning. That’s it. No weird sauces or hard-to-find spices.
- Zero Active Effort — Once you toss the chicken in the bowl and put it in the oven, you’re done. Go read a book. Take a nap. The oven does all the work. This is the definition of lazy cooking done right.
- Meal Prep Friendly — These taste great cold or reheated. I often double the batch and eat these for lunch for three days straight. They reheat beautifully in the microwave without getting soggy.
- Family Approved — My picky eater son (who usually refuses anything with “crust”) asks for this specifically. The parmesan crust is savory enough to satisfy adult tastes but mild enough for kids.
Real talk? This recipe saved my sanity during a particularly busy week last month. It’s reliable, delicious, and makes you look like a culinary genius without actually trying. That’s the kind of win I’m talking about.
Ingredients You’ll Need
Here’s the beauty of this recipe: it’s simple. You don’t need a grocery run for obscure items. Let’s break down what you need and why each part matters.
The Chicken
Chicken Thighs (about 2-3 lbs / 900g – 1.3kg) — Boneless, skin-on thighs are non-negotiable here. The skin crisps up, and the fat keeps the meat moist. Bone-in thighs work too, but you’ll need to increase the baking time by 10-15 minutes. If you only have chicken breasts, you can use them, but they will be drier. I recommend brining them first if you go that route.
The Crust
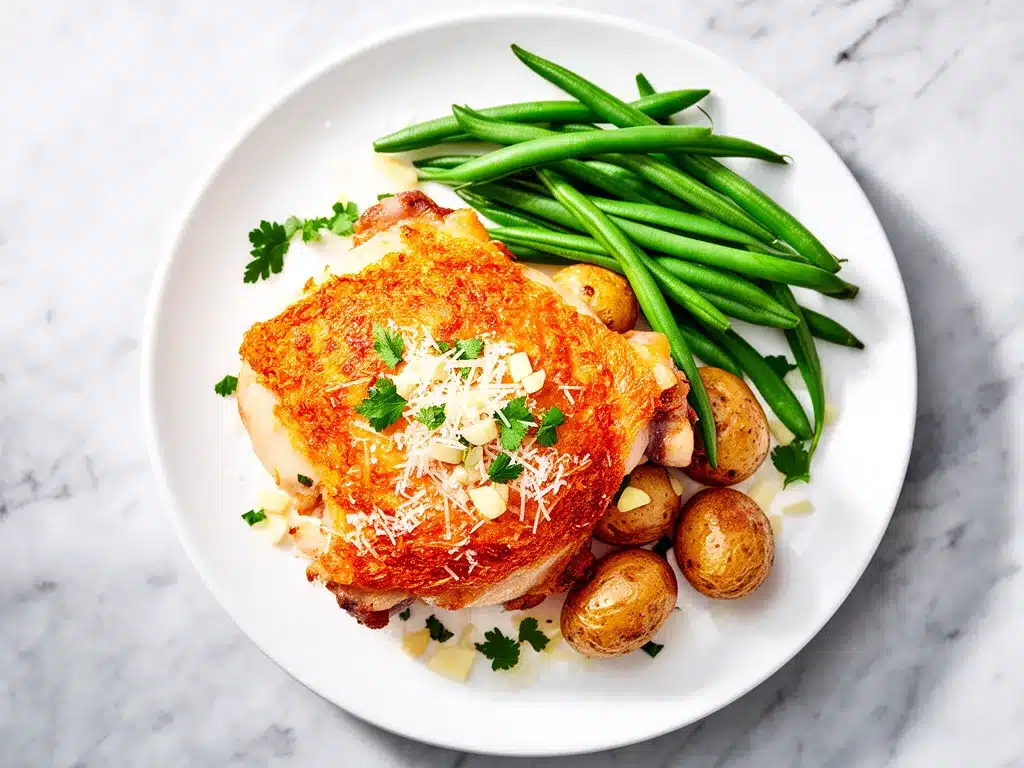
Parmesan Cheese (1 cup / 100g, freshly grated) — This is the star of the show. Do not use the pre-grated stuff in the green shaker cans. It has anti-caking agents that prevent it from melting properly, and the flavor is flat. Buy a wedge of parmesan and grate it yourself. It takes two minutes and makes a huge difference. Pecorino Romano is a good substitute if you want something sharper and saltier.
Garlic (4-5 cloves, minced / about 2 tablespoons) — Fresh garlic is essential. Jarred garlic tastes metallic and won’t give you that fresh, aromatic punch. Mince it finely so it sticks to the chicken well.
Italian Seasoning (1 teaspoon) — This adds a hint of herbal complexity. If you don’t have it, use a mix of dried oregano, basil, and thyme. Fresh herbs work too, but they won’t form a crust, so stick to dried for this specific texture.
Olive Oil (2 tablespoons) — Just a little bit helps the parmesan stick and promotes browning. You can use melted butter if you prefer a richer flavor, but olive oil gives a nicer crisp.
Seasoning
Salt and Black Pepper — To taste. I usually use about 1 teaspoon of kosher salt and half a teaspoon of freshly cracked pepper. Adjust based on how salty your parmesan is.
Optional Add-ins
Dried Parsley (1 teaspoon) — Sprinkle on top after baking for a pop of color. It looks pretty and adds a fresh note.
Red Pepper Flakes (½ teaspoon) — If you like a little kick, add these to the crust mix. It cuts through the richness of the cheese nicely.
Equipment Needed
You don’t need anything fancy for this. Here’s what I actually use in my kitchen:
Baking Sheet — I use a standard half-sheet pan. Line it with parchment paper for easy cleanup. If you don’t have parchment, grease it lightly with oil.
Wire Rack (Optional but Recommended) — Placing a wire rack on top of the baking sheet allows air to circulate under the chicken, making the bottom skin crispier too. If you don’t have a rack, just lay the chicken directly on the parchment. It’ll still be good, just slightly less crispy on the bottom.
Mixing Bowls — You’ll need one medium bowl to toss the chicken in. A shallow bowl works best so you can coat everything evenly.
Grater — A box grater or microplane for the parmesan. If you’re feeling lazy, you can buy pre-grated parmesan from the cheese counter at the grocery store (it’s fresher than the shaker kind but still easier than grating yourself).
Chef’s Knife — For mincing the garlic. Make sure it’s sharp. Dull knives are annoying and dangerous.
How to Make It: Step-by-Step
Alright, let’s get cooking. This is incredibly straightforward, but there are a few tricks to ensure that perfect crispy crust.
Step 1: Prep the Oven and Pan (5 minutes)
Preheat your oven to 400°F (200°C). This high heat is crucial for crisping the skin and melting the cheese without drying out the meat. Line a baking sheet with parchment paper or lightly grease it with olive oil. If you’re using a wire rack, place it on the sheet now.
Step 2: Season the Chicken (2 minutes)
Pat the chicken thighs dry with paper towels. This seems minor, but removing excess moisture is the secret to crispy skin. Wet chicken steams; dry chicken crisps. Sprinkle the thighs with salt and pepper on both sides. Set them aside.
Step 3: Make the Garlic Parmesan Crust (3 minutes)
In a small bowl, combine the grated parmesan, minced garlic, Italian seasoning, and red pepper flakes (if using). Mix well. You want the garlic distributed evenly so every bite has flavor.
Step 4: Coat the Chicken (2 minutes)
Place the chicken thighs in a medium bowl. Drizzle with olive oil and toss to coat. Then, sprinkle the parmesan mixture over the chicken. Use your hands to press the mixture firmly onto the chicken, ensuring every piece is well-coated. Don’t be shy—pack it on. That crust is the best part.
Step 5: Bake (25-30 minutes)
Place the chicken on the prepared baking sheet, skin-side up. Bake for 25-30 minutes. The chicken is done when the internal temperature reaches 165°F (74°C) and the crust is golden brown and crispy. If you want extra browning, you can broil for the last 1-2 minutes, but watch it closely so the cheese doesn’t burn.
Step 6: Rest and Serve (5 minutes)
Remove from the oven and let the chicken rest for 5 minutes. This allows the juices to redistribute, keeping the meat moist. Sprinkle with fresh parsley if using. Serve immediately while hot and crispy.
Total time: About 35 minutes (5 minutes prep, 30 minutes cooking).
Expert Tips & Tricks
I’ve made this enough times to know what works and what doesn’t. Here’s how to avoid common pitfalls:
- Don’t Skip the Paper Towels — I know it’s annoying, but drying the chicken is non-negotiable. If the skin is wet, the parmesan will slide off, and the skin won’t crisp. Take the extra minute to pat them dry.
- Grate Your Own Cheese — I can’t stress this enough. Pre-grated parmesan has cellulose in it, which prevents it from melting smoothly. You’ll end up with clumpy, greasy cheese. Freshly grated cheese melts into a beautiful, golden crust.
- Use a Meat Thermometer — Chicken thighs are forgiving, but overcooking them makes them tough. A thermometer takes the guesswork out. Pull them at 165°F. If they’re a bit under, they’ll continue to cook while resting.
- Don’t Crowd the Pan — Give the chicken space. If the pieces are touching, they’ll steam each other instead of baking. Use two baking sheets if necessary. Proper airflow equals crispiness.
- Adjust for Bone-In — If you’re using bone-in thighs, bake them for 35-40 minutes. The bone insulates the meat, so it takes longer to cook through. The skin might need a few extra minutes under the broiler to get crisp.
Variations & Substitutions
Once you’ve mastered the basic version, here are some fun ways to mix it up:
Spicy Version
Add 1 teaspoon of cayenne pepper or smoked paprika to the crust mix. It adds a nice heat that pairs well with the salty parmesan.
Herb-Forward
Skip the Italian seasoning and use fresh thyme and rosemary. Chop them finely and mix them into the parmesan. It gives a more rustic, French-inspired flavor.
Gluten-Free
This recipe is naturally gluten-free as long as your parmesan and seasoning blends are GF. Just double-check the labels on your spices, as some pre-mixed blends contain wheat flour.
With a Side
This chicken pairs beautifully with healthy green apple spinach smoothie for a refreshing contrast to the savory dinner, or alongside roasted vegetables like asparagus or broccoli.
Leftover Love
These chicken thighs are amazing cold or reheated. I often pack them for lunch the next day. They taste great in salads or wrapped in lettuce leaves for a low-carb option.
Serving & Storage
How to Serve: I usually serve these with a simple green salad, roasted potatoes, or steamed broccoli. The chicken is rich, so a light, acidic side like a vinaigrette salad cuts through the richness perfectly. If you’re in the mood for something more substantial, labor day no bake strawberry pretzel salad is a fun twist for summer gatherings, though it’s a bit sweeter than what I usually pair with this savory dish.
Storage: Store leftovers in an airtight container in the refrigerator for up to 4 days. The crust will soften slightly in the fridge, which is normal.
Reheating: To restore crispiness, reheat in the oven at 375°F (190°C) for 10-15 minutes. Avoid the microwave if you care about texture—it will make the skin chewy. If you must use the microwave, do it in short bursts and try to crisp it in a toaster oven afterward.
Freezing: You can freeze cooked chicken thighs for up to 3 months. Thaw in the fridge overnight and reheat as above. For best results, freeze them on a baking sheet first, then transfer to a freezer bag to prevent clumping.
Nutrition Information
I’m not a nutritionist, but here’s the breakdown if you’re tracking. This is per serving (based on 4 servings, with 1 thigh per serving):
- Calories: 380
- Protein: 32g
- Carbs: 3g
- Fat: 26g
- Sodium: 450mg (varies based on cheese)
It’s high in protein and relatively low in carbs, making it a great option for low-carb or keto diets. The parmesan adds calcium and flavor without adding much bulk. It’s comfort food that’s actually pretty good for you.
Final Thoughts
So there you have it—my go-to baked garlic parmesan chicken thighs. It’s simple, it’s delicious, and it’s reliable. I’ve made this recipe when I was too tired to cook, when I had guests coming over, and when I just wanted something comforting. It never fails me.
If you try this, I’d love to hear how it turns out. Drop a comment and let me know if you added any extra spices or paired it with something specific. And if you’re looking for more easy, weeknight-friendly recipes, check out this soft baked ham cheese pretzel bites for a fun snack, or this back to school chicken caesar wrap for a quick lunch idea.
Happy cooking! I hope your kitchen smells amazing tonight.
Frequently Asked Questions
Can I use chicken breasts instead of thighs?
You can, but the results will be different. Chicken breasts are leaner and will dry out faster. If you use breasts, reduce the baking time to 20-25 minutes and keep a close eye on them. I still recommend thighs for their juiciness and flavor.
Why is my parmesan not sticking to the chicken?
This usually happens if the chicken is too wet or if you didn’t use enough oil. Make sure you pat the chicken dry and use enough olive oil to create a sticky base. Pressing the cheese firmly into the chicken helps too.
Can I make this in an air fryer?
Yes! Air fry at 375°F (190°C) for 12-15 minutes. You might need to shake the basket halfway through. The crust will get even crispier in the air fryer. Just don’t overcrowd the basket.
Is pre-grated parmesan okay to use?
I really advise against it. Pre-grated parmesan has anti-caking agents that prevent it from melting smoothly. You’ll end up with a grainy texture instead of a nice crust. Freshly grated makes a huge difference.
How do I know when the chicken is done?
Use a meat thermometer. The internal temperature should reach 165°F (74°C). If you don’t have one, cut into the thickest part of the thigh—the juices should run clear, and the meat should be opaque, not pink.
Can I prepare this ahead of time?
You can prep the chicken and mix the crust up to 24 hours in advance. Store the coated chicken in the fridge, covered, and bake it when you’re ready. The flavors will meld together nicely.
Pin This Recipe!
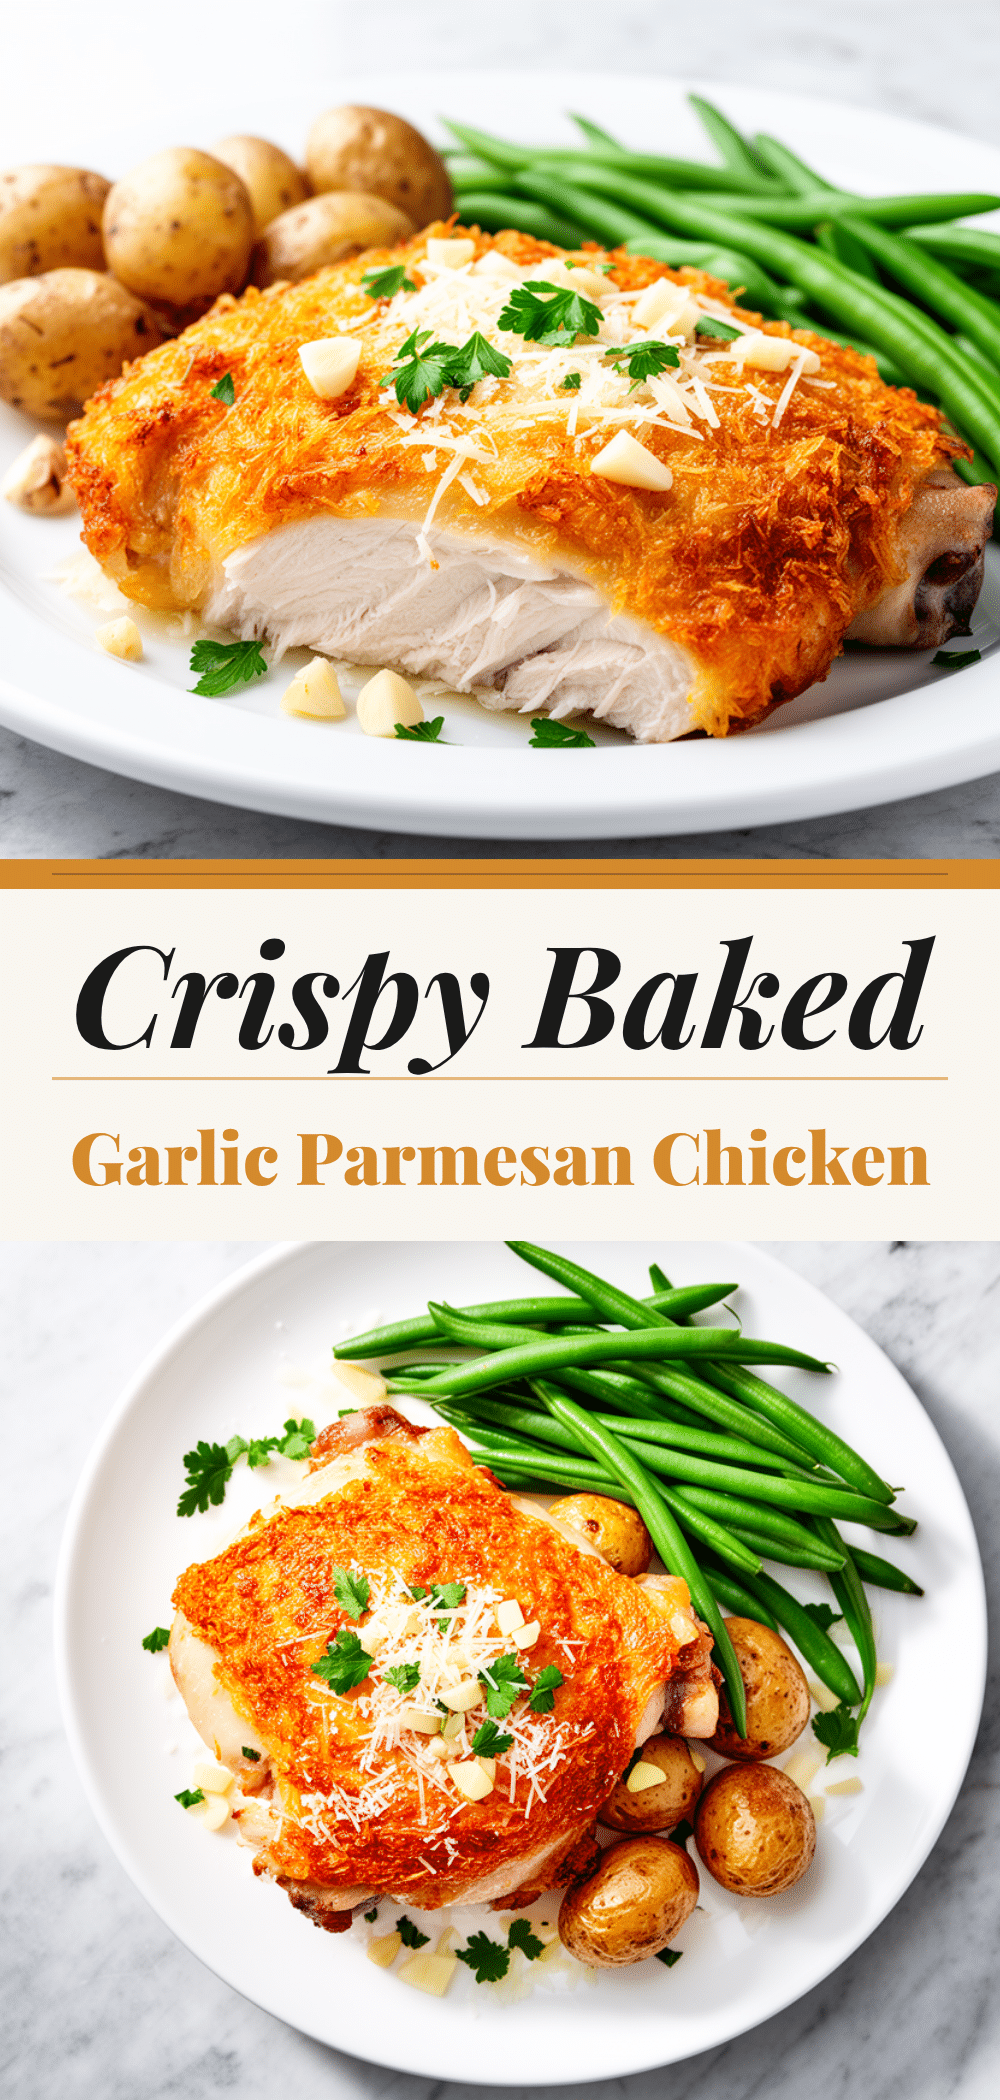

Baked Garlic Parmesan Chicken Thighs
- Total Time: 40 minutes
- Yield: 4 servings 1x
Description
A simple, low-effort weeknight dinner featuring crispy, golden chicken thighs coated in a savory garlic and parmesan crust. This recipe requires only five ingredients and minimal active prep time.
Ingredients
- 2–3 lbs boneless, skin-on chicken thighs
- 1 cup freshly grated parmesan cheese
- 4–5 cloves garlic, minced
- 1 teaspoon Italian seasoning
- 2 tablespoons olive oil
- 1 teaspoon kosher salt
- 0.5 teaspoon freshly cracked black pepper
- 1 teaspoon dried parsley (optional)
- 0.5 teaspoon red pepper flakes (optional)
Instructions
- Preheat oven to 400°F (200°C). Line a baking sheet with parchment paper or grease lightly with oil. If using a wire rack, place it on the sheet.
- Pat chicken thighs dry with paper towels to ensure crispy skin. Sprinkle both sides with salt and pepper.
- In a small bowl, combine grated parmesan, minced garlic, Italian seasoning, and red pepper flakes (if using).
- Place chicken thighs in a medium bowl. Drizzle with olive oil and toss to coat. Sprinkle the parmesan mixture over the chicken and press firmly to ensure the coating adheres.
- Place chicken skin-side up on the prepared baking sheet.
- Bake for 25-30 minutes, or until the internal temperature reaches 165°F (74°C) and the crust is golden brown and crispy. Optionally broil for 1-2 minutes for extra browning.
- Remove from oven and let rest for 5 minutes. Sprinkle with dried parsley if using and serve immediately.
Notes
Do not skip drying the chicken with paper towels, as moisture prevents crisping. Use freshly grated parmesan rather than pre-grated, which contains anti-caking agents. If using bone-in thighs, increase baking time to 35-40 minutes. Do not crowd the pan to ensure proper airflow and crispiness.
- Prep Time: 10 minutes
- Cook Time: 30 minutes
- Category: Main Course
- Cuisine: American
Nutrition
- Serving Size: 1 chicken thigh per
- Calories: 380
- Sugar: 1
- Sodium: 450
- Fat: 26
- Saturated Fat: 10
- Carbohydrates: 3
- Protein: 32
Keywords: chicken thighs, baked chicken, garlic parmesan, easy dinner, weeknight meals, keto friendly, low carb, crispy chicken


