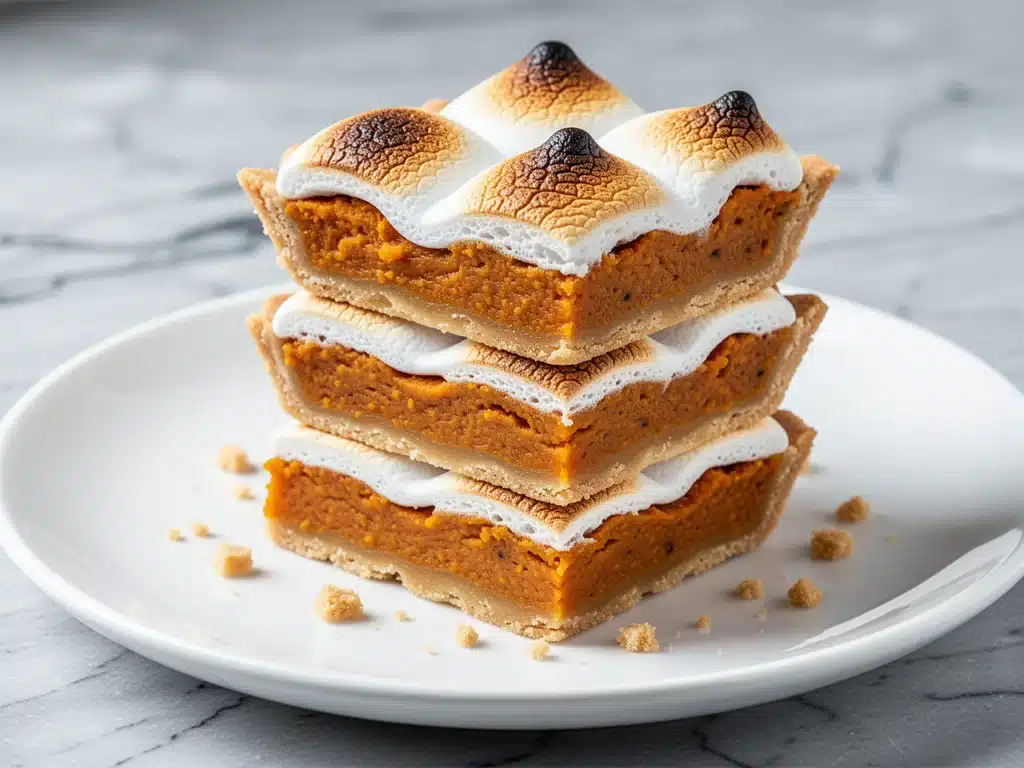
It was late October last year, the kind of evening where the wind picks up and suddenly your kitchen feels like the only safe place on earth. I had just finished making dinner, and while I was cleaning up, I caught myself staring at the empty spot on my counter where my usual pumpkin pie should have been sitting. I’d planned to bake one, but then I remembered the last time I tried to get a perfect crust without it cracking or weeping juice onto my counter. I decided I didn’t need another pie with a fragile edge. I needed something that tasted like autumn, felt like a hug, but didn’t require a PhD in pastry arts.
That night, I pulled together what I thought would be a quick, experimental batch of bars. I mixed up some sweet potato filling, pressed in a buttery crust, and topped it with more marshmallows than I probably should have. I put them in the oven, walked away, and came back to find my entire family standing around the cooling rack, holding plates, looking at me like I’d just handed them gold bars. The first bite? Crisp crust, creamy and spiced potato filling, and that perfect, sticky-sweet char on top of the marshmallows. It was better than pie. It was easier than pie. It was, without a doubt, the best thing I’d baked all season.
Since that night, I’ve made these Cozy Fall Sweet Potato Pie Bars with Toasted Marshmallow Topping at least eight times. Eight. I’ve tested different crusts, tried different sweet potatoes, and even experimented with adding a pinch of cayenne (which, by the way, is a game-changer). These bars have become my go-to for Thanksgiving, holiday potlucks, and just because it’s Tuesday and I want something sweet that smells like cinnamon and comfort. They’re the kind of dessert that stops people in their tracks. You’ll make these on repeat, I promise.
Why You’ll Love This Recipe
Look, I love a good pie as much as the next person. But pies are finicky. They demand attention, precise temperatures, and a level of patience I often don’t have after a long day. These sweet potato pie bars are different. They’re forgiving, they’re portable, and they taste incredible even if you’re not a professional baker. Here’s why this recipe has taken over my kitchen:
Zero Pie Crust Stress
Forget rolling out dough, trying to fit it into a pie dish without tearing it, and worrying about a soggy bottom. The crust here is a simple, crumbly shortbread-style base that you press into the pan. It’s sturdy enough to hold the filling but tender enough to melt in your mouth. If you can mash potatoes, you can make this crust.
Marshmallow Magic
This is the secret weapon. We’re not just throwing marshmallows on top for decoration. We’re toasting them until they’re golden, bubbly, and slightly caramelized. That contrast between the rich, earthy sweet potato and the sweet, airy marshmallow is pure heaven. It’s like s’mores met a classic dessert pie and decided to be best friends.
Make-Ahead Friendly
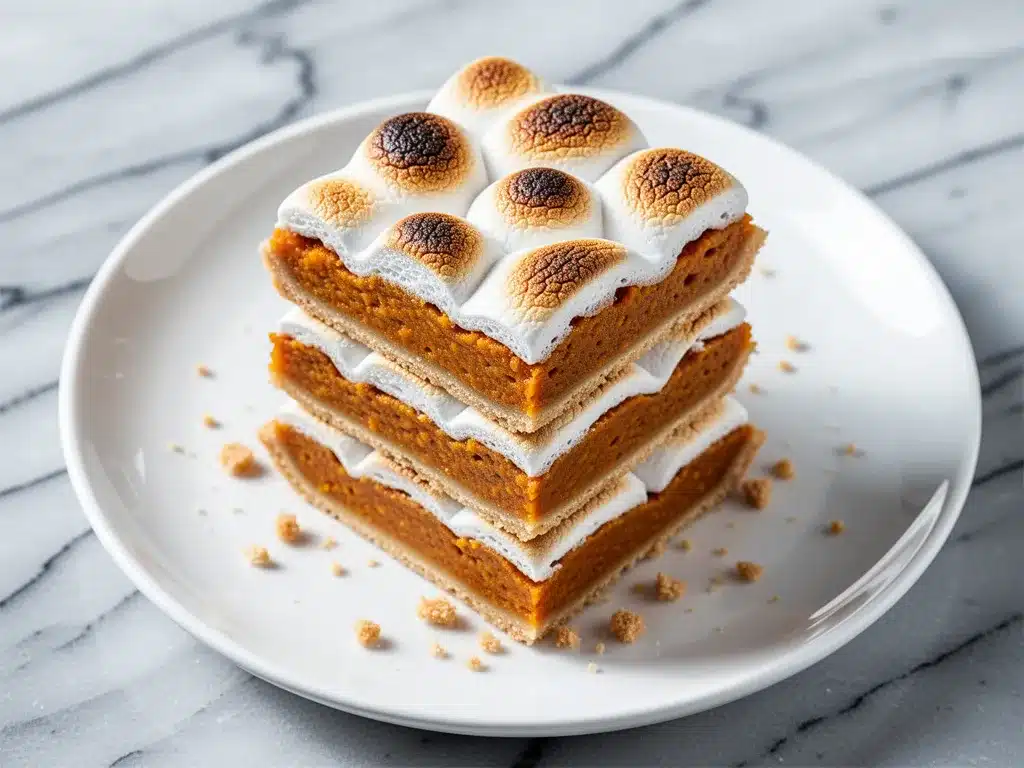
Unlike a traditional pie that needs to be served soon after baking to keep the crust crisp, these bars actually improve after sitting in the fridge for a few hours. The flavors meld together, the texture sets up beautifully, and they’re easy to slice into neat squares. I often make them the day before an event, which means I’m not stressed on the day of the party.
Uses Real Sweet Potatoes
I’m picky about this. Canned puree is fine if you’re in a pinch, but roasting your own sweet potatoes brings out a natural caramelization that makes the filling taste deep and complex. It’s not just “sweet”—it’s savory-sweet, earthy, and warm. Once you try it with roasted potatoes, you won’t go back.
Perfect for Sharing
Pie slices can be messy. Bars are clean. You can cut them into small squares for a potluck, or larger rectangles for a family dinner. They travel well, they don’t slide around in the car, and everyone loves a bar because it feels like a treat but also like a snack.
So basically, if you want that cozy fall vibe without the hassle, these are your answer. They’re reliable, delicious, and guaranteed to get you into the holiday spirit.
Ingredients You’ll Need
Here’s the best part: you probably have most of these ingredients already. This isn’t a recipe that requires a trip to three different specialty stores. It’s pantry-friendly, with a few fresh ingredients that make all the difference. I’m particular about three things here: the quality of the butter, the sweetness of the marshmallows, and the spice blend. Let’s break it down.
For the Crust
All-purpose flour (1 ½ cups / 190g) — This gives us that tender, shortbread texture. Don’t try to swap this for almond flour unless you want a completely different texture. The flour provides structure.
Unsalted butter (½ cup / 115g, cold and cubed) — Cold butter is non-negotiable for this crust. When you cut cold butter into the flour, it creates little pockets of fat that melt in the oven, creating flakiness. If your butter is soft, your crust will be dense.
Granulated sugar (¼ cup / 50g) — Just a little sweetness to balance the salty butter. You can use brown sugar for a deeper, molasses flavor, but white sugar keeps the crust light and crumbly.
Salt (¼ teaspoon) — Enhances the flavor of the butter. Don’t skip it.
For the Sweet Potato Filling
Roasted sweet potatoes (2 medium, about 2 cups / 400g mashed) — Roast them whole at 400°F (200°C) for about 45 minutes until soft. Scoop out the flesh. It tastes so much better than canned. If you must use canned, choose 100% pure sweet potato, not pie filling.
Heavy cream (½ cup / 120ml) — Adds richness and helps the filling set. Half-and-half works in a pinch, but heavy cream gives that luxurious, custard-like texture.
Large eggs (2 large) — These bind the filling and help it set. Room temperature eggs mix more evenly, so take them out of the fridge 15 minutes before you start.
Brown sugar (¾ cup / 150g, packed) — This adds moisture and a caramel note that pairs perfectly with the sweet potato. Light or dark brown sugar both work; I usually use light.
Vanilla extract (1 teaspoon) — Pure vanilla is worth the extra cost. It rounds out the spices.
Spice blend (1 ½ teaspoons total) — I use a mix of 1 tsp cinnamon, ½ tsp ginger, and ¼ tsp nutmeg. Cinnamon is the star, ginger adds warmth, and nutmeg adds depth. Don’t use pumpkin pie spice if you want that classic sweet potato flavor; it’s too clove-heavy.
For the Topping
Marshmallows (3 cups / about 100g) — Standard white marshmallows work best. They melt evenly and toast beautifully. Avoid mini marshmallows unless you want them to disappear into the filling.
Extra butter (1 tablespoon, optional) — Brushing a tiny bit of melted butter on the marshmallows before broiling helps them brown faster and adds a nice sheen.
Flaky sea salt (pinch) — Sprinkled on top right after they come out of the oven. The salt cuts through the sweetness and elevates the whole bar.
Equipment Needed
You don’t need fancy gadgets for this. Here’s what I actually use, and what you can swap out.
9×9 inch baking pan — This is the ideal size for these bars. You can use an 8×8 if you want thicker bars, but the baking time will change slightly. Line it with parchment paper for easy lifting.
Rimmed baking sheet — Place this under your baking pan while it bakes. It catches any potential drips and ensures the bottom crust cooks evenly. I learned this the hard way after one messy oven clean-up.
Food processor or stand mixer — For the crust, a food processor is fastest. Pulse the flour, sugar, salt, and butter until it looks like coarse crumbs. If you don’t have one, use a pastry cutter or even your fingers.
Fork or potato masher — To press the crust into the pan. A fork works well to create an even layer.
Whisk and spatula — For mixing the filling. Make sure you whisk until it’s completely smooth; no lumps of sweet potato allowed.
Broiler — Your oven’s broiler is essential for that toasted marshmallow top. Keep a close eye on it—marshmallows go from golden to burnt in seconds.
How to Make It: Step-by-Step
Alright, let’s make these bars! I’m walking you through exactly how I do it, including the little tricks I’ve picked up over the last year. This process is straightforward, but timing matters.
Step 1: Prep Your Oven and Pan (5 minutes)
Preheat your oven to 350°F (175°C). Line a 9×9 inch baking pan with parchment paper, leaving an overhang on the sides. This is crucial for lifting the bars out later. Grease the parchment lightly with butter or cooking spray.
Step 2: Make the Crust (5 minutes)
In a food processor, combine the flour, sugar, and salt. Add the cold, cubed butter. Pulse until the mixture resembles coarse crumbs with some pea-sized pieces of butter remaining. Don’t over-process, or the crust will be tough. Transfer the mixture to your prepared pan and press it firmly and evenly into the bottom. Use the bottom of a measuring cup or a fork to pack it down. Bake for 15 minutes until lightly golden. Remove and let it cool slightly while you make the filling.
Step 3: Prepare the Sweet Potatoes (While crust bakes)
If you haven’t roasted your sweet potatoes yet, do it now. Pierce them with a fork and bake at 400°F (200°C) for 45-60 minutes until very soft. Let them cool, then scoop out the flesh and mash it until smooth. You need 2 cups. If you’re using canned puree, measure it out. Make sure it’s at room temperature.
Step 4: Mix the Filling (5 minutes)
In a large bowl, whisk the brown sugar and melted butter until smooth. Add the mashed sweet potatoes, heavy cream, eggs, vanilla, and spices. Whisk vigorously until the mixture is completely smooth and uniform. There should be no visible lumps of potato. Taste it at this stage—if you want it sweeter, add a tablespoon more sugar.
Step 5: Assemble and Bake (40 minutes)
Pour the filling over the partially baked crust. Smooth the top with a spatula. Bake at 350°F (175°C) for 30-35 minutes, or until the edges are set and the center is just barely jiggly. It will firm up as it cools. Do not overbake, or the filling will crack.
Step 6: Toast the Marshmallows (3 minutes)
Remove the pan from the oven. Immediately scatter the marshmallows evenly over the hot filling. They’ll start to melt right away. Turn on your broiler (high heat). Place the pan under the broiler for 1-3 minutes, watching closely. You want them puffed and golden brown in spots. Rotate the pan if your broiler has hot spots. Be careful—they get very hot.
Step 7: Cool and Serve (30 minutes)
Remove from the oven and sprinkle with flaky sea salt. Let the bars cool in the pan for at least 30 minutes. This is the hardest part, but it’s necessary for clean cuts. Once cooled, lift them out using the parchment overhang and slice into squares. Enjoy!
Expert Tips & Tricks
Here’s everything I’ve learned from making these dozens of times. These tips will save you from my mistakes.
Roast, Don’t Boil
I’ve tried boiling sweet potatoes for the filling, and the texture is always too watery. Roasting concentrates the flavor and removes excess moisture. If your filling feels too wet, spread the roasted potatoes on a baking sheet and let them sit for 10 minutes to steam off before mashing.
Don’t Skip the Salt
Sweet potato pie bars are sweet. The flaky sea salt on top isn’t just for decoration; it’s a flavor enhancer. It cuts the sugar and makes the cinnamon and nutmeg pop. Don’t be shy with the salt.
Watch the Broiler Like a Hawk
Marshmallows burn fast. I keep the oven door slightly ajar and stand right there. If you see dark brown spots, they’re burning. You want golden, not black. If your broiler is too strong, move the pan to a lower rack.
Room Temperature Eggs
Cold eggs can seize the mixture when you add them to the warm butter and sugar. Let your eggs sit on the counter for 15 minutes before baking. It’s a small step that makes a big difference in texture.
Storage is Key
These bars need to be covered tightly. They’ll dry out if left exposed. Store them in an airtight container in the fridge for up to 5 days. They’re best eaten cold or at room temperature, not warm.
Variations & Substitutions
Once you’ve nailed the basic version, here’s how you can mix it up. I’ve tried all of these, and they all work.
Graham Cracker Crust
Swap the flour-based crust for a classic graham cracker crust. Mix 1 ½ cups graham cracker crumbs with ¼ cup sugar and 6 tablespoons melted butter. Press into the pan and bake for 8 minutes. It’s sweeter and more familiar, like a s’mores bar.
Pecan Praline Topping
Skip the marshmallows. After the filling bakes, sprinkle a mixture of chopped pecans, brown sugar, and butter over the top. Broil for 2 minutes to caramelize. It adds crunch and richness.
Maple Bourbon Version
Add 1 tablespoon of bourbon and 1 tablespoon of maple syrup to the filling. It gives the bars a sophisticated, adult twist. Great for holiday parties.
Gluten-Free Option
Use a 1:1 gluten-free flour blend for the crust. The filling is naturally gluten-free. The texture might be slightly more tender, but it tastes just as good.
Mini Marshmallow Mix
For a fun texture, mix half standard marshmallows with half mini marshmallows. The minis melt into the filling, creating little pockets of goo, while the large ones toast on top.
Serving & Storage
How to serve these bars so they look as good as they taste.
How to Serve:
I usually serve these at room temperature. They’re easy to eat with fingers at a party, or with a fork at the dinner table. They pair beautifully with a cup of hot coffee or a glass of cold milk. For a fancy presentation, garnish each square with a tiny sprig of rosemary or a dusting of powdered sugar.
Side Dishes:
These are rich, so they don’t need much else. A simple green salad with a vinaigrette can balance the sweetness if you’re serving them as part of a larger meal. But usually, they’re the star of the dessert table.
Storage Instructions:
Refrigerator: Store in an airtight container for up to 5 days. They actually taste better after day 2, as the flavors meld.
Freezing: Yes, you can freeze these! Wrap individual squares in plastic wrap, then place them in a freezer-safe bag. They’ll last for 2 months. Thaw in the fridge overnight. The marshmallow topping might lose a little texture, but it’s still delicious.
Reheating: I don’t recommend reheating. The marshmallows will get chewy and weird. Eat them cold or at room temp for the best experience.
Nutrition Information
I’m not a nutritionist, but here’s the breakdown if you’re tracking. Keep in mind this is an estimate based on standard ingredients.
Per Serving (based on 16 bars):
- Calories: 280
- Protein: 4g
- Carbs: 42g
- Fiber: 2g
- Sugar: 28g
- Fat: 12g
- Saturated Fat: 7g
What’s Good:
- Sweet potatoes provide Vitamin A and fiber.
- It’s a single-serving dessert, so portion control is built-in.
What to Know:
- High in sugar due to the marshmallows and brown sugar.
- Contains dairy and gluten.
My Take:
Look, this is a dessert. It’s sweet potato pie, essentially. It’s not a health food. But it’s homemade, so you know exactly what’s in it. When I make these, I enjoy one square and feel satisfied. It’s better than buying a processed bar from the store. Moderation is key, but don’t feel guilty about having a second piece.
Frequently Asked Questions
Can I use canned sweet potato puree?
Yes, you can. It’s much faster than roasting your own. Just make sure it’s 100% pure sweet potato, not “pie filling” which has added sugar and spices. If you use canned, check the moisture content. If it seems watery, drain it in a cheesecloth for 10 minutes before mixing.
Why did my filling crack?
Cracking usually happens if the bars are overbaked. Sweet potato filling is like custard; it continues to cook after you take it out of the oven. Remove them when the center is still slightly jiggly. Also, avoid opening the oven door too often while they’re baking, as temperature fluctuations can cause cracking.
Can I make these ahead of time?
Absolutely. In fact, they’re better made ahead. Make them up to 2 days in advance. Store them in the fridge. Bring them to room temperature before serving. This also makes them easier to cut into clean squares.
Can I freeze the marshmallow topping?
The bars can be frozen, but the marshmallows might lose some of their puffy texture after thawing. They’ll still taste good, but they might be a bit chewier. If you’re freezing, I’d recommend adding the marshmallows fresh when you thaw and re-broil them for a minute.
What if I don’t have a broiler?
You can use the oven’s “bake” function at a high temperature (425°F / 220°C) to brown the marshmallows. It will take longer, about 5-7 minutes, and you’ll need to rotate the pan. Watch them closely so they don’t burn.
Can I add nuts to the filling?
Yes! Chopped pecans or walnuts added to the filling before baking give it a nice crunch. I add ½ cup of chopped pecans to the filling mix. It’s my personal favorite variation.
Final Thoughts
So that’s my go-to Cozy Fall Sweet Potato Pie Bars! I’ve probably talked your ear off at this point, but when you make a recipe this often, you have a lot to say about it. These bars have saved my dessert game more times than I can count. They’re my answer to “what’s for dessert?” when I want something festive but don’t have hours to spend in the kitchen.
My kids love the marshmallows, my husband loves the sweet potato flavor, and I love that I can make them the day before and not stress. They’re the perfect balance of comfort and indulgence. Whether you’re hosting a Thanksgiving dinner or just want a cozy treat on a rainy Tuesday, these bars will hit the spot.
Make them your own! Try adding nuts, swap the spices, or experiment with different types of marshmallows. The best recipes are the ones you adapt to your family’s tastes. If you make these, drop a comment and let me know what you think! I love hearing how recipes turn out in your kitchen. And if something doesn’t work, tell me that too—I’m here to help troubleshoot.
Happy baking! And I hope your kitchen smells half as good as mine does right now.
Pin This Recipe!
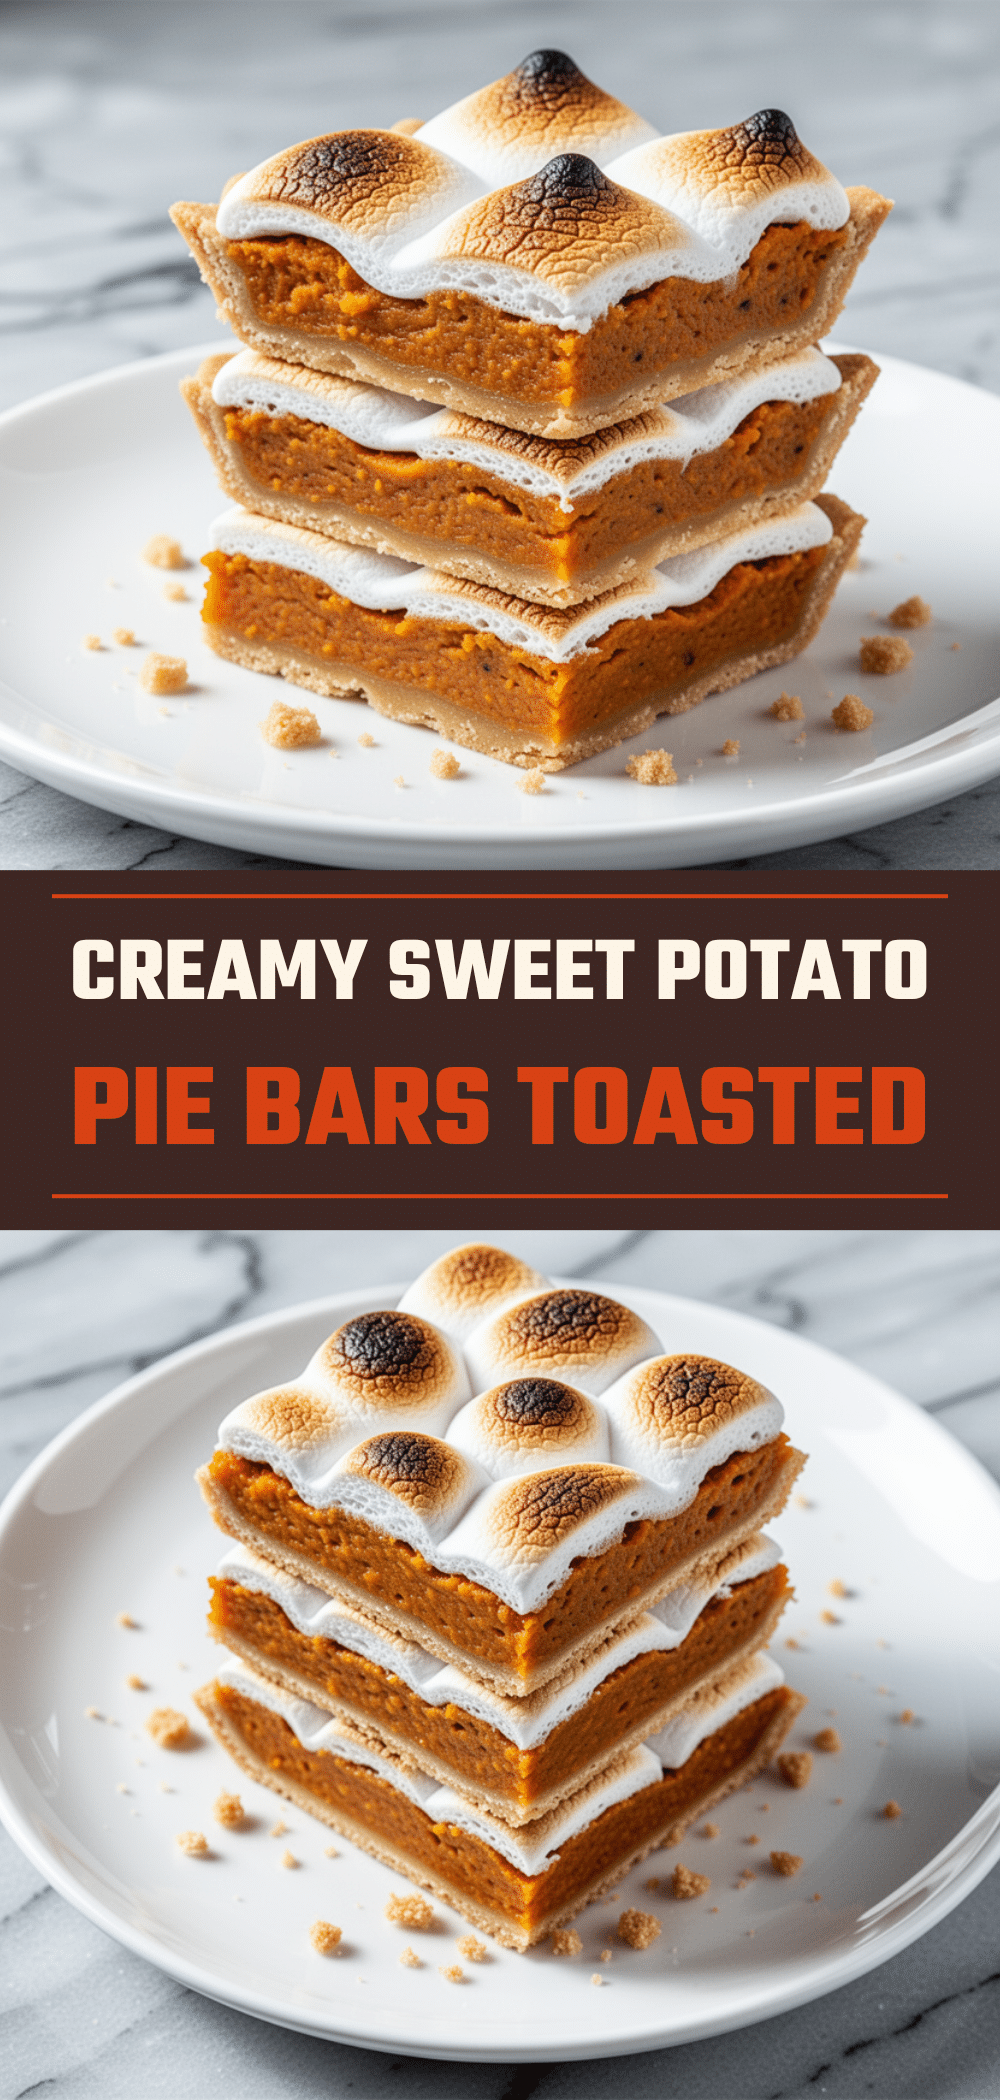
Cozy Fall Sweet Potato Pie Bars with Toasted Marshmallow Topping
- Total Time: 1 hour 50 minutes
- Yield: 16 servings 1x
Description
A forgiving, portable dessert that combines a buttery shortbread crust with a creamy, spiced sweet potato filling and a toasted marshmallow topping. Easier than pie and perfect for fall gatherings.
Ingredients
- 1 ½ cups all-purpose flour
- ½ cup unsalted butter, cold and cubed
- ¼ cup granulated sugar
- ¼ teaspoon salt
- 2 medium sweet potatoes (about 2 cups mashed), roasted
- ½ cup heavy cream
- 2 large eggs, room temperature
- ¾ cup packed brown sugar
- 1 teaspoon vanilla extract
- 1 ½ teaspoons spice blend (1 tsp cinnamon, ½ tsp ginger, ¼ tsp nutmeg)
- 3 cups standard white marshmallows
- 1 tablespoon extra butter (optional, for brushing)
- Flaky sea salt, for sprinkling
Instructions
- Preheat oven to 350°F (175°C). Line a 9×9 inch baking pan with parchment paper, leaving an overhang on the sides, and grease lightly.
- In a food processor, pulse flour, granulated sugar, and salt. Add cold cubed butter and pulse until the mixture resembles coarse crumbs with pea-sized butter pieces.
- Transfer crust mixture to the prepared pan and press firmly and evenly into the bottom. Bake for 15 minutes until lightly golden. Remove and let cool slightly.
- While the crust bakes, roast sweet potatoes at 400°F (200°C) for 45-60 minutes until soft. Cool, scoop out flesh, and mash until smooth (yielding 2 cups).
- In a large bowl, whisk brown sugar and melted butter until smooth. Add mashed sweet potatoes, heavy cream, eggs, vanilla, and spice blend. Whisk vigorously until completely smooth.
- Pour the filling over the partially baked crust and smooth the top with a spatula.
- Bake at 350°F (175°C) for 30-35 minutes, or until edges are set and the center is just barely jiggly.
- Remove from oven and immediately scatter marshmallows evenly over the hot filling.
- Turn on the broiler. Place the pan under the broiler for 1-3 minutes, watching closely, until marshmallows are puffed and golden brown. Rotate if necessary.
- Remove from oven, sprinkle with flaky sea salt, and let cool in the pan for at least 30 minutes before slicing into squares.
Notes
Roasting sweet potatoes concentrates flavor and removes excess moisture compared to boiling. Ensure eggs are at room temperature to prevent seizing. Watch the broiler closely as marshmallows burn quickly. These bars improve in flavor after sitting in the fridge for a few hours. Store in an airtight container in the refrigerator for up to 5 days.
- Prep Time: 20 minutes
- Cook Time: 1 hour 30 minutes
- Category: Dessert
- Cuisine: American
Nutrition
- Serving Size: 1 bar
- Calories: 280
- Sugar: 28
- Fat: 12
- Saturated Fat: 7
- Carbohydrates: 42
- Fiber: 2
- Protein: 4
Keywords: sweet potato pie bars, toasted marshmallow, fall dessert, Thanksgiving dessert, easy bars, cozy fall recipes, marshmallow topping


