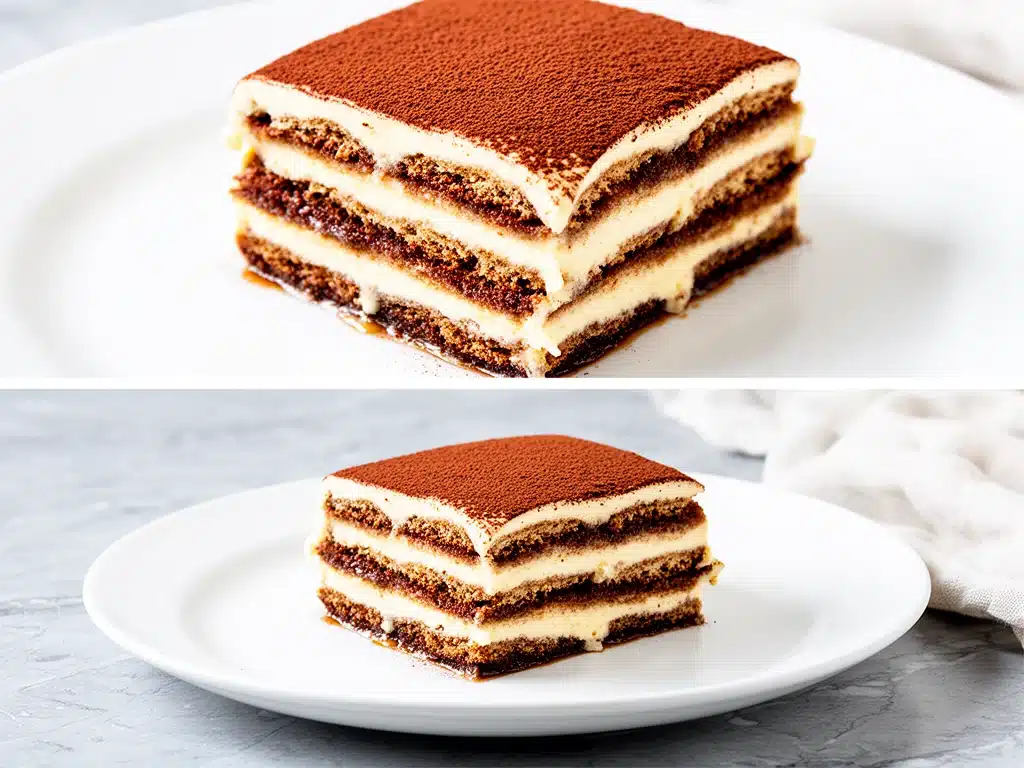
One chilly autumn evening, I found myself craving something that felt both indulgent and comforting—a dessert that whispered “Italy” with every bite. I had a bag of espresso beans, a tub of mascarpone that needed using, and a vague memory of my Nonna’s tiramisu from childhood visits. The first time I made this creamy classic tiramisu with espresso, it was a happy accident that turned into a family favorite. My husband, who usually isn’t one for sweets, couldn’t stop going back for seconds. Since then, I’ve made this recipe over a dozen times, tweaking it just enough to hit that perfect balance of richness and espresso punch that everyone will crave.
Here’s the thing about tiramisu: it sounds fancy, but it’s really pretty straightforward when you break it down. The layers of espresso-soaked ladyfingers and luscious mascarpone cream come together effortlessly. Plus, it’s a no-bake dessert, which means you can whip it up while multitasking dinner or even prepping for a party. I’ve tested this creamy classic tiramisu recipe so many times that the timing, the texture, and the flavors are just right. If you love espresso and creamy desserts, this one’s going to become your new go-to.
Why You’ll Love This Recipe
This creamy classic tiramisu recipe has completely changed the way I think about homemade desserts. There are a handful of reasons I keep making it (and sharing it) over and over:
- Authentic Flavor — The espresso-soaked ladyfingers bring that signature bold coffee flavor that cuts through the sweet cream perfectly. I use freshly brewed espresso every time, and it really makes a difference.
- Effortless No-Bake — No oven needed! I love this for busy nights or last-minute guests. You assemble it, chill it, and let the fridge do the rest.
- Make-Ahead Friendly — I often prepare this a day in advance. The flavors deepen overnight, which is when tiramisu is truly at its best.
- Impressively Creamy — Thanks to the mascarpone and whipped cream combo, the texture is silky and rich without being heavy. I’ve served it to friends who usually shy away from desserts because it’s not overly sweet.
- Versatile — Want to jazz it up? Add a splash of coffee liqueur or sprinkle cocoa powder generously. I’ve even swapped out ladyfingers for pound cake when I was in a pinch.
Honestly, this is my fallback dessert for when I want something special but don’t have hours to spend baking. It always gets compliments, and the espresso kick means it’s not just another sugary treat—it’s a grown-up indulgence that everyone will crave.
Ingredients You’ll Need
Here’s the best part: most of these ingredients are pantry or fridge staples if you keep your kitchen stocked for easy entertaining. I’m picky about a few key items, and I’ll tell you why.
- Espresso (1 ½ cups / 360ml) — Brewed strong and hot. I use a fresh shot from my espresso machine, but strong brewed coffee works too. It’s the backbone of the flavor.
- Ladyfingers
- Mascarpone cheese (1 cup / 240g) — Full-fat only. This creamy Italian cheese is what makes tiramisu so luscious. I always buy it fresh and keep it chilled until assembly.
- Heavy cream (1 cup / 240ml) — For whipping into soft peaks. This adds lightness to the mascarpone mixture.
- Egg yolks (4 large) — They add richness and help create that classic silky texture. I use pasteurized eggs for safety.
- Granulated sugar (½ cup / 100g) — Sweetens the yolks and balances the bitterness of espresso.
- Vanilla extract (1 teaspoon) — Just a touch to round out the flavors.
- Cocoa powder
- Optional: Coffee liqueur (2 tablespoons / 30ml) — Adds an adult twist. I like Kahlúa or Marsala wine, but it’s totally fine without.
Quick note: If you don’t have mascarpone, you can try a mix of cream cheese and heavy cream, but it won’t be quite the same. If you’re curious about other easy desserts that don’t skimp on flavor, I love pairing this tiramisu with a fresh fruit smoothie like the healthy green apple spinach smoothie—it balances richness with brightness.
Equipment Needed
You don’t need a fancy setup to make this creamy classic tiramisu. Here’s what I actually use:
- Mixing bowls — I use two: one for whipping cream and one for the mascarpone mixture. Glass or metal bowls work best for whipping.
- Electric mixer or hand whisk
- Medium saucepan
- Whisk
- 9×9 inch baking dish or trifle bowl
- Sifter or fine mesh strainer
Optional but handy:
- Espresso machine or coffee maker
- Rubber spatula
How to Make It: Step-by-Step
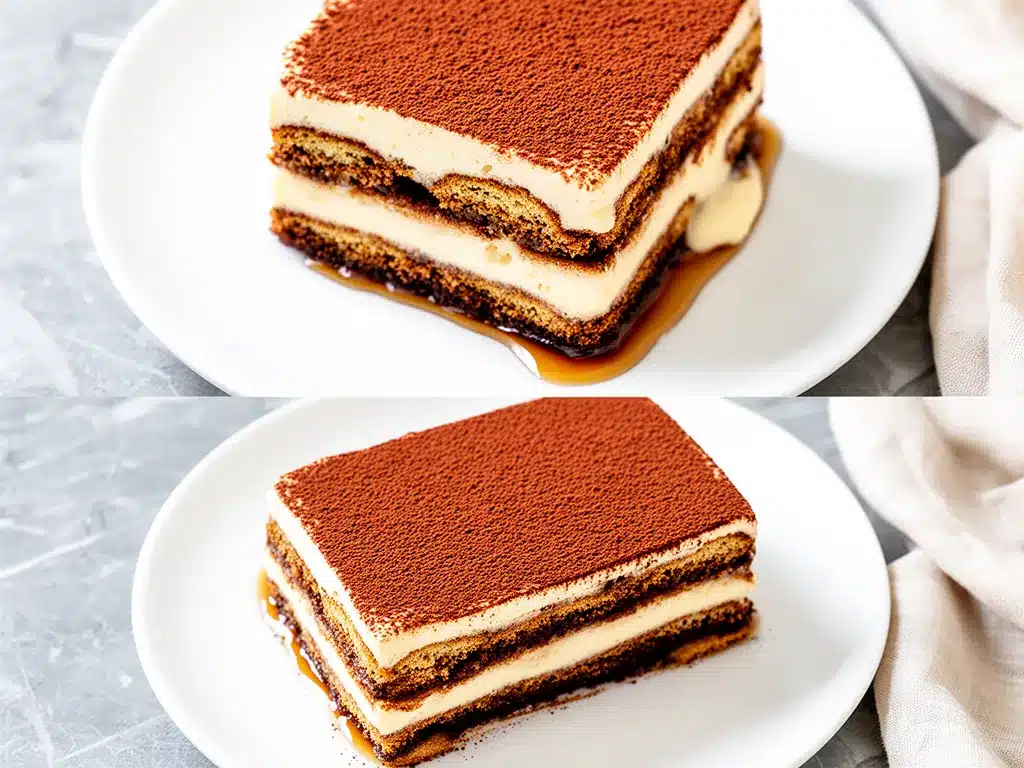
Alright, let’s make this! I’m walking you through exactly how I do it, including the little tricks that make the creamy classic tiramisu sing.
Step 1: Brew Your Espresso (5 minutes)
Start by brewing 1 ½ cups of strong espresso. Pour it into a shallow bowl and let it cool slightly. Add the optional coffee liqueur here if you’re using it. The espresso needs to be cool enough so it doesn’t melt the ladyfingers immediately but still fresh and bold.
Step 2: Prepare the Mascarpone Mixture (10 minutes)
In a medium saucepan, whisk together 4 egg yolks and ½ cup sugar. Place over low heat and whisk constantly until the mixture thickens and becomes pale, about 5 minutes. This step is crucial—it cooks the eggs gently, making the texture silky and safe to eat.
Remove from heat and let cool slightly. Then transfer to a mixing bowl and add the mascarpone and vanilla extract. Whisk until smooth.
Step 3: Whip the Cream (5 minutes)
In a separate chilled bowl, whip the heavy cream to soft peaks using an electric mixer. Gently fold the whipped cream into the mascarpone and egg yolk mixture. Be careful not to overmix; you want that airy creaminess.
Step 4: Assemble the Tiramisu (10 minutes)
Dip each ladyfinger quickly into the espresso, about 1-2 seconds per side. Don’t soak them too long or they’ll get mushy. Lay a single layer of soaked ladyfingers in your baking dish.
Spoon half of the mascarpone cream over the ladyfingers and spread evenly. Repeat with another layer of dipped ladyfingers and finish with the remaining cream.
Step 5: Chill and Serve (At least 4 hours, preferably overnight)
Cover the tiramisu with plastic wrap and refrigerate for at least 4 hours, but overnight is best. Right before serving, dust generously with unsweetened cocoa powder.
Pro tip: Use a fine mesh strainer to dust the cocoa evenly—it makes the presentation look professional every time.
Expert Tips & Tricks
- Don’t skip the egg yolk step: Cooking the yolks with sugar over low heat creates that silky zabaglione base and ensures safety. I once tried skipping it, and the texture was off.
- Use fresh espresso: Instant coffee just doesn’t cut it here. The espresso’s boldness is what gives tiramisu its signature kick.
- Dip ladyfingers quickly: Too long and they’ll become soggy; too short and they won’t absorb enough flavor. One to two seconds per side is perfect.
- Fold, don’t stir: When combining the whipped cream and mascarpone mixture, folding gently keeps the texture airy and light.
- Make ahead for best flavor: I always prepare tiramisu a day in advance. The flavors meld together overnight, making it taste even better.
- Try individual servings: Using small glasses or jars not only looks cute but is great for portion control and easy entertaining.
Variations & Substitutions
Once you’ve nailed the classic tiramisu, here are some ways to switch things up:
- Chocolate Lover’s — Add a layer of shaved dark chocolate or mix cocoa powder into the mascarpone cream for a mocha twist.
- Berry Tiramisu — Layer fresh raspberries or strawberries between the ladyfingers and cream for a fruity surprise. I often make a no-bake strawberry pretzel salad to serve alongside for a fresh contrast.
- Alcohol-Free — Skip the coffee liqueur and add a splash of vanilla extract instead. Still delicious and family-friendly.
- Gluten-Free — Use gluten-free ladyfingers or substitute with gluten-free sponge cake slices.
- Vegan Adaptation — Use coconut cream whipped with a bit of aquafaba (chickpea water) and vegan cream cheese. Replace eggs with a cooked custard made from cornstarch and plant milk.
- Different Coffee Bases — Swap espresso for a strong cold brew for a less intense but still flavorful tiramisu.
Serving & Storage
I usually serve this creamy classic tiramisu straight from the dish with a dusting of cocoa powder and maybe a few fresh mint leaves if I’m feeling fancy. It pairs beautifully with a simple cup of espresso or a glass of dessert wine.
Side note: If you want to serve something light and fresh alongside, the apple peanut butter energy bites are a great little snack that contrasts the richness perfectly.
Storage: Cover tightly and refrigerate for up to 4 days. The flavors intensify, but the texture stays perfect. When reheating, tiramisu is best enjoyed cold—don’t microwave. If it’s been in the fridge a few days, just let it sit at room temp for 10 minutes before serving.
Freezing: Not recommended. The texture of mascarpone and whipped cream changes and can become grainy.
Nutrition Information
| Nutrient | Per Serving (6 servings) |
|---|---|
| Calories | 380 |
| Protein | 7g |
| Carbohydrates | 35g |
| Fat | 24g |
| Saturated Fat | 14g |
| Sugar | 20g |
| Cholesterol | 150mg |
| Sodium | 100mg |
| Calcium | 150mg |
Look, tiramisu isn’t diet food—it’s a rich, indulgent dessert with cream, eggs, and sugar. But compared to store-bought or restaurant versions, making it at home means you control the ingredients, and it’s fresher. Plus, with the intense espresso flavor, a little goes a long way. Adding fresh berries or a light salad on the side can help balance the richness.
Final Thoughts
So that’s my creamy classic tiramisu recipe! I’ve probably talked your ear off, but when you make a dessert this often, you learn a thing or two about what works and what doesn’t. This recipe saved me on more than one occasion when I needed a crowd-pleaser that’s easy to assemble but feels special.
It’s my answer to “what dessert should I make?” when I want something that impresses without stress. My family loves it, friends ask for the recipe, and I love that it’s a no-fuss, no-bake winner. Customize it, play with add-ins, or keep it pure—the best part is that it’s simple and delicious every single time.
If you make this creamy classic tiramisu, drop a comment and tell me how it turned out! I want to hear if you added your own twist or if it became your new favorite dessert. And hey, if you’re in the mood for another easy yet impressive dish, I highly recommend trying the make-ahead chicken Caesar wrap for a quick lunch or dinner. Happy cooking, and may your kitchen smell like coffee and sweet mascarpone!
Frequently Asked Questions
Q: Can I use instant coffee instead of espresso?
A: You can, but it won’t have the same bold, rich flavor. I’ve tried with instant in a pinch, and it’s okay, but freshly brewed espresso or very strong coffee gives tiramisu its signature taste. If you only have instant, dissolve a few teaspoons in hot water to make it as strong as possible.
Q: Is it safe to eat tiramisu with raw eggs?
A: Traditional tiramisu uses raw eggs, but this recipe cooks the egg yolks gently with sugar to make a zabaglione, which is safe and gives that silky texture. If you’re concerned, make sure to use pasteurized eggs or follow the cooking step carefully.
Q: Can I make tiramisu ahead of time?
A: Absolutely! In fact, chilling it overnight improves the flavor and texture. I often prepare it a day in advance for parties or special occasions. Just cover it tightly and refrigerate.
Q: Why did my tiramisu turn out watery?
A: This usually happens if the ladyfingers are soaked too long in espresso or if the mascarpone mixture is too loose. Dip ladyfingers quickly, and make sure your mascarpone mixture is thick and properly whipped. Also, don’t skip chilling it—it helps set the layers.
Q: Can I substitute mascarpone with cream cheese?
A: You can, but the flavor and texture will change. Cream cheese is tangier and denser, so mix it with heavy cream to lighten it, but it won’t be as authentic. If you want to experiment, try a 50/50 blend and see how you like it.
Q: What if I don’t have ladyfingers?
A: You can use sponge cake or pound cake sliced thinly as a substitute. They soak up espresso well but can be denser, so adjust soaking time accordingly.
Q: Can I freeze tiramisu?
A: I don’t recommend freezing because the creamy layers can separate and become grainy when thawed. It’s best enjoyed fresh or refrigerated for a few days.
Pin This Recipe!
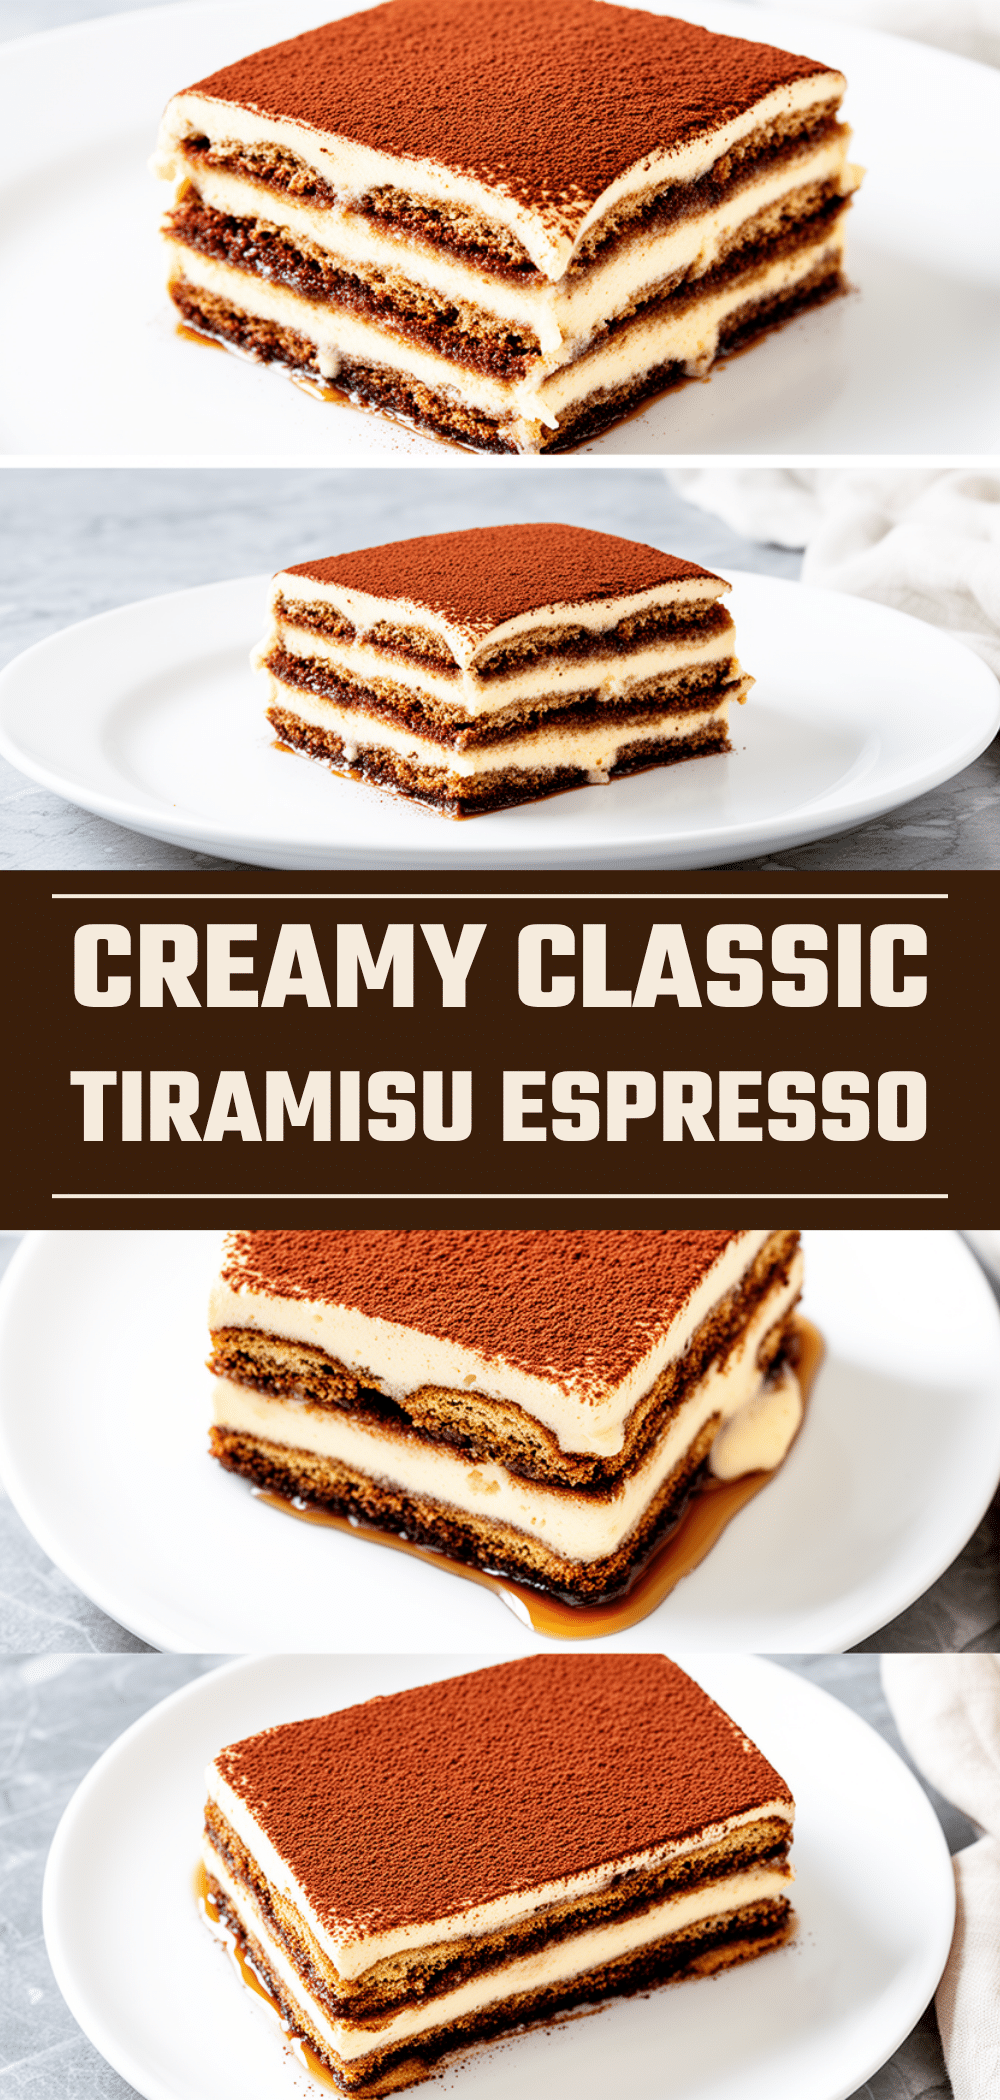
Creamy Classic Tiramisu Recipe Easy Homemade Espresso Dessert to Crave
- Total Time: 4 hours 25 minutes
- Yield: 6 servings 1x
Description
A no-bake, creamy classic tiramisu featuring espresso-soaked ladyfingers and luscious mascarpone cream. This easy homemade dessert balances rich espresso flavor with silky texture, perfect for any occasion.
Ingredients
- 1 ½ cups (360 ml) brewed strong espresso, cooled
- 24 ladyfingers
- 1 cup (240 g) full-fat mascarpone cheese
- 1 cup (240 ml) heavy cream
- 4 large egg yolks (pasteurized recommended)
- ½ cup (100 g) granulated sugar
- 1 teaspoon vanilla extract
- Unsweetened cocoa powder, for dusting
- Optional: 2 tablespoons (30 ml) coffee liqueur (e.g., Kahlúa or Marsala wine)
Instructions
- Brew 1 ½ cups of strong espresso and pour into a shallow bowl. Let it cool slightly. Add coffee liqueur if using.
- In a medium saucepan, whisk together 4 egg yolks and ½ cup sugar. Place over low heat and whisk constantly until thickened and pale, about 5 minutes. Remove from heat and let cool slightly.
- Transfer the egg yolk mixture to a mixing bowl. Add mascarpone and vanilla extract, whisk until smooth.
- In a separate chilled bowl, whip heavy cream to soft peaks using an electric mixer. Gently fold whipped cream into mascarpone mixture without overmixing.
- Quickly dip each ladyfinger into the espresso (1-2 seconds per side) and lay a single layer in a 9×9 inch baking dish or trifle bowl.
- Spread half of the mascarpone cream evenly over the ladyfingers.
- Repeat with another layer of dipped ladyfingers and finish with remaining mascarpone cream.
- Cover with plastic wrap and refrigerate for at least 4 hours, preferably overnight.
- Before serving, dust generously with unsweetened cocoa powder using a fine mesh strainer.
Notes
Use pasteurized eggs or cook egg yolks gently with sugar to ensure safety. Dip ladyfingers quickly to avoid sogginess. Make ahead and chill overnight for best flavor. Do not freeze as texture may become grainy. For a twist, add coffee liqueur or substitute ladyfingers with pound cake. Fold whipped cream gently to keep airy texture.
- Prep Time: 20 minutes
- Cook Time: 5 minutes
- Category: Dessert
- Cuisine: Italian
Nutrition
- Serving Size: 1 serving (approx. 1
- Calories: 380
- Sugar: 20
- Sodium: 100
- Fat: 24
- Saturated Fat: 14
- Carbohydrates: 35
- Protein: 7
Keywords: tiramisu, espresso dessert, no-bake dessert, mascarpone, classic tiramisu, easy tiramisu recipe, homemade tiramisu


