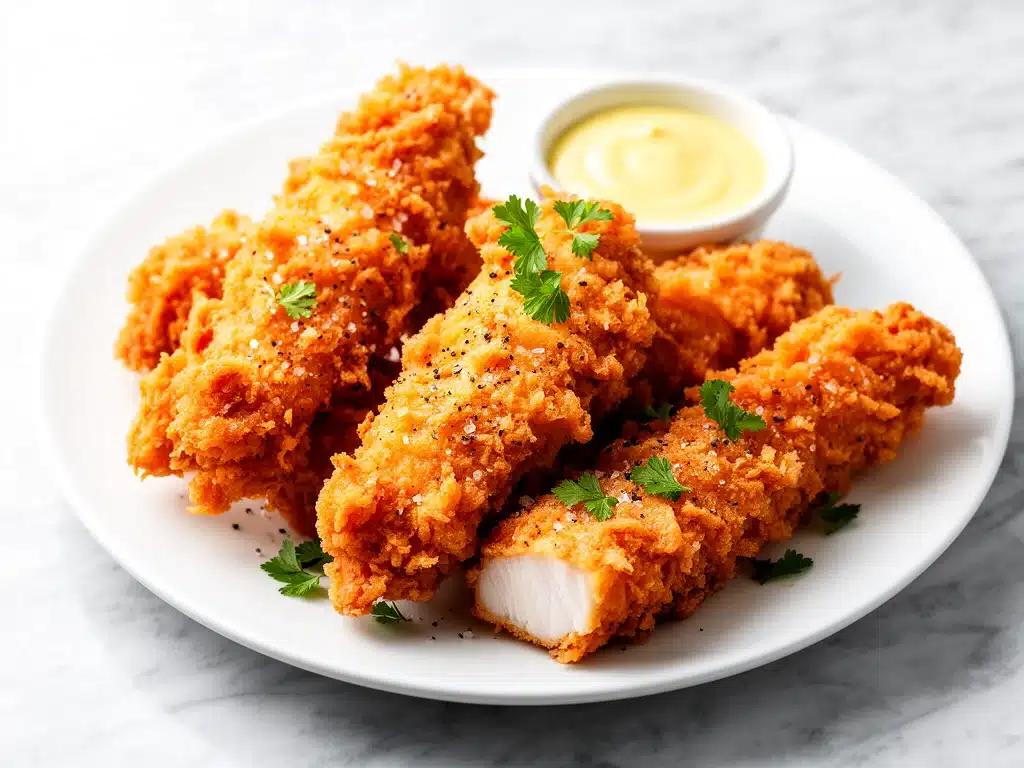
Let’s be honest. There was a period in my life—roughly two years ago—when I was convinced that restaurant-quality fried chicken was something I could never replicate at home. I was tired. I was busy. And I was broke. So, I fell into the trap of ordering takeout every single Thursday night. You know the drill: the grease-stained box, the soggy breading that turns into cardboard by 8 PM, and the regret that sets in around 9 PM when your stomach starts growling again.
Then came the night my kids asked for “chicken fingers” after a soccer game. It was 6:30 PM. I had no idea what to make, but I had a half-empty fridge and a desperate need for dinner that wouldn’t take three hours. I threw together what I thought would be a mediocre version of store-bought nuggets. I used buttermilk, a specific blend of spices I’d been hoarding, and a trick I learned from watching way too many cooking shows.
Thirty minutes later, my son took one bite, looked at me with wide eyes, and said, “Mom, this is better than McDonald’s.” My husband, who usually critiques everything, didn’t say a word—he just went back for seconds. That was the moment I realized I didn’t need takeout. I just needed the right technique.
This Crispy Buttermilk Fried Chicken Tenders recipe isn’t just a meal; it’s a game-changer for weeknight dinners. It’s the kind of food that makes your kitchen smell like a Southern comfort food joint, but with half the grease and twice the crunch. I’ve tested this recipe more times than I can count—sometimes for dinner, sometimes for lunch, and occasionally just because I needed a hug in food form. And every single time, it delivers that perfect golden-brown crunch that shatters when you bite into it, followed by juicy, tender meat.
If you’ve ever struggled with chicken that’s dry, bland, or just… meh, this is your fix. It’s easier than you think, it’s cheaper than delivery, and honestly? It tastes better. Let’s get into why this method works so well, what you need, and how to make it without stressing.
Why You’ll Love This Recipe
There are a dozen reasons I keep coming back to this Crispy Buttermilk Fried Chicken Tenders recipe, but here are the ones that actually matter when you’re standing in front of a stove at 7 PM on a Tuesday.
- Actually Crispy (Not Soggy) — Most home recipes fail here. The breading slides off or gets mushy. This method uses a double-dip technique with buttermilk and seasoned flour that creates a shatteringly crisp crust that stays crunchy even after sitting for a few minutes. I’ve tested this by letting pieces sit for 20 minutes, and they’re still crisp.
- Buttermilk Magic — The buttermilk isn’t just for flavor. It tenderizes the meat. I’ve tried using milk or yogurt, but nothing beats the tangy, acidic punch of buttermilk in breaking down those tough muscle fibers. The result is chicken so tender it falls apart with a fork.
- Weeknight Friendly — Yes, frying sounds time-consuming. But with tenders (which cook faster than whole breasts), this is a 30-minute meal from start to finish. I’ve made this after picking up kids from practice, and it’s never let me down.
- Customizable Heat — Whether you want mild, medium, or “why-is-my-house-on-fire” spicy, this recipe adapts. The spice blend is in the breading, so you control the heat level completely.
- Leftover Gold — Fried chicken leftovers are legendary, but tenders are even better because they’re easy to reheat. I often make extra for lunch the next day, either as a sandwich with chicken Caesar wrap fillings or just dipped in ranch.
This recipe has saved me from takeout bills, fed my picky eater, and impressed my foodie friends. It’s the kind of dish that feels indulgent but is actually pretty straightforward. If you can boil water, you can make this.
Ingredients You’ll Need
Here’s the good news: you probably have most of these items in your pantry and fridge already. This isn’t a recipe that requires a trip to three different specialty stores. I’m particular about a few key ingredients, though, so let’s break them down.
For the Buttermilk Marinade
Buttermilk (2 cups / 480ml) — This is non-negotiable for the best texture. If you can’t find buttermilk, make your own by adding 2 tablespoons of white vinegar or lemon juice to 2 cups of whole milk. Let it sit for 10 minutes until it curdles slightly. It works just as well.
Hot Sauce (2 tablespoons) — I use Frank’s RedHot or Texas Pete. It adds tang and a little kick, but more importantly, it helps the breading stick. Don’t skip it.
Egg (1 large) — Acts as a binder between the buttermilk and the flour. Whisk it in before adding the chicken.
For the Crispy Coating
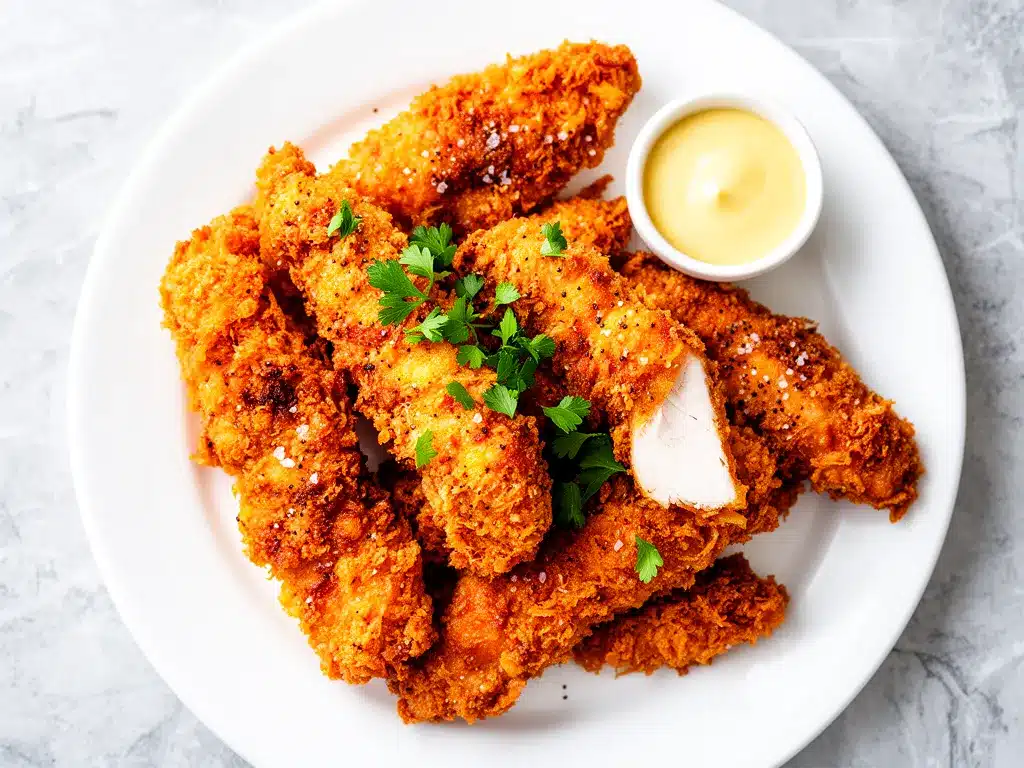
All-Purpose Flour (1.5 cups / 190g) — The base of your breading. Don’t use cake flour; you want structure.
Cornstarch (2 tablespoons / 15g) — This is the secret weapon. Cornstarch absorbs moisture and creates a lighter, crispier crust than flour alone. I learned this from a professional chef friend, and it’s been a staple in my kitchen ever since.
Smoked Paprika (1 teaspoon) — Adds that deep, smoky flavor that mimics restaurant seasoning. If you don’t have smoked paprika, regular paprika works, but you’ll miss that depth.
Garlic Powder (1 teaspoon) — Not fresh garlic (which burns easily). Powder distributes evenly and seasons every bite.
Onion Powder (1 teaspoon) — Complements the garlic and adds savory sweetness.
Cayenne Pepper (½ teaspoon) — Adjust based on your heat preference. Start with ¼ teaspoon if you’re sensitive to spice. It adds warmth, not just fire.
Black Pepper (1 teaspoon) — Freshly cracked is best. Pre-ground pepper loses its punch quickly.
Salt (1 teaspoon) — Use kosher salt if you have it. It’s easier to control than table salt.
For Frying
Vegetable Oil or Peanut Oil (4-6 cups / 1-1.5 liters) — You need enough oil to submerge the tenders halfway. Peanut oil has a high smoke point and a neutral flavor, which is ideal. Vegetable oil works too. Avoid olive oil—it smokes at high temps and tastes weird when fried.
Chicken Tenders (2 pounds / 900g) — Look for fresh, boneless, skinless chicken breasts. If they’re thick, butterfly them or slice them horizontally to create uniform tenders. Uniformity ensures even cooking.
Equipment Needed
You don’t need fancy gadgets for this. Here’s what I actually use in my kitchen:
Large Bowl — For the buttermilk marinade. A wide bowl makes it easier to coat the chicken.
Shallow Dish or Pie Plate — For the flour mixture. A wide, shallow dish lets you roll the chicken easily.
Chef’s Knife — For slicing the chicken breasts into strips. A sharp knife is safer and cleaner.
Large Skillet or Dutch Oven — Cast iron is my preference because it holds heat steadily. Stainless steel works too. Avoid non-stick if you can, as high heat can damage it.
Candy Thermometer — This is crucial. Frying is all about temperature. If the oil is too cool, the chicken absorbs grease. If it’s too hot, the outside burns before the inside cooks. I use an instant-read thermometer, but a candy thermometer is perfect for monitoring oil temp.
Wire Rack and Baking Sheet — For draining the fried chicken. This keeps the bottom from getting soggy. Paper towels work in a pinch, but a rack is better.
Tongs — For turning the chicken. Forks can poke holes and let juices escape.
How to Make It: Step-by-Step
Alright, let’s make this! I’m walking you through exactly how I do it, including the little tricks I’ve picked up over the years.
Step 1: Prep the Chicken (10 minutes)
Start by patting your chicken tenders completely dry with paper towels. Moisture is the enemy of crispiness. If the chicken is wet, the breading will slide off. Slice any thick breasts into 1-inch thick strips. You want uniform pieces so they cook at the same rate.
Step 2: Make the Marinade (5 minutes)
In a large bowl, whisk together the buttermilk, hot sauce, and egg. Add the chicken tenders, making sure they’re fully submerged. Cover the bowl with plastic wrap and refrigerate for at least 30 minutes, or up to 4 hours. This step is non-negotiable. The buttermilk tenderizes the meat, and the acid helps the breading adhere. If you rush this, the chicken will be tough.
Step 3: Mix the Breading (5 minutes)
In a shallow dish, whisk together the flour, cornstarch, smoked paprika, garlic powder, onion powder, cayenne, black pepper, and salt. Make sure there are no lumps. You want the spices evenly distributed throughout the flour.
Step 4: Dredge the Chicken (10 minutes)
Take a piece of chicken from the buttermilk, letting the excess drip off. Press it into the flour mixture, turning to coat all sides. Press firmly—the breading needs to stick. Then, dip it back into the buttermilk for a second coat, and back into the flour again. This double-dip method is what creates that thick, crunchy crust. Shake off any excess flour.
Pro Tip: Place the breaded tenders on a wire rack while you finish the rest. This lets the breading set for 10-15 minutes before frying, which prevents it from falling off in the oil.
Step 5: Heat the Oil (15 minutes)
Pour about 2 inches of oil into your skillet or Dutch oven. Heat over medium-high heat until it reaches 350°F (175°C). Use your thermometer to check. If you don’t have one, drop a pinch of flour into the oil—if it sizzles immediately and rises to the top, it’s ready.
Step 6: Fry the Chicken (10-12 minutes)
Carefully place 3-4 tenders into the hot oil. Don’t overcrowd the pan—this drops the oil temperature and leads to greasy chicken. Fry for 3-4 minutes per side, or until golden brown and cooked through. The internal temperature should reach 165°F (74°C). Flip them gently with tongs.
Remove the cooked tenders and place them on the wire rack over a baking sheet. This allows air circulation so they stay crisp. Repeat with the remaining chicken, reheating the oil to 350°F between batches.
Step 7: Serve Immediately
Serve the Crispy Buttermilk Fried Chicken Tenders hot, with your favorite dipping sauces. I love ranch, honey mustard, or even a spicy mayo. Garnish with fresh parsley if you want a pop of color.
Expert Tips & Tricks
Here’s everything I’ve learned from making this dozens of times. These tips will save you from my mistakes.
Temperature Control is Key
Keep your oil between 350°F and 375°F. If the oil drops below 325°F, the chicken will absorb grease and become soggy. If it goes above 375°F, the breading will burn before the chicken is cooked. Adjust your heat as needed. It’s a balancing act, but you’ll get the hang of it quickly.
Don’t Skip the Resting Time
After breading, let the tenders rest for 10-15 minutes. This allows the flour to hydrate and stick to the chicken. If you fry immediately, the breading might slide off in the oil. I usually set out my baking sheet and rack while I’m prepping, so I can place the breaded chicken on it while I finish the rest.
Use a Wire Rack
Never drain fried chicken on paper towels. Paper towels trap steam, which makes the bottom soggy. A wire rack allows air to circulate, keeping the entire piece crispy. It’s a small detail that makes a huge difference.
Double Dip for Extra Crunch
If you want an extra-thick crust, do a triple dip: flour, buttermilk, flour again. This creates a craggy, textured surface that holds sauce well and crunches even more. It’s great for parties or if you have extra time.
Keep It Warm
If you’re serving a crowd, keep the finished chicken warm in a 200°F (95°C) oven on the wire rack. This prevents them from getting cold and soggy while you finish frying the rest.
Variations & Substitutions
Once you’ve nailed the basic version, here’s how you can mix it up. I’ve tried all of these.
Spicy Version
Add 1 teaspoon of cayenne pepper to the flour mixture, or use hot sauce in the buttermilk. For extra heat, add a pinch of crushed red pepper flakes to the breading. This is perfect for those who like a kick.
Herb-Crusted
Add 1 tablespoon of dried thyme and 1 tablespoon of dried rosemary to the flour mixture. This gives it a more sophisticated, herbaceous flavor. Great with a lemon dipping sauce.
Gluten-Free Option
Substitute the all-purpose flour with a 1:1 gluten-free flour blend. Make sure the blend includes xanthan gum for structure. The texture might be slightly different, but it’s still delicious. I’ve used Bob’s Red Mill with great results.
Baked Version
For a lighter option, spray the breaded tenders with cooking spray and bake at 400°F (200°C) for 20-25 minutes, flipping halfway through. They won’t be as crispy as fried, but they’re healthier. Serve with healthy green apple spinach smoothie for a balanced meal.
Dipping Sauce Ideas
- Classic Ranch — Sour cream, mayo, buttermilk, garlic powder, onion powder, dill.
- Honey Mustard — Dijon mustard, honey, mayo, lemon juice.
- Spicy Mayo — Mayo, sriracha, lime juice, sesame oil.
- Tartar Sauce — Mayo, pickles, capers, lemon juice.
Serving & Storage
How to Serve:
I usually serve these straight from the rack with a side of coleslaw or no-bake strawberry pretzel salad for a summer BBQ vibe. They’re also fantastic in sandwiches, especially if you’ve made extra. Try them in a chicken Caesar wrap for a fun lunch variation.
Storage:
Store leftovers in an airtight container in the fridge for up to 3 days. The breading will soften slightly, but the flavor remains great.
Reheating:
Reheat in a 375°F (190°C) oven for 10-15 minutes to restore crispiness. Avoid the microwave—it makes the breading chewy and soggy. If you must use the microwave, do it for 30 seconds, then finish in the toaster oven or air fryer for 2-3 minutes.
Freezing:
You can freeze the breaded (unfried) tenders. Place them on a baking sheet, freeze until solid, then transfer to a freezer bag. Fry from frozen, adding 2-3 minutes to the cooking time. I do this for meal prep—it’s a lifesaver on busy nights.
Nutrition Information
I’m not a nutritionist, but here’s the breakdown if you’re tracking. Keep in mind that frying adds calories from oil, so this is an indulgent meal.
Per Serving (based on 4 servings, 4 tenders each):
- Calories: 450
- Protein: 35g
- Carbs: 25g
- Fat: 22g
- Saturated Fat: 4g
- Cholesterol: 120mg
- Sodium: 600mg
What’s Good:
- High in protein from the chicken.
- Buttermilk adds calcium and probiotics.
What to Know:
- Higher in calories due to frying.
- Contains gluten and dairy.
- Sodium can be reduced by using low-sodium broth in the marinade and less salt in the breading.
My Take:
Look, this is comfort food. It’s crispy, salty, and satisfying. It’s not a diet recipe. But it’s way better than takeout, costs less, and I know exactly what’s in it. When I want to make it lighter, I use the baked version or serve it with a big green salad. But usually? I just enjoy a reasonable portion and savor every bite.
Final Thoughts
So that’s my go-to Crispy Buttermilk Fried Chicken Tenders recipe! I’ve probably talked your ear off at this point, but when you make a recipe this often, you have a lot to say about it. This has saved weeknight dinners more times than I can count. It’s my answer to “what’s for dinner” when I’m tired, don’t want takeout, and still want something that tastes really good.
My kids are happy, my husband’s happy, and I’m happy because I’m not stressed about cooking. Make it yours! Try different spices, swap in your favorite dipping sauces, or add some apple peanut butter energy bites as a fun side snack for the kids.
If you make this, drop a comment and let me know what you think! I love hearing how recipes turn out in your kitchen. And if something doesn’t work, tell me that too—I’m here to help troubleshoot.
Happy cooking! And I hope your kitchen smells half as good as mine does right now.
Frequently Asked Questions
Can I use milk instead of buttermilk?
You can, but the texture and tenderness won’t be the same. Buttermilk’s acidity is what tenderizes the chicken. If you must use milk, add 2 tablespoons of vinegar or lemon juice per cup and let it sit for 10 minutes. It’ll curdle slightly and mimic buttermilk’s properties.
Why is my chicken soggy?
This usually happens if the oil temperature was too low, causing the chicken to absorb grease, or if you drained it on paper towels instead of a wire rack. Make sure your oil is at 350°F and use a wire rack to keep the bottom crisp.
Can I make this ahead for a party?
Yes! Bread the chicken and freeze it on a baking sheet. When ready to serve, fry from frozen, adding 2-3 minutes to the cooking time. You can also fry ahead and reheat in a 375°F oven to restore crispiness.
How do I know when the chicken is done?
The best way is to use a meat thermometer. The internal temperature should reach 165°F (74°C). If you don’t have one, cut into the thickest piece—the juice should run clear, and the meat should be white, not pink.
Can I bake these instead of frying?
Absolutely. Spray the breaded tenders with cooking spray and bake at 400°F (200°C) for 20-25 minutes, flipping halfway through. They won’t be as crispy as fried, but they’re a healthier option. For extra crispiness, use an air fryer at 375°F for 12-15 minutes.
What’s the best oil for frying?
Peanut oil is ideal because of its high smoke point and neutral flavor. Vegetable oil or canola oil also work well. Avoid olive oil, as it smokes at high temperatures and can impart a strong flavor that doesn’t pair well with fried chicken.
Pin This Recipe!
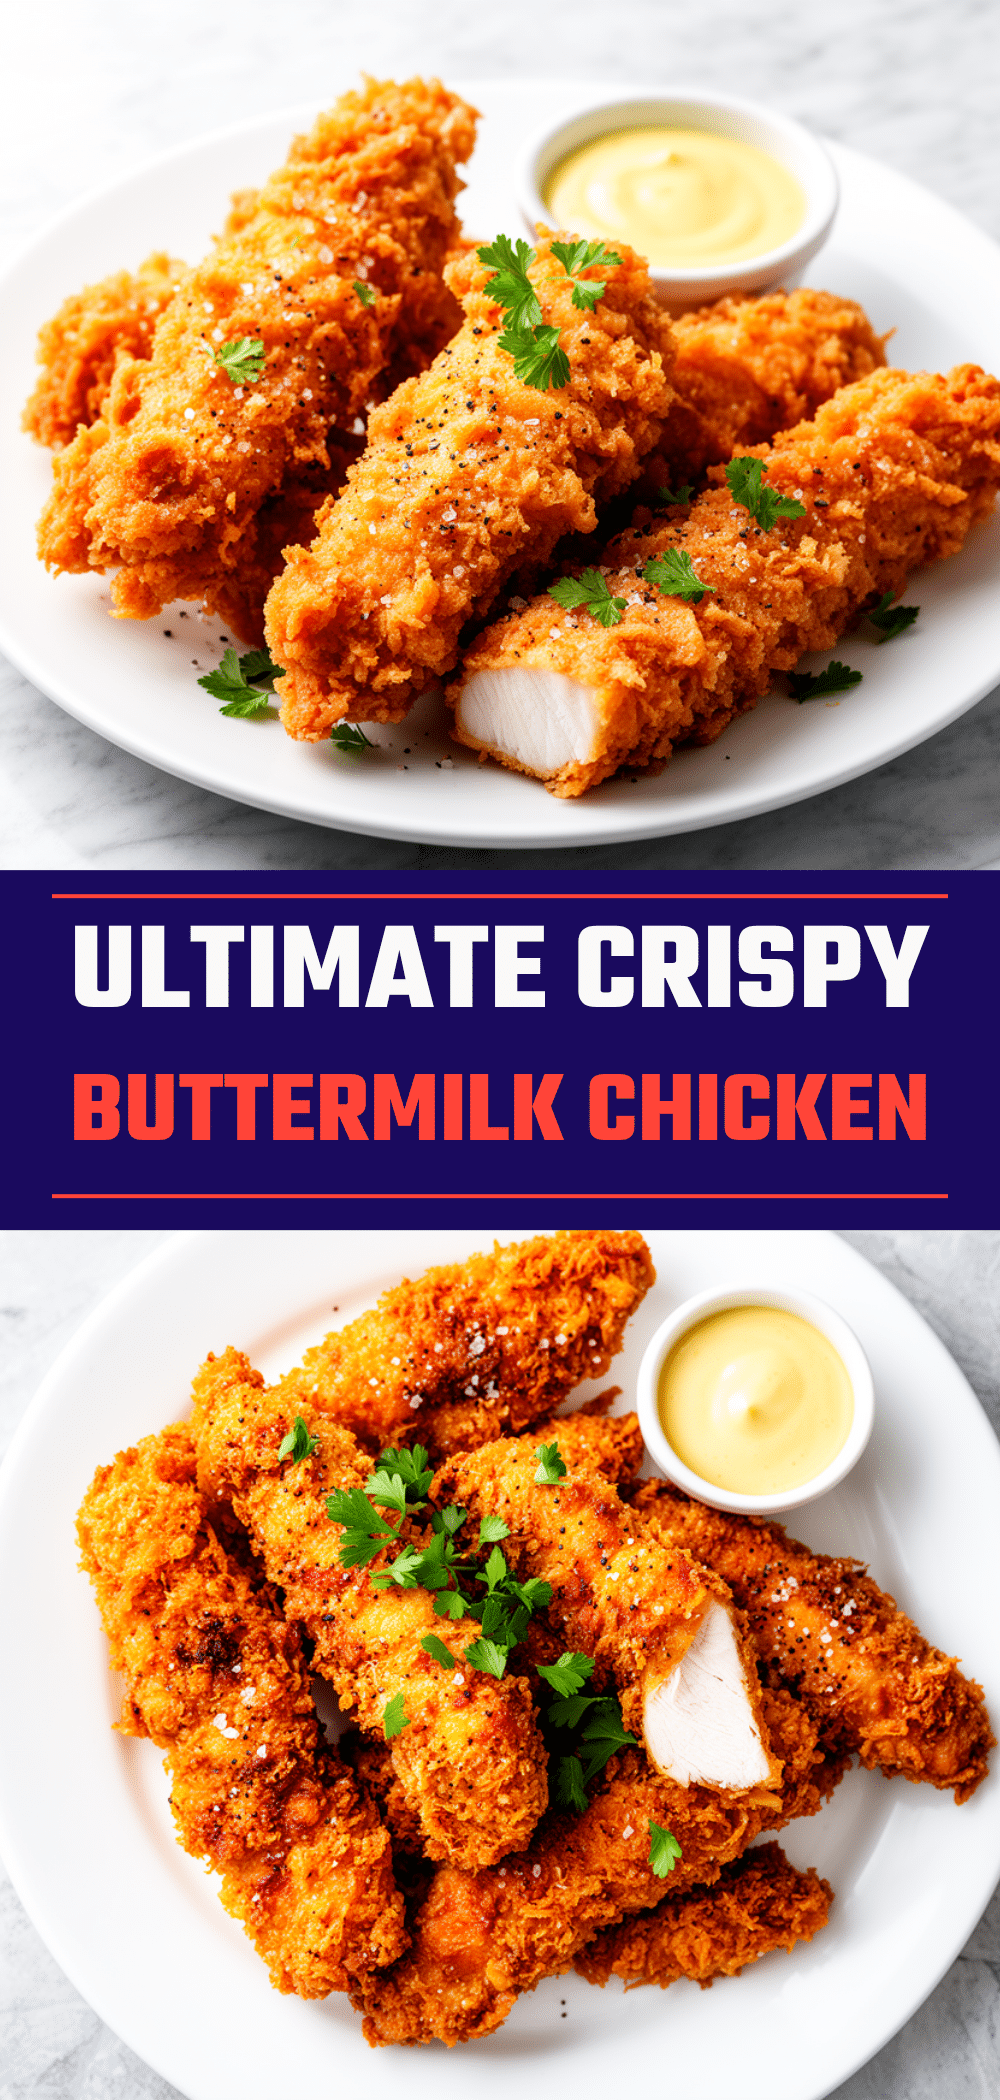
Crispy Buttermilk Fried Chicken Tenders: Best Easy Recipe
- Total Time: 30 minutes
- Yield: 4 servings 1x
Description
This recipe delivers restaurant-quality, shatteringly crisp buttermilk fried chicken tenders in just 30 minutes. Using a double-dip breading technique and the right oil temperature, you get juicy meat with a golden crust that stays crunchy.
Ingredients
- 2 cups buttermilk
- 2 tablespoons hot sauce (e.g., Frank’s RedHot or Texas Pete)
- 1 large egg
- 1.5 cups all-purpose flour
- 2 tablespoons cornstarch
- 1 teaspoon smoked paprika
- 1 teaspoon garlic powder
- 1 teaspoon onion powder
- 0.5 teaspoon cayenne pepper
- 1 teaspoon black pepper
- 1 teaspoon salt
- 4–6 cups vegetable oil or peanut oil
- 2 pounds boneless, skinless chicken breasts
Instructions
- Pat chicken tenders dry and slice thick breasts into 1-inch uniform strips.
- Whisk together buttermilk, hot sauce, and egg in a large bowl. Submerge chicken and refrigerate for at least 30 minutes (up to 4 hours).
- In a shallow dish, whisk together flour, cornstarch, smoked paprika, garlic powder, onion powder, cayenne, black pepper, and salt.
- Dredge chicken in flour, dip back into buttermilk, then dredge in flour again (double-dip). Place breaded tenders on a wire rack to set for 10-15 minutes.
- Heat oil in a large skillet or Dutch oven to 350°F (175°C).
- Fry 3-4 tenders at a time for 3-4 minutes per side until golden brown and internal temperature reaches 165°F (74°C).
- Transfer cooked tenders to a wire rack over a baking sheet to drain. Repeat with remaining chicken, reheating oil between batches.
- Serve immediately with dipping sauces.
Notes
For extra crispiness, let breaded chicken rest for 10-15 minutes before frying. Use a wire rack instead of paper towels to drain, preventing sogginess. If oil drops below 325°F, chicken will be greasy; if above 375°F, breading may burn. For a baked version, spray with cooking spray and bake at 400°F for 20-25 minutes.
- Prep Time: 10 minutes
- Cook Time: 20 minutes
- Category: Main Course
- Cuisine: American
Nutrition
- Serving Size: 4 tenders per servin
- Calories: 450
- Sodium: 600
- Fat: 22
- Saturated Fat: 4
- Carbohydrates: 25
- Protein: 35
Keywords: fried chicken, chicken tenders, buttermilk chicken, crispy chicken, weeknight dinner, easy recipe, southern comfort food


