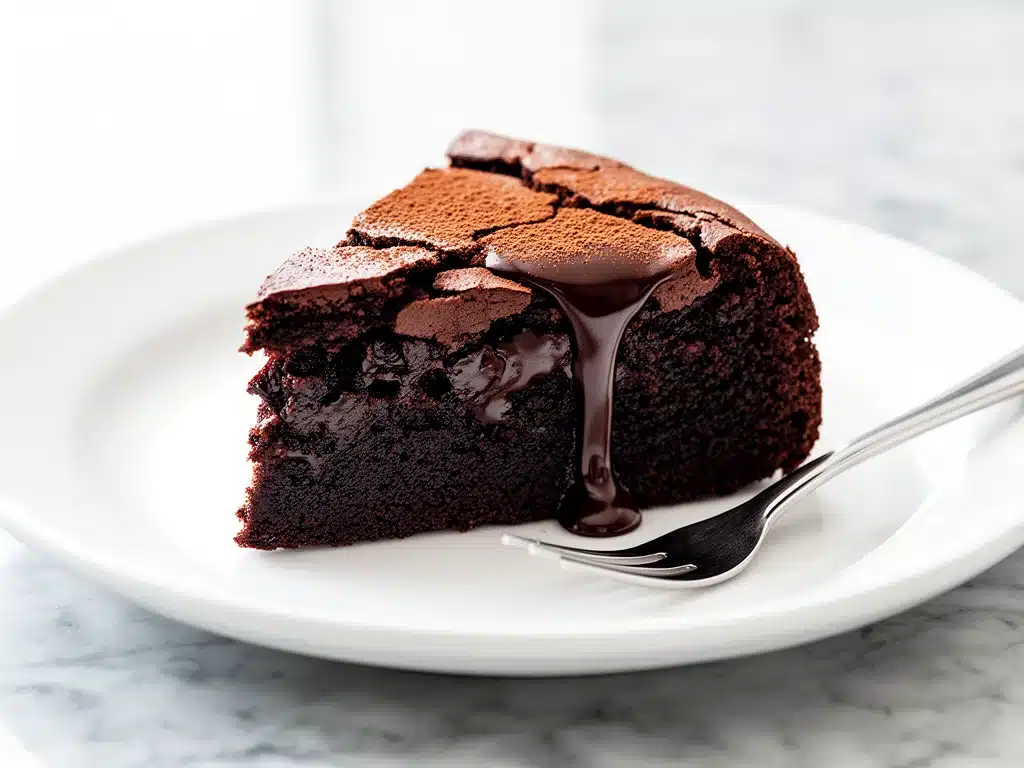
One rainy Sunday afternoon, I found myself craving chocolate but didn’t want to deal with a complicated baking project. I had a few simple ingredients on hand and decided to throw together what I thought would be a modest chocolate cake—no flour, no fuss. What came out of the oven was this unbelievably rich, fudgy flourless chocolate cake that practically melted in my mouth. I burned this cake twice before I got the texture just right, but once I nailed it, it quickly became the dessert I make on repeat when I want something truly decadent without the effort.
This decadent flourless chocolate cake recipe has been my secret weapon for impressing guests and indulging my own sweet tooth. It’s almost like eating a dense chocolate truffle but in cake form—rich, fudgy, and silky smooth. After testing and tweaking it over a dozen times, I finally landed on the perfect balance of intense chocolate flavor and luscious texture. Keep reading, because I’m sharing all the tips that saved me from a crumbly mess and how you can make this easy dessert your new go-to.
Why You’ll Love This Recipe
If you’re anything like me, you want a dessert that feels special but doesn’t require a million steps or weird ingredients. This cake nails that balance. Here are the main reasons I keep coming back to this flourless chocolate cake recipe:
- Unbelievably Rich and Fudgy — This cake has the texture of a chocolate truffle but with a tiny bit of structure. You get that decadent, melt-in-your-mouth experience every single time.
- Simple Ingredients — Just a handful of pantry staples: high-quality chocolate, butter, eggs, sugar, and a pinch of salt. No flour, no baking powder, no nonsense.
- Gluten-Free by Default — If you or someone you love avoids gluten, this cake’s got you covered without needing any substitutions or specialty flours.
- Impresses Every Time — I’ve served this to friends who don’t even eat sweets, and they were hooked. It’s rich enough to satisfy serious chocolate cravings but elegant enough for dinner parties.
- Make-Ahead Friendly — I often bake it the day before, and the flavors deepen overnight. It reheats beautifully or even tastes great chilled.
For me, this cake is the answer to those moments when I want something indulgent but don’t have hours to bake or special ingredients to hunt down. It’s become my fallback dessert, especially when I’m tired but still want to impress.
Ingredients You’ll Need
Here’s the thing: this recipe looks simple because it is. But quality counts, especially when you’re working with so few ingredients.
- Bittersweet or Semisweet Chocolate (8 oz / 225g) — I use 70% cacao for deep flavor. Avoid chocolate chips with stabilizers; use baking bars or couverture chocolate for the best melt and texture.
- Unsalted Butter (½ cup / 115g) — Adds richness and helps with the fudgy texture. I always use real butter, never margarine or substitutes.
- Granulated Sugar (¾ cup / 150g) — Balances the bitterness of the chocolate without being overly sweet.
- Large Eggs (4) — Room temperature is best for even mixing and glossy batter. They give structure and moisture.
- Pure Vanilla Extract (1 teaspoon) — Just a hint to amplify the chocolate flavor.
- Salt (¼ teaspoon) — A pinch to balance the sweetness and intensify the chocolate notes.
Optional: A dusting of powdered sugar or cocoa powder for serving, or a smear of whipped cream or fresh berries to cut through the richness.
Equipment Needed
You don’t need anything fancy here, which is part of what makes this cake so accessible.
- 8 or 9-inch Springform Pan — I swear by springform to easily release the cake without messing up its delicate edges. If you don’t have one, a regular cake pan lined with parchment works too, but be extra careful when removing.
- Double Boiler or Heatproof Bowl + Pot — For gently melting the chocolate and butter together. I just set a glass bowl over simmering water.
- Mixing Bowls — For beating eggs and sugar separately.
- Electric Mixer or Whisk — You want to beat the eggs and sugar until they’re pale and fluffy. I usually use a hand mixer, but a balloon whisk works if you’re patient.
- Rubber Spatula — For folding the melted chocolate mixture into the eggs without deflating the batter.
- Cooling Rack — To let the cake cool evenly after baking.
How to Make It: Step-by-Step
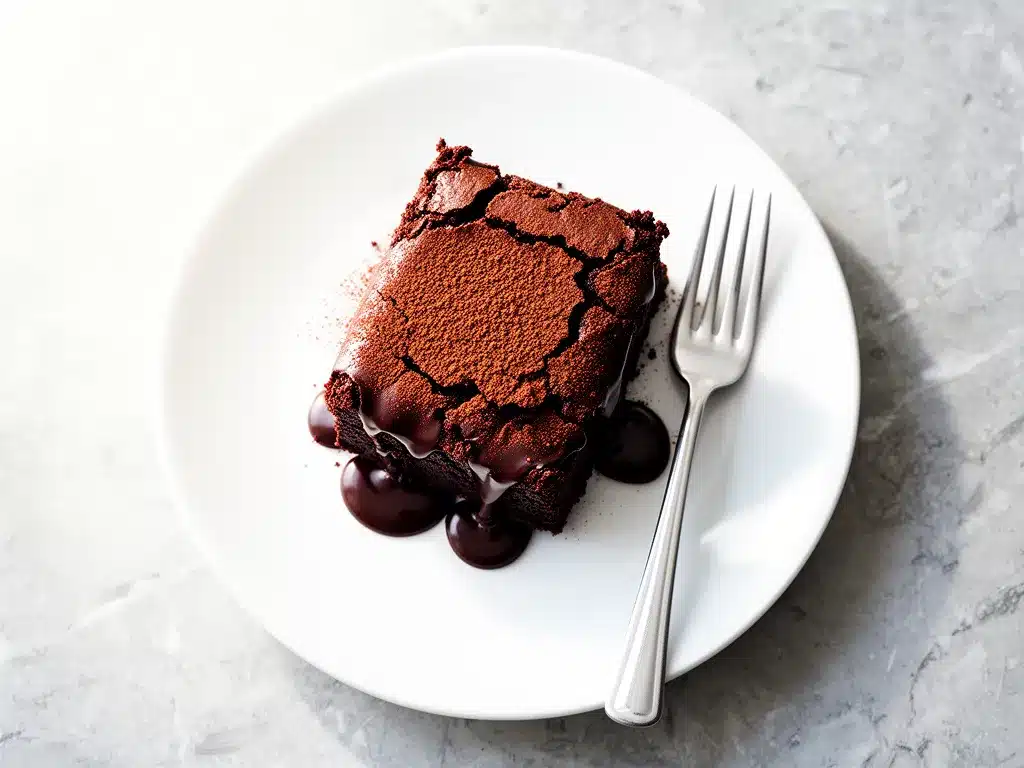
Alright, I’m going to walk you through how I make this flourless chocolate cake every time. I’ve learned to trust the process, especially the little details that make the texture perfect.
Step 1: Prep Your Pan and Ingredients (10 minutes)
Butter your springform pan generously and line the bottom with parchment paper. This helps prevent sticking and makes the cake easier to remove. Bring your eggs to room temperature—this is key for whipping them properly. Chop your chocolate into small pieces so it melts evenly.
Step 2: Melt Chocolate and Butter (5 minutes)
Set a heatproof bowl over simmering water (don’t let the bowl touch the water). Add the chopped chocolate and butter. Stir gently until smooth and fully melted. Remove from heat and let it cool slightly but don’t let it set.
Step 3: Whip Eggs and Sugar (5-7 minutes)
In a large bowl, beat the eggs and sugar together until the mixture triples in volume and turns pale yellow. This is the secret to the cake’s airy yet fudgy texture. If you’re using an electric mixer, this takes about 5-7 minutes on medium-high speed. You want ribbons when you lift the whisk.
Step 4: Combine Chocolate with Egg Mixture (3 minutes)
Pour the slightly cooled chocolate mixture into the whipped eggs. Add vanilla and salt. Gently fold everything together with a spatula. Be careful not to deflate the eggs—you want to keep all that air in there for lift.
Step 5: Bake (25-30 minutes)
Pour the batter into your prepared pan and smooth the top. Bake in a preheated 325°F (160°C) oven for 25-30 minutes. The cake should have a thin crust on top but still be slightly jiggly in the center—it will firm up as it cools. Resist the urge to overbake; fudgy is the goal here, not dry.
Step 6: Cool Completely (1-2 hours)
Let the cake cool in the pan on a wire rack for at least an hour. Then run a knife around the edges and release the springform. For best results, chill it in the fridge for a few hours or overnight to let the texture set fully.
Step 7: Serve
Dust with powdered sugar or cocoa powder and slice with a warm, sharp knife. Serve plain or with fresh berries and whipped cream. This cake pairs beautifully with a cup of coffee or a glass of red wine.
Expert Tips & Tricks
- Use Quality Chocolate — This cake is all about chocolate, so splurge a little on a good baking chocolate bar. It makes a massive difference.
- Don’t Overbake — I’ve burnt this cake twice by mistake. Watch closely starting at 25 minutes. The center should still wobble slightly.
- Whip Eggs Thoroughly — The fluffier the eggs and sugar, the lighter the cake. If your batter looks flat, your cake will be dense and heavy.
- Cool Completely — This cake tastes better the next day. The flavors deepen and texture firms up perfectly.
- Room Temperature Ingredients — Cold eggs or butter can throw off the texture. Plan ahead.
- Slice with a Warm Knife — Run your knife under hot water and wipe dry before slicing. It helps make clean cuts without crumbs.
Variations & Substitutions
Once you master the classic, there are lots of ways to switch things up without losing that fudgy goodness.
- Espresso Infusion — Add 1 tablespoon of instant espresso powder to the melted chocolate. It intensifies the chocolate flavor without making it taste like coffee.
- Orange Zest — Stir in the zest of one orange for a bright, citrusy contrast to the rich chocolate.
- Almond Flour Boost — If you want a little more structure, add ¼ cup almond flour. It keeps it gluten-free but adds a subtle nutty flavor.
- Spiced Chocolate — Add ½ teaspoon cinnamon and a pinch of cayenne for a spicy kick.
- Dairy-Free — Use coconut oil instead of butter and a dairy-free dark chocolate. The texture is a bit different but still delicious.
Serving & Storage
Serving: This cake is a showstopper on its own, but fresh raspberries, a dollop of whipped cream, or even a drizzle of salted caramel take it over the top. I often serve it alongside a simple green salad or even a rich espresso for contrast.
Storage: Keep the cake covered in the fridge for up to 5 days. It actually tastes better after a day or two, when the flavors have melded. To reheat, bring to room temperature or warm a slice gently in the microwave for 10-15 seconds to bring back that fudgy warmth.
Freezing: I don’t recommend freezing this cake; the texture changes and can get crumbly. Instead, bake fresh when you want it or make the batter ahead and bake on the day of serving.
Nutrition Information
| Per Serving (based on 8 servings) | Amount |
|---|---|
| Calories | 320 |
| Protein | 5g |
| Carbohydrates | 30g |
| Fat | 22g |
| Saturated Fat | 13g |
| Sugar | 22g |
| Fiber | 4g |
| Sodium | 55mg |
Look, this is indulgent dessert territory—rich in fats and sugars but also delivering some antioxidants and fiber from the dark chocolate. I like to balance it out by pairing with fresh fruit or a light salad. For a lighter after-school snack, check out my apple peanut butter energy bites—a great way to satisfy your sweet tooth with fewer calories.
Final Thoughts
So that’s my decadent flourless chocolate cake recipe—rich, fudgy, and surprisingly simple. I’ve talked your ear off because when you find a recipe this good, you want to share every nugget of wisdom. This cake has saved me on more than one occasion when I needed a special dessert that felt fancy but didn’t take hours. My family loves it, friends rave about it, and I love how easy it is to whip up.
Make it yours. Try the espresso twist, add some zest, or keep it classic. And if you want a refreshing balance to this decadence, pairing it with a bright, healthy drink like my green apple spinach smoothie is a game changer.
If you bake this cake, please drop a comment and tell me how it turned out—any tweaks, disasters, or triumphs. I’m here to help if you run into trouble. Happy baking, and I hope your kitchen smells as amazing as mine does right now!
Frequently Asked Questions
Q: Can I use regular milk chocolate instead of bittersweet or semisweet?
A: You can, but keep in mind that milk chocolate is much sweeter and less intense, so your cake will be sweeter and less rich. I recommend sticking with at least 60% cacao for balance. If you only have milk chocolate, reduce the sugar slightly.
Q: Why did my cake crack on top?
A: Cracking usually means the oven temperature was too high or the cake was overbaked. Make sure to bake at 325°F (160°C) and check doneness early. A slight crack is normal and doesn’t affect taste.
Q: Can I make this cake without a mixer?
A: Yes! It just takes more elbow grease. Use a balloon whisk and be patient when beating the eggs and sugar. You want to achieve a pale, fluffy texture, which can take 8-10 minutes by hand.
Q: How do I store leftover cake?
A: Wrap leftovers tightly and store in the fridge for up to 5 days. Bring to room temperature before serving or warm gently. Avoid freezing for best texture.
Q: Can I add nuts or chocolate chips to the batter?
A: I don’t usually add mix-ins because I love the smooth fudgy texture, but you can fold in ½ cup chopped toasted walnuts or chocolate chunks if you want some crunch or extra melty bites.
Q: What’s the best way to get clean slices?
A: Use a sharp knife warmed under hot water and wiped dry between cuts. This prevents the cake from sticking and crumbling.
Q: Can I double this recipe?
A: Absolutely! Just double the ingredients and bake in a larger pan or two pans. Keep an eye on baking time—larger pans may take a few extra minutes.
Pin This Recipe!
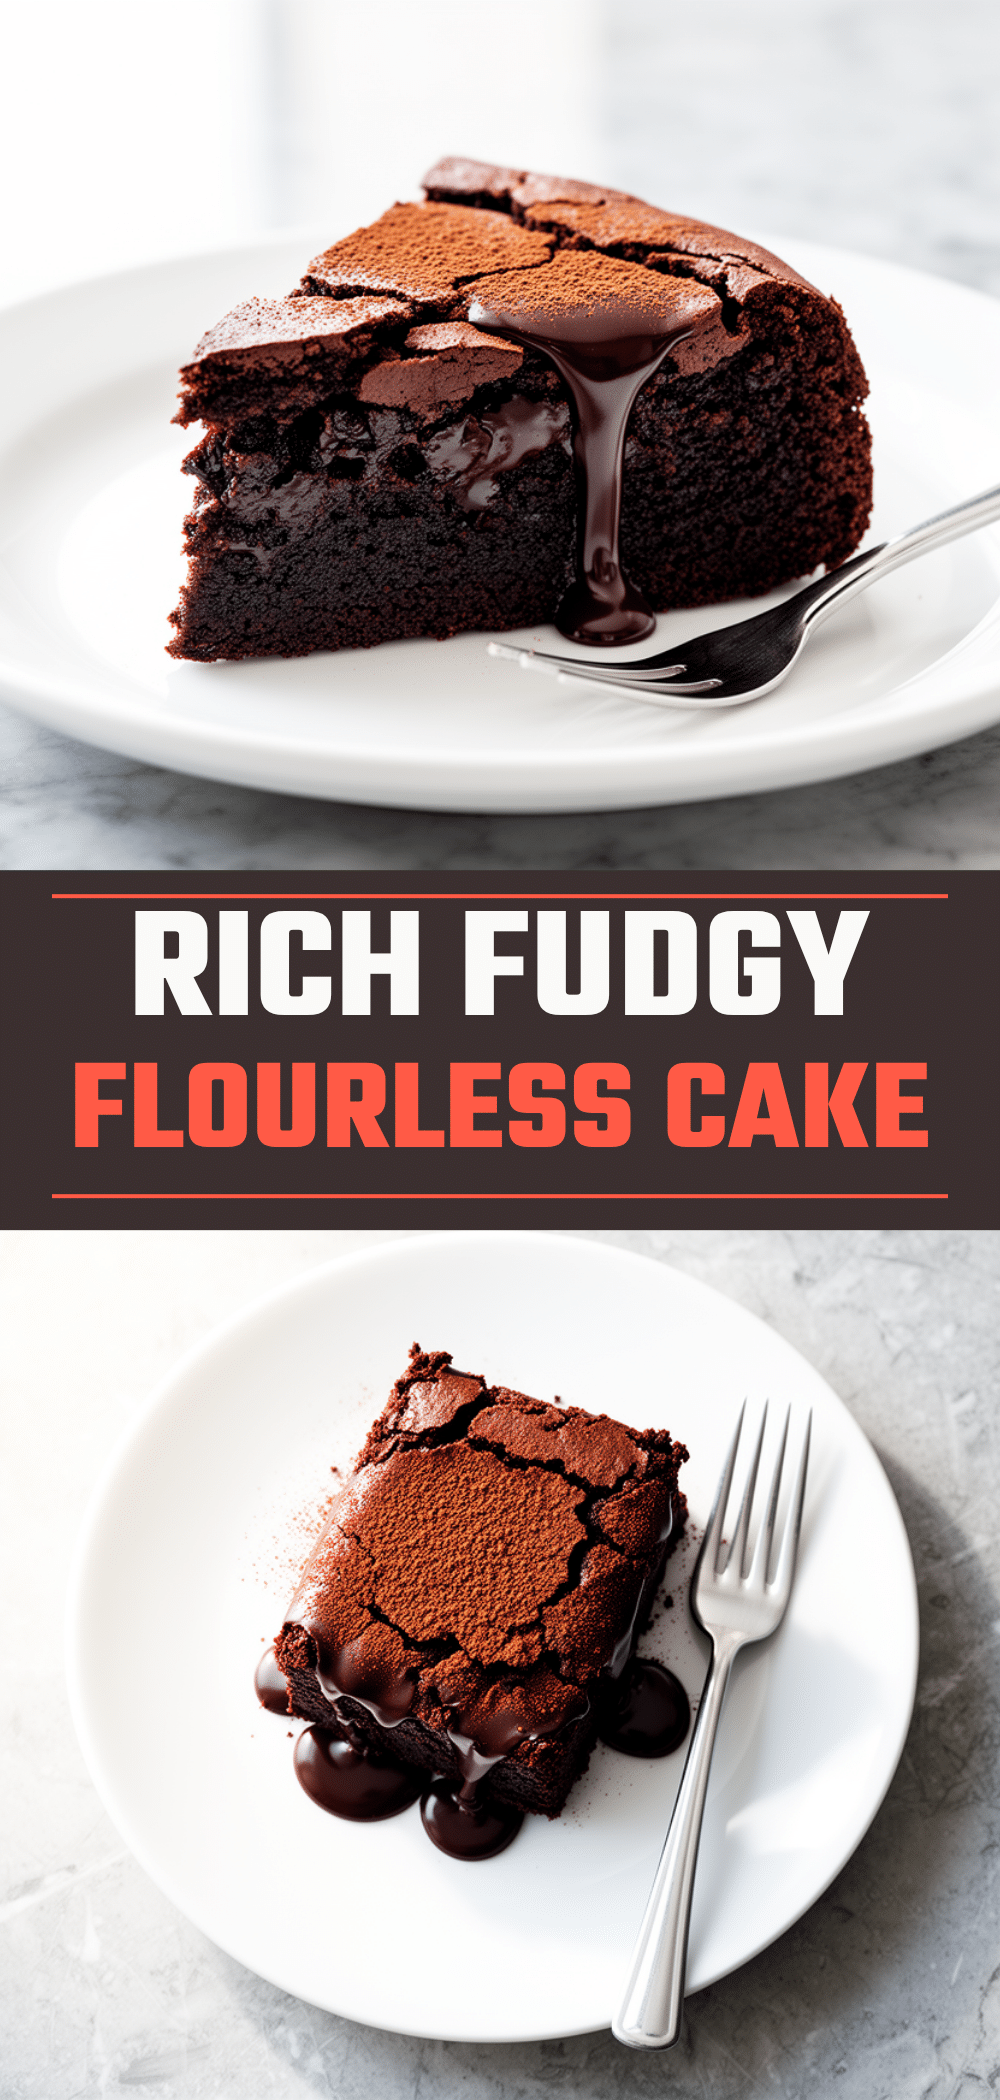
Decadent Flourless Chocolate Cake
- Total Time: 1 hour 45 minutes
- Yield: 8 servings 1x
Description
A rich, fudgy, and silky smooth flourless chocolate cake that melts in your mouth. This easy dessert uses simple ingredients and is naturally gluten-free.
Ingredients
- 8 oz (225g) bittersweet or semisweet chocolate (70% cacao recommended)
- ½ cup (115g) unsalted butter
- ¾ cup (150g) granulated sugar
- 4 large eggs, room temperature
- 1 teaspoon pure vanilla extract
- ¼ teaspoon salt
- Optional: powdered sugar or cocoa powder for dusting
- Optional: whipped cream or fresh berries for serving
Instructions
- Butter an 8 or 9-inch springform pan generously and line the bottom with parchment paper.
- Bring eggs to room temperature and chop chocolate into small pieces.
- Set a heatproof bowl over simmering water (double boiler). Add chopped chocolate and butter, stirring gently until smooth and melted. Remove from heat and let cool slightly.
- In a large bowl, beat eggs and sugar together until the mixture triples in volume and turns pale yellow (about 5-7 minutes with an electric mixer).
- Pour the slightly cooled chocolate mixture into the whipped eggs. Add vanilla extract and salt. Gently fold together with a rubber spatula, being careful not to deflate the batter.
- Pour batter into prepared pan and smooth the top.
- Bake in a preheated 325°F (160°C) oven for 25-30 minutes until the top has a thin crust but the center is still slightly jiggly.
- Cool the cake in the pan on a wire rack for at least 1 hour. Run a knife around the edges and release the springform.
- For best texture, chill the cake in the fridge for a few hours or overnight.
- Dust with powdered sugar or cocoa powder and slice with a warm, sharp knife. Serve plain or with whipped cream and fresh berries.
Notes
Use high-quality baking chocolate for best flavor. Do not overbake; the center should remain slightly jiggly. Whip eggs and sugar thoroughly for a light texture. Cool completely and chill overnight for best results. Slice with a warm knife for clean cuts. Avoid freezing to maintain texture.
- Prep Time: 15 minutes
- Cook Time: 30 minutes
- Category: Dessert
- Cuisine: American
Nutrition
- Serving Size: 1 slice (1/8 of cake
- Calories: 320
- Sugar: 22
- Sodium: 55
- Fat: 22
- Saturated Fat: 13
- Carbohydrates: 30
- Fiber: 4
- Protein: 5
Keywords: flourless chocolate cake, gluten-free dessert, fudgy chocolate cake, easy chocolate cake, rich chocolate dessert


