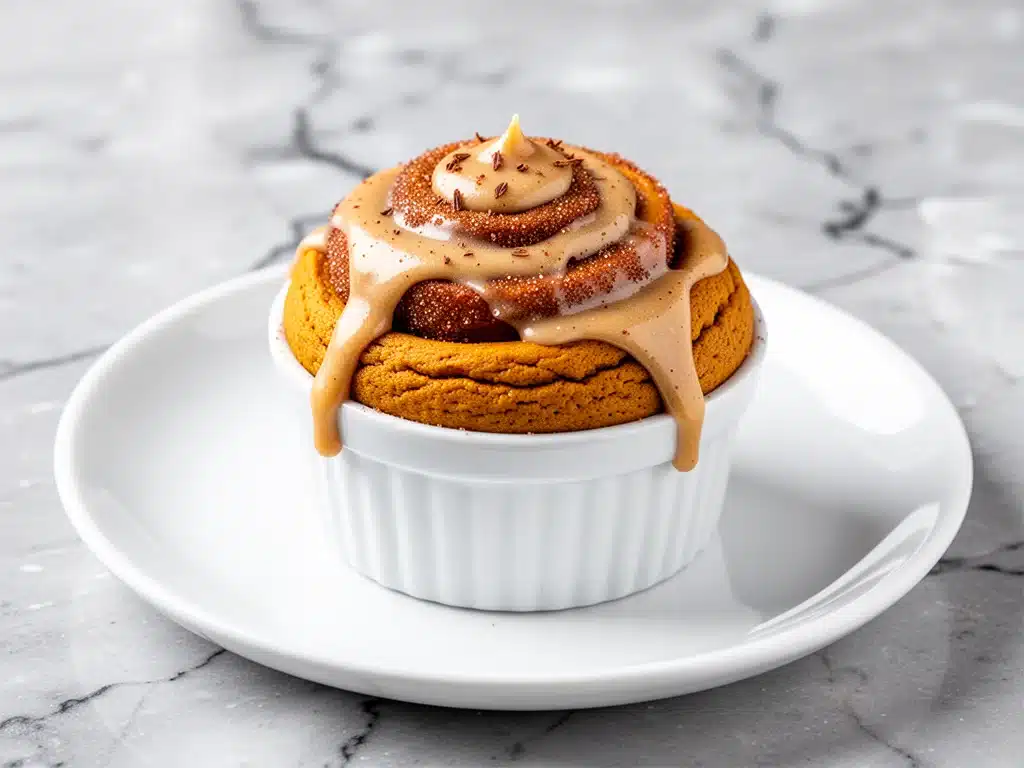
Last November, I was standing in my kitchen at 11 PM, staring at a half-eaten box of refrigerated cinnamon rolls. My husband was asleep, the kids were finally down, and I had this overwhelming craving for something sweet that felt like a hug but didn’t involve washing a mountain of dishes. I grabbed a muffin tin, some leftover pumpkin puree, and started throwing things together. I didn’t have a plan. I just wanted warm, gooey, cinnamon-sugar goodness.
The result? These fall pumpkin cinnamon roll cookie cups. They were messy, slightly over-baked in the center, and absolutely delicious. I ate one right out of the tin with a spoon, icing and all, while watching the last episode of my favorite show. It was the perfect late-night comfort food.
That impromptu midnight snack turned into a monthly tradition. By December, I was making these for every holiday gathering I attended. Neighbors would show up with empty Tupperware containers. My sister-in-law asked for the recipe so she could make them for her book club. Suddenly, I wasn’t just eating leftover cinnamon rolls; I was creating a dessert that captured the essence of fall baking—pumpkin spice, warm cinnamon, and that rich, nutty brown butter icing—without the hassle of rising dough.
I’ve tested this recipe at least fifteen times since that first 11 PM experiment. I’ve tweaked the spice ratios, adjusted the icing consistency, and figured out the exact temperature to get that perfect soft-center, crispy-edge cookie cup. This isn’t just a cookie; it’s an edible pumpkin spice latte in cup form. And the best part? It takes less time than ordering takeout. If you’re looking for the best easy holiday dessert that impresses guests but doesn’t stress you out, you’ve found it.
Why You’ll Love This Recipe
There are a lot of cookie recipes out there. I’ve made dozens, from brown butter chocolate chip cookies to thick, fudgy bars. But these pumpkin cinnamon roll cookie cups are in a league of their own. Here’s why they’ve earned a permanent spot in my holiday rotation:
- Zero Dough Rising — Forget waiting for yeast to activate or chilling dough for hours. This is a drop-and-bake cookie. You mix, you scoop, you bake. Done in 45 minutes. I’ve made these on weeknights after work when I had zero energy.
- Texture Heaven — The outside is slightly crisp and caramelized, while the inside stays soft and chewy, just like a real cinnamon roll. The pumpkin puree keeps them moist for days, so they don’t dry out like traditional cookies.
- Brown Butter Icing — This is the game-changer. Regular cream cheese icing is fine, but brown butter icing adds a toasty, nutty depth that elevates the entire dessert. It tastes like it came from a high-end bakery.
- Make-Ahead Friendly — You can bake these a day ahead. In fact, they taste even better the next day as the flavors meld. I love making a big batch on Sunday to have ready for Monday work meetings or Friday night movie nights.
- Perfectly Portable — Because they’re in muffin cups, they’re self-contained. No crumbling, no messy icing dripping onto plates. I pack these in my lunchbox, and they travel beautifully. Just stack them in an airtight container with parchment paper between layers.
This recipe solves the biggest problem with holiday baking: time. You get all the festive, seasonal flavor without spending your entire weekend in the kitchen. It’s the kind of dessert that makes people ask, “Did you buy these at the store?” (The answer is always no, and I always smile when I tell them it’s homemade.)
Ingredients You’ll Need
Here’s the best part: you probably have most of this already in your pantry. These fall pumpkin cinnamon roll cookie cups rely on simple, accessible ingredients. I’m particular about three things here, and I’ll tell you exactly why.
For the Cookie Cups
Unsalted butter (½ cup / 113g) — Softened to room temperature. This is crucial. If your butter is too cold, it won’t cream properly with the sugar. If it’s melted, your cookies will spread too much. I take mine out of the fridge about an hour before I start.
Pumpkin puree (½ cup / 120g) — NOT pumpkin pie filling. Make sure you get 100% pure pumpkin. The pie filling has sugar and spices already, which will mess up the balance. I buy the canned kind because it’s consistent, but fresh roasted pumpkin works if you’ve got the time.
Granulated sugar (½ cup / 100g) — Standard white sugar. Some people use brown sugar for more moisture, but I like the combination of white sugar for the crisp edges and a little bit of brown sugar (optional, ¼ cup) for chewiness. I usually use a mix.
Brown sugar (½ cup / 110g) — Packed. This adds that molasses flavor that pairs so well with pumpkin. Light or dark brown sugar both work; I just use whatever is in my cupboard.
All-purpose flour (1 ½ cups / 190g) — Spoon and level method, please! Don’t scoop directly from the bag or you’ll end up with dry, crumbly cookies. I sift mine if it’s been sitting for a while, but usually, I just spoon it into the cup.
Baking powder (1 teaspoon) — And baking soda (½ teaspoon). These leaveners help the cookies rise slightly into the muffin cup shape. Make sure they’re not expired. I keep a fresh box in my pantry because I’ve learned the hard way that old baking powder makes flat cookies.
Pumpkin pie spice (2 teaspoons) — Or make your own blend: 1 tsp cinnamon, ½ tsp ginger, ¼ tsp nutmeg, ¼ tsp cloves. I buy pre-mixed because it’s convenient, but homemade tastes fresher. Don’t skip the spices; they’re what make this taste like fall.
Cinnamon (1 teaspoon) — Extra cinnamon for that classic cinnamon roll flavor. Ground cinnamon is fine; don’t bother with sticks here.
Salt (½ teaspoon) — Essential to balance the sweetness. Don’t skip it.
Vanilla extract (1 teaspoon) — Pure vanilla, not imitation. It makes a noticeable difference in flavor depth.
For the Brown Butter Icing
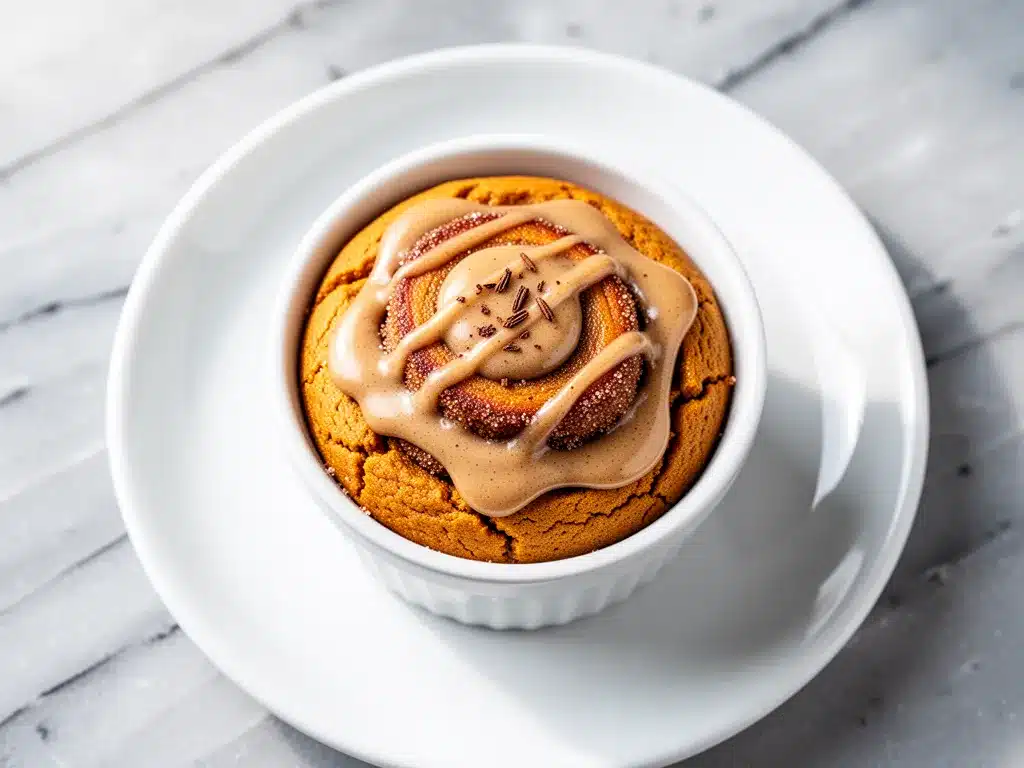
Unsalted butter (¼ cup / 57g) — This is for browning. You’ll watch it foam and turn golden brown. It smells incredible. Be patient here; don’t rush it.
Confectioners’ sugar (1 ½ cups / 180g) — Sifted. Lumps in icing are a nightmare. I sift mine even if the package says it’s already sifted. Trust me.
Heavy cream (2-3 tablespoons) — Add gradually. You want a pourable but thick consistency. Too much and it’s soup; too little and it’s paste.
Vanilla extract (½ teaspoon) — For flavor.
Salt (pinch) — Just a pinch to cut the sweetness.
Optional Add-ins
White chocolate chips (¼ cup) — I like to sprinkle these on top before baking. They melt into little gooey pools. Or you can mix them into the dough for extra sweetness.
Chopped pecans or walnuts (¼ cup) — For crunch. I sometimes add these to the dough, but they can also be sprinkled on top for texture.
Equipment Needed
You don’t need fancy equipment for this. Here’s what I actually use:
Muffin tin — Standard 12-cup size. I use a non-stick tin, but if yours isn’t non-stick, you’ll need liners or spray. I prefer silicone liners because they’re reusable and cleanup is a breeze.
Mixing bowls — One large bowl for the cookie dough, one medium for the icing. I use stainless steel because they’re durable and easy to clean.
Electric mixer — Hand mixer or stand mixer. I use a hand mixer because it’s faster for small batches. Creaming the butter and sugar by hand is possible but takes serious arm strength. Don’t do that to yourself.
Measuring cups and spoons — Standard stuff. Dollar store versions work fine. Just make sure your measuring cups are level.
Spatula — For scraping down the bowl. Silicone spatulas are best because they bend and get every bit of dough out.
Small saucepan — For browning the butter. I use a light-colored pan so I can see the color change clearly. A dark pan makes it harder to tell when the butter is done.
Cooling rack — Essential for letting the cookies cool before icing. If you ice warm cookies, the icing will melt off completely. I’ve made this mistake more times than I care to admit.
How to Make It: Step-by-Step
Alright, let’s make this! I’m walking you through exactly how I do it, including the little tricks I’ve picked up over the years.
Step 1: Prep Your Oven and Pan (5 minutes)
Preheat your oven to 350°F (175°C). Line a 12-cup muffin tin with silicone liners or grease them well with butter or non-stick spray. I spray mine with butter-flavored cooking spray because it adds a little extra richness. Set out your ingredients and get everything measured. This is a quick recipe, so having everything ready makes the process smooth.
Step 2: Cream the Butter and Sugars (3-4 minutes)
In a large bowl, beat the softened butter, granulated sugar, and brown sugar together until light and fluffy. This takes about 2-3 minutes with a mixer. You want the mixture to look pale and airy. If you’re doing it by hand, you’ll need to whip it for 5 minutes. This step incorporates air, which helps the cookies rise.
Step 3: Add Wet Ingredients (1 minute)
Add the pumpkin puree and vanilla extract to the butter mixture. Beat on low speed just until combined. The mixture might look a little curdled at first—that’s okay. It will come together when you add the dry ingredients.
Step 4: Mix Dry Ingredients (2 minutes)
In a separate bowl, whisk together the flour, baking powder, baking soda, pumpkin pie spice, cinnamon, and salt. Then, gradually add the dry ingredients to the wet mixture, mixing on low speed until just combined. Do not overmix! Overmixing develops gluten, which makes cookies tough. Stop mixing as soon as you don’t see streaks of flour. If you’re adding white chocolate chips or nuts, fold them in now.
Step 5: Scoop into Muffin Tin (5 minutes)
Divide the dough evenly among the 12 muffin cups. I use an ice cream scoop for consistency, but two tablespoons per cup works too. Press the dough down slightly into the bottom of the cup, making sure it goes up the sides a bit. You want a “cup” shape, not a flat disc. This helps hold the icing later.
Step 6: Bake (12-14 minutes)
Bake in the preheated oven for 12-14 minutes. The edges should be set and slightly golden, but the centers should still look soft and slightly underdone. They will firm up as they cool. If you bake them until they look fully done in the oven, they’ll be dry. Pull them out when they just look done.
Step 7: Cool Completely (30 minutes)
Let the cookie cups cool in the pan for 5 minutes, then transfer them to a wire rack to cool completely. This is the hardest part—waiting. But if you try to ice them warm, the icing will slide right off. I usually set my timer and distract myself with a quick chore or a short walk. Patience pays off.
Step 8: Make the Brown Butter Icing (10 minutes)
While the cookies cool, make the icing. Melt the ¼ cup butter in a small saucepan over medium heat. Swirl the pan occasionally. The butter will foam, then crackle, and finally, you’ll see little brown bits at the bottom and smell a nutty aroma. This is brown butter. Remove from heat immediately and let it cool for 2-3 minutes.
Whisk the brown butter, confectioners’ sugar, heavy cream, vanilla, and salt together until smooth. Add cream one tablespoon at a time until you reach your desired consistency. It should be thick enough to drizzle but thin enough to spread.
Step 9: Ice and Serve
Drizzle or spoon the icing over the cooled cookie cups. You can swirl it with a knife for a marbled effect. Let the icing set for 10 minutes before serving. Enjoy immediately, or store in an airtight container.
Expert Tips & Tricks
Here’s everything I’ve learned from making these dozens of times. These tips will save you from my mistakes.
Don’t Skip the Cooling
I know, I know. But warm cookies + icing = melted icing disaster. I’ve wasted so much icing this way. Use a cooling rack and give them at least 30 minutes. If you’re in a rush, put them in the fridge for 15 minutes to speed things up.
Watch the Butter Like a HawkBrowning butter happens fast. One minute it’s fine, the next it’s burning. Keep a close eye on the saucepan. When you see those golden brown specks and smell that nutty scent, pull it off the heat. The residual heat will continue to cook it slightly.
Pumpkin Puree, Not Pie Filling
This cannot be stressed enough. Pumpkin pie filling has sugar and spices. If you use it, your cookies will be overly sweet and the texture will be wrong. Look for “100% Pure Pumpkin” on the can.
Use an Ice Cream Scoop
It ensures uniform size, so they all bake evenly. If one is bigger than the others, it might burn or undercook. Uniformity is key for batch baking.
Customize Your Icing
Want more pumpkin flavor? Add a teaspoon of pumpkin pie spice to the icing. Want more tang? Swap some of the heavy cream for cream cheese. I’ve tried both, and they’re delicious.
Variations & Substitutions
Once you’ve nailed the basic version, here’s how you can mix it up. I’ve tried all of these.
Spiced Latte Version
Add a teaspoon of espresso powder to the cookie dough. It enhances the pumpkin flavor without making it taste like coffee. This is my personal favorite twist.
Maple Glaze Instead of Brown Butter
If you don’t want to brown butter, make a simple maple glaze: mix powdered sugar with maple syrup and a splash of milk. It’s lighter and less rich.
Gluten-Free
Use a 1:1 gluten-free flour blend. The texture will be slightly more tender, but it works great. I’ve used Bob’s Red Mill and Cup4Cup with good results.
Dairy-Free
Use dairy-free butter in both the dough and icing. For the icing, use coconut cream instead of heavy cream. The coconut flavor pairs surprisingly well with pumpkin.
Vegan
Use vegan butter and egg replacer (like flax eggs) in the dough. For the icing, use vegan butter and coconut cream. It’s not identical, but it’s still tasty.
Serving & Storage
How to Serve:
I serve these warm, right after icing. They look beautiful on a platter, especially if you swirl the icing. They’re perfect for holiday parties, potlucks, or just a cozy night in. Pair them with a glass of cold milk or a cup of hot coffee.
Storage Instructions:
Refrigerator: Store in an airtight container for up to 5 days. Place parchment paper between layers to prevent sticking. They actually get softer and more flavorful after a day.
Freezer: You can freeze the baked cookies (without icing) for up to 3 months. Thaw at room temperature, then ice. The icing doesn’t freeze well because the texture can change.
Reheating: Warm in the microwave for 10-15 seconds before eating. It brings back that fresh-baked softness.
Nutrition Information
I’m not a nutritionist, but here’s the breakdown if you’re tracking. These are indulgent cookies, so enjoy in moderation.
Per Serving (1 cookie cup with icing):
- Calories: 280
- Protein: 3g
- Carbs: 38g
- Fiber: 1g
- Sugar: 24g
- Fat: 14g
- Saturated Fat: 8g
My Take:
Look, this is a dessert. It’s sweet, rich, and made with butter and sugar. It’s not a health food. But it’s way better than store-bought cupcakes, and you control the ingredients. When I make these, I balance them out with a light lunch the next day. But usually? I just eat one (or two) and enjoy the hell out of them.
Final Thoughts
So that’s my go-to fall pumpkin cinnamon roll cookie cups! I’ve probably talked your ear off at this point, but when you make a recipe this often, you have a lot to say about it. These cookies have saved me during holiday season more times than I can count. They’re my answer to “what dessert should I bring?” when I’m short on time but want to impress.
Make it yours! Try different spices, add nuts, or drizzle extra icing. The best recipes are the ones you adapt to your family’s tastes. If you make these, drop a comment and let me know what you think! I love hearing how recipes turn out in your kitchen.
Happy baking! And I hope your kitchen smells like a pumpkin spice latte by the time you’re done.
Frequently Asked Questions
Can I use canned pumpkin pie filling instead of pure pumpkin?
I really don’t recommend it. Pie filling has added sugar and spices, which will throw off the balance of the recipe. Your cookies will be sweeter and might not bake correctly. If you must, reduce the sugar in the recipe by half, but pure pumpkin is the way to go for the best texture and flavor.
Why did my cookie cups spread too much?
This usually happens if the butter was too warm or melted. Make sure your butter is softened but still cool to the touch. Also, don’t overmix the dough after adding the flour. Overmixing develops gluten, which can cause spreading. Chill the dough for 15 minutes before baking if you’re in a warm kitchen.
Can I make these ahead of time?
Yes! Bake the cookies up to 2 days ahead. Store them in an airtight container at room temperature. Make the icing fresh the day you plan to serve them. This is actually my preferred method because the icing stays fresher.
How do I tell when the butter is browned?
Look for golden brown milk solids at the bottom of the pan. The butter will turn a deep amber color and smell nutty, like toasted hazelnuts. It happens quickly, so keep a close eye on it. If it smells burnt, you’ve gone too far. Start fresh with new butter.
Can I freeze these cookies?
You can freeze the baked cookies without icing for up to 3 months. Wrap them tightly in plastic wrap and store in a freezer-safe bag. Thaw at room temperature before icing. Do not freeze with the icing on, as the texture will become grainy.
What if I don’t have a muffin tin?
You can make these as regular cookies on a baking sheet. Scoop the dough into balls and flatten slightly. They won’t have the “cup” shape, but the flavor will be the same. Adjust baking time to 10-12 minutes.
Can I add cream cheese to the icing?
Absolutely. Soften 2 ounces of cream cheese and beat it into the brown butter icing. It adds a tangy richness that pairs beautifully with the pumpkin. This is a popular variation, especially if you’re serving these with coffee.
Pin This Recipe!
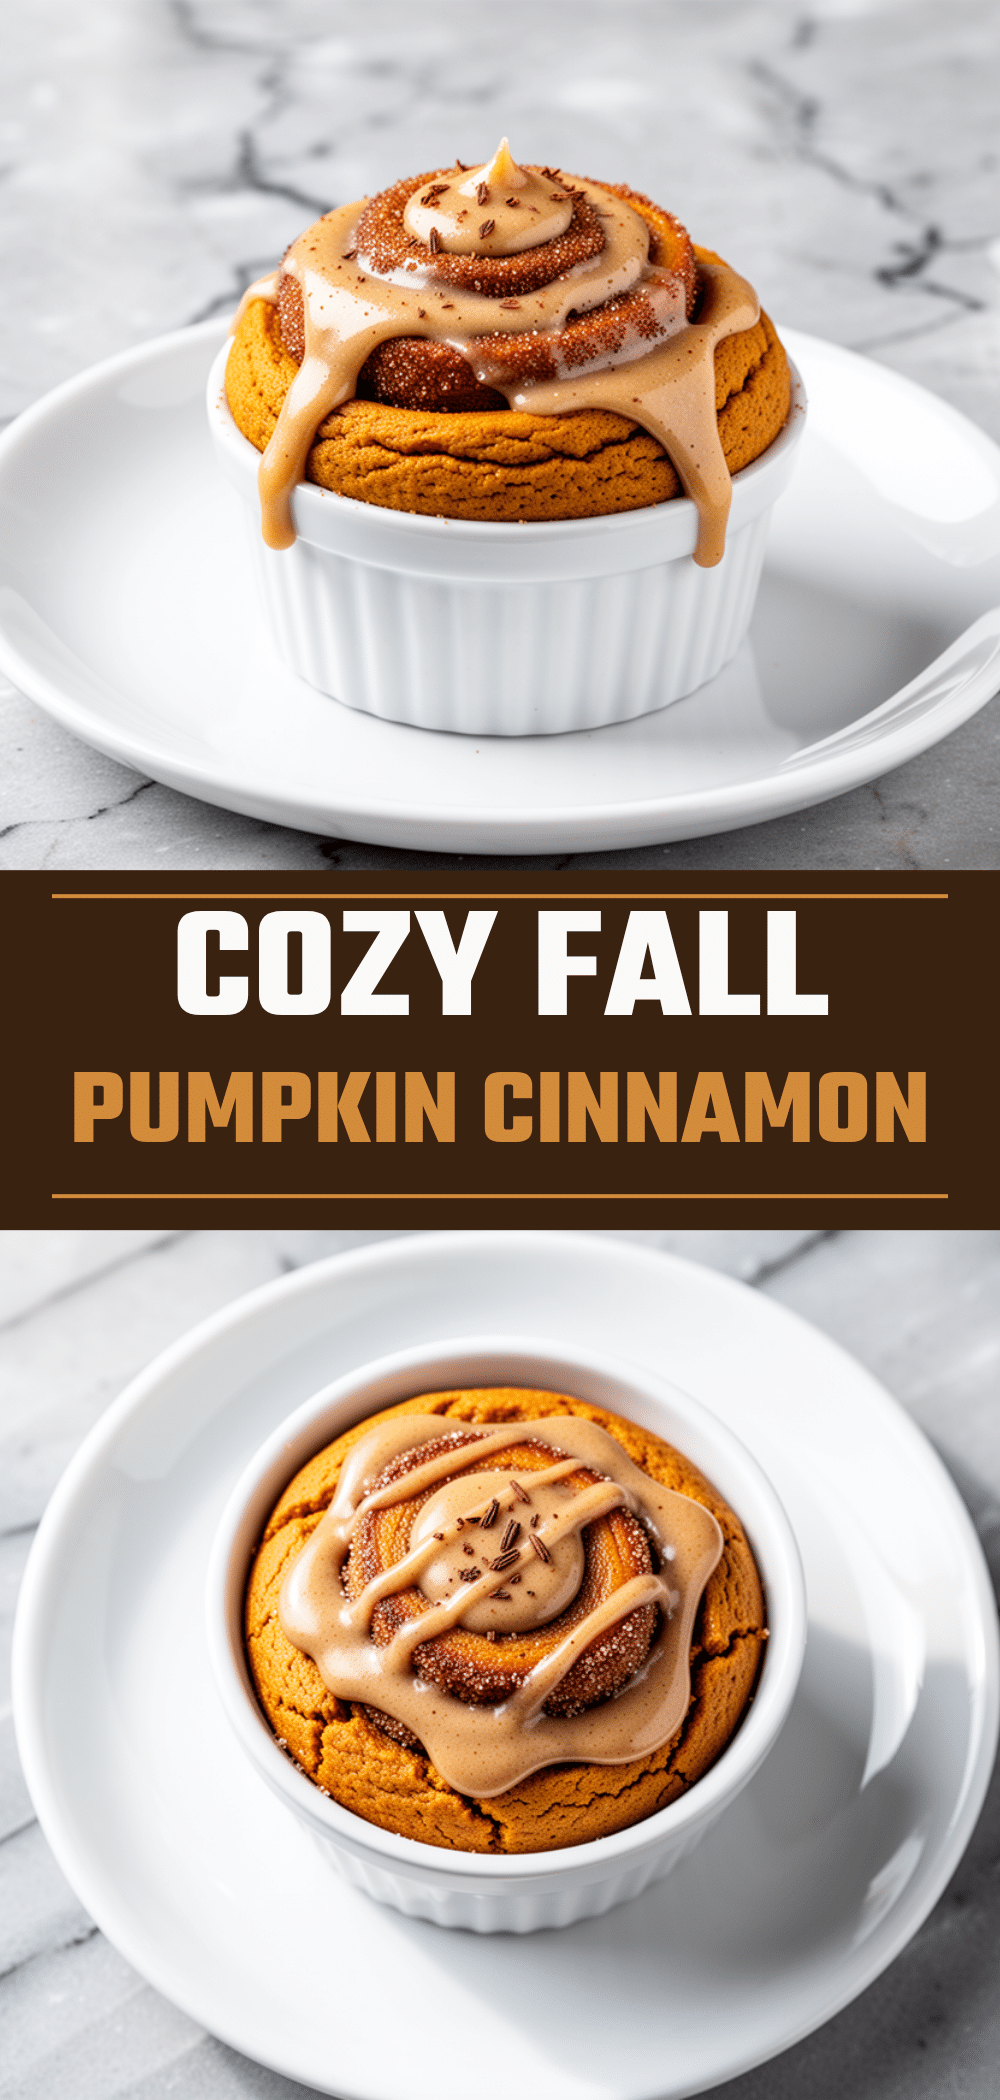
Fall Pumpkin Cinnamon Roll Cookie Cups
- Total Time: 45 minutes
- Yield: 12 servings 1x
Description
These easy holiday dessert cookie cups combine the flavors of pumpkin spice and cinnamon rolls in a convenient muffin tin format. Featuring a soft, chewy cookie base and a rich brown butter icing, they are perfect for making ahead and sharing.
Ingredients
- 1/2 cup unsalted butter, softened
- 1/2 cup granulated sugar
- 1/2 cup packed brown sugar
- 1/2 cup pumpkin puree (not pie filling)
- 1 teaspoon vanilla extract
- 1 1/2 cups all-purpose flour
- 1 teaspoon baking powder
- 1/2 teaspoon baking soda
- 2 teaspoons pumpkin pie spice
- 1 teaspoon ground cinnamon
- 1/2 teaspoon salt
- 1/4 cup unsalted butter (for icing)
- 1 1/2 cups confectioners’ sugar, sifted
- 2–3 tablespoons heavy cream
- 1/2 teaspoon vanilla extract
- Pinch of salt
- Optional: 1/4 cup white chocolate chips
- Optional: 1/4 cup chopped pecans or walnuts
Instructions
- Preheat oven to 350°F (175°C). Line a 12-cup muffin tin with silicone liners or grease well.
- In a large bowl, beat softened butter, granulated sugar, and brown sugar until light and fluffy (2-3 minutes).
- Add pumpkin puree and vanilla extract; beat on low until combined.
- In a separate bowl, whisk together flour, baking powder, baking soda, pumpkin pie spice, cinnamon, and salt.
- Gradually add dry ingredients to wet mixture, mixing on low until just combined. Fold in optional add-ins if using.
- Divide dough evenly among muffin cups, pressing into a cup shape.
- Bake for 12-14 minutes until edges are set but centers look soft. Cool in pan for 5 minutes, then transfer to a wire rack to cool completely.
- While cookies cool, melt 1/4 cup butter in a small saucepan over medium heat until golden brown and nutty smelling. Let cool slightly.
- Whisk brown butter, confectioners’ sugar, heavy cream, vanilla, and salt until smooth. Adjust cream for desired consistency.
- Drizzle or spoon icing over cooled cookie cups. Let set for 10 minutes before serving.
Notes
Ensure you use 100% pure pumpkin puree, not pumpkin pie filling. Do not skip the cooling step, as icing warm cookies will cause it to melt. Brown butter happens quickly, so watch it closely. These can be made gluten-free using a 1:1 gluten-free flour blend or dairy-free using vegan butter and coconut cream.
- Prep Time: 15 minutes
- Cook Time: 14 minutes
- Category: Dessert
- Cuisine: American
Nutrition
- Serving Size: 1 cookie cup with ic
- Calories: 280
- Sugar: 24
- Fat: 14
- Saturated Fat: 8
- Carbohydrates: 38
- Fiber: 1
- Protein: 3
Keywords: pumpkin cookies, cinnamon roll cookies, holiday dessert, fall baking, easy cookies, brown butter icing, make-ahead dessert


