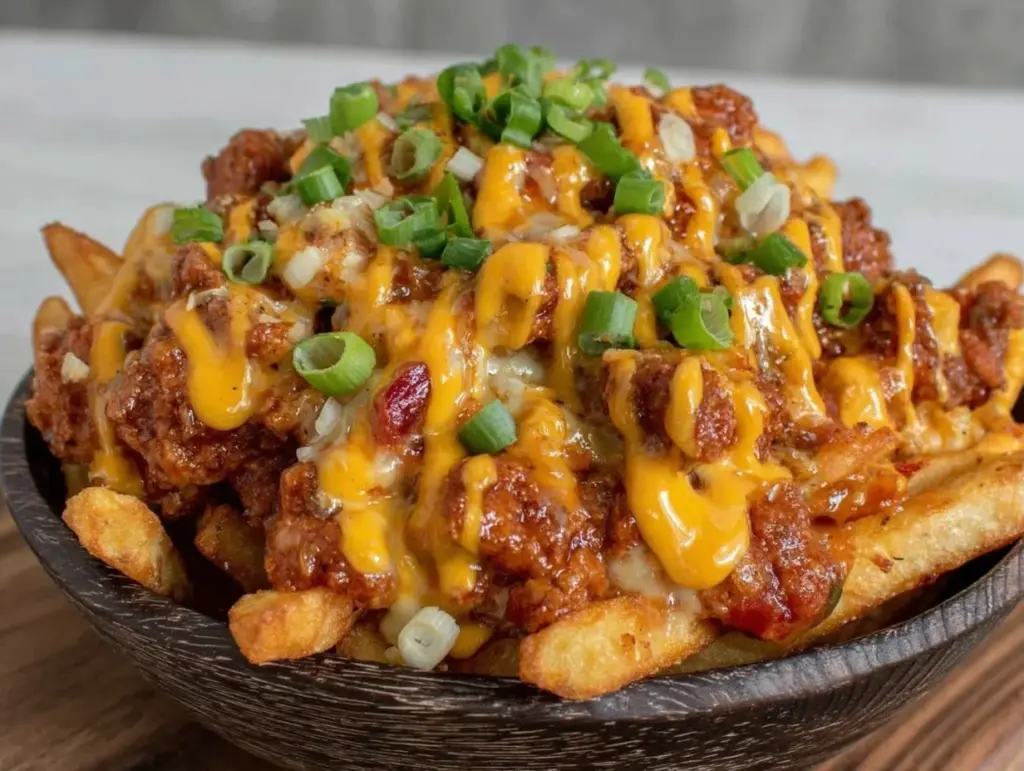
Last Saturday, I was standing in my kitchen at 4 PM, staring at the clock and panicking. The game starts at 5, my husband is already wearing his jersey, the kids are asking if we’re ordering pizza, and I realized I had absolutely nothing ready for the big kickoff. No wings, no dip, nothing. I was about to give in to the convenience store run when I remembered a bag of frozen fries and some leftover chili in the fridge. I threw them together in about 20 minutes, and honestly? It was better than anything we’ve ever ordered at the stadium. That’s when I decided: this is it. This is the recipe. This Football Party Chili Cheese Fries with Green Onion recipe is going to be our new game-day tradition.
I’ve made this dish about a dozen times since then, tweaking the cheese blend and the chili consistency until it was perfect. It’s not just about being fast; it’s about that incredible contrast of textures. You get the crispiness of the fries, the rich, spicy warmth of the chili, the gooey stretch of melted cheddar, and finally, the fresh, sharp bite of green onion on top. It’s comfort food at its finest. And the best part? It costs a fraction of what you’d pay at a sports bar. I’m talking under $15 for a huge platter that feeds a crowd. If you’ve been looking for an easy budget game day snack that actually impresses every time, you’re in the right place.
Why You’ll Love This Recipe
There are plenty of ways to feed a crowd during football season, but this one stands out for a few specific reasons. I’ve tested this with everything from picky toddlers to my husband’s super-foodie friends, and it works every single time. Here’s why this Football Party Chili Cheese Fries with Green Onion recipe has earned a permanent spot in my rotation.
- Stupid Simple Assembly — Seriously, if you can boil water and chop an onion, you can make this. There’s no complex technique here. You heat the chili, warm the fries, melt the cheese, and sprinkle. It’s so easy I’ve made it while helping my middle schooler with homework.
- Budget-Friendly Feeding — Let’s be real: feeding a hungry crowd is expensive. A plate of loaded fries at a bar can run you $18. Making this at home? You’re looking at about $3 per person if you use store-brand chili and frozen fries. That’s money I can spend on better snacks or next week’s groceries.
- Make-Ahead Friendly — This is huge for game day. You can make the chili the night before. In fact, the flavors get better overnight. You can also prep the green onions and grate the cheese ahead of time. When game day hits, you just heat and assemble. No stress.
- Customizable for Everyone — Not everyone likes spicy food? Leave off the jalapeños. Someone wants extra heat? Add more chili powder. This recipe is a blank canvas. I’ve even seen people swap the fries for baked sweet potato wedges, and it still works beautifully.
- Leftovers Are Actually Good — Usually, leftover fries are sad and soggy. But here, the chili and cheese protect them a bit. If you reheat them gently in the oven, they’re still tasty. I deliberately make extra for lunch the next day. It’s like a deconstructed nacho bowl.
This is my go-to when I need dinner or a massive snack to just work. No complicated techniques, no weird ingredients you have to hunt for, just reliable, delicious food that makes everyone happy. It’s the kind of recipe that turns a chaotic Sunday into a relaxed, happy afternoon.
Ingredients You’ll Need
Here’s the best part: you probably have most of this already in your pantry or freezer. I’m particular about a few things here, especially the cheese and the green onions, but for the base, this is very forgiving. This looks like a short list, but that’s because it’s designed to be simple and effective.
For the Fries
Frozen french fries (2 to 3 pounds / 900g to 1.3kg) — I use straight-cut or crinkle-cut. Shoestring gets too greasy under all that topping, and steak fries are great but take longer to cook. I stick with standard frozen fries because they’re consistent and cheap. You can bake them in the oven or use an air fryer—both work well.
Vegetable or canola oil (1 tablespoon) — Only needed if you’re baking the fries in the oven. It helps them crisp up. If you’re air frying, you can skip this.
For the Chili
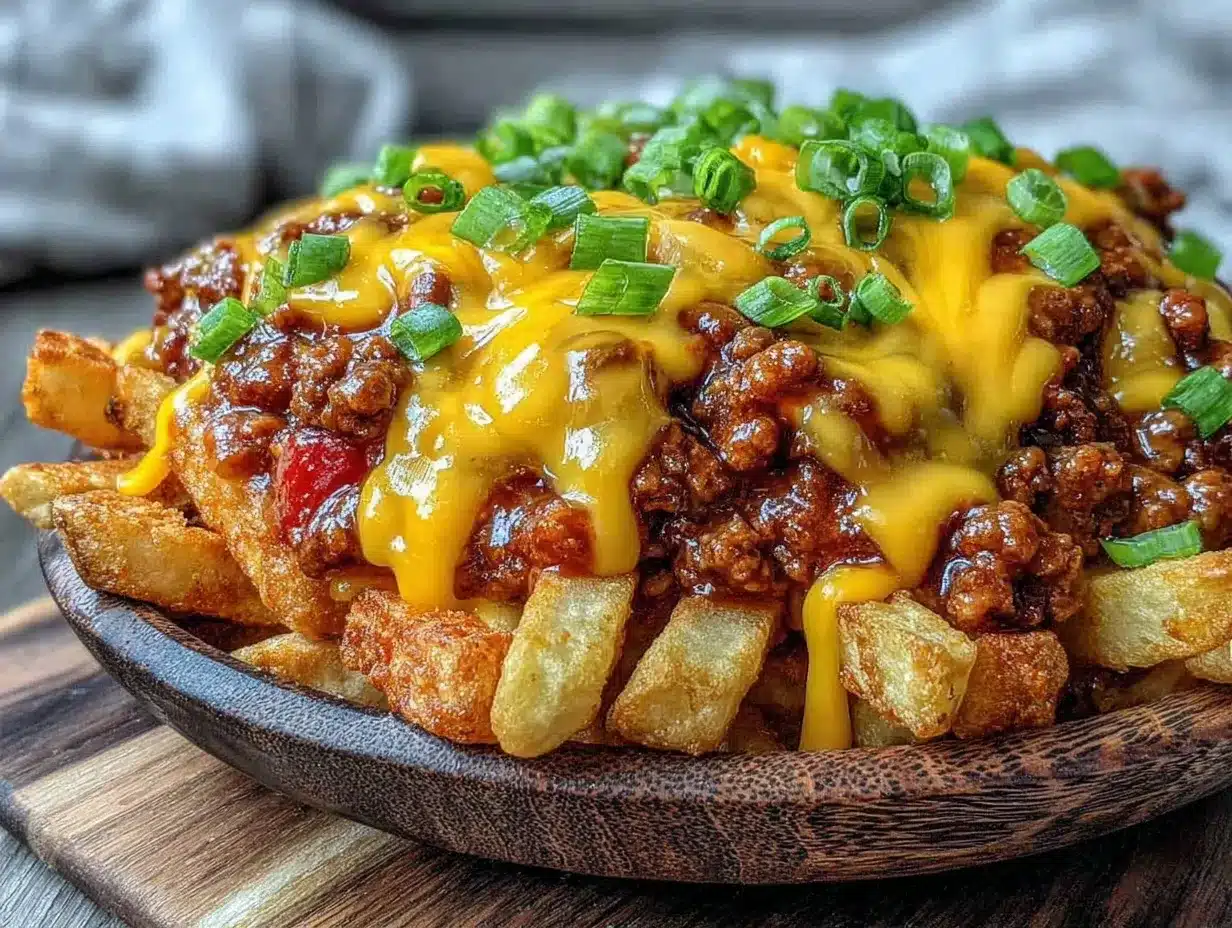
Ground beef (1.5 pounds / 680g) — 80/20 lean-to-fat ratio is my preference. It keeps the chili juicy and flavorful. You can use 90/10 if you’re watching calories, but it’ll be a bit drier. Turkey works too, though it’s lighter.
Yellow onion (1 medium, diced / about 200g) — Sweet onions work too, but yellow gives better depth. I use a lot of onion because it adds bulk and sweetness that balances the spice.
Garlic (4 cloves, minced / about 2 tablespoons) — Fresh only. No jarred garlic for this. The flavor is too sharp and metallic in a rich chili. Mincing it fresh takes 30 seconds and makes a world of difference.
Tomato sauce (1 can, 15 oz / 425g) — I use plain tomato sauce, not crushed tomatoes. It creates a smoother base for the chili. If you only have crushed, just blend it first or cook it longer to break it down.
Tomato paste (2 tablespoons) — This adds richness and body. Don’t skip it. It makes the chili taste homemade rather than canned.
Chili powder (2 tablespoons) — Check your spice jar! If it’s old, it’s likely lost its punch. Buy a fresh jar. I use a standard blend, but if you have a homemade mix, use that. It should be earthy and slightly spicy.
Cumin (1 teaspoon) — Ground cumin is essential for that classic chili aroma. It’s subtle but necessary.
Beef broth (1 cup / 240ml) — Low-sodium is best so you can control the salt. I keep a carton of low-sodium broth in the fridge specifically for recipes like this.
Beans (1 can, 15 oz / 425g, drained and rinsed) — Kidney beans or pinto beans. I use kidney beans because they hold their shape better. If you prefer no-bean chili, just add an extra half cup of broth and maybe a bit more tomato paste.
For the Toppings
Cheddar cheese (2 cups / 200g, shredded) — Block cheese. Please, for the love of all that is holy, buy a block and shred it yourself. Pre-shredded cheese has cellulose in it that prevents it from melting smoothly. You want gooey, stringy cheese, not grainy dust. Sharp cheddar is best for flavor.
Green onions (1 bunch, thinly sliced) — This is the signature touch. The fresh, crisp onion cuts through the heavy grease and cheese. It adds color and a bright finish. You can use white onions if you have to, but green onions are much milder and sweeter.
Jalapeños (1 can, sliced, optional) — If you like heat, this is the way to go. I usually add half a can for the crowd and let the spicy folks add more on their own.
Sour cream (½ cup / 120g) — Optional, but highly recommended. A dollop of cool sour cream balances the hot, spicy chili perfectly.
Optional Add-ins — I sometimes add diced black olives or chopped pickled jalapeños for extra zing. It’s up to you.
Equipment Needed
You don’t need fancy equipment for this. Here’s what I actually use. If you don’t have these exact items, don’t worry—substitutions are easy.
Large skillet or Dutch oven — I use a 12-inch skillet for the chili. It needs enough surface area to brown the beef well. A Dutch oven works too, especially if you’re making a huge batch. My ancient cast-iron skillet still works fine for this.
Baking sheet — If you’re baking the fries, you need a large rimmed baking sheet. I line mine with parchment paper for easy cleanup. Grease is the enemy of cleanup.
Sharp knife — For chopping onions and green onions. Dull knives make you cry more—learned this the hard way with a red onion.
Cutting board — Any size works. I use plastic for easier cleanup.
Wooden spoon or spatula — For stirring the chili. Silicone works too. Don’t use metal on non-stick.
Box grater — For the cheese. Or a food processor if you’re grating lots of cheese and want to save time. I use a food processor when I’m making this for a big party.
Colander — For draining the beans and rinsing them. Or just use the lid to drain if you’re being lazy.
Small bowl — For holding the sliced green onions. Keeps them fresh until you’re ready to serve.
Optional but nice:
- Air fryer — If you have one, this is the fastest way to get crispy fries. I use it about half the time.
- Serving platter — A large wooden board or a big oval platter looks rustic and inviting. You can also serve in individual bowls, but a big platter feels more like a party.
How to Make It: Step-by-Step
Alright, let’s make this! I’m walking you through exactly how I do it, including the little tricks I’ve picked up over the years. This process is straightforward, but timing matters if you want everything hot and ready at the same time.
Step 1: Prep Your Ingredients (10 minutes)
Before you start cooking, chop your yellow onion, mince your garlic, and slice your green onions. Set the green onions aside in a small bowl. Grate your cheddar cheese. I know it seems fussy, but it makes the actual cooking way less stressful. Once you start browning the beef, things move fast. Have everything measured and ready to go.
Step 2: Cook the Chili (25-30 minutes)
Heat a large skillet or Dutch oven over medium-high heat. Add the ground beef. Break it up with a wooden spoon as it cooks. You want to brown it well, not just steam it. This takes about 8-10 minutes. Once the beef is browned, drain any excess grease. I usually leave about a tablespoon of fat for flavor, but if there’s a lot, drain it.
Add the diced yellow onion and cook for 3-4 minutes until soft. Add the minced garlic and cook for 1 more minute until fragrant. Don’t let the garlic burn—it gets bitter quickly.
Stir in the tomato paste, chili powder, and cumin. Cook for 1 minute to toast the spices. This step releases their oils and makes the flavor much deeper.
Pour in the tomato sauce, beef broth, and drained beans. Stir well to combine. Bring the mixture to a boil, then reduce the heat to low. Let it simmer uncovered for 15-20 minutes. This thickens the chili and lets the flavors meld. Stir occasionally to prevent sticking. If it gets too thick, add a splash of water or broth.
Step 3: Cook the Fries (15-20 minutes)
While the chili simmers, get your fries ready. If you’re baking, preheat your oven to 425°F (220°C). Spread the frozen fries in a single layer on a parchment-lined baking sheet. Drizzle lightly with oil and toss to coat. Bake for 15-20 minutes, flipping halfway through, until golden and crispy.
If you’re using an air fryer, cook according to package directions, usually around 400°F for 12-15 minutes. Shake the basket halfway through. The key is getting them crispy before they get topped with wet chili.
Step 4: Assemble the Dish (5 minutes)
Once the fries are done, transfer them to a large serving platter. If you’re serving in bowls, keep them in the baking sheet or divide them out. Pour the hot chili generously over the fries. You want every fry to get some chili, but don’t drown them completely—you still want some texture.
Immediately sprinkle the shredded cheddar cheese over the hot chili and fries. The heat from the chili will melt the cheese. If you’re worried about melting, you can put the platter in the oven for 2-3 minutes on broil, but watch it closely so it doesn’t burn.
Step 5: Garnish and Serve
Remove from heat. Sprinkle the sliced green onions over the top. Add jalapeños and a dollop of sour cream if you’re using them. Serve immediately while the cheese is still gooey and the fries are still crisp. This Football Party Chili Cheese Fries with Green Onion recipe is best eaten right off the platter.
Total Time: About 45 minutes (15 minutes prep, 30 minutes cooking)
Expert Tips & Tricks
Here’s everything I’ve learned from making this dozens of times. These tips will save you from my mistakes and ensure your fries stay crispy as long as possible.
Don’t Overload the Fries
I see people pile on too much chili too early. The steam from the hot chili makes the fries soggy. I recommend serving in batches or letting people add their own chili. If you’re making a big platter, put the chili in a bowl on the side for dipping. It keeps the fries crunchy.
Shred Your Own Cheese
I cannot stress this enough. Pre-shredded cheese has anti-caking agents. It melts, but it doesn’t melt *smoothly*. It can be grainy or clumpy. Buy a block of sharp cheddar and shred it. It takes 3 minutes and makes a huge difference in the texture.
Keep the Chili Thick
If your chili is too watery, it’ll make the fries soggy. Simmer it longer than you think you need to. You want a thick, hearty chili that clings to the fries, not a soup. If it’s too thick, add a little broth, but err on the side of thick.
Use a Parchment-Lined Sheet
If you bake the fries on a bare sheet, they stick. Parchment paper is your friend. It also makes cleanup a breeze. You can just throw the paper away. No scrubbing.
Double the Batch
This recipe scales up easily. I often double it for big games. Just use a larger pot for the chili and multiple baking sheets for the fries. The cooking times stay the same. I make this for 10 people all the time without issue.
Variations & Substitutions
Once you’ve nailed the basic version, here’s how you can mix it up. I’ve tried all of these, and they’re all winners.
Taco Style
Swap the chili powder for taco seasoning. Add black beans and corn to the chili. Top with guacamole and pico de gallo instead of green onions. It’s basically loaded nacho fries.
Vegetarian Version
Skip the beef and use a meatless ground crumble or just extra beans. Use vegetable broth instead of beef broth. The chili is still flavorful and hearty. My vegetarian sister loves this version.
Bacon Lover’s
Cook 6-8 strips of bacon until crispy, crumble them, and sprinkle on top with the green onions. The smoky bacon pairs perfectly with the chili. It’s a game-changer.
Spicy Kick
Add a diced jalapeño to the chili while cooking. Use pepper jack cheese instead of cheddar. Add hot sauce to the sour cream. This is for the heat-seekers in your group.
Sweet Potato Wedges
Swap the fries for sweet potato wedges. Toss with a little cinnamon and paprika before baking. It adds a nice sweetness that balances the spicy chili.
Dietary Modifications:
- Gluten-Free — Most frozen fries and chili ingredients are naturally gluten-free. Just check your chili powder and broth labels to be sure. I use Barilla gluten-free pasta in other recipes, and their fries are good too.
- Dairy-Free — Use dairy-free cheese shreds (like Violife or Daiya) and skip the sour cream. Coconut yogurt works as a substitute for sour cream.
- Lower-Carb — Use cauliflower fries or zucchini fries instead of potato fries. Reduce the chili ingredients by half. It’s not the same, but it works if you’re watching carbs.
Serving & Storage
How to Serve
I usually serve this straight from the baking sheet or on a large wooden board at the dinner table—it looks rustic and stays warm. But here are other ways I’ve enjoyed it:
Side Dishes:
- Cooling drinks like fresh watermelon mint agua fresca or a classic lemonade.
- A simple green salad with vinaigrette to cut the richness.
- Cornbread or tortilla chips on the side for extra crunch.
Toppings Bar:
When I have guests, I put out small bowls of extra green onions, jalapeños, sour cream, and hot sauce. Everyone customizes their bowl. It’s fun and interactive.
Storage Instructions
Refrigerator:
Store leftover chili and fries separately in airtight containers for up to 3 days. The fries will lose their crispiness, so don’t expect them to be crispy when reheated. The chili will keep well.
Reheating:
Best method for fries: Put them on a baking sheet and bake at 400°F for 10 minutes. This revives the crispiness. For chili, reheat in a saucepan over medium heat, stirring occasionally. Add a splash of water if it’s too thick.
Freezing:
Freeze the chili in portions for up to 3 months. Do not freeze the fries—they’ll turn to mush. Make fresh fries when you’re ready to eat. This Football Party Chili Cheese Fries with Green Onion recipe is best made fresh, but the chili component is very freezer-friendly.
Pro tip: If you’re meal-prepping, make the chili on Sunday. Cook the fries fresh each time you eat it. It takes 20 minutes and tastes way better than reheated leftovers.
Nutrition Information
I’m not a nutritionist, but here’s the breakdown if you’re tracking. Keep in mind that this is a rich, indulgent dish, so portions matter.
Per Serving (based on 8 servings, assuming 1/8 of the batch):
- Calories: 580
- Protein: 22g
- Carbs: 45g
- Fiber: 4g
- Sugar: 5g
- Fat: 32g
- Saturated Fat: 12g
- Cholesterol: 65mg
- Sodium: 850mg
What’s Good:
- Decent protein from the beef and cheese.
- Calcium from the cheese.
- Can add vegetables (like spinach or peppers) to boost nutrition.
What to Know:
- Higher in calories and fat from the cheese and fries.
- Contains dairy and gluten.
- High sodium (use low-sodium broth and chili to reduce).
My Take:
Look, this is comfort food. It’s not a diet recipe. It’s meant to be enjoyed in moderation. When I want to make it lighter, I use turkey, less cheese, and baked sweet potato fries. But usually? I just eat a reasonable portion and enjoy it. It’s better than takeout, costs less, and I know exactly what’s in it.
Final Thoughts
So that’s my go-to Football Party Chili Cheese Fries with Green Onion! I’ve probably talked your ear off at this point, but when you make a recipe this often, you have a lot to say about it. This has saved game days more times than I can count. It’s my answer to “what’s for snack?” when I’m tired, don’t want takeout, and still want something that tastes really good. My kids are happy, my husband’s happy, and I’m happy because I’m not stressed about cooking.
Make it yours! Try different add-ins, swap in your favorite vegetables, adjust the spice level. The best recipes are the ones you adapt to your family’s tastes. If you make this, drop a comment and let me know what you think! I love hearing how recipes turn out in your kitchen. And if something doesn’t work, tell me that too—I’m here to help troubleshoot.
Happy cooking! And I hope your kitchen smells half as good as mine does right now.
Frequently Asked Questions
Can I use homemade chili instead of canned?
Absolutely! Homemade chili is even better. Just make sure it’s thick. If it’s too watery, simmer it down before using. This Football Party Chili Cheese Fries with Green Onion recipe works great with any chili style.
Why did my fries get soggy?
Usually, it’s because the chili was too hot and wet, or you waited too long to serve. The steam from the chili makes the fries lose their crunch. Try serving the chili on the side, or add the chili right before eating. Also, make sure your fries are crispy before topping.
Can I make this ahead for a party?
You can make the chili ahead, but not the fries. Cook the fries fresh when you’re ready to serve. This ensures they’re crispy. I make the chili the night before, and it actually tastes better the next day.
What cheese is best for this?
Sharp cheddar is the classic choice. It has a strong flavor that stands up to the chili. Pepper jack adds heat. Monterey jack melts well but is milder. I recommend a blend of sharp cheddar and pepper jack for the best flavor and melt.
Can I freeze the fries?
No. Frozen fries turn to mush when thawed and reheated. Always make fresh fries. You can freeze the chili, though.
How do I reheat leftovers?
Reheat the chili in a saucepan. Reheat the fries in the oven at 400°F for 10 minutes to crisp them up. Don’t microwave the fries—they’ll get chewy. Assemble after reheating.
Can I use sweet potato fries?
Yes! They work beautifully. Just bake them until crispy. They add a nice sweetness that balances the spicy chili. It’s one of my favorite variations.
Pin This Recipe!
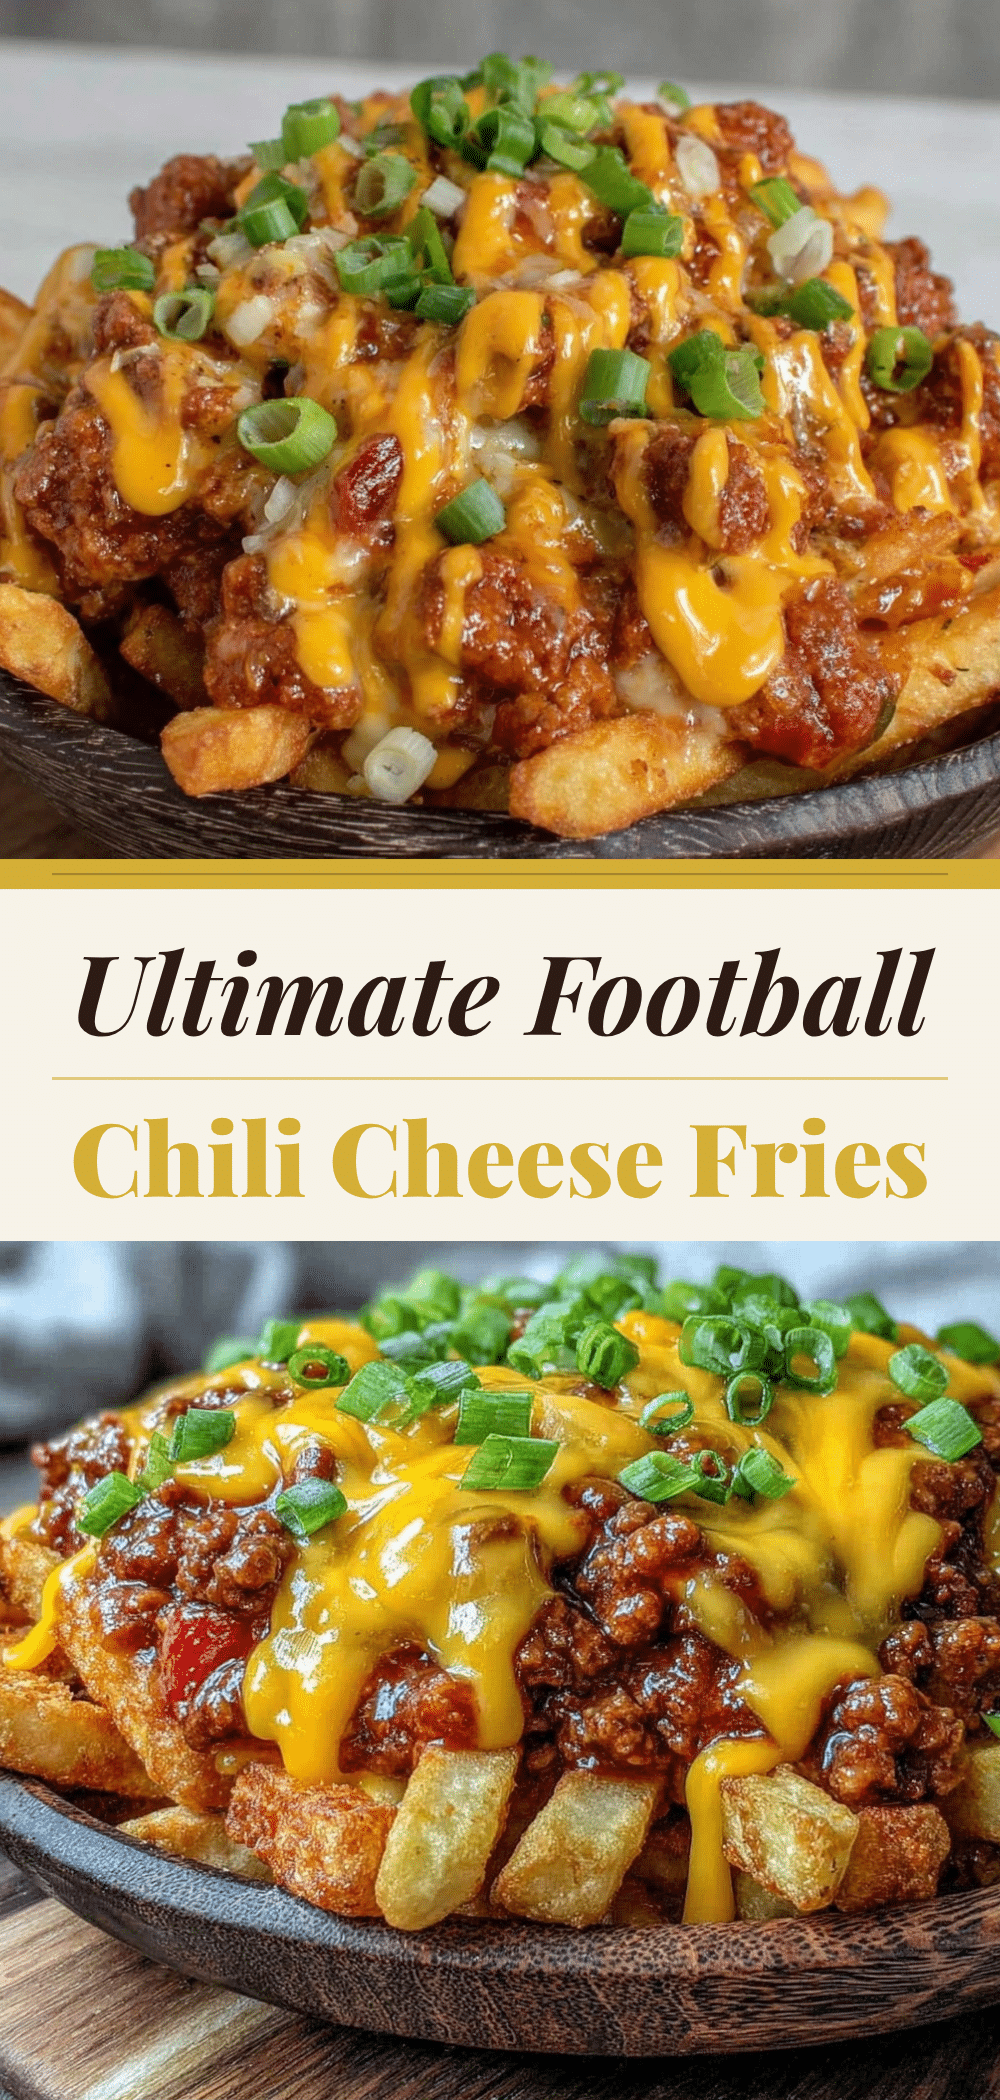

Football Party Chili Cheese Fries with Green Onion
- Total Time: 45 minutes
- Yield: 8 servings 1x
Description
A budget-friendly, easy-to-make game day snack featuring crispy baked or air-fried fries topped with homemade chili, melted sharp cheddar cheese, and fresh green onions.
Ingredients
- 2 to 3 pounds frozen french fries
- 1 tablespoon vegetable or canola oil (optional, for baking)
- 1.5 pounds ground beef (80/20 lean-to-fat ratio)
- 1 medium yellow onion, diced
- 4 cloves garlic, minced
- 1 can (15 oz) tomato sauce
- 2 tablespoons tomato paste
- 2 tablespoons chili powder
- 1 teaspoon ground cumin
- 1 cup beef broth (low-sodium)
- 1 can (15 oz) kidney beans, drained and rinsed
- 2 cups sharp cheddar cheese, shredded
- 1 bunch green onions, thinly sliced
- 1 can sliced jalapeños (optional)
- ½ cup sour cream (optional)
Instructions
- Prep ingredients: Chop yellow onion, mince garlic, slice green onions, and grate cheddar cheese.
- In a large skillet or Dutch oven over medium-high heat, brown the ground beef, breaking it up with a spoon (8-10 minutes). Drain excess grease, leaving about 1 tablespoon.
- Add diced onion and cook until soft (3-4 minutes). Add garlic and cook for 1 minute until fragrant.
- Stir in tomato paste, chili powder, and cumin; cook for 1 minute to toast spices.
- Add tomato sauce, beef broth, and drained beans. Bring to a boil, then reduce heat to low and simmer uncovered for 15-20 minutes until thickened.
- While chili simmers, cook fries: Preheat oven to 425°F (220°C). Toss frozen fries with oil (if baking) and bake on a parchment-lined sheet for 15-20 minutes, flipping halfway, until crispy. Alternatively, air fry at 400°F for 12-15 minutes.
- Transfer crispy fries to a large serving platter.
- Pour hot chili generously over the fries.
- Sprinkle shredded cheddar cheese over the hot chili to melt. If needed, broil for 2-3 minutes to ensure melting.
- Garnish with sliced green onions, jalapeños, and sour cream. Serve immediately.
Notes
Shred your own cheese for better melting. Keep chili thick to prevent soggy fries. Serve chili on the side if making a large platter to maintain fry crispiness. Do not freeze the fries; freeze the chili separately.
- Prep Time: 15 minutes
- Cook Time: 30 minutes
- Category: Main Course
- Cuisine: American
Nutrition
- Serving Size: 1/8 of the batch
- Calories: 580
- Sugar: 5
- Sodium: 850
- Fat: 32
- Saturated Fat: 12
- Carbohydrates: 45
- Fiber: 4
- Protein: 22
Keywords: chili cheese fries, game day snacks, football party food, budget recipes, easy dinner, comfort food, chili fries, green onion fries


