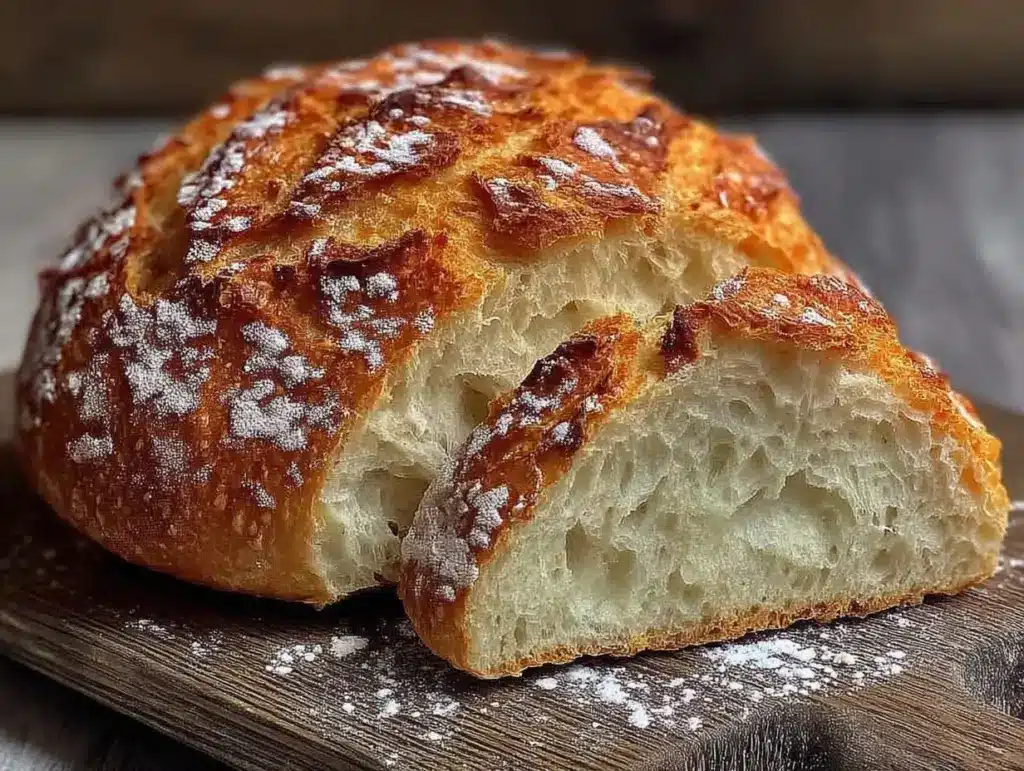
Look, I’m going to be honest with you. When I first decided to try making sourdough bread at home, I thought I needed a science degree. I bought a jar, started a starter, and spent three weeks feeding it flour and water like it was a needy pet. I watched YouTube tutorials until my eyes crossed. I bought a $60 banneton basket I barely used. I preheated my Dutch oven for an hour. And what did I get? Dense, brick-like loaves that tasted like regret.
I was ready to give up. I was ready to just buy the store-bought stuff from the bakery section again. But then, I realized something that changed everything: I didn’t need a complex starter. I didn’t need to wake up at 5 AM to feed yeast. I just needed to use what I already had in my pantry.
This is the story of how I stopped overthinking and started baking. This beginner-friendly homemade sourdough bread with no starter recipe is the one I make on repeat. It uses a simple baking soda and yogurt trick to mimic that tangy sourdough flavor without the weeks of prep. It’s budget-friendly, it’s forgiving, and it smells absolutely incredible filling the house.
I’ve tested this version probably 15 times now. Sometimes I use whole wheat flour, sometimes I add seeds, sometimes I bake it in a loaf pan because I’m lazy. But the base? It’s always the same. And now, my kids ask for toast with their breakfast every single morning. If you’ve been intimidated by sourdough, this is your sign to try it. Seriously.
Why You’ll Love This No-Starter Sourdough Recipe
There are about ten reasons I keep coming back to this bread, but let’s be real—you’re probably looking for something that actually works on a Tuesday night without taking all day. Here’s why this recipe has earned a permanent spot in our kitchen rotation:
- Zero Starter Maintenance — This is the big one. No feeding yeast. No waiting 7-10 days. No throwing away half your starter. You just mix the dough and let it rise. It’s magic in a bowl.
- Pantry Staples Only — You probably have every ingredient for this right now. Flour, yogurt, baking soda, salt, water. No fancy flours or obscure grains needed. It’s perfect for budget-conscious families.
- Stupid Simple — Seriously, if you can stir a bowl, you can make this bread. I’ve made this while helping my middle child with math homework. It’s low-stress cooking at its finest.
- Tastes Like Real Sourdough — I know, I know. It’s not *technically* sourdough because there’s no long-fermentation starter. But the yogurt and baking soda reaction gives it that authentic tang and airy crumb. My husband can’t tell the difference.
- Perfect for Breakfast Toast — This bread toasts beautifully. It holds up to butter, jam, or avocado. We eat this every morning. It’s the reason we actually want to get out of bed.
This recipe has saved our breakfast routine more times than I can count. It’s affordable, it’s filling, and it makes your house smell like a fancy bakery. What’s not to love?
Ingredients You’ll Need
Here’s the best part: you probably have most of this already. I’m particular about the yogurt here, but everything else is basic. Let’s break down what you need and why.
For the Dough
White all-purpose flour (3 cups / 375g) — I use standard all-purpose. You don’t need bread flour for this, though it works if you have it. All-purpose keeps it soft enough for sandwiches. I buy the big 5-pound bags to save money.
Plain yogurt (1 cup / 240g) — This is the secret weapon. It provides the acidity for that sourdough tang. Use full-fat Greek yogurt for the best texture, but regular plain yogurt works too. Just make sure it’s not sweetened! I keep a tub in the fridge specifically for baking.
Baking soda (1 teaspoon) — This reacts with the yogurt to create lift. It’s the “no starter” magic. Don’t skip it.
Warm water (1 cup / 240ml) — Not boiling! Just warm to the touch. Helps activate the baking soda and hydrates the flour quickly.
Salt (1.5 teaspoons) — Essential for flavor. Use kosher salt if you have it. Table salt works but use slightly less.
Optional: Honey or Sugar (1 tablespoon) — I add a little sweetener to help the crust brown, but it’s optional. If you’re watching sugar, skip it.
For the Crust
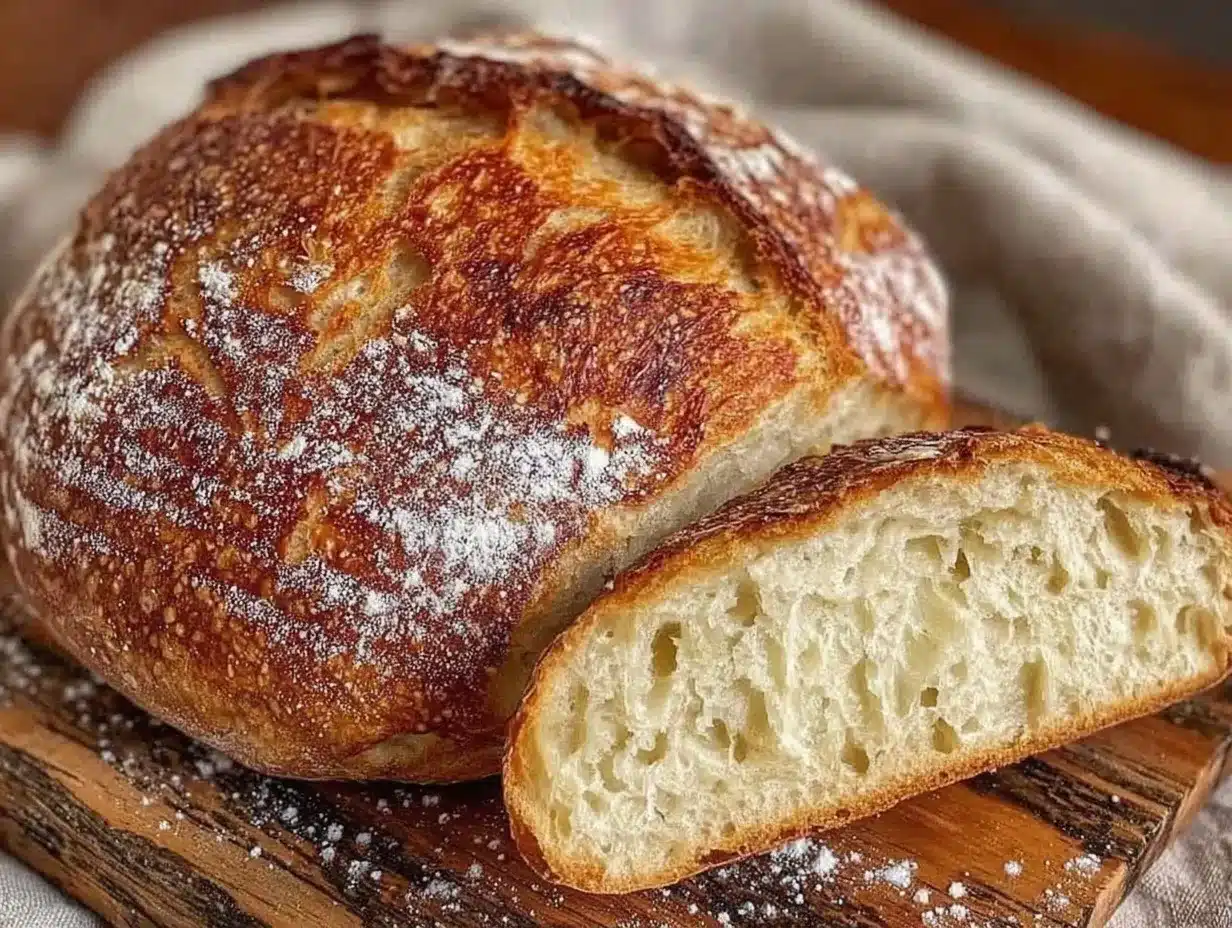
Extra virgin olive oil (1 tablespoon) — For brushing the top before baking. Gives it a nice golden color and slight crisp.
Flour for dusting — A little extra flour for shaping. Keeps it from sticking to your hands.
Seeds (Optional) — Sesame, poppy, or sunflower seeds. I sprinkle these on top for texture. My kids love the crunch.
Equipment Needed
You don’t need fancy equipment for this. Here’s what I actually use:
Large mixing bowl — Any big bowl works. I use a plastic one because it’s easy to clean.
Measuring cups and spoons — Standard stuff. Dollar store versions work fine.
Loaf pan or round baking dish — A standard 9×5 loaf pan is easiest. I also use a round 8-inch cake pan sometimes. It changes the shape but not the taste.
Parchment paper — I line my pan with this. It makes cleanup a breeze and prevents sticking. Worth the penny or two.
Sharp knife or razor blade — For scoring the top before baking. Creates that professional-looking slit.
Cooling rack — Optional but nice. Letting the bread cool properly prevents gummy centers.
Mixing spoon — A sturdy wooden spoon or silicone spatula works best.
How to Make It: Step-by-Step
Alright, let’s make this! I’m walking you through exactly how I do it, including the little tricks I’ve picked up so you don’t make my mistakes.
Step 1: Mix the Wet Ingredients (2 minutes)
In your large bowl, combine the warm water, yogurt, baking soda, salt, and honey (if using). Whisk it all together until it’s smooth. The mixture might look a little bubbly—that’s the baking soda reacting with the yogurt. That’s a good sign!
Step 2: Add the Flour (3 minutes)
Add the flour gradually. I add about half first, stir, then add the rest. Stir until a shaggy dough forms. It will look messy and sticky. That’s normal. Don’t add more flour yet. Use your hands if you need to, but be gentle. You want to mix it just until there’s no dry flour left.
Step 3: The First Rise (1-2 hours)
Cover the bowl with a damp towel or plastic wrap. Let it sit in a warm spot for 1 to 2 hours. It doesn’t need to double in size like yeast bread, but it should look puffy and relaxed. If your kitchen is cold, put it near the oven (turned off, just warm) or on top of the fridge.
Step 4: Shape the Dough (5 minutes)
Grease your loaf pan or line it with parchment paper. Dump the dough out onto a lightly floured surface. Gently shape it into a rectangle or oval, whichever fits your pan. Don’t overwork it! Just fold the edges in toward the center to create surface tension. Place it seam-side down in the pan.
Step 5: The Second Rise (30-45 minutes)
Cover it again and let it rise again. It should look slightly puffy. Preheat your oven to 375°F (190°C) during the last 15 minutes of this rise. Make sure the oven rack is in the center.
Step 6: Score and Bake (45-50 minutes)
Just before baking, use a sharp knife to slash the top of the bread. One deep slash down the middle looks classic. Brush the top lightly with olive oil. Bake for 45-50 minutes. The top should be deep golden brown. If it’s browning too fast, tent it with foil after 30 minutes.
Step 7: Cool Completely (Crucial!)
Take it out of the pan and let it cool on a rack for at least 30 minutes. I know it’s tempting to cut it hot, but please wait. The inside is still cooking. If you cut it too soon, it will be gummy. Trust me on this one.
Expert Tips & Tricks
Here’s everything I’ve learned from making this dozens of times. These tips will save you from my mistakes.
Don’t Overmix — This isn’t yeast bread, so you don’t need to develop gluten strands. Overmixing makes it tough. Mix just until combined.
Check Your Baking Soda — If your baking soda is old, it won’t react with the yogurt. Test it: drop a little in vinegar. If it doesn’t fizz, toss it and get fresh soda.
Yogurt Matters — Use plain yogurt. Flavored or sweetened yogurt will ruin the bread. Greek yogurt makes it denser but tangier. Regular yogurt makes it lighter.
Watch the Oven — Every oven is different. Start checking at 40 minutes. If the top is done but the bottom is soft, put a rack on the bottom shelf for the last 10 minutes.
Double the Batch — This recipe doubles easily. I often make two loaves and freeze one. It saves time and ensures you always have bread ready.
Variations & Substitutions
Once you’ve nailed the basic version, here’s how you can mix it up. I’ve tried all of these.
Whole Wheat Version — Swap half the all-purpose flour for whole wheat. It’s heartier and more nutritious. You might need an extra tablespoon of water.
Seeded Bread — Stir in 2 tablespoons of sunflower or sesame seeds into the dough before shaping. Sprinkle more on top.
Garlic and Herb — Add 1 teaspoon of dried rosemary and 1 clove of minced garlic to the dough. Amazing with soup.
Gluten-Free? — This is tricky. You’d need a 1:1 gluten-free flour blend, but the texture will be different. I haven’t perfected it yet, but it’s worth experimenting.
Dairy-Free — Substitute yogurt with coconut milk or soy milk mixed with 1 tablespoon of lemon juice. Let it sit for 5 minutes to curdle, then use like yogurt.
Serving & Storage
How to Serve: I usually serve this warm with butter. It’s perfect for breakfast toast, sandwiches, or alongside a bowl of easy potato salad for dinner. It also pairs well with creamy marry me chicken for a hearty meal.
Storage: Store in an airtight container or plastic bag at room temperature for up to 3 days. It stays soft if sealed well.
Freezing: This freezes beautifully! Slice the bread, wrap it tightly in plastic, then foil. Freeze for up to 3 months. Toast straight from frozen. It tastes just like fresh.
Reheating: If it gets stale, spritz it with water and warm it in the oven for 5 minutes. It’ll puff back up.
Nutrition Information
I’m not a nutritionist, but here’s the breakdown if you’re tracking. This is per slice (based on 10 slices).
| Nutrient | Amount |
|---|---|
| Calories | 140 |
| Protein | 4g |
| Carbs | 26g |
| Fiber | 1g |
| Fat | 2g |
| Sodium | 280mg |
It’s simple, wholesome ingredients. No preservatives, no weird additives. Just bread.
Final Thoughts
So that’s my go-to beginner-friendly homemade sourdough bread with no starter. I’ve probably talked your ear off at this point, but when you make a recipe this often, you have a lot to say about it.
This has saved weeknight dinners more times than I can count. It’s my answer to “what’s for breakfast” when I’m tired, don’t want to buy expensive bread, and still want something that tastes really good. My kids are happy, my husband’s happy, and I’m happy because I’m not stressed about cooking.
Make it yours! Try different seeds, swap in whole wheat, or add herbs. The best recipes are the ones you adapt to your family’s tastes. If you make this, drop a comment and let me know what you think! I love hearing how recipes turn out in your kitchen. And if something doesn’t work, tell me that too—I’m here to help troubleshoot.
Happy baking! And I hope your kitchen smells half as good as mine does right now.
Frequently Asked Questions
Can I use milk instead of yogurt?
You can, but you won’t get that sourdough tang. If you use milk, add 1 tablespoon of vinegar or lemon juice to the milk and let it sit for 5 minutes to make “buttermilk.” Then use that in the recipe. It’s a good substitute if you’re out of yogurt.
Why did my bread turn out dense?
Usually, this means your baking soda was old or you didn’t let it rise long enough. Check your baking soda expiration date. Also, don’t skip the rising time. The dough needs time to relax and puff up before baking.
Can I make this ahead for a dinner party?
Absolutely. Bake it the day before, let it cool completely, and freeze it. Slice it and toast it fresh when you need it. It reheats perfectly and tastes fresh. I do this all the time for guests.
Why did my bread collapse in the middle?
It might have been underbaked. Make sure the internal temperature reaches 190°F (88°C) or that it sounds hollow when you tap the bottom. If it’s underbaked, the structure hasn’t set yet, and it collapses as it cools.
Can I use self-rising flour?
No, do not use self-rising flour. It already has leavening agents, and this recipe relies on the specific reaction between baking soda and yogurt. Using self-rising flour will mess up the texture and taste.
How do I store leftovers without them going stale?
Store in a bread box or an airtight container at room temperature for 2-3 days. For longer storage, slice and freeze. Don’t refrigerate it—it makes bread go stale faster! I learned this the hard way with a loaf of homemade cinnamon rolls once. Never again.
Can I double this recipe?
Yes! Double all ingredients. You’ll need two loaf pans or a larger pan. The baking time might increase by 5-10 minutes. Keep an eye on it. I often double this to have enough for the week.
Pin This Recipe!
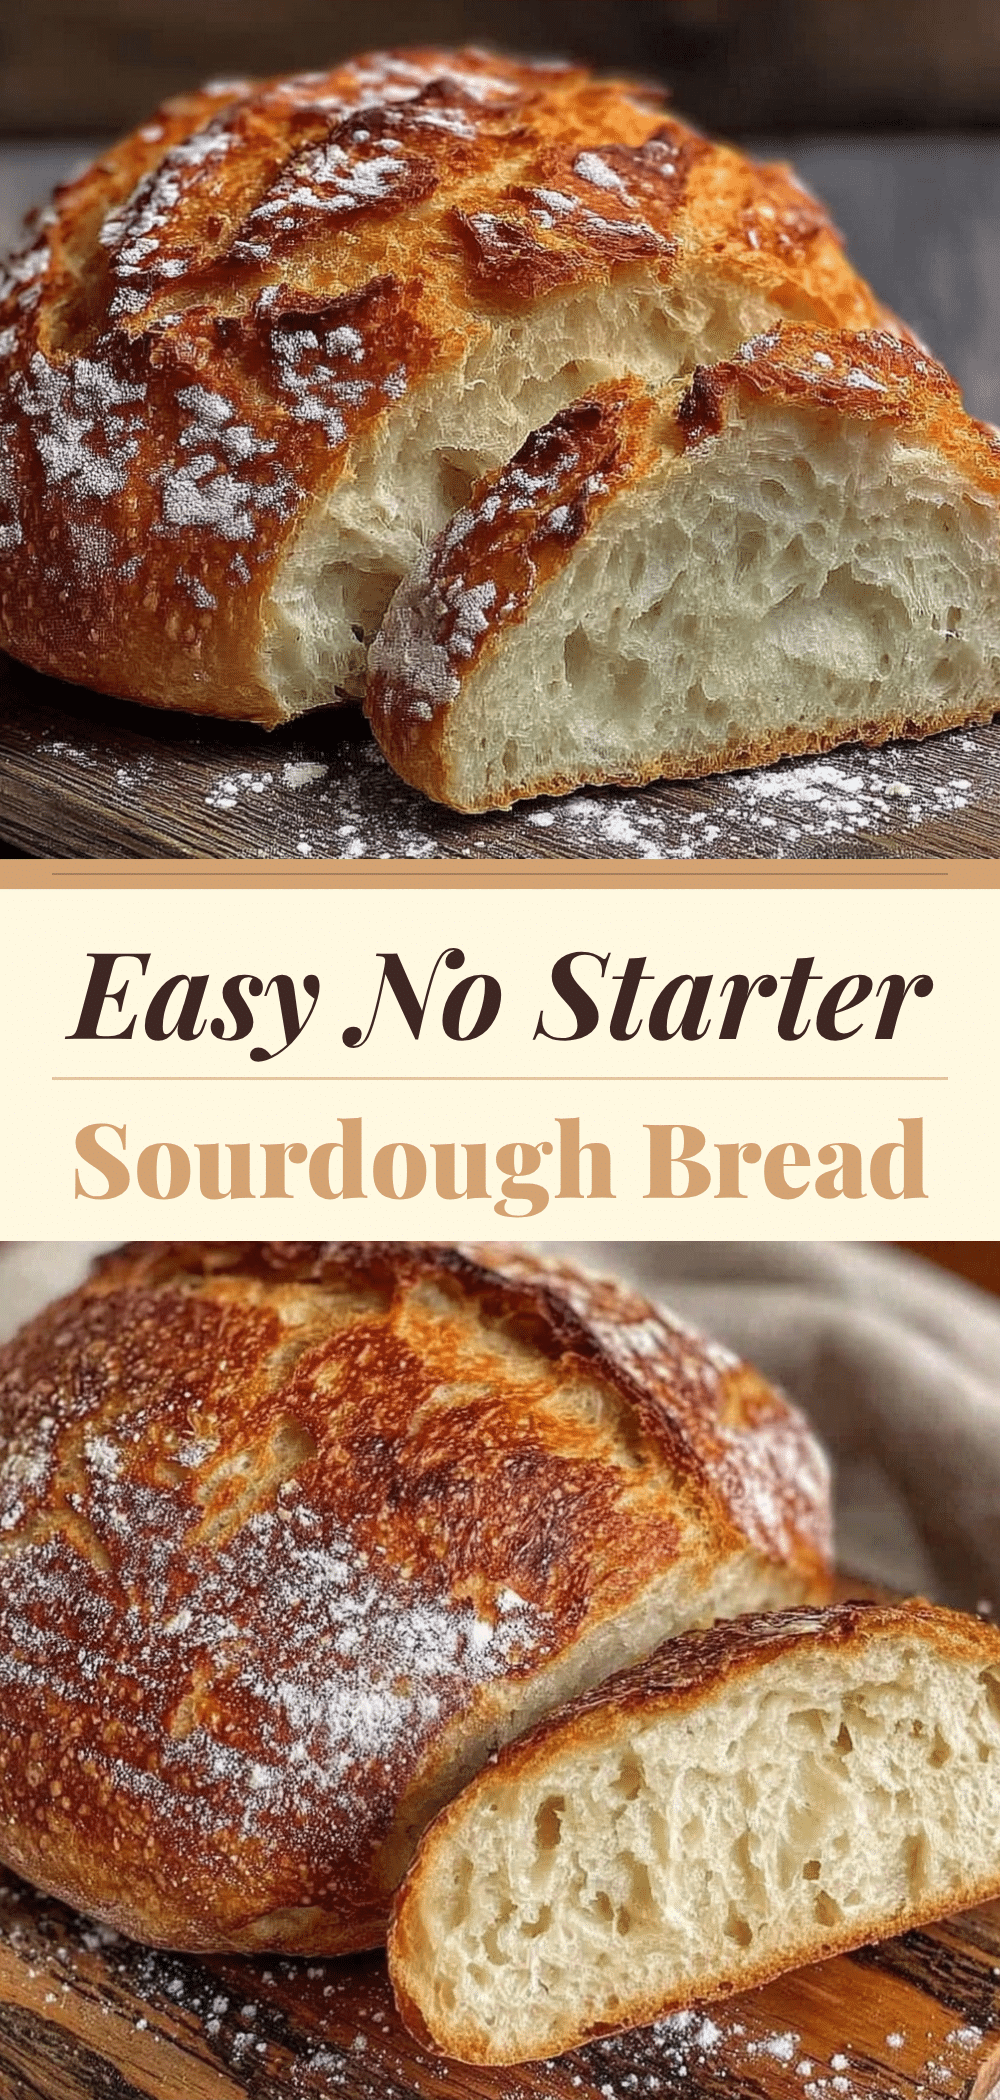

Homemade Sourdough Bread: Easy Budget-Friendly Recipe
- Total Time: 3 hours 15 minutes
- Yield: 10 servings 1x
Description
A beginner-friendly, no-starter sourdough bread that uses yogurt and baking soda to mimic the tangy flavor of traditional sourdough without the weeks of prep. It is budget-friendly, forgiving, and perfect for breakfast toast.
Ingredients
- 3 cups (375g) white all-purpose flour
- 1 cup (240g) plain yogurt (full-fat Greek or regular plain, unsweetened)
- 1 teaspoon baking soda
- 1 cup (240ml) warm water
- 1.5 teaspoons salt (kosher or table)
- 1 tablespoon honey or sugar (optional)
- 1 tablespoon extra virgin olive oil (for brushing)
- Flour for dusting
- Seeds (sesame, poppy, or sunflower) for topping (optional)
Instructions
- In a large bowl, whisk together warm water, yogurt, baking soda, salt, and honey (if using) until smooth. The mixture should be slightly bubbly.
- Add the flour gradually, stirring until a shaggy, sticky dough forms. Do not overmix.
- Cover the bowl with a damp towel or plastic wrap and let it rise in a warm spot for 1-2 hours until puffy.
- Grease a 9×5 loaf pan or line it with parchment paper. Turn the dough onto a lightly floured surface and gently shape it into a rectangle or oval. Place it seam-side down in the pan.
- Cover the pan and let the dough rise again for 30-45 minutes. Preheat the oven to 375°F (190°C) during the last 15 minutes of this rise.
- Score the top of the bread with a sharp knife and brush lightly with olive oil.
- Bake for 45-50 minutes until the top is deep golden brown. Tent with foil if browning too quickly.
- Remove from the pan and let cool completely on a rack for at least 30 minutes before slicing to prevent a gummy texture.
Notes
Ensure baking soda is fresh by testing it with vinegar. Do not overmix the dough. Let the bread cool completely before slicing to avoid a gummy center. This recipe can be doubled for freezing.
- Prep Time: 15 minutes
- Cook Time: 45-50 minutes
- Category: Breakfast
- Cuisine: American
Nutrition
- Serving Size: 1 slice
- Calories: 140
- Sugar: 2
- Sodium: 280
- Fat: 2
- Carbohydrates: 26
- Fiber: 1
- Protein: 4
Keywords: sourdough bread, no starter bread, easy bread recipe, budget friendly baking, yogurt bread, homemade bread, beginner baking


