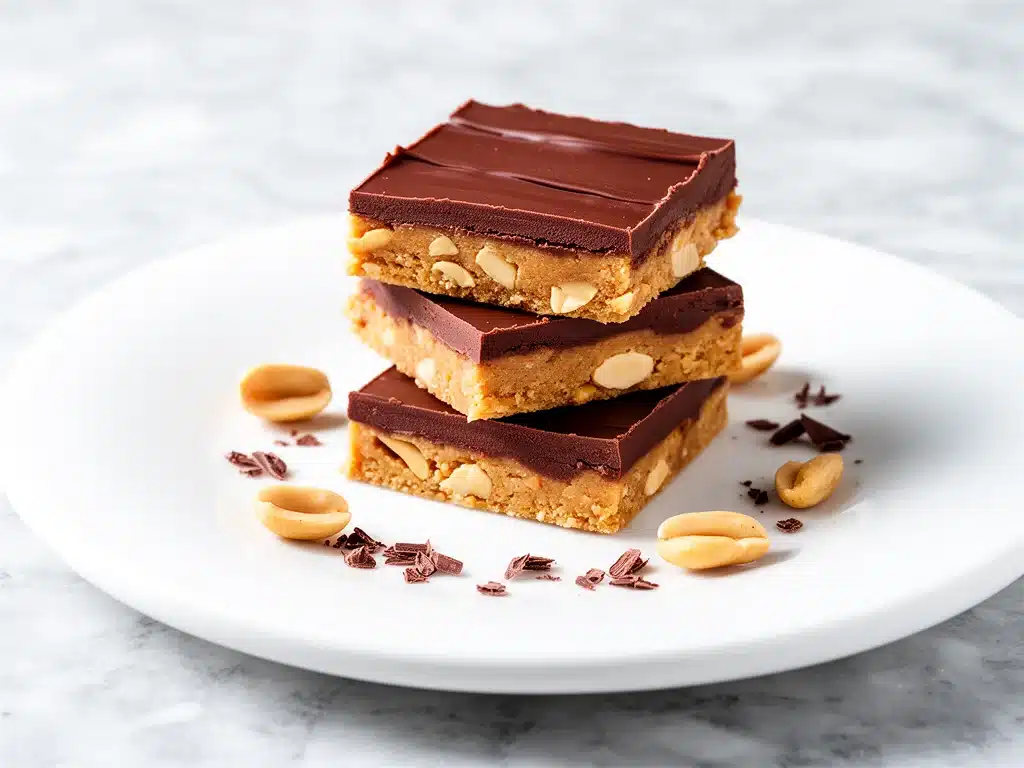
One evening last month, I was juggling a million things—work emails, helping my kid with homework, and trying to figure out dinner. But then came the usual chaos: no energy left for baking, and definitely no time to wait for anything to cool or bake. That’s when I stumbled on these no bake chocolate peanut butter bars, and honestly, they saved my sanity.
I whipped them up in under 15 minutes, popped them in the fridge, and had a sweet treat ready by the time we wrapped up homework. Since that night, these bars have become my secret weapon for busy weeknights when I want something indulgent but simple. They’re rich, peanut buttery, and just chocolatey enough to feel like a proper dessert without any oven fuss.
I’ve made this no bake chocolate peanut butter bars easy recipe for busy weeknights more times than I can count now, tweaking it to get that perfect chewy, creamy texture. And here’s the best part: you probably have most of the ingredients in your pantry already. Let me tell you how to make these bars your go-to snack or dessert.
Why You’ll Love This Recipe
These bars aren’t just a quick fix—they’ve changed how I handle weeknight cravings and after-school snacks. Here’s why I keep making them:
- Super Quick and No Oven Needed — I can throw these together in 10-15 minutes flat. No heating up the kitchen or waiting around.
- Perfectly Balanced Flavors — The combo of creamy peanut butter and smooth chocolate is addictive but not overwhelming. My kids ask for them after school, and honestly, I sneak a few myself.
- Minimal Ingredients — You don’t need a long grocery list. Most are pantry staples like peanut butter, chocolate chips, and oats. I love recipes that don’t require a special trip to the store.
- Kid-Friendly and Crowd-Pleasing — I’ve served these at casual get-togethers, and they disappear fast. Bonus: they work great as an after-school snack or a quick dessert.
- Great for Meal Prep and On-the-Go — I make a batch on Sunday and have them ready for busy days. They keep well in the fridge and travel nicely for lunchboxes or road trips.
Honestly, these no bake chocolate peanut butter bars are my lifesaver when I want a sweet treat without the hassle. If you love peanut butter and chocolate as much as I do, this recipe is going to be your new best friend.
Ingredients You’ll Need
Here’s the thing: this recipe looks fancy but is actually super straightforward. Most of the ingredients are pantry basics, and I’ll share some personal tips along the way.
- Peanut Butter (1 cup / 240g) — Creamy works best here for smooth bars. I always use natural peanut butter with no added sugar or oils. If you want a twist, almond butter works too but changes the flavor.
- Honey (½ cup / 120ml) — The natural sweetener that binds everything together. Maple syrup is a nice swap if you want a slightly different flavor profile.
- Old-Fashioned Rolled Oats (2 cups / 180g) — Gives the bars their chewy texture. Quick oats will work but result in a softer bar.
- Chocolate Chips (1 cup / 175g) — Semi-sweet is my favorite balance. Use good quality chips because they melt better and taste richer. Dark chocolate chips add a nice depth if you prefer less sweetness.
- Vanilla Extract (1 teaspoon) — A little secret weapon that brightens the flavor. Don’t skip it!
- Salt (¼ teaspoon) — Balances the sweetness and enhances the peanut butter flavor. I use fine sea salt.
Optional add-ins: If you like a bit of crunch, toss in ½ cup chopped peanuts or chopped nuts of your choice. For an extra chocolate kick, sprinkle extra chips on top before chilling.
If you’re curious about other quick no-bake treats, you might enjoy the apple peanut butter energy bites—they’re a favorite for after-school snacking too.
Equipment Needed
You really don’t need fancy tools for these bars. Here’s what I use every time:
- Mixing Bowl — Any medium to large bowl works. I like glass or stainless steel for easy cleanup.
- Wooden Spoon or Silicone Spatula — For mixing everything evenly. I find a sturdy spatula makes folding in chocolate chips easier.
- 8×8 Inch Baking Pan — I line mine with parchment paper so the bars come out cleanly. If you don’t have parchment, lightly grease the pan.
- Measuring Cups and Spoons — Pretty standard but I always double-check because baking is a science, even for no-bake treats.
- Refrigerator — Not technically equipment, but you’ll need space for these bars to chill and set for at least an hour.
If you want to get fancy, a sharp knife for cutting and a ruler to get perfect squares work, but I just eyeball it most of the time.
How to Make It: Step-by-Step
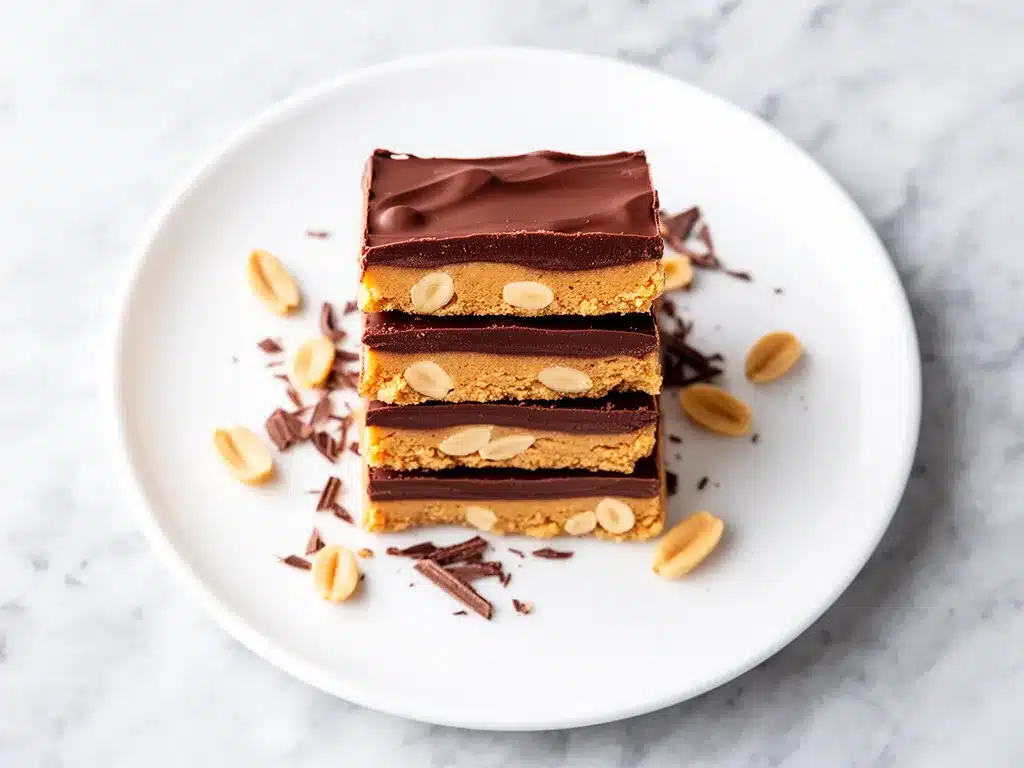
Alright, let’s get to the good stuff. I’m sharing exactly how I make these bars every time, including little tricks to avoid sticky fingers and crumbly bars.
Step 1: Mix the Peanut Butter and Honey (5 minutes)
In your mixing bowl, combine the peanut butter and honey. Stir until smooth and well blended. This mixture might look thick and sticky—that’s perfect. The honey is the glue here.
Step 2: Add Vanilla and Salt (1 minute)
Stir in the vanilla extract and salt. These subtle flavors make a big difference, so don’t skip them.
Step 3: Fold in the Oats (2-3 minutes)
Add the rolled oats to the peanut butter mixture. Use your spatula or spoon to fold everything together until the oats are evenly coated and the mixture looks thick and dough-like. If it feels too dry, add a teaspoon of water or more honey.
Step 4: Incorporate the Chocolate Chips (1-2 minutes)
Fold in half of the chocolate chips gently. This helps distribute the chips so every bite has some chocolate.
Step 5: Press the Mixture into the Pan (3 minutes)
Line your 8×8 pan with parchment paper, leaving an overhang for easy removal. Transfer the mixture to the pan and press firmly into an even layer. I use the back of a spatula or clean hands (lightly wet) to smooth the top.
Step 6: Melt and Spread Remaining Chocolate Chips (5 minutes)
Microwave the remaining chocolate chips in 20-second bursts, stirring between, until smooth. Drizzle or spread this melted chocolate evenly over the top of the bars. This gives a glossy finish and extra chocolate goodness.
Step 7: Chill and Set (At least 1 hour)
Place the pan in the refrigerator and let it chill until firm. I usually do this while wrapping up dinner or tidying the kitchen. Once set, lift the bars out using the parchment overhang and cut into squares.
Pro tip: If you want cleaner cuts, warm your knife under hot water and dry it before slicing. It glides through the chocolate better.
Expert Tips & Tricks
- Use Fresh, Good-Quality Peanut Butter: Natural peanut butter without added oils or sugars gives the best texture and flavor. I’ve tried the super-sweet stuff, but it makes the bars too soft.
- Don’t Skip the Chill Time: Trust me, I’ve tried eating them too soon. They fall apart. At least an hour in the fridge makes all the difference.
- Press Firmly: When you press the mixture into the pan, do it firmly to avoid crumbly bars. I even press down with a flat-bottomed glass if I want extra compression.
- Customize Your Chocolate: I sometimes mix semi-sweet and milk chocolate chips for a sweeter touch. Dark chocolate chips work if you want a slightly bitter contrast.
- Mix in Extras: Chopped nuts, shredded coconut, or even mini marshmallows add fun texture. I once tried adding a pinch of cinnamon—it was surprisingly good.
These tips come from many batches and a few “oops” moments when the bars were too soft or too crumbly. With a little practice, you’ll nail the perfect texture every time.
Variations & Substitutions
Once you get the hang of the basic recipe, it’s fun to experiment. Here’s what I’ve tried and loved:
- Nut-Free Version: Swap peanut butter for sunflower seed butter. Use dairy-free chocolate chips if needed.
- Protein Boost: Stir in a scoop of your favorite protein powder with the oats. I do this post-workout for a quick snack.
- Salted Caramel Twist: Drizzle caramel sauce over the top before chilling and sprinkle with flaky sea salt.
- Chocolate Peanut Butter Pretzel Bars: Crush pretzels and fold them into the oats mixture for a salty crunch. This reminds me of the no bake strawberry pretzel salad, but in bar form.
- Swap Honey for Maple Syrup: For a vegan-friendly sweetener, use maple syrup instead of honey.
Also, if you’re into quick, no-fuss meals, you might appreciate the back to school chicken Caesar wrap I shared recently—it’s perfect for busy evenings too.
Serving & Storage
Serving: I usually cut these into 12 squares and serve them chilled or at room temperature. They’re perfect with a glass of milk or an afternoon coffee. For a fun touch, sprinkle a little sea salt on top just before serving.
Storage: Store the bars in an airtight container in the refrigerator for up to a week. They soften slightly at room temperature but stay firm enough to hold their shape. If they get too hard, let them sit out for 10 minutes before serving.
Freezing: These bars freeze well! Wrap them individually in plastic wrap and place in a freezer bag for up to 3 months. Thaw in the fridge overnight before eating. I rely on freezing when I make a big batch to have snacks ready for busy weeks.
For more snack ideas that are both easy and wholesome, check out my healthy green apple spinach smoothie—it’s a quick pick-me-up after a long day.
Nutrition Information
I’m not a nutritionist, but here’s a rough breakdown per serving (based on 12 bars):
| Calories | 220 |
|---|---|
| Protein | 6g |
| Carbohydrates | 22g |
| Fiber | 3g |
| Sugar | 12g |
| Fat | 13g |
| Saturated Fat | 4g |
| Sodium | 90mg |
These bars pack a satisfying mix of protein and fiber thanks to the peanut butter and oats. Yes, they have sugar and fat, but it’s balanced by whole ingredients and no artificial additives. I see them as an occasional treat that keeps me out of the vending machine.
Final Thoughts
So that’s my easy, no-fuss no bake chocolate peanut butter bars recipe for busy weeknights. I’ve probably made these more times than I can count, and every batch gets devoured without complaint. They’re my answer when I want something sweet, homemade, and quick without standing over a hot oven.
What I love most is how flexible they are—you can tweak the sweetness, swap ingredients, or add mix-ins to suit your family’s tastes. The kitchen smells amazing, the bars taste even better, and I get to skip the stress of complicated desserts.
If you give these bars a try, drop a comment—I’d love to know how they turned out for you. And if you hit any snags, I’m here to help troubleshoot so you get those perfect chewy, chocolatey squares every time.
Happy snacking! I hope your evenings get a little sweeter (and easier) with this recipe.
Frequently Asked Questions
Q: Can I use crunchy peanut butter instead of creamy?
A: You totally can! The bars will have a bit more texture and crunch, which some people love. Just be aware it might make the bars a little less smooth, but still delicious.
Q: Can I substitute peanut butter with almond or cashew butter?
A: Yes! Almond or cashew butter works well if you prefer a different nut flavor or have allergies. The texture and taste will change slightly, but the bars are still great.
Q: Do I have to use honey, or can I use another sweetener?
A: Honey is my favorite for its flavor and binding power, but maple syrup or agave nectar work as vegan-friendly alternatives. Just be aware that liquid sweeteners can affect the texture, so you might need to adjust the oats a bit.
Q: Can I make these bars without oats?
A: I wouldn’t recommend it because oats provide structure and chewiness. If you want a gluten-free option, use certified gluten-free oats. For a grain-free version, you could try crushed nuts or seeds, but it won’t be the same texture.
Q: How long do these bars last at room temperature?
A: Because of the peanut butter and honey, they can get soft at room temp, especially in warm weather. I keep mine in the fridge to stay firm, but if your kitchen is cool, a few hours at room temp is fine.
Q: Can I double the recipe and freeze some bars?
A: Absolutely! Double everything and use a larger pan or two pans. The bars freeze beautifully—just wrap them well. I do this often for busy weeks when I want easy snacks ready to go.
Q: Why did my bars turn out crumbly?
A: Usually because the mixture wasn’t pressed firmly enough or the ratio of wet to dry ingredients was off. Make sure to press the mixture into the pan firmly before chilling. If it’s too dry, add a little more honey or peanut butter next time.
Pin This Recipe!
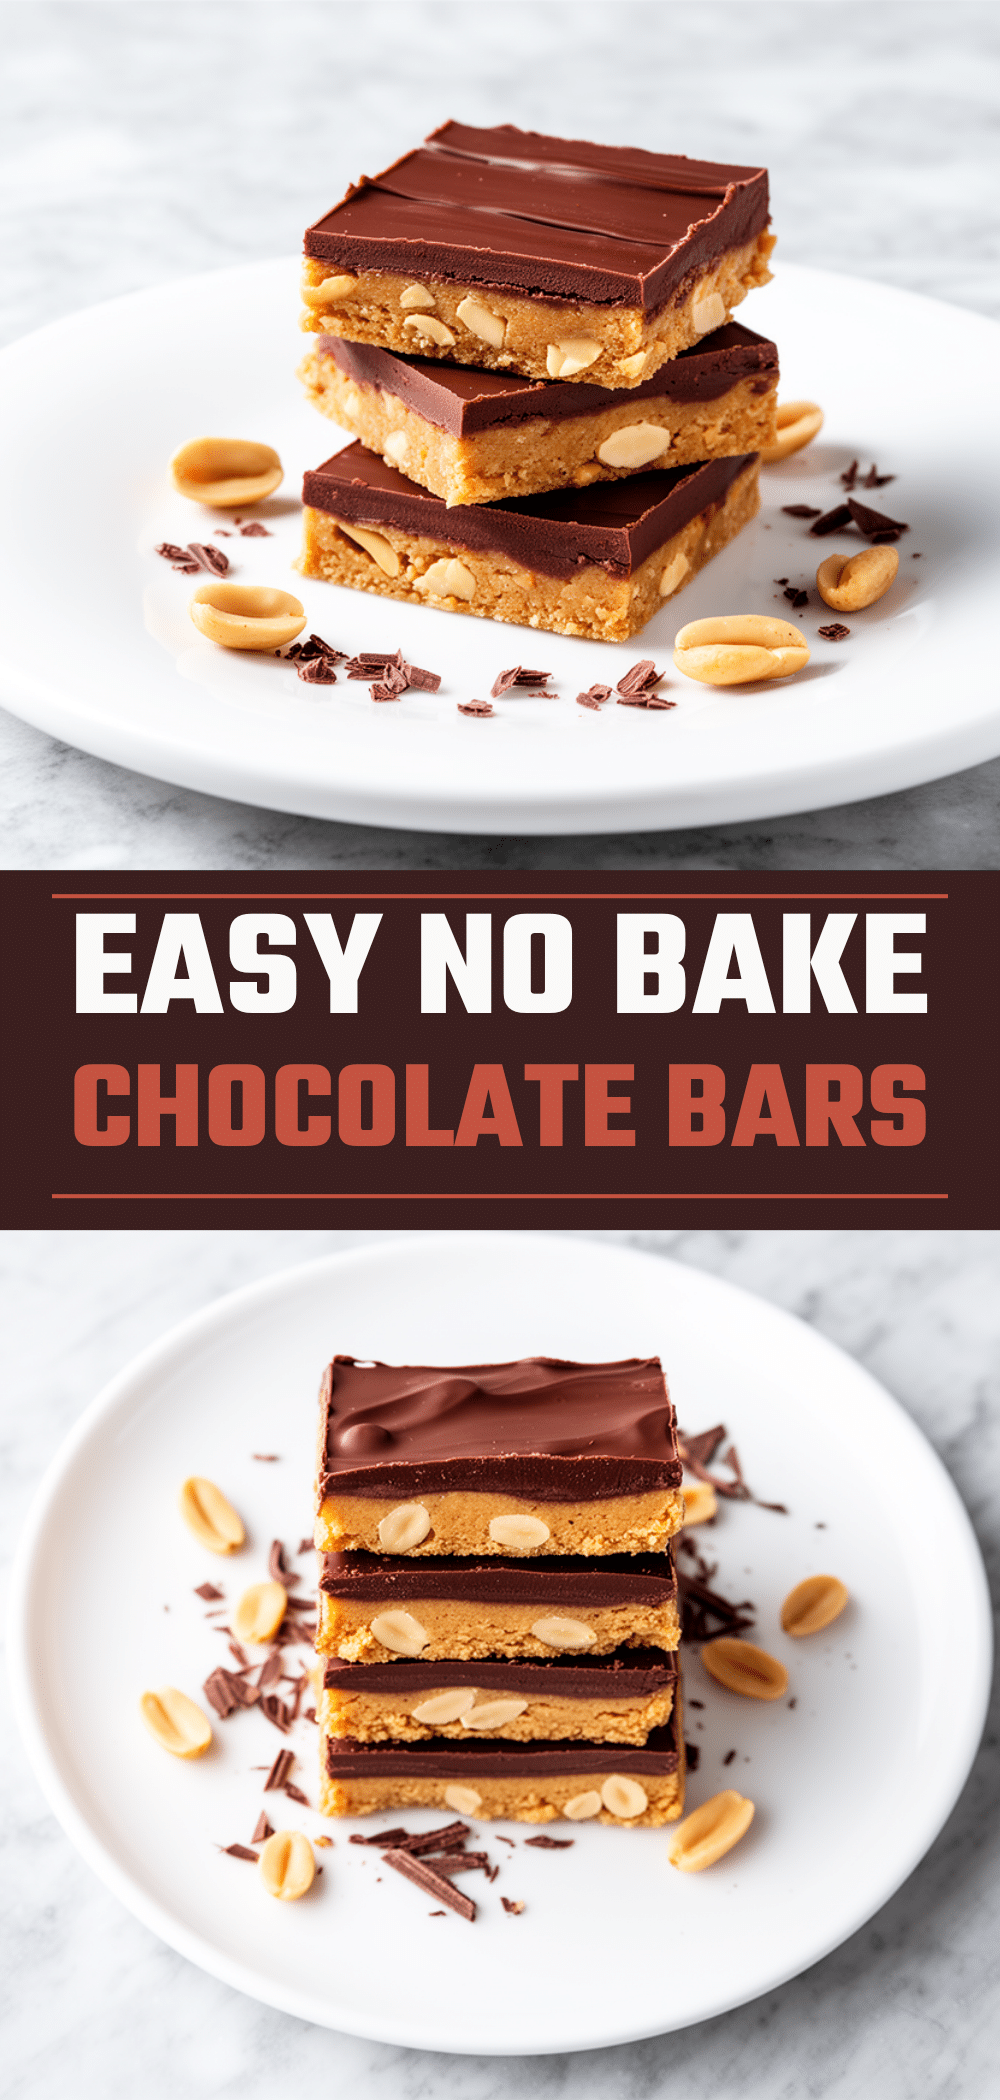
No Bake Chocolate Peanut Butter Bars Easy Recipe for Busy Weeknights
- Total Time: 1 hour 10 minutes
- Yield: 12 servings 1x
Description
These no bake chocolate peanut butter bars are a quick, indulgent treat perfect for busy weeknights. They combine creamy peanut butter and smooth chocolate for a chewy, creamy texture without any oven fuss.
Ingredients
- 1 cup (240g) creamy natural peanut butter
- ½ cup (120ml) honey
- 2 cups (180g) old-fashioned rolled oats
- 1 cup (175g) semi-sweet chocolate chips
- 1 teaspoon vanilla extract
- ¼ teaspoon fine sea salt
- Optional: ½ cup chopped peanuts or nuts of choice
- Optional: extra chocolate chips for topping
Instructions
- In a mixing bowl, combine the peanut butter and honey. Stir until smooth and well blended.
- Stir in the vanilla extract and salt.
- Add the rolled oats to the peanut butter mixture. Fold everything together until the oats are evenly coated and the mixture looks thick and dough-like. If too dry, add a teaspoon of water or more honey.
- Fold in half of the chocolate chips gently to distribute evenly.
- Line an 8×8 inch baking pan with parchment paper, leaving an overhang for easy removal. Transfer the mixture to the pan and press firmly into an even layer using the back of a spatula or lightly wet hands.
- Microwave the remaining chocolate chips in 20-second bursts, stirring between, until smooth. Drizzle or spread the melted chocolate evenly over the top of the bars.
- Place the pan in the refrigerator and chill for at least 1 hour until firm.
- Lift the bars out using the parchment overhang and cut into 12 squares. For cleaner cuts, warm your knife under hot water and dry before slicing.
Notes
Use natural peanut butter without added oils or sugars for best texture. Press mixture firmly into the pan to avoid crumbly bars. Chill for at least 1 hour before cutting. Warm knife under hot water for cleaner cuts. Optional add-ins include chopped nuts or extra chocolate chips. Can substitute honey with maple syrup for vegan option.
- Prep Time: 10 minutes
- Cook Time: 0 minutes
- Category: Dessert
- Cuisine: American
Nutrition
- Serving Size: 1 bar (1 of 12 squar
- Calories: 220
- Sugar: 12
- Sodium: 90
- Fat: 13
- Saturated Fat: 4
- Carbohydrates: 22
- Fiber: 3
- Protein: 6
Keywords: no bake, chocolate peanut butter bars, easy recipe, quick dessert, no oven, peanut butter, chocolate, weeknight snack


