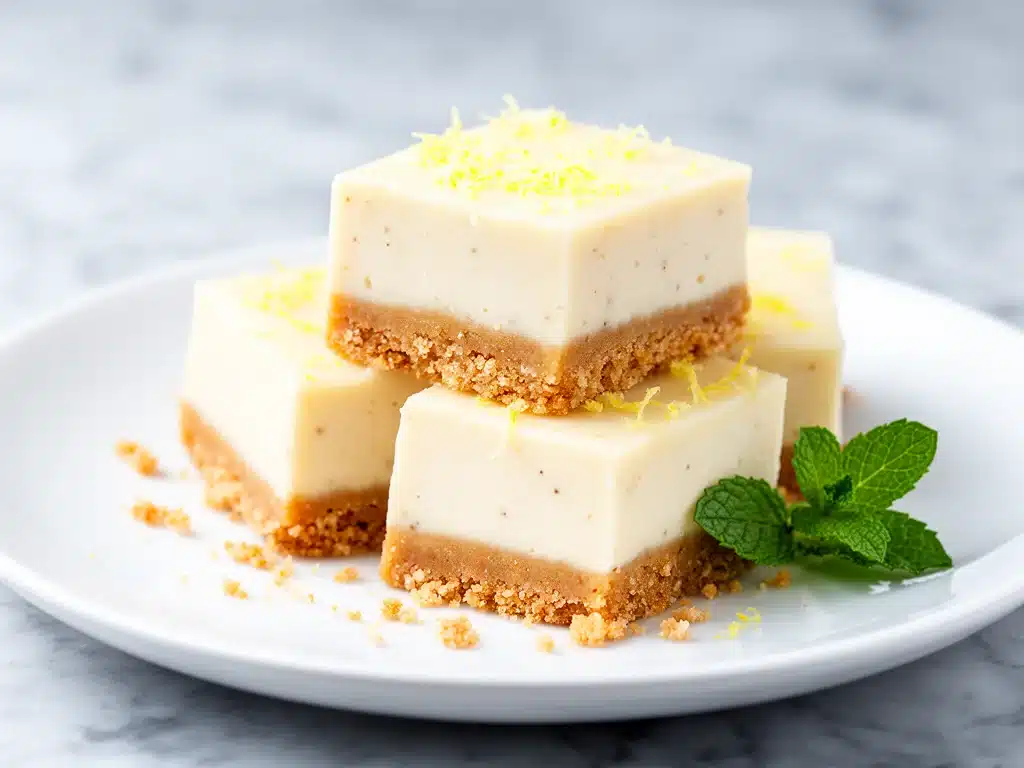
Last summer, I hosted a last-minute backyard get-together, and I needed a dessert that was fuss-free but still felt special. I rummaged through my pantry and fridge, hoping for inspiration, and stumbled upon cream cheese and a box of graham crackers. That’s when I whipped up these no bake creamy cheesecake bars with simple ingredients I always keep on hand. I wasn’t expecting much, honestly. But within minutes, everyone was passing around the pan and asking for seconds. Since then, I’ve made these bars at least a dozen times—sometimes as a quick treat after school, other times for casual parties. They’re ridiculously creamy, perfectly sweet, and don’t require turning on the oven during hot days. If you’re anything like me and want a dessert that feels indulgent but is actually easy, you’re going to love this recipe.
Why You’ll Love This Recipe
This no bake creamy cheesecake bars recipe has completely changed how I think about desserts—especially when I’m short on time but still want something impressive.
- Ridiculously Easy — Five simple steps, and no oven needed. I’ve made this with my kids helping, and they nail it every time.
- Uses Simple Ingredients — You probably have everything in your pantry and fridge already. No hunting down fancy stuff.
- Perfectly Creamy Texture — Silky smooth with just the right amount of tang from cream cheese and a touch of sweetness. It’s like a little slice of heaven in every bite.
- Make-Ahead Friendly — Prep it the night before, and it’s ready to impress for any occasion. I’ve relied on this for last-minute guests more times than I can count.
- Customizable — Add fresh berries, chocolate drizzle, or a sprinkle of nuts for variety. I’ve even paired it with a fresh fruit smoothie from this healthy green apple spinach smoothie for a refreshing combo.
Honestly, these bars are my secret weapon when I want a dessert that looks like I spent hours on it but actually took less than 20 minutes. Once you try this recipe, it’ll become your go-to for potlucks, celebrations, or just a sweet pick-me-up.
Ingredients You’ll Need
Here’s the best part: this recipe calls for simple ingredients that you probably already have handy. I’m picky about a few key things here, and I’ll let you know why.
- Graham cracker crumbs (1 ½ cups / 150g) — These form the crunchy, buttery crust. I like using classic honey graham crackers for that perfect sweetness. You can crush them yourself or buy pre-crumbled.
- Unsalted butter (6 tablespoons / 85g, melted) — Melted butter binds the crust beautifully. I always use unsalted so I can control the saltiness.
- Cream cheese (16 oz / 450g, softened) — Full-fat cream cheese is a must here. Softened to room temperature so it blends smoothly without lumps.
- Powdered sugar (1 cup / 120g) — This sweetens the filling without gritty texture. Don’t substitute with granulated sugar; you’ll feel it in the bars.
- Vanilla extract (1 teaspoon) — Adds warm, aromatic depth. Use pure vanilla if you have it—it makes a difference.
- Heavy whipping cream (1 cup / 240ml, cold) — Whipped to soft peaks, this is what gives the filling its airy, creamy texture. Cold cream whips better, so keep it chilled.
Optional add-ins and toppings:
- Fresh berries (1 cup) — Strawberries, blueberries, or raspberries add a fresh pop.
- Chocolate chips (½ cup) — For a little melty surprise inside.
- Lemon zest (1 teaspoon) — Adds brightness to cut through the richness.
Quick note: If you want to try a fun twist, check out this no bake strawberry pretzel salad for another no bake dessert that’s equally crowd-pleasing.
Equipment Needed
You don’t need fancy tools for this. Here’s what I actually use every time I make these cheesecake bars:
- 8×8-inch baking pan — Glass or metal works. I line mine with parchment paper for easy removal.
- Mixing bowls — One large for the filling, one smaller for whipping cream.
- Electric hand mixer or stand mixer — Whipping the cream and smoothing the cream cheese is way easier with a mixer. If you don’t have one, a sturdy whisk and some muscle will do.
- Measuring cups and spoons — Standard kitchen tools.
- Spatula — For folding the whipped cream into the cream cheese mixture.
- Food processor or plastic bag and rolling pin — To crush graham crackers if not pre-crumbled.
If you don’t have a food processor, crushing graham crackers in a sealed plastic bag with a rolling pin or even a heavy pan works just fine. I’ve done this while babysitting my niece, and it was a fun little kitchen activity.
How to Make It: Step-by-Step
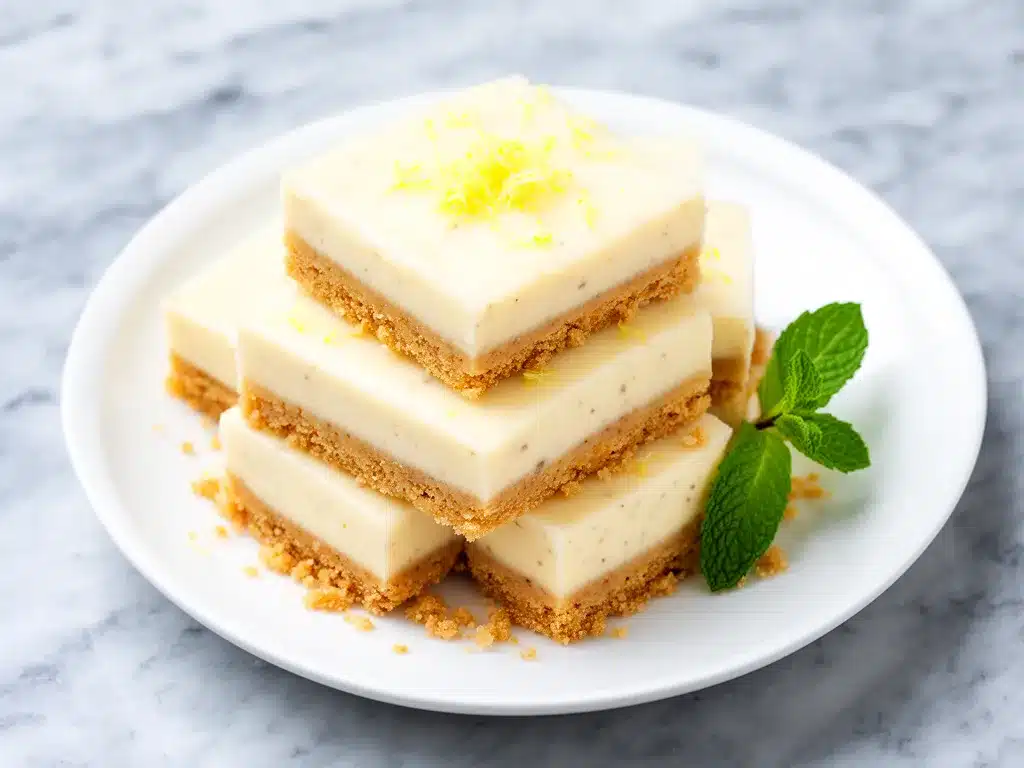
Alright, let’s get to the good stuff! I’m walking you through exactly how I make these no bake creamy cheesecake bars, including little tricks that make a big difference.
Step 1: Prepare the Crust (5 minutes)
Start by crushing your graham crackers into fine crumbs. I usually pulse them in a food processor, but smashing them in a sealed bag with a rolling pin works just as well. Pour the crumbs into a bowl and mix with the melted unsalted butter until all the crumbs are evenly coated and look like wet sand.
Press this mixture firmly into the bottom of your lined 8×8-inch pan. I use the back of a measuring cup to get it nice and compact. Pop it in the fridge while you make the filling—this helps it set up and stay crunchy.
Step 2: Beat the Cream Cheese and Sugar (5 minutes)
In a large mixing bowl, beat the softened cream cheese until smooth and creamy with an electric mixer. Add the powdered sugar and vanilla extract, then continue beating until fully combined and silky. Scrape down the sides of the bowl to avoid lumps.
Step 3: Whip the Heavy Cream (3-4 minutes)
In a separate, chilled bowl, whip the cold heavy cream on medium-high speed until soft peaks form—when you lift the beaters, the cream holds its shape but is still soft and billowy. Be careful not to overwhip or it’ll turn grainy.
Step 4: Fold the Whipped Cream into the Cream Cheese Mixture (3 minutes)
Gently fold about one-third of the whipped cream into the cream cheese mixture to lighten it up. Then fold in the remaining whipped cream carefully to keep the texture airy. This folding technique keeps your cheesecake filling light and creamy—not dense or heavy.
Step 5: Assemble and Chill (2 minutes prep, 4+ hours chill)
Spread the creamy filling evenly over the chilled crust, smoothing the top with a spatula. Cover the pan tightly with plastic wrap and refrigerate for at least 4 hours—or overnight if you can wait. The longer it chills, the firmer and more sliceable the bars become.
Before serving, I like to top the bars with fresh berries or a dusting of powdered sugar. Sometimes I drizzle melted chocolate on top for a little extra indulgence.
Bonus Tip:
You can cut these bars into small squares for a bite-sized dessert or bigger slices if you’re feeling indulgent. Just use a sharp knife and wipe it clean between cuts for pretty edges.
Expert Tips & Tricks
Here’s everything I’ve learned from making these bars dozens of times. These tips will save you from my early mistakes.
- Soften Cream Cheese Properly — Cold cream cheese creates lumps. Let it sit at room temperature for at least 30 minutes before mixing. If you’re in a hurry, microwave it in 10-second bursts, but watch closely.
- Whip Cream Just Right — Soft peaks are your goal. If you overwhip, it turns grainy and can break the filling texture.
- Chill Long Enough — Don’t rush the refrigeration step. The filling firms up nicely, making clean slices possible.
- Don’t Skip the Butter in the Crust — It binds those graham cracker crumbs together and adds richness. I’ve tried oil substitutes, but butter wins hands down.
- Use Powdered Sugar — It dissolves completely and keeps the filling smooth. Granulated sugar leaves a gritty texture.
Common Mistake: If your crust feels soggy, it probably didn’t chill long enough to set, or too much butter was used. Press it firmly and chill longer next time.
Pro Tip: For a festive touch, sprinkle crushed peppermint or chopped nuts on top before chilling during holidays.
Variations & Substitutions
Once you’ve nailed the basic no bake creamy cheesecake bars, here are a few ways I’ve mixed it up depending on mood or occasion:
- Berry Swirl — Drop spoonfuls of raspberry or strawberry jam onto the filling before chilling, then swirl with a knife for a pretty marbled effect.
- Chocolate Cheesecake Bars — Mix ½ cup melted semi-sweet chocolate into the cream cheese mixture before folding in the whipped cream. Chocolate lovers, rejoice.
- Lemon Zest — Add 1 teaspoon fresh lemon zest and 1 tablespoon lemon juice to the filling for a bright twist that balances the richness.
- Gluten-Free Crust — Swap graham crackers for gluten-free cookies or almond flour mixed with butter.
- Lower Sugar — Reduce powdered sugar to ¾ cup and add a teaspoon of vanilla bean paste for extra flavor without extra sweetness.
- Nutty Crust — Mix crushed pecans or walnuts into the graham cracker crust for extra crunch.
For a lighter snack alongside these bars, I often serve a refreshing apple peanut butter energy bites that are super simple and complement the creamy richness perfectly.
Serving & Storage
Serving Suggestions:
I usually serve these bars chilled straight from the fridge, but I like to let them sit at room temperature for 10 minutes before slicing so they’re easier to cut. A dollop of whipped cream or fresh berries on top turns these simple bars into a dessert worth celebrating.
They pair wonderfully with a hot cup of coffee or a chilled glass of sparkling water with lemon. When I’m hosting, I love setting up a little topping bar with extra crushed cookies, chocolate chips, or chopped nuts so guests can customize.
Storage Instructions:
- Refrigerator: Store leftovers in an airtight container for up to 5 days. They keep their creamy texture but get a little firmer as they chill.
- Freezing: You can freeze these bars for up to 2 months. Wrap tightly in plastic wrap and foil. Thaw overnight in the fridge before serving. Texture is best fresh but freezing works in a pinch.
- Transport Tips: If you’re bringing these to a picnic or party, keep them chilled in a cooler or insulated bag to prevent melting.
Nutrition Information
I’m not a nutritionist, but here’s a general idea of what you’re getting in one serving when you slice these into 16 bars:
| Calories | 280 |
|---|---|
| Protein | 4g |
| Carbohydrates | 20g |
| Fiber | 1g |
| Sugar | 15g |
| Fat | 20g |
| Saturated Fat | 12g |
| Cholesterol | 65mg |
| Sodium | 150mg |
| Calcium | 100mg |
These bars are rich and creamy thanks to the cream cheese and heavy cream, so they’re definitely a treat. I like to balance them with fruit or a lighter snack like the back to school chicken Caesar wrap on busy days.
Final Thoughts
So that’s my no bake creamy cheesecake bars recipe! I’ve probably talked your ear off by now, but when you make a dessert this often, you have a lot to say about it. It’s saved me from countless dessert dilemmas—whether it’s a spontaneous party, a weeknight treat, or a make-ahead snack for busy days.
This recipe is proof that you don’t need fancy ingredients or complicated techniques to make something truly delicious. It’s creamy, dreamy, and simple enough that even beginners can nail it.
Make it your own—add your favorite toppings, tweak the sweetness, or try one of the variations. Most importantly, have fun with it. If you make this, drop a comment below and tell me how it turned out. If you hit any snags, I’m here to help!
Happy no baking! And may your kitchen smell as amazing as mine does right now.
Frequently Asked Questions
Q: Can I use low-fat cream cheese or milk instead of heavy cream?
A: You can, but the texture won’t be as creamy or rich. Low-fat cream cheese tends to be more watery, and milk won’t whip up like heavy cream. If you want a lighter version, try half-and-half for the cream and full-fat cream cheese. I’ve made it that way when I’m feeling “healthy,” but it’s not quite the same indulgence.
Q: How long do these cheesecake bars last in the fridge?
A: They keep well for up to 5 days when stored in an airtight container. The texture actually gets firmer and easier to slice the longer they chill. Just keep them covered to avoid fridge odors.
Q: Can I make these bars ahead of time for a party?
A: Absolutely. I recommend making them the day before so they have plenty of time to set up. They slice cleanly and taste even better after chilling overnight. Just keep them refrigerated until serving.
Q: Why did my cheesecake filling turn out lumpy?
A: This usually happens if your cream cheese wasn’t softened enough or if you didn’t beat it long enough. Let cream cheese sit at room temperature for at least 30 minutes before mixing. Also, beat it until completely smooth before adding other ingredients.
Q: Can I substitute the graham cracker crust with something else?
A: Yes! I’ve used crushed digestive biscuits, vanilla wafers, or even Oreo crumbs for a chocolate twist. Just mix with melted butter the same way to hold it together. If you want a gluten-free option, almond flour or gluten-free cookies work well.
Q: Is it okay to use pre-whipped topping instead of whipping heavy cream?
A: You can, but fresh whipped cream gives the best texture and flavor. Pre-whipped toppings often have stabilizers that change the texture and can make the filling less creamy. If you’re in a pinch, it’s better than nothing.
Q: Can I freeze the cheesecake bars?
A: You can freeze them for up to 2 months. Wrap tightly to prevent freezer burn. Thaw overnight in the fridge before serving. Keep in mind the texture might be a bit softer after freezing, but still tasty.
Pin This Recipe!
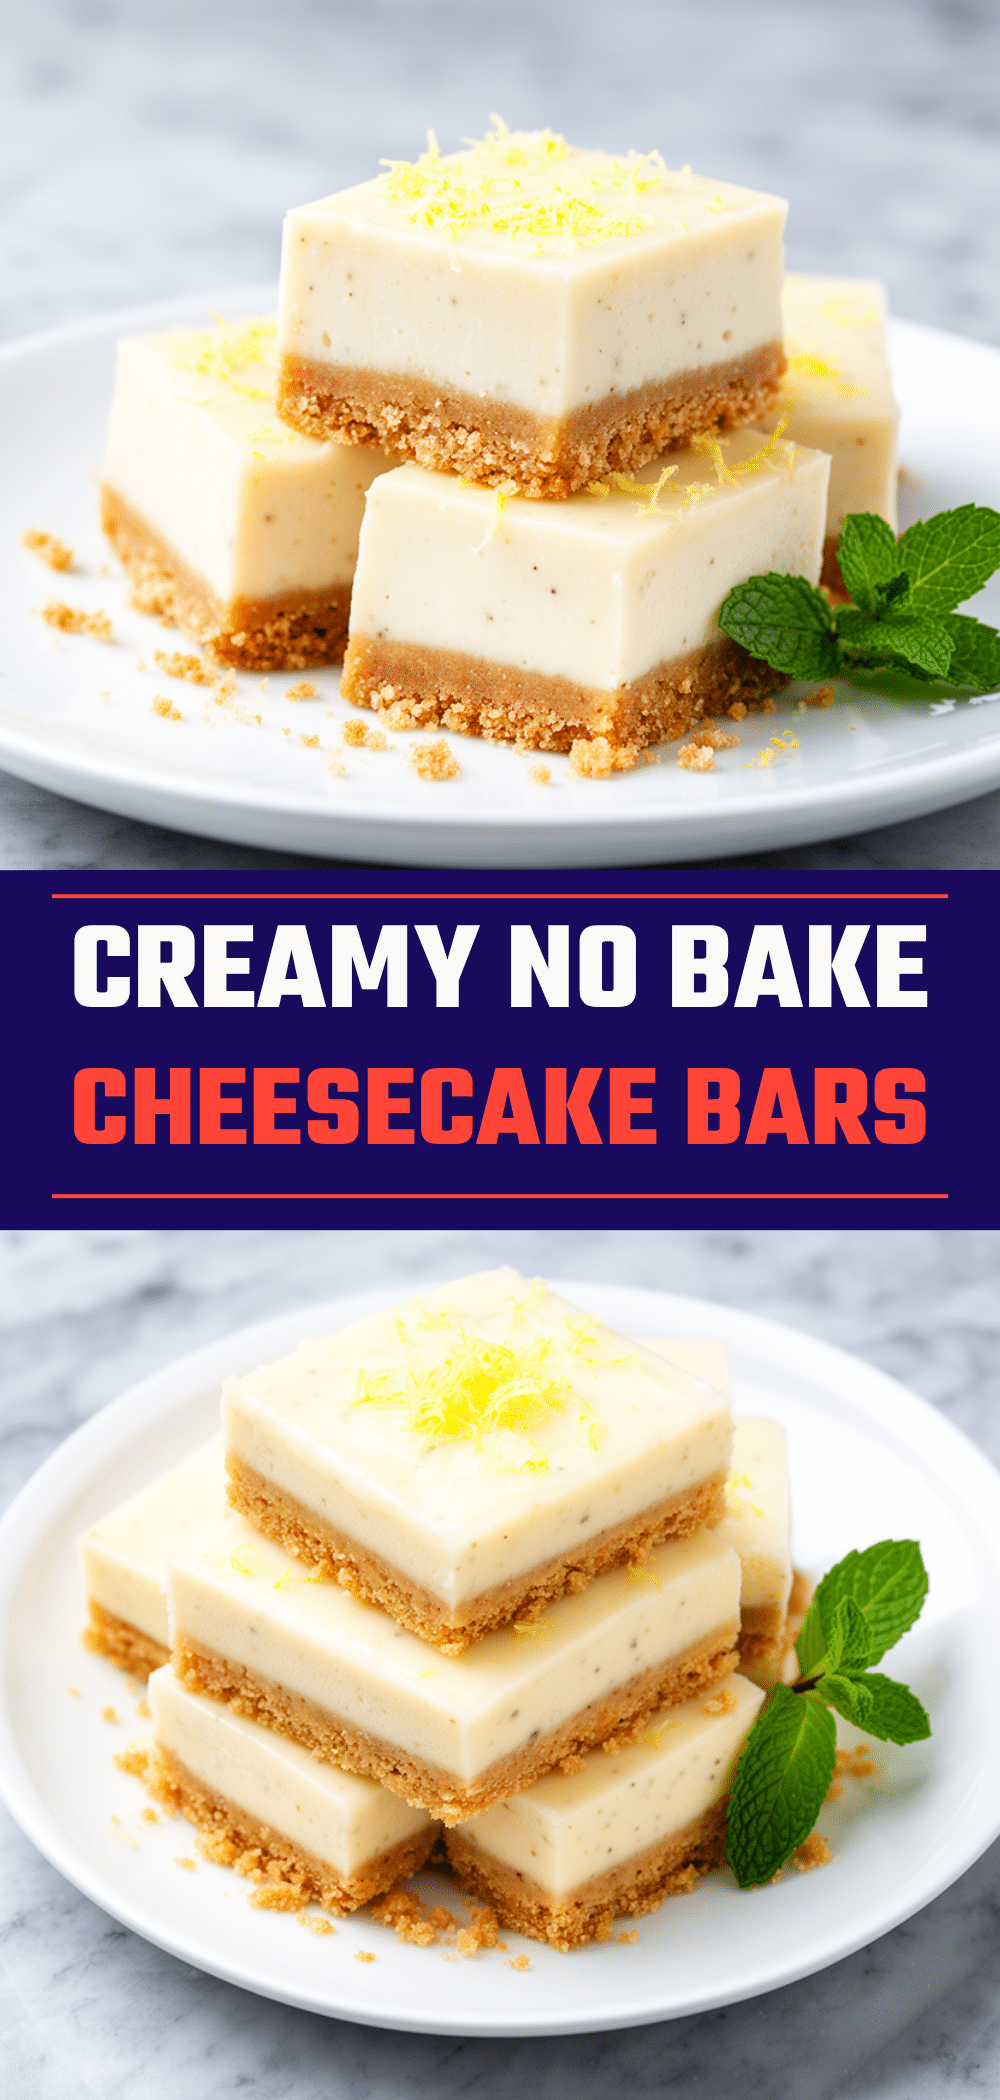
No Bake Creamy Cheesecake Bars
- Total Time: 4 hours 15 minutes
- Yield: 16 bars 1x
Description
These no bake creamy cheesecake bars are a fuss-free, indulgent dessert with a silky smooth texture and a crunchy graham cracker crust. Perfect for hot days, potlucks, or quick treats, they require no oven and just five simple steps.
Ingredients
- 1 ½ cups graham cracker crumbs (150g)
- 6 tablespoons unsalted butter, melted (85g)
- 16 oz cream cheese, softened (450g)
- 1 cup powdered sugar (120g)
- 1 teaspoon vanilla extract
- 1 cup heavy whipping cream, cold (240ml)
- Optional add-ins and toppings:
- 1 cup fresh berries (strawberries, blueberries, or raspberries)
- ½ cup chocolate chips
- 1 teaspoon lemon zest
Instructions
- Prepare the crust: Crush graham crackers into fine crumbs using a food processor or sealed plastic bag and rolling pin. Mix crumbs with melted unsalted butter until evenly coated. Press firmly into the bottom of a lined 8×8-inch pan. Refrigerate to set.
- Beat the cream cheese and sugar: In a large bowl, beat softened cream cheese until smooth. Add powdered sugar and vanilla extract, then beat until silky and fully combined. Scrape down sides to avoid lumps.
- Whip the heavy cream: In a separate chilled bowl, whip cold heavy cream on medium-high speed until soft peaks form. Avoid overwhipping.
- Fold whipped cream into cream cheese mixture: Gently fold one-third of whipped cream into cream cheese mixture to lighten it, then fold in remaining whipped cream carefully to keep texture airy.
- Assemble and chill: Spread filling evenly over chilled crust and smooth the top. Cover tightly with plastic wrap and refrigerate for at least 4 hours or overnight until firm. Top with fresh berries, powdered sugar, or melted chocolate if desired before serving.
Notes
Soften cream cheese properly at room temperature to avoid lumps. Whip cream to soft peaks only to prevent grainy texture. Chill crust and filling long enough for best texture and clean slicing. Use powdered sugar for smooth filling. Press crust firmly and chill to avoid sogginess. Optional toppings include fresh berries, chocolate drizzle, or nuts. Bars can be frozen up to 2 months; thaw overnight in fridge before serving.
- Prep Time: 15 minutes
- Cook Time: 0 minutes
- Category: Dessert
- Cuisine: American
Nutrition
- Serving Size: 1 bar (1/16th of rec
- Calories: 280
- Sugar: 15
- Sodium: 150
- Fat: 20
- Saturated Fat: 12
- Carbohydrates: 20
- Fiber: 1
- Protein: 4
Keywords: no bake cheesecake, cheesecake bars, creamy cheesecake, easy dessert, graham cracker crust, no oven dessert, quick cheesecake


