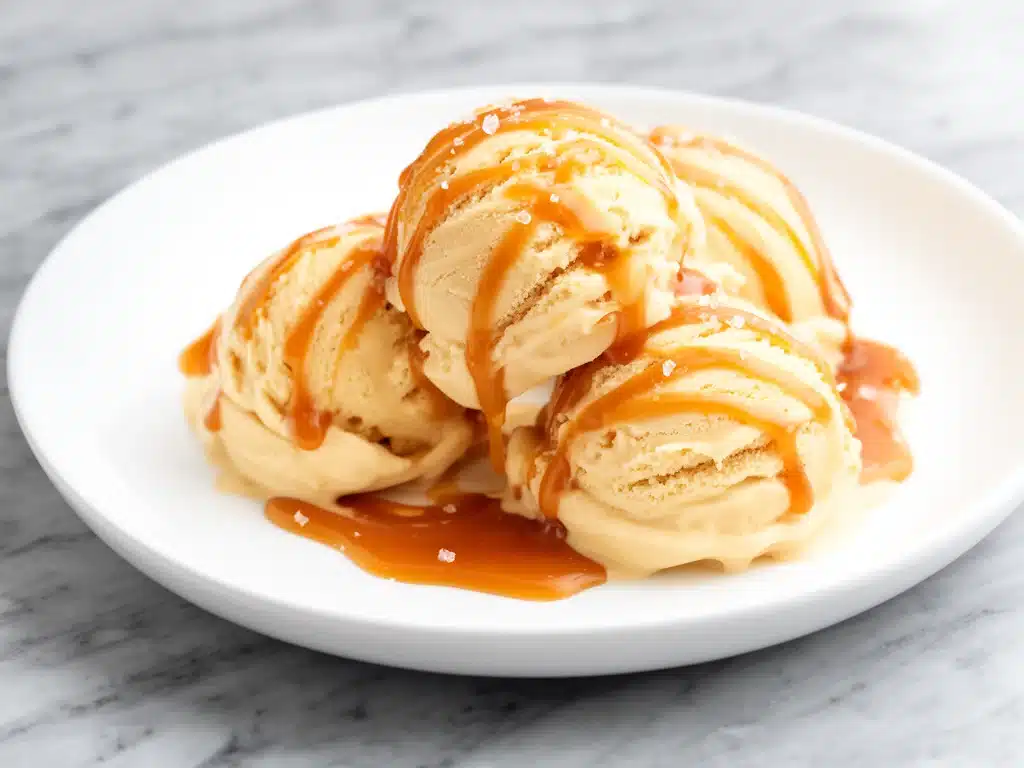
Last summer, I found myself craving something cool and indulgent but without the hassle of firing up my ice cream maker. I wanted that rich, creamy texture and the perfect balance of sweet and salty—something that felt fancy but didn’t require a science degree to pull off. After a few experiments (and a couple of scoops on the floor—don’t ask), I landed on this no churn salted caramel ice cream recipe that’s become my absolute favorite go-to treat. It’s the kind of recipe you make once and then find yourself craving again just days later.
What makes this recipe stand out? It’s the simple ingredients that you probably already have in your pantry, and the fact that you don’t need any special equipment. No fancy ice cream machine, no complicated custards—just a few steps, some patience in the freezer, and boom, you’ve got creamy, dreamy ice cream that tastes like it came from a high-end gelato shop. I’ve tested it over a dozen times, tweaking the caramel just right and balancing the salt perfectly, so you don’t have to.
Whether you’re new to homemade ice cream or a seasoned pro looking for an easy dessert to impress, this no churn salted caramel ice cream is about to become your new obsession. Plus, the best part? You can customize it (more on that later) and make it your own. Ready to dive in?
Why You’ll Love This Recipe
This no churn salted caramel ice cream recipe has seriously changed how I think about homemade desserts. Here’s why:
- Ridiculously Simple — If you can whisk cream and pour dulce de leche, you’re already halfway there. I even made this with my kids helping, and it was zero stress.
- Minimal Ingredients — You don’t need to hunt down fancy stuff. Sweetened condensed milk, heavy cream, caramel sauce, and a pinch of sea salt. That’s it.
- No Special Equipment — No ice cream machine, no custard pots. Just a bowl, a whisk, and a freezer-safe container.
- Perfect Balance of Sweet and Salty — That sprinkle of flaky sea salt on top? Game changer. It makes the caramel flavor pop without being overpowering.
- Make It Ahead — I love making this on Friday nights and having it ready to go for weekend cravings. It’s perfect for last-minute dessert emergencies.
- Customizable — Want nuts? Swirl in some toasted pecans. Chocolate lover? Add chunks of bittersweet chocolate. I’ll share my favorite twists below.
This ice cream has become my secret weapon for summer get-togethers, and honestly, I’ve caught myself sneaking spoonfuls straight from the container (don’t judge). It’s creamy, dreamy, and so satisfying.
Ingredients You’ll Need
Here’s the best part: you probably have most of these ingredients lying around already. I’m pretty picky about the caramel and salt here, so I’ll explain why each matters.
- Sweetened Condensed Milk (1 can, 14 oz / 396g) — This is the base magic. It’s thick, sweet, and creamy, and it helps the ice cream set without churning. I always use the full-fat kind for richness.
- Heavy Cream (2 cups / 480ml) — Full-fat heavy cream is essential. It whips up into fluffy peaks that give the ice cream that smooth, airy texture. No substitutes here—half-and-half just won’t cut it.
- Caramel Sauce (½ cup / 120ml) — You can buy a good quality jar, but I prefer making my own for control over flavor and saltiness. I use my favorite salted caramel sauce recipe, but store-bought works in a pinch.
- Sea Salt (1 teaspoon, plus more for sprinkling) — Flaky sea salt is the secret to that perfect salty-sweet combo. Table salt just doesn’t have the same crunch or flavor.
- Vanilla Extract (1 teaspoon) — Adds depth and rounds out the sweetness. I use pure vanilla extract, not imitation.
Optional Add-ins:
- Toasted Pecans or Walnuts (½ cup) — Adds crunch and nuttiness.
- Chocolate Chunks or Chips (½ cup) — For a bit of bittersweet contrast.
- Sea Salted Caramel Swirl — Extra swirls of caramel on top before freezing.
FYI, I usually keep a batch of my homemade salted caramel sauce in the fridge for recipes like this. If you want to try making your own caramel sauce first, it pairs perfectly with this easy no churn ice cream base. If you want to try a refreshing drink while you wait for your ice cream to set, this healthy green apple spinach smoothie recipe is a great palate cleanser.
Equipment Needed
You don’t need anything fancy for this recipe. Here’s what I use:
- Mixing Bowl — Large enough for whipping cream comfortably. I use a glass or stainless steel bowl.
- Hand Mixer or Stand Mixer — Whipping cream by hand is possible but takes a while. I use a hand mixer but a whisk works if you’re patient.
- Spatula — For folding the condensed milk and caramel into the whipped cream gently.
- Freezer-Safe Container — A loaf pan or any airtight container works. I prefer a rectangle shape for easy scooping.
- Measuring Cups and Spoons — Pretty standard stuff.
That’s really it. No ice cream maker, no candy thermometer, no fancy gadgets.
How to Make It: Step-by-Step
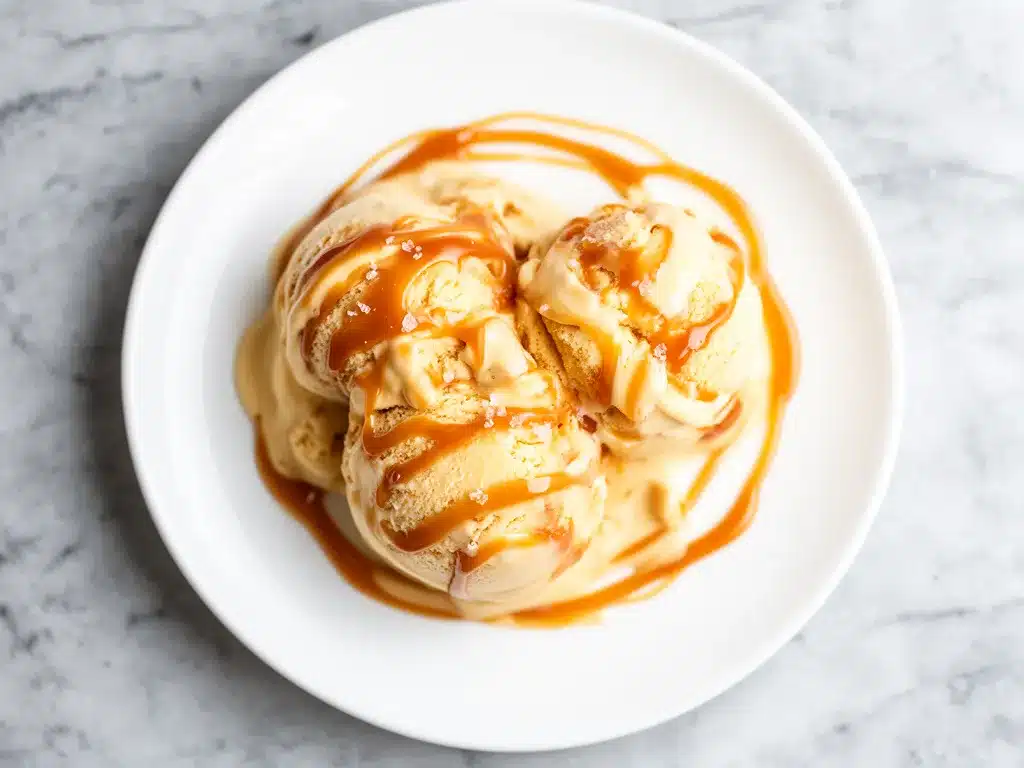
Alright, let’s dive into making this no churn salted caramel ice cream. I’m walking you through exactly how I do it, including my favorite tricks.
Step 1: Whip the Cream (5-7 minutes)
Start by chilling your mixing bowl and beaters in the fridge for about 15 minutes if you can—it helps the cream whip faster. Pour the heavy cream into the bowl and whip on medium-high speed until you get stiff peaks. That means when you lift the beaters, the cream holds its shape without drooping. This step is key for that airy, creamy texture.
Step 2: Combine Sweetened Condensed Milk and Vanilla (2 minutes)
In a separate bowl, stir together the sweetened condensed milk and vanilla extract until smooth. This adds sweetness and a lovely vanilla undertone to the ice cream.
Step 3: Fold Condensed Milk into Whipped Cream (3-4 minutes)
Now, gently fold the condensed milk mixture into the whipped cream using a spatula. Use a light hand here—you want to keep as much air in the cream as possible. A few lumps are okay; don’t overmix.
Step 4: Add Caramel and Sea Salt (2 minutes)
Pour in about half of your caramel sauce and the teaspoon of sea salt. Fold it in gently, leaving some ribbons of caramel visible for a beautiful marbled effect. If you like, save the rest of the caramel for swirling on top later.
Step 5: Transfer and Swirl (2 minutes)
Pour the mixture into your freezer-safe container. Drizzle the remaining caramel on top and use a knife or skewer to swirl it through the ice cream gently. Sprinkle a pinch of flaky sea salt on top for that perfect salty crunch.
Step 6: Freeze (6 hours or overnight)
Cover the container with a lid or plastic wrap and freeze for at least 6 hours, preferably overnight. The ice cream will firm up beautifully without any churning needed.
Step 7: Serve and Enjoy!
When you’re ready to serve, let the ice cream sit at room temperature for 5-10 minutes to soften slightly—makes scooping easier and enhances the creamy texture. Scoop into bowls or cones, and if you’re feeling extra, drizzle more caramel or sprinkle chopped nuts on top.
Expert Tips & Tricks
Here’s everything I’ve learned from making this recipe over and over. These tips will save you from my early mistakes:
- Chill Your Tools: Cold bowls and beaters help the cream whip up faster and fluffier every time.
- Don’t Overfold: Folding keeps the air in the whipped cream. Overmixing makes it dense and less creamy.
- Use Flaky Sea Salt: It adds texture and a burst of flavor. Regular salt just doesn’t have the same effect.
- Homemade Caramel is Worth It: If you have time, make your own caramel sauce. It tastes fresher and you control the salt. I love using my recipe for salted caramel sauce, but store-bought is fine too.
- Let It Soften Before Serving: Straight from the freezer, it’s super hard. Five to ten minutes on the counter is perfect for easy scooping.
- Make It Ahead: This ice cream keeps well for up to 2 weeks in the freezer. Just make sure it’s in an airtight container to avoid freezer burn.
One mistake I made early on was rushing the freezing step. The texture was icy instead of creamy. Patience here is key. Also, if you want to keep the ice cream smooth, avoid opening the freezer too often while it’s setting.
Variations & Substitutions
Once you’ve nailed the basic version, here’s how you can mix things up. I’ve tried these all and can vouch for their yum factor.
- Nutty Delight: Stir in ½ cup toasted pecans or walnuts before freezing. Adds crunch and a nutty depth.
- Chocolate Swirl: Add ½ cup bittersweet chocolate chunks or chips. Swirl in some chocolate sauce along with the caramel for a double swirl effect.
- Salted Caramel Coffee: Dissolve 1 tablespoon instant espresso powder in the condensed milk mixture before folding. Coffee and caramel are a classic combo.
- Dairy-Free Version: Use coconut cream instead of heavy cream and a dairy-free caramel sauce. The texture is slightly different but still delicious.
- Fruit Twist: Mix in chopped roasted pears or apples for a caramel-apple vibe. This pairs well with a warm drizzle of caramel on top.
If you’re looking for more easy make-ahead snacks or desserts to complement your ice cream, I’ve been loving the apple peanut butter energy bites for a quick sweet fix or the Labor Day no bake strawberry pretzel salad for something fruity and crunchy.
Serving & Storage
I usually serve this no churn salted caramel ice cream straight from the container with a drizzle of extra caramel sauce and a sprinkle of flaky sea salt on top. It looks rustic, homemade, and irresistible.
Serving Ideas:
- With warm apple pie or brownies for a decadent combo.
- In waffle cones for easy handheld treats.
- Paired with a simple fresh fruit salad to balance the richness.
Storage Tips:
- Store in an airtight container in the freezer up to 2 weeks.
- Let soften at room temperature 5-10 minutes before scooping.
- If it’s too hard, microwave the container for 10 seconds, then stir gently.
Pro tip: If you want to prep ahead for a party, make the ice cream the day before and keep it tightly covered. Then serve with some crunchy toppings like chopped nuts or chocolate chips for texture contrast.
Nutrition Information
I’m not a nutritionist, but here’s a rough breakdown per serving (based on 8 servings):
| Calories | 310 |
|---|---|
| Protein | 4g |
| Carbohydrates | 38g |
| Fiber | 0g |
| Sugar | 33g |
| Fat | 15g |
| Saturated Fat | 9g |
| Cholesterol | 55mg |
| Sodium | 150mg |
| Calcium | 120mg |
What’s good: Decent calcium from the dairy, satisfying richness that keeps you full longer, and no artificial ingredients.
What to know: This is a treat, so it’s higher in sugar and fat. But because it’s homemade, you control the ingredients and skip the preservatives. For a lighter option, try using a reduced-fat caramel sauce or swapping half the heavy cream for coconut milk (though texture will change).
Final Thoughts
So that’s my easy, creamy, irresistible no churn salted caramel ice cream recipe. I’ve probably shared way more than you expected, but when you make a recipe this often, you discover all the little things that make it perfect.
This ice cream has saved countless summer days and spontaneous dessert cravings at my house. It’s my answer when I want something homemade and impressive but don’t want to spend hours in the kitchen or haul out the ice cream machine. My family loves it, and honestly, so do I—especially when I sneak a scoop before dinner.
Make it yours! Add nuts, swirl in chocolate, or try the coffee twist. The best recipes are the ones you adapt to your own tastes and pantry.
If you make this recipe, drop a comment and tell me how it went! I love hearing about your kitchen wins (and even your ‘oops’ moments). Happy scooping!
Frequently Asked Questions
Q: Can I use milk instead of heavy cream?
A: You can, but the texture will be thinner and less creamy. Heavy cream whips up to create that airy, smooth ice cream texture. If you only have milk, try mixing it with some melted butter to increase fat content, but honestly, it’s just easier to buy a small carton of cream for this recipe.
Q: My ice cream is icy instead of creamy—what went wrong?
A: This usually happens if the whipped cream isn’t beaten enough or if you overfold the mixture, causing it to lose air. Also, rushing the freezing time or not covering the container properly can cause ice crystals. Make sure to whip the cream to stiff peaks and fold gently. Freeze in a well-sealed container.
Q: Can I make this without caramel sauce?
A: The caramel is really the star here, but if you want a plain no churn ice cream, you can skip it and just fold in vanilla and salt. It will be more like a vanilla ice cream. Or try mixing in chocolate chips or fruit for other flavor twists.
Q: How long does this ice cream last in the freezer?
A: Up to 2 weeks is best for flavor and texture. Beyond that, it might develop freezer burn or lose creaminess.
Q: Can I double this recipe?
A: Absolutely! Just use a larger container or two smaller ones. The freezing time stays the same, but make sure you have enough room in your freezer.
Q: Is there a vegan version of this recipe?
A: Yes! Use coconut cream instead of heavy cream, a vegan caramel sauce (or make your own with coconut sugar), and skip the sweetened condensed milk or use a dairy-free version. The texture will be slightly different but still delicious.
Q: How do I store leftover ice cream without it getting freezer burn?
A: Use an airtight container and press a layer of plastic wrap directly on the surface of the ice cream before sealing. This extra barrier helps keep ice crystals from forming.
Pin This Recipe!
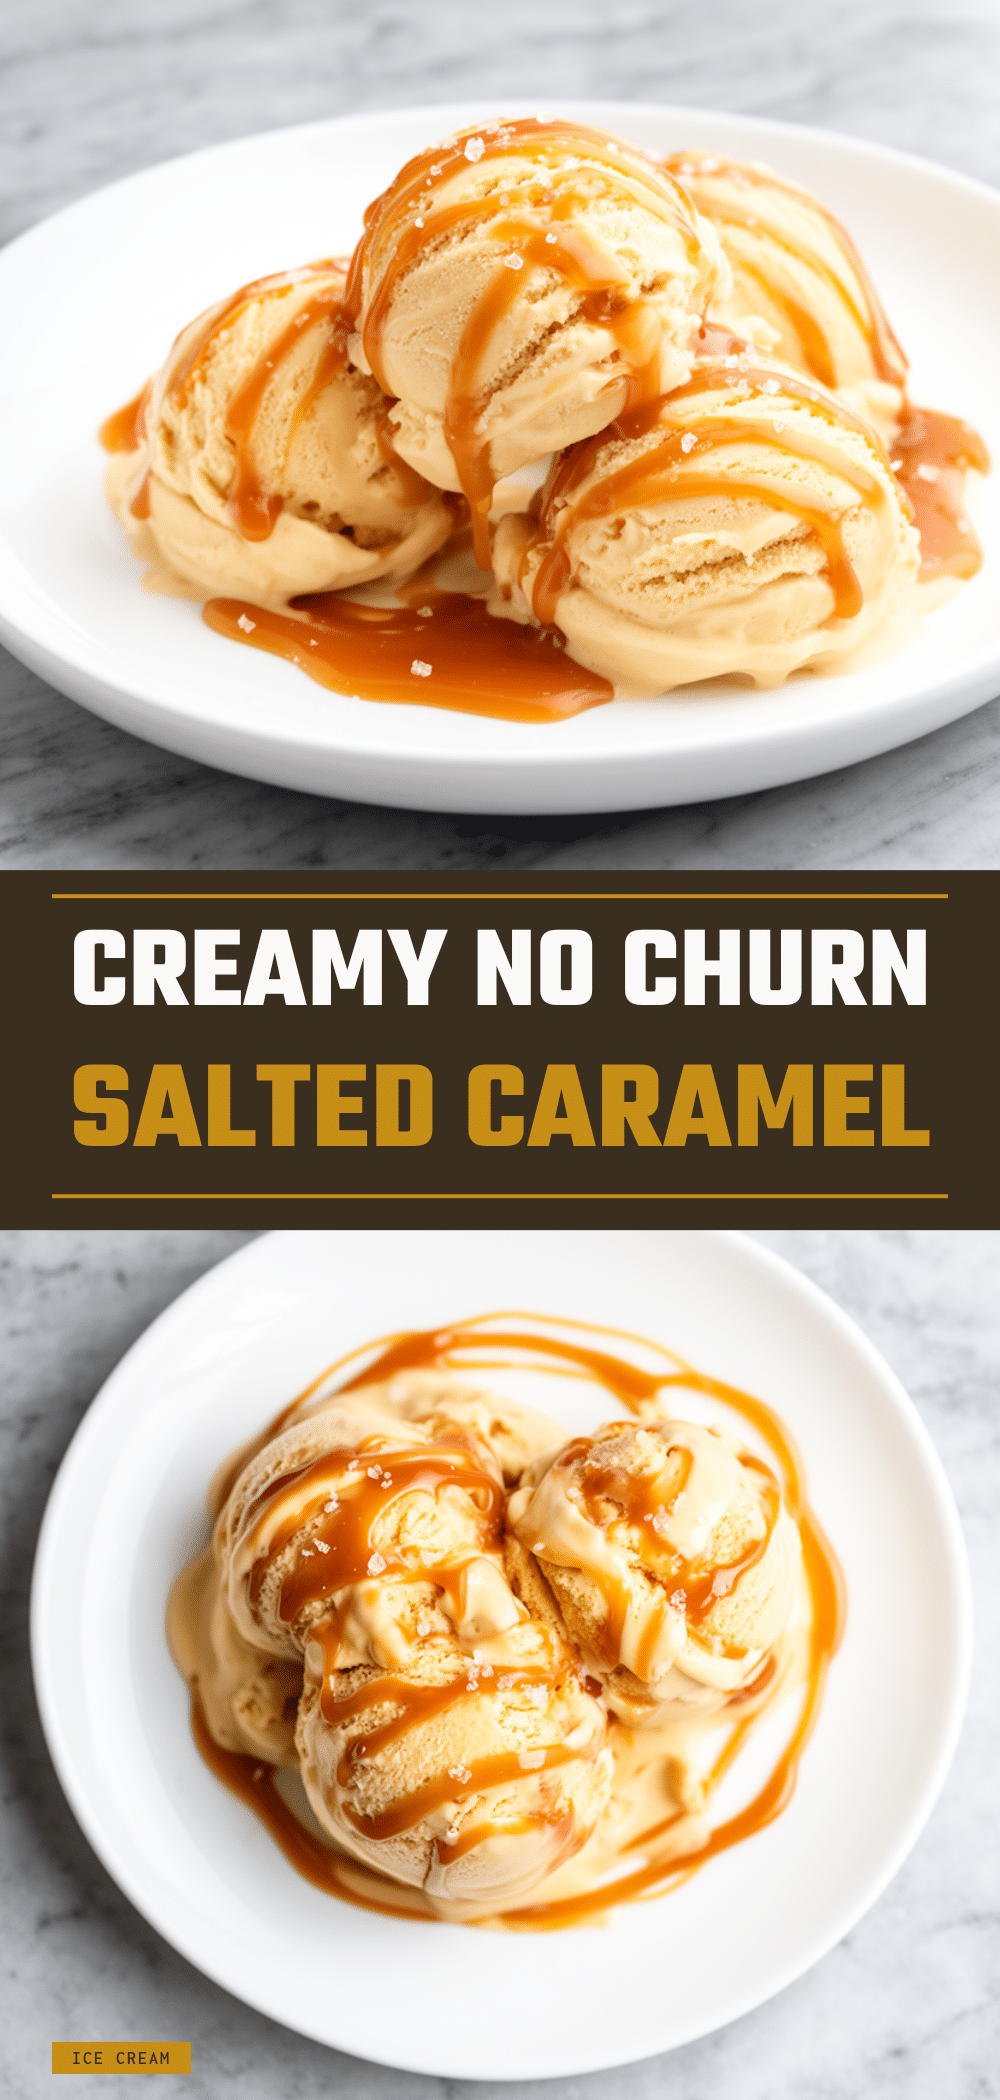
No Churn Salted Caramel Ice Cream
- Total Time: 6 hours 10 minutes
- Yield: 8 servings 1x
Description
An easy homemade no churn salted caramel ice cream recipe that delivers rich, creamy texture with a perfect balance of sweet and salty, requiring no special equipment.
Ingredients
- 1 can (14 oz / 396g) sweetened condensed milk
- 2 cups (480ml) heavy cream
- ½ cup (120ml) caramel sauce
- 1 teaspoon sea salt, plus more for sprinkling
- 1 teaspoon vanilla extract
- Optional add-ins:
- ½ cup toasted pecans or walnuts
- ½ cup bittersweet chocolate chunks or chips
- Extra caramel sauce for swirling
Instructions
- Chill mixing bowl and beaters in the fridge for about 15 minutes to help cream whip faster.
- Pour heavy cream into the chilled bowl and whip on medium-high speed until stiff peaks form.
- In a separate bowl, stir together sweetened condensed milk and vanilla extract until smooth.
- Gently fold the condensed milk mixture into the whipped cream using a spatula, keeping as much air in the cream as possible.
- Pour in about half of the caramel sauce and the teaspoon of sea salt. Fold gently, leaving ribbons of caramel visible.
- Transfer mixture into a freezer-safe container. Drizzle remaining caramel on top and swirl gently with a knife or skewer. Sprinkle flaky sea salt on top.
- Cover container and freeze for at least 6 hours or overnight until firm.
- Before serving, let ice cream sit at room temperature for 5-10 minutes to soften for easier scooping.
Notes
Chill your tools for better whipping results. Do not overfold to keep the ice cream airy. Use flaky sea salt for best flavor and texture. Homemade caramel sauce is recommended but store-bought works. Let ice cream soften before scooping. Store in airtight container up to 2 weeks.
- Prep Time: 10 minutes
- Cook Time: 0 minutes
- Category: Dessert
- Cuisine: American
Nutrition
- Serving Size: 1 serving (approxima
- Calories: 310
- Sugar: 33
- Sodium: 150
- Fat: 15
- Saturated Fat: 9
- Carbohydrates: 38
- Protein: 4
Keywords: no churn ice cream, salted caramel ice cream, easy homemade ice cream, no ice cream maker, caramel dessert, summer dessert


