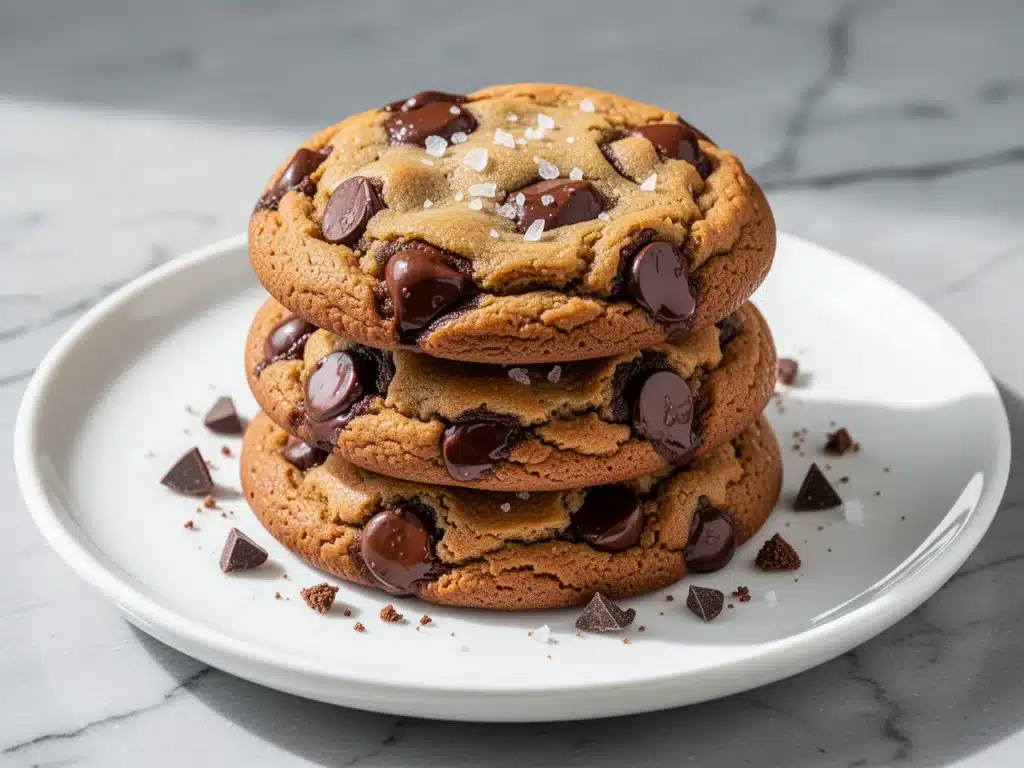
I’ll be honest with you—I almost didn’t publish this recipe. Not because it doesn’t work, but because it makes me look bad. Last Saturday, I baked a batch of these brown butter chocolate chip cookies for my book club. I had spent the previous week perfecting my classic chewy chocolate chip cookies, and I thought I had the format down. But then I decided to try one small change: browning the butter.
I was skeptical. Brown butter sounds like a fancy technique reserved for expensive pastries or complicated sauces. I worried the cookies would spread too much, or taste burnt, or just be a lot of extra work for a Tuesday night. So, I made a double batch. One batch with regular melted butter, and one with browned butter. I kept them separate in the fridge overnight, just to be sure.
When I pulled them out of the oven, the difference was undeniable. The brown butter batch had this deep, nutty aroma that filled the entire house. My neighbors actually knocked on my door asking if I was roasting nuts. The cookies themselves were darker, with crisp edges and a center that was soft, fudgy, and almost cake-like in the best way possible. When my book club arrived, they didn’t even notice the plain batch. They only wanted the brown butter ones. They kept asking what my secret was.
The secret is simple, but it requires patience. You have to watch the butter like a hawk. But once you master this technique, you’ll never go back to plain butter cookies again. These perfect brown butter chocolate chip cookies are the ultimate balance of salty and sweet, crispy and chewy. They’re rich, they’re indulgent, and they’re surprisingly easy to make if you know the tricks. I’ve tested this recipe at least ten times, tweaking the ratios of brown sugar to white sugar and the amount of sea salt, until I landed on the version you’re about to see. It’s hands-down the best cookie I’ve ever baked.
Why You’ll Love This Recipe
There are a million cookie recipes out there. I’ve pinned them, bought the books, and failed at most of them. But this brown butter chocolate chip cookie recipe is different. It’s not just another chocolate chip cookie; it’s an upgrade. Here’s why I keep making these, and why you will too.
Nutty, Complex Flavor — Regular butter tastes like butter. Brown butter tastes like toasted hazelnuts and caramel. By browning the butter, you’re essentially infusing the cookie with a deep, savory note that cuts through the sweetness of the chocolate. It adds a layer of sophistication that makes these cookies feel gourmet, even though they’re made from pantry staples.
The Perfect Texture Contrast — I hate cookies that are dry or crumbly. I also hate cookies that are flat and greasy. This recipe gives you the best of both worlds. The edges are crisp and golden, while the centers stay soft, thick, and fudgy. The brown butter helps create that structure. It’s the kind of cookie that breaks open to reveal a gooey interior that’s worth every calorie.
Flaky Sea Salt Finish — This isn’t just a garnish. The flaky sea salt on top is crucial. It creates little bursts of saltiness that highlight the chocolate and balance the sweetness. Without it, these cookies would be too sweet. With it, they’re addictive. I use Maldon sea salt because the flakes are large and pretty, but any flaky salt will do.
Make-Ahead Friendly — One of the best parts about this recipe? The dough needs to chill. Actually, it’s better if it chills for 24-48 hours. This isn’t a hassle; it’s a feature. It means you can mix the dough on Sunday, keep it in the fridge, and bake fresh cookies whenever you want during the week. It saves stress and improves flavor. The longer the dough rests, the more the flavors meld together.
Impressive but Easy — You can serve these to fancy foodie friends, and they will be impressed. They’ll ask for the recipe. They’ll assume you bought them from a high-end bakery. But you’ll know it took you about 20 minutes of active time. It’s the ultimate flex: looking like a pro baker with minimal effort.
Ingredients You’ll Need
Before we get to the stove, let’s talk about what goes into these cookies. I’m particular about a few things here, mostly because I’ve made the mistakes so you don’t have to. You don’t need anything exotic, but you do need to pay attention to quality.
Unsalted Butter (1 cup / 226g) — This is the star of the show. You need high-quality unsalted butter. I use Kerrygold or Plugra because they have a higher fat content, which makes for a richer cookie. You’ll be browning this, so start with cold butter. Cut it into cubes before melting it so it browns evenly.
Dark Brown Sugar (1 cup / 200g) — I use dark brown sugar instead of light. It has more molasses, which gives the cookies that deep, caramel-like flavor and keeps them chewy. Light brown sugar works, but dark is better for this specific recipe. Pack it tightly into the cup.
Granulated White Sugar (½ cup / 100g) — This helps with the crisp edges. If you skip this, the cookies will be too soft. You need some crunch to contrast the fudgy center.
Large Egg (1 large) — Room temperature is best. It emulsifies better with the butter and sugars. If you’re in a rush, just set it in warm water for five minutes.
Egg Yolk (1 large) — This is the secret weapon. Adding an extra yolk increases the fat content without adding liquid, which makes the cookies denser and more fudgy. It’s what gives them that bakery-style texture.
Vanilla Extract (2 teaspoons) — Use real vanilla, not imitation. The brown butter flavor is delicate; cheap vanilla will overpower it. I like Nielsen-Massey or Simply Organic.
All-Purpose Flour (2 ¼ cups / 280g) — Don’t over-measure! Spoon the flour into the cup and level it off. If you scoop directly from the bag, you’ll pack it down and get dry cookies. I also like to add a tablespoon of cornstarch (optional) to keep them soft, but it’s not strictly necessary.
Baking Soda (1 teaspoon) — This helps the cookies spread and brown. Make sure it’s fresh. If your baking soda is old, it won’t work, and your cookies will be flat bricks.
Baking Powder (½ teaspoon) — A little bit of lift to keep them from being too dense.
Flaky Sea Salt (1 teaspoon + extra for topping) — I mix some into the dough and sprinkle the rest on top after baking. The contrast is essential.
Chocolate Chips (2 cups / 340g) — I use a mix of semi-sweet and milk chocolate chips. Semi-sweet provides the chocolate flavor, while milk chocolate adds creaminess. You can also chop up a high-quality chocolate bar for bigger chunks. I love using Ghirardelli or Guittard.
Optional: Toasted Pecans — If you want to take it up a notch, add ½ cup of toasted pecans. They pair beautifully with the brown butter. See my brown butter pecan cookie bars for inspiration on how great this combination is.
Equipment Needed
You don’t need a fancy kitchen for this. Here’s what I actually use, and what you can substitute.
Medium Saucepan — I use a stainless steel saucepan with a light bottom. This lets you see the butter browning clearly. If you use a dark non-stick pan, you might burn the butter before you realize it. Glass or ceramic pans are bad for this because they heat unevenly.
Heatproof Spatula — You’ll need this to scrape the butter into a bowl to stop the cooking process. Silicone works great.
Mixing Bowls — One large bowl for the wet ingredients, one medium for the dry. I prefer glass bowls because they’re easy to clean and don’t retain heat.
Stand Mixer or Hand Mixer — I use a stand mixer for convenience, but a wooden spoon and arm strength works fine too. You just need to cream the butter and sugars well.
Cooling Rack — Essential for letting the cookies set. If you leave them on the hot baking sheet, they’ll continue to cook and become dry.
Parchment Paper — Line your baking sheets. Do not use silicone mats for this recipe unless you’ve used them before. Silicone mats can prevent the bottoms from getting crispy. Parchment gives you that perfect golden brown bottom.
Ice Cream Scoop — I use a #40 scoop (about 1.5 tablespoons) for uniform cookies. If you don’t have one, use two spoons to drop mounds. Consistency in size ensures even baking.
How to Make It: Step-by-Step
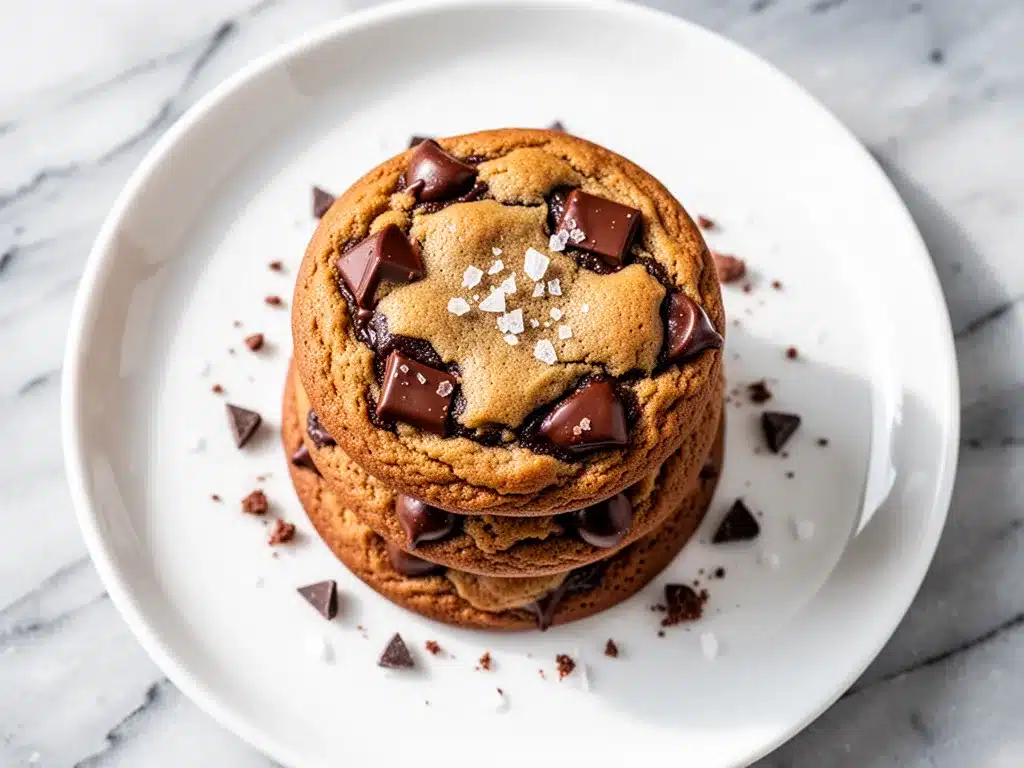
Alright, let’s make these cookies. I’m walking you through exactly how I do it, including the little tricks I’ve picked up over the years.
Step 1: Brown the Butter (5-7 minutes)
This is the most important step. Melt your butter in a medium saucepan over medium heat. Stir it constantly with a heatproof spatula. At first, it will just be bubbling and melting. Then, the bubbles will get louder, and you’ll see white foam on top. Keep stirring! The foam will start to turn golden. Pay attention to the smell. You’re looking for a nutty, toasted aroma, like browned butter or toasted hazelnuts. Once the butter turns a deep amber color and you see dark brown specks (the milk solids) at the bottom, it’s done. This takes about 5-7 minutes. Do not walk away!
Step 2: Stop the Cooking (2 minutes)
Immediately pour the brown butter into a heatproof bowl. This stops the cooking process. If you leave it in the hot pan, it will keep cooking and burn. Let it cool for 10-15 minutes until it’s just warm to the touch. You don’t want it hot when you add the sugar, or it will melt the sugar into a syrup. You don’t want it cold, or it won’t mix well. Room temperature or slightly warm is perfect.
Step 3: Mix the Sugars and Fats (2 minutes)
Once the butter is cooled slightly, add the dark brown sugar and granulated sugar to the bowl. Whisk vigorously for about 1-2 minutes. You want the mixture to look glossy and slightly lighter in color. This incorporates air into the butter, which helps with texture. If you skip this whisking step, your cookies will be denser.
Step 4: Add the Eggs and Vanilla (1 minute)
Add the whole egg, the extra egg yolk, and the vanilla extract. Whisk again until everything is well combined. The mixture should look smooth and emulsified. It might look a little separated at first, but keep whisking. It will come together.
Step 5: Combine Dry Ingredients (1 minute)
In a separate bowl, whisk together the flour, baking soda, baking powder, and 1 teaspoon of salt. Sifting is optional, but I do it if my flour is clumpy. Just make sure there are no lumps of baking soda left, or you’ll get bitter bites in your cookies.
Step 6: Mix Wet and Dry (1-2 minutes)
Gradually add the dry ingredients to the wet ingredients. Mix on low speed or stir by hand until just combined. Do not overmix! As soon as you no longer see streaks of flour, stop. Overmixing develops gluten, which makes cookies tough. You want them tender.
Step 7: Fold in the Chocolate (1 minute)
Add the chocolate chips (and nuts, if using). Fold them in gently. You want to distribute them evenly, but you don’t need to beat the dough anymore.
Step 8: Chill the Dough (At least 2 hours, ideally 24-48 hours)
This is non-negotiable for the best texture. Cover the bowl with plastic wrap or transfer the dough to an airtight container. Refrigerate for at least 2 hours, but preferably 24-48 hours. Chilling solidifies the fat, which prevents the cookies from spreading too much. It also allows the flavors to meld, resulting in a deeper, more complex taste. I usually make the dough on Sunday and bake on Wednesday.
Step 9: Preheat and Prep (5 minutes)
Preheat your oven to 350°F (175°C). Line two large baking sheets with parchment paper. Take the dough out of the fridge. If it’s very cold, let it sit on the counter for 10 minutes so it’s scoopable.
Step 10: Scoop and Bake (10-12 minutes)
Scoop the dough onto the baking sheets, spacing them about 2 inches apart. They will spread. Bake for 10-12 minutes. You want the edges to be golden brown and crisp, but the centers to still look slightly soft and underbaked. They will continue to cook on the hot pan after you take them out.
Step 11: Add Salt and Cool (5 minutes)
As soon as you pull the cookies out of the oven, sprinkle them with flaky sea salt. The heat will help it adhere. Let them cool on the baking sheet for 5 minutes. Then, transfer them to a wire rack to cool completely. This is the hardest part—waiting for them to cool. But if you eat them hot, they’re too soft and messy.
Expert Tips & Tricks
Here’s everything I’ve learned from making these dozens of times. These tips will save you from my mistakes.
Watch the Butter Closely
Brown butter can go from perfect to burnt in 30 seconds. If it smells acrid or bitter, you’ve burned it, and you need to start over. Burnt butter tastes awful in cookies. It’s better to under-brown slightly than to over-brown. The specks at the bottom should be dark brown, not black.
Don’t Skip the Chill
I know it’s tempting to bake them right away. But if you skip the chill, you’ll get flat, greasy cookies. The chilled dough spreads less and retains its shape. If you’re short on time, freeze the dough balls for 30 minutes before baking. It’s not as good as 24 hours in the fridge, but it’s better than nothing.
Underbake Slightly
This is the golden rule of fudgy cookies. Pull them out when the centers look soft. They will set as they cool. If you bake them until the centers look firm, they’ll be dry and cakey once cooled. Err on the side of underbaking.
Use a Scale
For baking, weight is more accurate than volume. If you have a kitchen scale, use it. 1 cup of flour can vary by 20-30 grams depending on how you pack it. That difference can ruin a batch of cookies. If you don’t have a scale, use the spoon-and-level method.
Room Temperature Eggs
If your eggs are cold, they can seize the butter mixture. Bring them to room temperature before adding. Just set them in a bowl of warm water for 5-10 minutes.
Cookie Size Matters
Stick to one size for your batch. If you mix small and large cookies, the small ones will burn while the large ones are still raw. Uniformity ensures even baking.
Variations & Substitutions
Once you’ve nailed the basic version, here’s how you can mix it up. I’ve tried all of these.
White Chocolate Macadamia
Swap the chocolate chips for white chocolate chips and add 1 cup of toasted macadamia nuts. The brown butter pairs beautifully with white chocolate. It’s like a tropical vacation in cookie form.
Double Chocolate
Add 2 tablespoons of unsweetened cocoa powder to the dry ingredients. Swap the chocolate chips for dark chocolate chunks. This makes a richer, more intense chocolate cookie. Be aware that the dough will be darker, so it’s harder to judge browning.
Pretzel Crunch
Add 1 cup of crushed pretzels to the dough. The salty crunch complements the sweet brown butter and chocolate perfectly. This is a game-changer for salty-sweet lovers.
Gluten-Free
Use a 1:1 gluten-free flour blend (like Bob’s Red Mill or King Arthur). The results are surprisingly good, though slightly more crumbly. Add an extra egg yolk to help bind them.
Vegan
Replace butter with vegan butter sticks (not tub margarine). Use a flax egg (1 tablespoon ground flax + 3 tablespoons water) instead of the egg and yolk. Use dairy-free chocolate chips. They hold up well, though the texture will be slightly different.
Mini Cookies
Scoop smaller balls (about 1 tablespoon) and bake for 8-9 minutes. These are perfect for gift boxes or lunchboxes. They crisp up more on the edges, which is nice.
Serving & Storage
How to Serve:
I serve these warm, right off the baking sheet, with a glass of cold milk. They’re also great at room temperature for picnics or potlucks. Pair them with a cup of coffee or hot chocolate. They’re rich, so you don’t need to eat many.
Storage:
Store cookies in an airtight container at room temperature for up to 5 days. Place a slice of bread in the container to keep them soft. If they start to get stale, the bread will restore their moisture.
Freezing Dough:
This dough freezes beautifully. Scoop the dough into balls and freeze them on a baking sheet for 1 hour. Then transfer to a freezer bag. You can bake them straight from frozen, just add 1-2 minutes to the bake time. This is my favorite way to have fresh cookies on demand.
Freezing Baked Cookies:
Freeze baked cookies in an airtight container for up to 3 months. Thaw at room temperature. They might lose a little crispness, but they’ll still be delicious.
Nutrition Information
I’m not a nutritionist, but here’s the breakdown if you’re tracking. Please remember that this is an estimate and can vary based on ingredients used.
Per Cookie (makes about 24 cookies):
- Calories: 220
- Protein: 3g
- Carbs: 28g
- Fat: 12g
- Sugar: 18g
- Fiber: 1g
What’s Good:
- Decent amount of fat for satiety
- Chocolate provides antioxidants
- Easy to control portion size
What to Know:
- High in sugar and calories (it’s a treat!)
- Contains gluten and dairy
- High in saturated fat from butter and chocolate
My Take:
Look, these are cookies. They’re meant to be indulgent. I don’t stress about the calories because I enjoy them mindfully. A few cookies with a cup of tea is a perfect afternoon break. If you want to lighten it up, use dark chocolate chips and reduce the sugar by ¼ cup, but you’ll lose some of that fudgy texture.
Final Thoughts
So that’s my go-to brown butter chocolate chip cookie! I’ve probably talked your ear off at this point, but when you make a recipe this often, you have a lot to say about it.
This recipe has saved my dessert game more times than I can count. It’s my answer to “what can I bring to the party?” or “I need to comfort myself tonight.” The brown butter technique changes everything. It adds a depth of flavor that regular butter just can’t match. The flaky sea salt on top is the cherry on top—literally.
Make it yours! Try different chocolates, add nuts, or change the salt. The best recipes are the ones you adapt to your family’s tastes. I hope you enjoy these as much as I do.
If you make this, drop a comment and let me know what you think! I love hearing how recipes turn out in your kitchen. And if something doesn’t work, tell me that too—I’m here to help troubleshoot.
Happy baking! And I hope your kitchen smells half as good as mine does right now.
Frequently Asked Questions
Can I use salted butter instead of unsalted?
You can, but you need to reduce the salt in the recipe. Unsalted butter lets you control the sodium level. If you use salted butter, cut the added salt in the dough to ½ teaspoon. Also, salted butter often has more water content, which can affect the texture. Unsalted is always safer for baking.
Why did my cookies spread too much?
This usually happens for three reasons: the butter was too warm when you mixed it, the dough wasn’t chilled enough, or the baking sheet was warm. Make sure your browned butter is cooled to room temperature before adding sugar. Chill the dough for at least 2 hours. And let your baking sheets cool completely between batches.
Can I freeze the browned butter?
Yes! Once you’ve browned the butter and let it cool, you can freeze it in an ice cube tray or small containers for up to 3 months. Thaw it in the fridge before using. This is great for meal prep. Just remember to use it within a few days of thawing for best flavor.
Why did my cookies come out dry?
Overbaking is the most common cause. Pull them out when the centers look soft. They will continue to cook on the hot pan. Also, check your flour measurement. If you packed the flour down, you used too much, which dries out the cookies. Spoon and level your flour.
Can I use brown sugar instead of white sugar?
You can, but the texture will change. Using only brown sugar will make the cookies softer and chewier, but they won’t have the crisp edges. The mix of brown and white sugar creates that perfect crisp-chewy contrast. I recommend sticking to the ratio in the recipe.
How do I know when the butter is properly browned?
Look for two things: color and smell. The butter should turn a deep amber color with dark brown specks at the bottom. It should smell nutty and toasted, like hazelnuts. If it smells burnt, you’ve gone too far. If it smells like just melted butter, it’s not done yet.
Can I make these cookies gluten-free?
Yes! Use a 1:1 gluten-free flour blend. The results are good, though slightly more crumbly. You might want to add an extra egg yolk to help bind them. Let the dough chill longer (24 hours) to help the gluten-free flour hydrate fully.
Pin This Recipe!
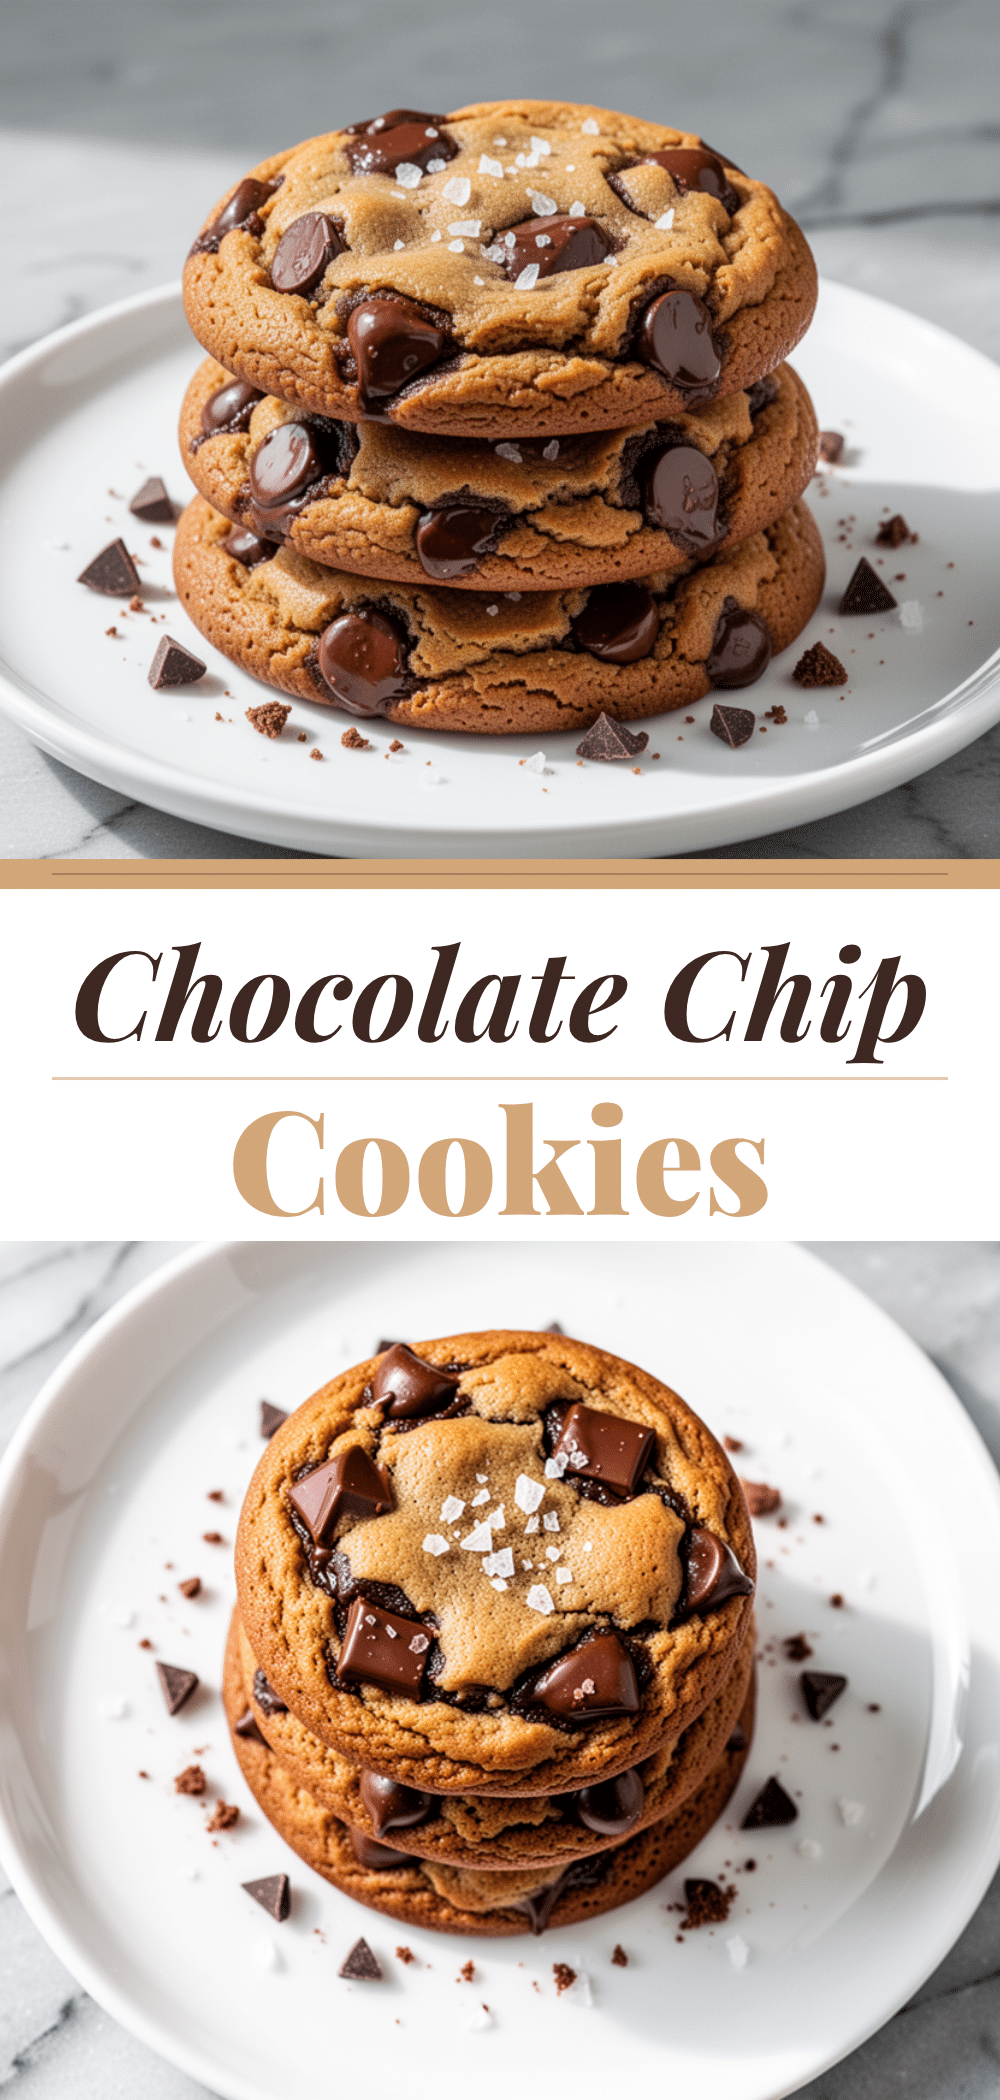
Perfect Brown Butter Chocolate Chip Cookies
- Total Time: 30 minutes (plus chilling time)
- Yield: 24 cookies 1x
Description
These brown butter chocolate chip cookies feature a deep, nutty aroma with crisp edges and a soft, fudgy center. The recipe includes a make-ahead dough chilling step for maximum flavor and texture.
Ingredients
- 1 cup (226g) unsalted butter, cubed
- 1 cup (200g) dark brown sugar, packed
- ½ cup (100g) granulated white sugar
- 1 large egg, room temperature
- 1 large egg yolk, room temperature
- 2 teaspoons vanilla extract
- 2 ¼ cups (280g) all-purpose flour
- 1 teaspoon baking soda
- ½ teaspoon baking powder
- 1 teaspoon flaky sea salt, plus extra for topping
- 2 cups (340g) chocolate chips (semi-sweet and milk mix)
- Optional: ½ cup toasted pecans
Instructions
- Brown the butter: Melt butter in a medium saucepan over medium heat. Stir constantly until it turns deep amber with dark brown specks and a nutty aroma (5-7 minutes).
- Stop the cooking: Immediately pour browned butter into a heatproof bowl to stop cooking. Let cool until just warm to the touch (10-15 minutes).
- Mix sugars and fats: Whisk brown sugar and granulated sugar into the warm butter until glossy and slightly lighter in color (1-2 minutes).
- Add eggs and vanilla: Whisk in the whole egg, egg yolk, and vanilla extract until smooth and emulsified.
- Combine dry ingredients: In a separate bowl, whisk together flour, baking soda, baking powder, and 1 teaspoon of salt.
- Mix wet and dry: Gradually add dry ingredients to wet ingredients. Mix on low speed or by hand until just combined. Do not overmix.
- Fold in chocolate: Gently fold in chocolate chips and optional nuts.
- Chill the dough: Cover and refrigerate dough for at least 2 hours, ideally 24-48 hours.
- Preheat and prep: Preheat oven to 350°F (175°C). Line baking sheets with parchment paper.
- Scoop and bake: Scoop dough onto sheets, spacing 2 inches apart. Bake for 10-12 minutes until edges are golden but centers look soft.
- Add salt and cool: Sprinkle with flaky sea salt immediately after baking. Cool on the sheet for 5 minutes, then transfer to a wire rack.
Notes
The dough must be chilled for at least 2 hours, preferably 24-48 hours, to prevent spreading and develop flavor. Watch the butter closely while browning to avoid burning. Underbake slightly for a fudgy center. Use a kitchen scale for accurate flour measurement.
- Prep Time: 20 minutes
- Cook Time: 10-12 minutes
- Category: Dessert
- Cuisine: American
Nutrition
- Serving Size: 1 cookie
- Calories: 220
- Sugar: 18
- Sodium: 150
- Fat: 12
- Saturated Fat: 7
- Carbohydrates: 28
- Fiber: 1
- Protein: 3
Keywords: brown butter cookies, chocolate chip cookies, chewy cookies, make-ahead cookies, baking, dessert, cookies


