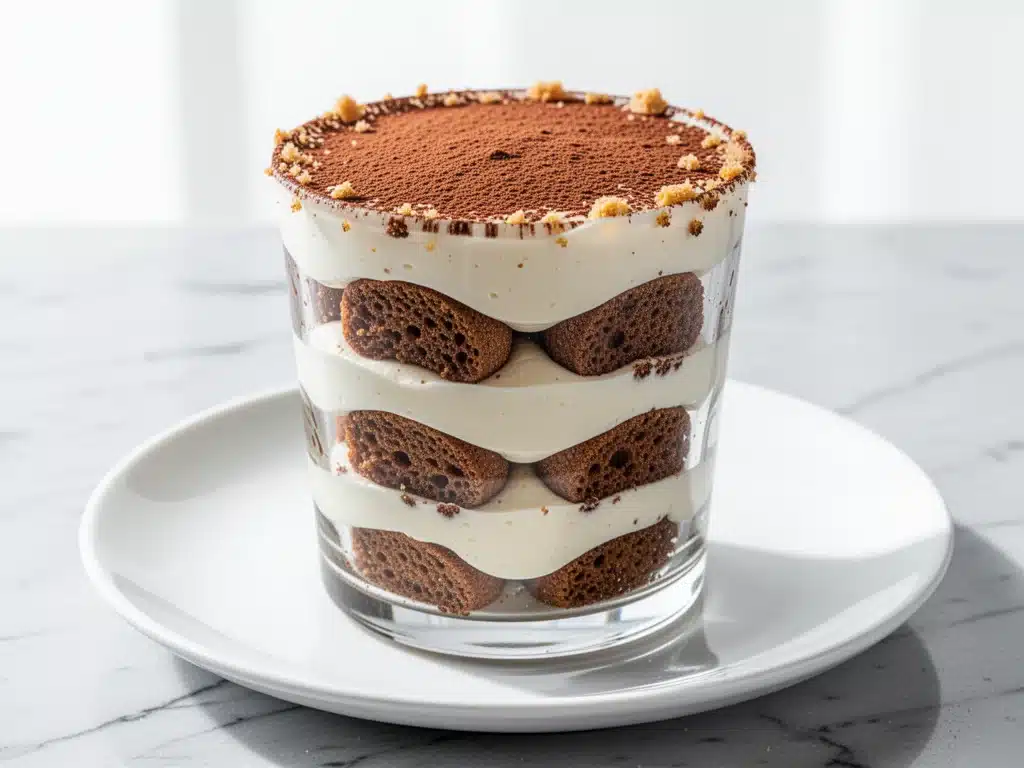
I have a confession to make. For years, I was one of those people who thought tiramisu was just a fancy dessert you ordered at an Italian restaurant to look sophisticated. You know the type: served in a wide, shallow bowl with a dusting of cocoa powder that looked like snow, but tasted like sweetened cream and stale bread. I’d take a bite, feel full before dessert even started, and wonder why I bothered.
Then, about three years ago, I was hosting a small dinner party. I wanted to serve something that felt special but didn’t require me to stand over a stove for hours. I decided to try making ultra-creamy tiramisu cups. I didn’t have the time to assemble a massive 9×13 pan that needed to chill for 24 hours. So, I grabbed individual serving glasses, layered everything up, and let it set overnight.
The next evening, I served them out. And my guests did that thing where they stopped talking mid-chew and just stared at their spoons. One friend asked if I’d hired a pastry chef. I laughed and said no, I just used a different method.
Here’s the thing about making tiramisu in cups: it changes the game. The ratio of coffee-soaked ladyfingers to cream is more consistent. The texture is lighter because you aren’t dealing with the dense weight of a giant cake. And honestly? It’s way easier to manage. You can make them ahead, stack them in the fridge, and serve them looking like something out of a high-end cafe. No baking required, no complicated techniques, just pure, coffee-infused indulgence.
I’ve tested this recipe at least a dozen times since that night. I’ve tweaked the mascarpone ratio, experimented with different espressos, and even tried adding a splash of amaretto (which is amazing, by the way). This version is the winner. It’s the best no-bake recipe I’ve ever made, and it’s seriously better than takeout or any restaurant version I’ve ever tried. If you’ve been intimidated by tiramisu, this is your entry point. Trust me.
Why You’ll Love This No-Bake Dessert
There are about ten reasons I keep making these tiramisu cups, but here are the big ones that keep them in my regular rotation.
Zero Baking Required — Seriously. No oven preheating, no worrying about curdling eggs, no double boiler stress. You just mix, layer, and chill. If you can spread cream cheese, you can make this. I’ve made this while watching TV on a Tuesday night. It really is that simple.
Perfect Portion Control — One of the biggest issues with traditional tiramisu is the “second slice” dilemma. You cut into a giant pan, and suddenly you’re eating half the dessert in one sitting. These cups are individually portioned. You get exactly one perfect serving. No guilt, no leftovers fighting for space in your fridge.
Restaurant-Quality Texture — Because the layers are thinner in a cup, the ladyfingers absorb the espresso just right. They don’t get mushy, and they don’t stay dry. They hit that perfect sweet spot of soft but still having a little chew. The cream is airy and light, not heavy or dense like some baked cheesecakes.
Make-Ahead Magic — This is the ultimate stress-free dessert. I can make these three days in advance. In fact, I usually do. The flavors meld together overnight, and by day two, the taste is even deeper and more complex. It’s perfect for holidays, dinner parties, or just when you want a treat without the last-minute panic.
Visually Stunning — I know, it sounds silly, but presentation matters. Serving tiramisu in clear glasses shows off those beautiful layers. It looks elegant and intentional. Plus, it’s Instagram-worthy without you even trying. My friends always ask for the recipe because it looks so professional.
Customizable — Want to add a splash of rum? Done. Want to use dark chocolate shavings instead of cocoa powder? Easy. Want to make it gluten-free? Just swap the ladyfingers. This recipe is a blank canvas for your cravings.
So basically, if you love coffee, chocolate, and creamy desserts, this is your new best friend. It’s reliable, delicious, and ridiculously easy. I promise you won’t be disappointed.
Ingredients You’ll Need for Ultra-Creamy Tiramisu
Here’s the best part: you probably have most of these ingredients already. Tiramisu is famous for its simplicity. You don’t need fancy gadgets or obscure spices. Just a few high-quality basics.
For the Coffee Soak:
Espresso (1 ½ cups / 360ml) — This is the backbone of the dessert. I use a strong brewed espresso or very strong coffee. If you don’t have an espresso machine, a French press with dark roast coffee works fine. Let it cool completely before using. Hot coffee will melt the cream immediately.
Simple Syrup (2 tablespoons / 30ml) — Optional, but I recommend it. Just equal parts sugar and water heated until dissolved. It helps balance the bitterness of the coffee. If your espresso is already sweet, skip this.
Liqueur (2-3 tablespoons / 30-45ml) — Traditional Marsala wine is classic, but rum, amaretto, or even vanilla extract work great. I often skip alcohol for family gatherings, but it adds a nice warmth. Use whatever you have on hand.
For the Cream Filling:
Mascarpone Cheese (16 oz / 450g) — This is non-negotiable. Don’t try to substitute with cream cheese. Mascarpone is milder, richer, and less tangy. It’s what gives tiramisu its signature smooth texture. Buy it cold straight from the fridge.
Heavy Cream (1 cup / 240ml) — Full-fat only. You need this to whip up and hold the structure. If you use low-fat cream, your filling will be flat and dense. Chill your mixing bowl and beaters for 10 minutes before whipping for best results.
Egg Yolks (3 large / about 45ml) — Yes, raw eggs. I know, some people are nervous about this. If you’re concerned, use pasteurized eggs. They add richness and a custard-like quality. If you want to skip eggs entirely, you can use a cornstarch slurry, but the texture changes slightly.
Granulated Sugar (½ cup / 100g) — Adjust to taste. Mascarpone is naturally sweet, so you don’t need a ton. I find ½ cup is the perfect balance against the bitter coffee.
Vanilla Extract (1 teaspoon / 5ml) — Pure vanilla, not imitation. It rounds out the flavors and makes the cream taste more luxurious.
For the Assembly:
Ladyfingers (1 package / about 24-30 pieces) — Also known as savoiardi. These are the dry, crunchy biscuits that soak up the coffee. Don’t use regular sponge cake or cookies. Ladyfingers have the right structure to absorb liquid without falling apart. Look for Italian-style ones if your grocery store carries them.
Unsweetened Cocoa Powder (for dusting) — Sift this before using to avoid lumps. It’s the final touch that makes it look like a real tiramisu. I like a light dusting, but go heavy if you’re a cocoa lover.
Pro Tip: I always buy my mascarpone from the same brand I’ve used for years. If your brand is too firm, let it sit at room temperature for 15 minutes before mixing. It makes whipping so much easier.
Equipment Needed
You don’t need fancy equipment for this. Here’s what I actually use.
Mixing Bowls — Two large bowls. One for the egg yolk and sugar mixture, one for whipping the cream. I use glass bowls because they’re easy to clean and don’t retain cold as well as metal.
Electric Hand Mixer or Stand Mixer — Essential for getting the cream fluffy. I use a hand mixer because it’s quick to grab and easy to store. A stand mixer works great too if you’re already making something else.
Whisk — For beating the egg yolks and sugar until pale. A balloon whisk is perfect for this.
Rubber Spatula — For folding the whipped cream into the mascarpone mixture. You want to be gentle here to keep the air in the cream. I use a silicone spatula because it’s flexible and scrapes the bowl clean.
Shallow Dish — For the coffee soak. A pie plate or shallow baking dish works well. You need something wide enough to dip the ladyfingers quickly.
Serving Glasses — Clear glasses or jars. I like tall glasses for a dramatic look, but short tumblers work too. Just make sure they’re uniform in size so they look neat in the fridge.
Coffee Grinder — Optional, but nice if you want fresh espresso. I usually just brew a pot and let it cool.
Sifter or Fine Mesh Strainer — For the cocoa powder. Nothing ruins a beautiful dessert like lumpy cocoa. Sift it for a professional finish.
How to Make It: Step-by-Step
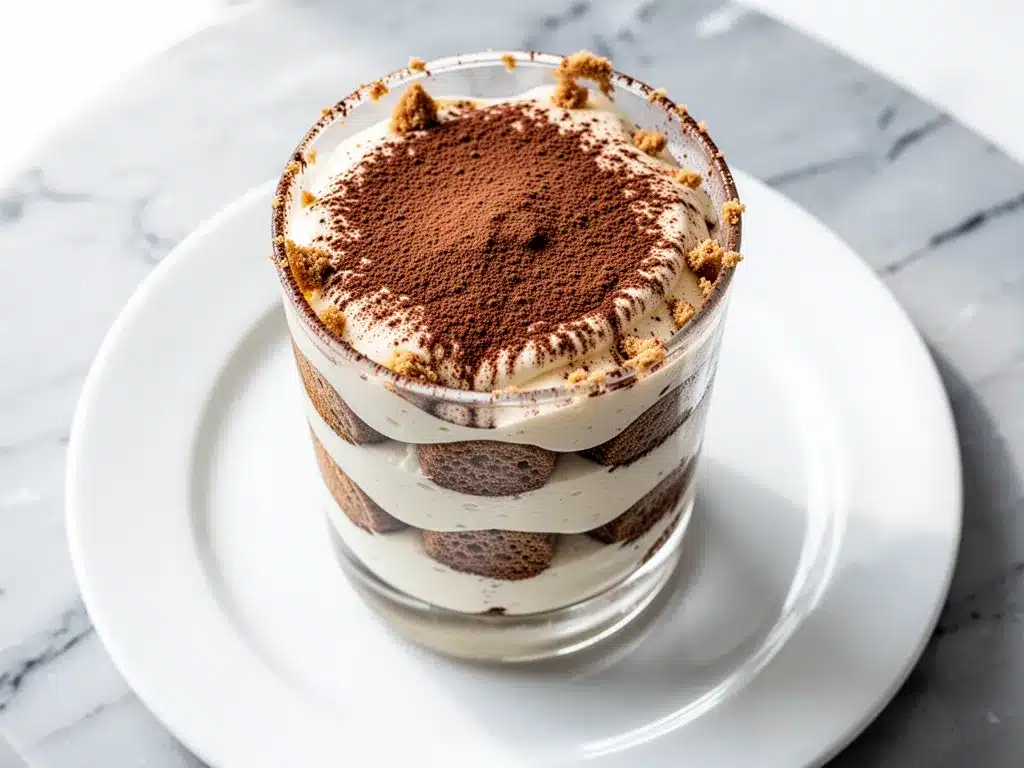
Alright, let’s make this! I’m walking you through exactly how I do it, including the little tricks I’ve picked up over the years.
Step 1: Prep Your Coffee (10 minutes)
Brew your espresso or strong coffee. I like to make it a bit stronger than I would for drinking because it will get diluted by the sweetness of the cream. Stir in the simple syrup and liqueur if you’re using them. Pour it into a shallow dish. Crucial Step: Let it cool to room temperature. If the coffee is warm, it will melt the mascarpone and ruin the texture. I usually make the coffee the night before.
Step 2: Whip the Heavy Cream (3-5 minutes)
In a large, chilled bowl, whip the heavy cream until stiff peaks form. This means when you lift the beaters, the cream stands up straight and doesn’t droop. Don’t over-whip it into butter, just stop when it’s firm. Set it aside in the fridge. This keeps it cold and ready to fold.
Step 3: Beat the Egg Yolks and Sugar (5 minutes)
In a separate bowl, whisk the egg yolks and sugar together until pale and creamy. This takes about 3-4 minutes by hand or 2 minutes with a mixer. The mixture should look lighter in color and slightly thickened. This step dissolves the sugar and adds air to the base.
Step 4: Add the Mascarpone (2 minutes)
Add the mascarpone cheese and vanilla extract to the egg yolk mixture. Beat on low speed just until combined. Warning: Do not overmix here. Mascarpone can easily curdle if you beat it too much. You just want it smooth and creamy. Scrape down the sides of the bowl to ensure everything is incorporated.
Step 5: Fold It All Together (3 minutes)
Now, gently fold the whipped cream into the mascarpone mixture. Use your rubber spatula. Cut down through the center, scrape the bottom, and fold over the top. Rotate the bowl and repeat. Stop when you see just a few streaks of white left. You want to keep as much air in the mixture as possible. This is what makes the tiramisu light and fluffy, not dense.
Step 6: Dip the Ladyfingers (2 minutes)
Here’s the trick that makes or breaks the dessert. Dip each ladyfinger into the cooled coffee mixture for just one second per side. You want them moist, not soggy. If you leave them in too long, they’ll fall apart and your cups will be mushy. I dip them quickly and place them immediately into the glass.
Step 7: Layer and Chill (20 minutes active + 4 hours chill)
In your serving glass, create a layer of dipped ladyfingers at the bottom. You might need to break a ladyfinger to fit the edges. Spread a generous layer of the cream mixture over the ladyfingers. Repeat the layers: ladyfingers, then cream. I usually do two layers of each. Finish with a layer of cream on top.
Repeat for all your glasses. Cover them with plastic wrap or lids and refrigerate for at least 4 hours, but ideally overnight. This gives the ladyfingers time to soften and the flavors to meld.
Step 8: Dust and Serve
Just before serving, sift a generous layer of unsweetened cocoa powder over the tops. Use a fine mesh strainer for a cloud-like dusting. Serve immediately. The contrast between the dark cocoa and white cream is beautiful.
Expert Tips & Tricks
Here’s everything I’ve learned from making this dozens of times. These tips will save you from my mistakes.
Keep Everything Cold
This is the #1 rule. Cold mascarpone, cold cream, cold bowls. If your ingredients are warm, your cream won’t whip, and your mascarpone will break. I keep my cream in the fridge until the last second. If your kitchen is hot, put the bowl in the fridge for 5 minutes before whipping.
Don’t Soak the Ladyfingers Too Long
I cannot stress this enough. Ladyfingers are like sponges. One second per side is plenty. If you soak them for 5 seconds, they will disintegrate. You want them moist, not dripping wet. Think “quick dip,” not “bath.”
Fold, Don’t Stir
When combining the cream and mascarpone, be gentle. Stirring knocks out the air and makes the filling dense. Folding keeps it light. It’s a bit tedious, but it makes a huge difference in texture.
Use Good Cocoa Powder
Don’t use cheap, dusty cocoa powder. Get a good quality unsweetened cocoa powder. It’s the final impression your guests get, so make it count. I like Dutch-processed cocoa for its darker color and smoother taste.
Make Ahead is Best
Tiramisu always tastes better the next day. The coffee flavor deepens, and the ladyfingers soften perfectly. I usually make these 24 hours in advance. If you make them the morning of a party, they’ll be perfect by dinner.
Variations & Substitutions
Once you’ve nailed the basic version, here’s how you can mix it up. I’ve tried all of these.
Alcohol-Free Version
Simply omit the liqueur and add an extra teaspoon of vanilla extract or a splash of almond extract. The coffee flavor still shines through. Great for kids or non-drinkers.
Chocolate Lovers
Add a layer of chocolate chips or shaved dark chocolate between the cream and ladyfingers. Or mix 2 tablespoons of cocoa powder into the cream filling. It’s rich and decadent.
Strawberry Tiramisu
Swap the coffee for a strawberry puree or juice. Dip the ladyfingers in the strawberry liquid. Top with fresh strawberries. It’s a fun twist for spring.
Gluten-Free
Use gluten-free ladyfingers. They’re widely available now. Just be careful with the dipping time, as some gluten-free versions absorb liquid faster. Test one first.
Dairy-Free
Use coconut cream instead of heavy cream and a dairy-free mascarpone alternative. The taste will be different, but it’s still creamy and delicious. I’ve made this for lactose-intolerant friends, and they loved it.
Serving & Storage
How to Serve:
I usually serve these straight from the fridge. They’re best cold. The contrast of the cold cream and the slightly chewy ladyfingers is what makes this dessert so good. Garnish with a single coffee bean or a chocolate curl for extra flair.
Side Dishes:
This is a dessert, so it doesn’t need sides. But if you’re having a full Italian dinner, serve it with authentic Italian carbonara or marry me chicken for a complete meal. The coffee in the tiramisu helps digest the rich food.
Storage Instructions:
Refrigerator: Store covered in the fridge for up to 5 days. They actually get better after day 2. The flavors meld together.
Freezing: I don’t recommend freezing tiramisu. The cream can separate and the ladyfingers can become icy. It’s best fresh from the fridge.
Reheating: Do not reheat. Tiramisu is a cold dessert. Serve it chilled.
Nutrition Information
I’m not a nutritionist, but here’s the breakdown if you’re tracking. This is a rich dessert, so portion control is key.
Per Serving (based on 6 cups):
– Calories: 380
– Protein: 6g
– Carbs: 35g
– Fiber: 1g
– Sugar: 22g
– Fat: 24g
– Saturated Fat: 14g
– Cholesterol: 120mg
– Sodium: 110mg
What’s Good:
– Moderate protein from mascarpone and eggs
– No flour or baking soda, so it’s simpler than baked goods
– Can be adjusted for sugar content
What to Know:
– High in fat and calories from cream and cheese
– Contains raw eggs (use pasteurized if concerned)
– Contains dairy and gluten (unless substituted)
My Take:
Look, this is indulgence. It’s not a diet food. But it’s made with real ingredients, no artificial flavors, and it’s way better than anything from a box. When I want to make it lighter, I use less sugar and more whipped cream. But usually? I just enjoy a cup and savor it.
Frequently Asked Questions
Q: Can I make this ahead of time?
A: Yes! In fact, it’s better if you do. Tiramisu tastes best after sitting in the fridge for 24 hours. The ladyfingers soften perfectly, and the coffee flavor infuses the cream. You can make these up to 3 days in advance.
Q: Why did my tiramisu turn out watery?
A: This usually happens if the coffee was warm when you dipped the ladyfingers, or if you over-soaked them. Make sure your coffee is completely cooled. Also, don’t stir the cream mixture too much after adding the whipped cream, as it can break and release liquid.
Q: Can I use instant coffee instead of espresso?
A: You can, but it won’t be as rich. Dissolve 2-3 tablespoons of instant espresso powder in 1 ½ cups of hot water. Let it cool completely. It’s a decent substitute if you’re in a pinch, but fresh espresso is best.
Q: Do I need to cook the egg yolks?
A: Traditionally, no. The alcohol (if used) and the acidity of the mascarpone help preserve them. However, if you’re concerned about raw eggs, use pasteurized eggs. Or you can make a zabaglione by heating the yolks and sugar over a double boiler until they reach 160°F, then cooling before mixing.
Q: Can I use regular cookies instead of ladyfingers?
A: It’s not recommended. Ladyfingers have a specific texture and shape that absorbs coffee well without falling apart. Regular cookies will turn to mush. If you can’t find ladyfingers, try sponge cake cut into strips, but the texture will be different.
Q: How long do these last in the fridge?
A: Up to 5 days. Keep them covered to prevent them from absorbing other fridge smells. They’re best eaten within 3 days for optimal texture.
Q: Can I make these in a large dish instead of cups?
A: Absolutely. Just use a 9×13 pan and layer the ingredients as usual. The chilling time will be the same. This is the traditional way to serve tiramisu. Just adjust the serving size accordingly.
Final Thoughts
So that’s my ultra-creamy tiramisu cups! I’ve probably talked your ear off at this point, but when you make a recipe this often, you have a lot to say about it.
This has saved my dessert game more times than I can count. It’s my answer to “what’s for dessert” when I want something impressive but don’t have the energy to bake. My friends are happy, my family is happy, and I’m happy because I’m not stressed about cooking.
Make it yours! Try different liqueurs, swap in your favorite chocolate, or adjust the coffee strength. The best recipes are the ones you adapt to your tastes.
If you make this, drop a comment and let me know what you think! I love hearing how recipes turn out in your kitchen. And if something doesn’t work, tell me that too—I’m here to help troubleshoot.
Happy cooking! And I hope your kitchen smells half as good as mine does right now.
Pin This Recipe!
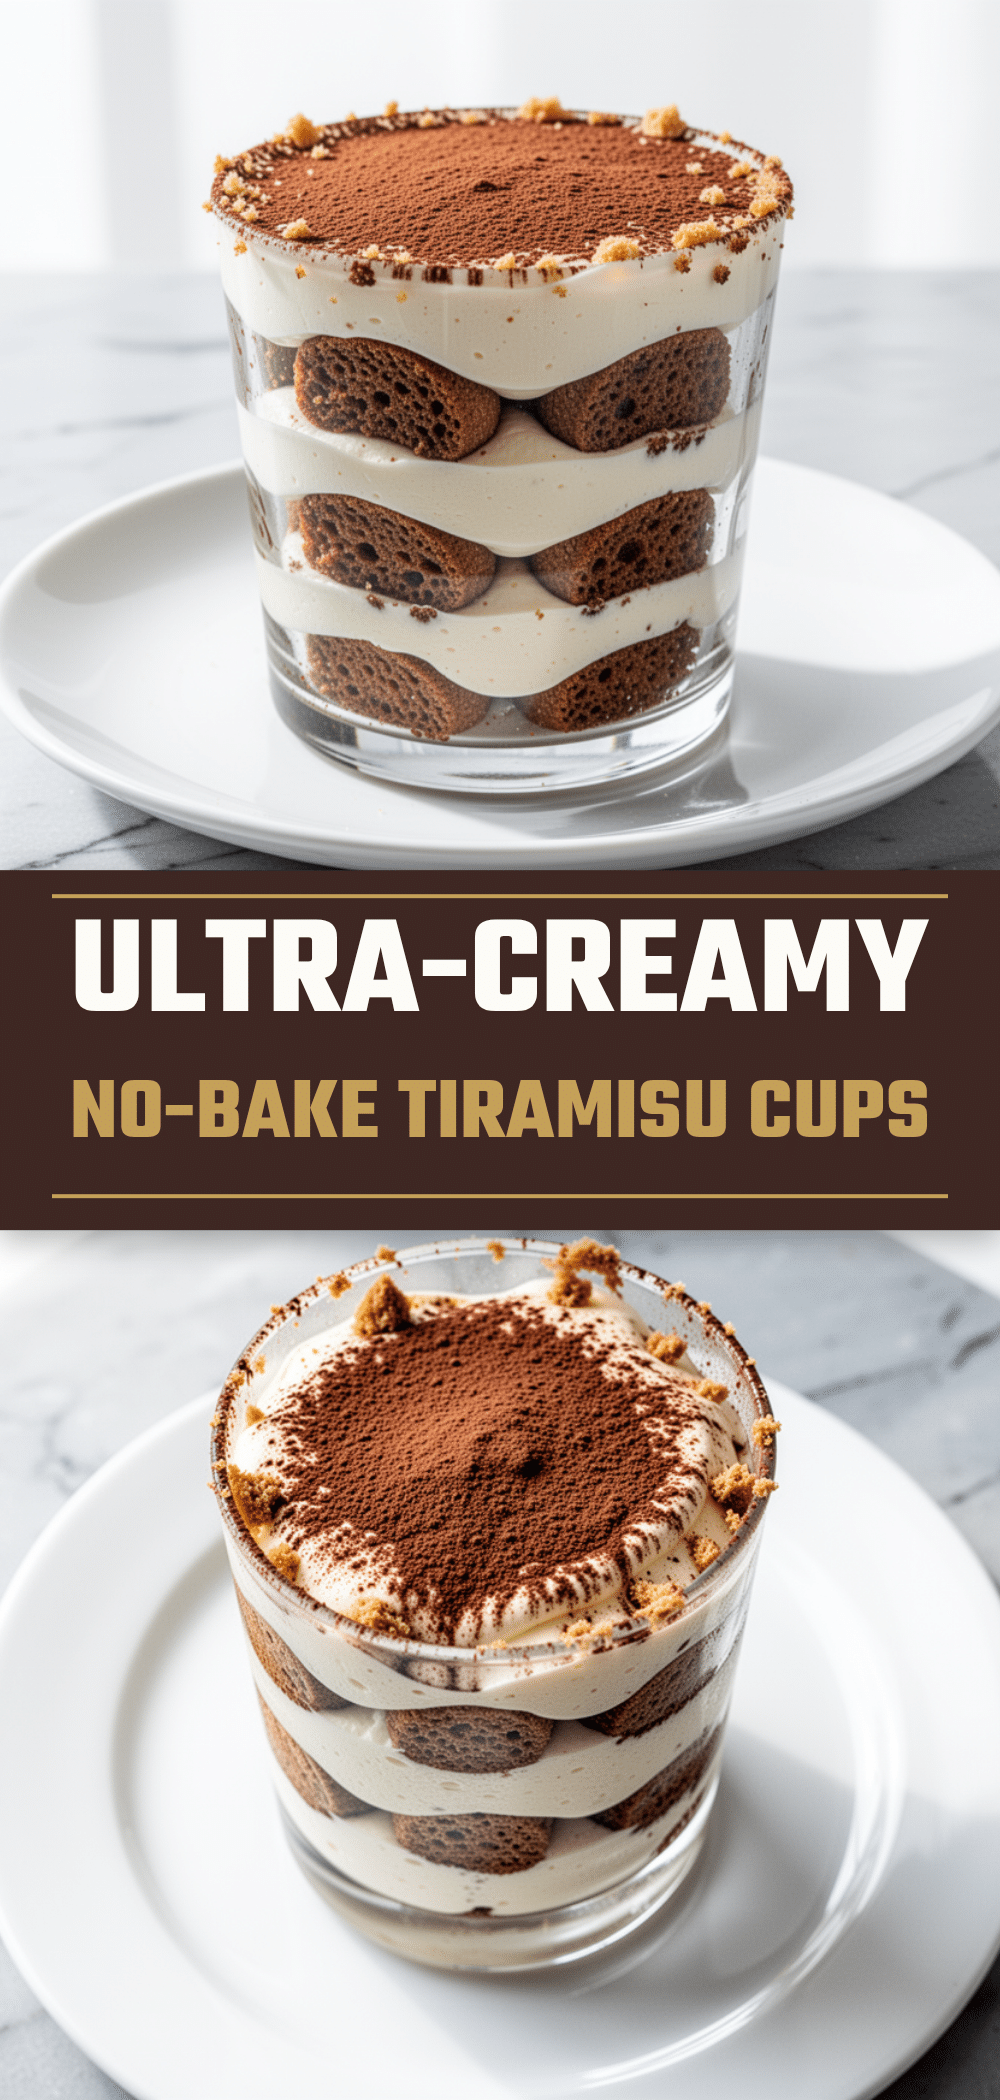
Ultra-Creamy Tiramisu Cups: The Best No-Bake Recipe
- Total Time: 4 hours 20 minutes
- Yield: 6 servings 1x
Description
An easy, no-bake tiramisu recipe served in individual cups. This method ensures perfect portion control, restaurant-quality texture, and a lighter, airier cream filling that is ready in hours rather than days.
Ingredients
- 1 ½ cups (360ml) strong brewed espresso or coffee, cooled
- 2 tablespoons (30ml) simple syrup (optional)
- 2–3 tablespoons (30-45ml) liqueur (Marsala, rum, or amaretto) or vanilla extract
- 16 oz (450g) mascarpone cheese, cold
- 1 cup (240ml) heavy cream, cold
- 3 large egg yolks
- ½ cup (100g) granulated sugar
- 1 teaspoon (5ml) pure vanilla extract
- 1 package (24-30 pieces) ladyfingers (savoiardi)
- Unsweetened cocoa powder, for dusting
Instructions
- Brew espresso or strong coffee and stir in simple syrup and liqueur if using. Pour into a shallow dish and let cool completely to room temperature.
- In a large, chilled bowl, whip the heavy cream until stiff peaks form. Set aside in the fridge.
- In a separate bowl, whisk egg yolks and sugar together until pale, creamy, and slightly thickened (about 3-4 minutes).
- Add the mascarpone cheese and vanilla extract to the egg yolk mixture. Beat on low speed just until combined and smooth. Do not overmix.
- Gently fold the whipped cream into the mascarpone mixture using a rubber spatula until just combined, keeping as much air in the mixture as possible.
- Dip each ladyfinger into the cooled coffee mixture for about one second per side. Place them immediately into the bottom of serving glasses.
- Spread a generous layer of the cream mixture over the ladyfingers. Repeat layers (ladyfingers, then cream) twice. Finish with a layer of cream on top.
- Cover glasses with plastic wrap or lids and refrigerate for at least 4 hours, ideally overnight.
- Just before serving, sift a generous layer of unsweetened cocoa powder over the tops. Serve chilled.
Notes
Keep all ingredients cold to ensure the cream whips properly and the mascarpone doesn’t break. Do not soak ladyfingers for more than one second per side to prevent them from becoming mushy. Tiramisu tastes best after sitting in the fridge for 24 hours. Do not freeze, as the texture will suffer.
- Prep Time: 20 minutes
- Cook Time: 0 minutes
- Category: Dessert
- Cuisine: Italian
Nutrition
- Serving Size: 1 cup
- Calories: 380
- Sugar: 22
- Sodium: 110
- Fat: 24
- Saturated Fat: 14
- Carbohydrates: 35
- Fiber: 1
- Protein: 6
Keywords: tiramisu, no-bake dessert, tiramisu cups, Italian dessert, coffee dessert, mascarpone, easy dessert, make-ahead dessert


