Last Thursday night, I was staring into my open refrigerator, feeling that specific brand of hunger that hits right before you give up and order takeout. It was 8:30 PM. My husband was already in bed (or so I thought—he was actually awake, pretending to sleep because he knew if I asked for a snack, I’d want dessert). I had a jar of Nutella, a stick of butter, and two eggs. That’s it. No flour in the pantry except for a dusty old bag in the back, and some sugar.
Now, most people would just make toast. Or maybe a microwave mug brownie if they were feeling fancy. But I was in a mood. I wanted something substantial. Something that felt like I’d actually baked it, not just microwaved it for two minutes.
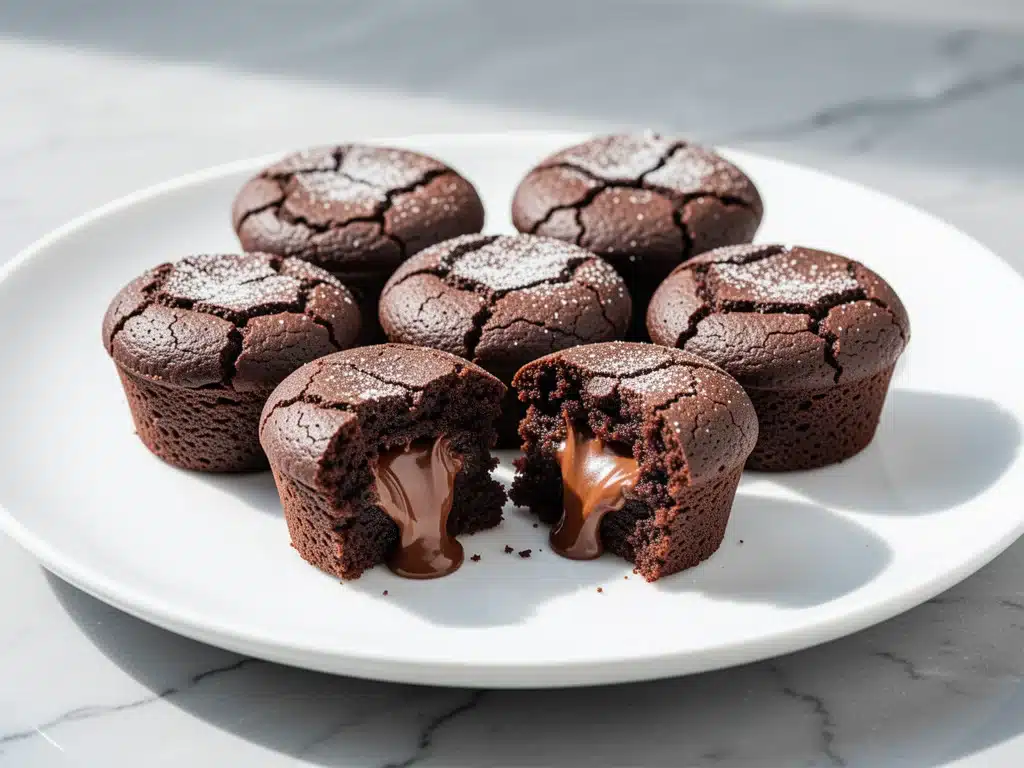
So I threw everything into a bowl. Whisked it up. Poured it into a ramekin. And waited. When it came out, it wasn’t a cake. It wasn’t a cookie. It was this dense, fudgy, crackly-topped little jewel of a dessert. I ate one while it was still hot, burning my tongue in the process, and thought, “This is it. This is the snack I’ve been living for.”
These small-batch Nutella brownie bites are basically my favorite thing to make when I want a treat but don’t want to commit to a full pan of brownies. They’re perfect for when you’re craving something sweet but only want one or two portions. And let’s be real—Nutella is the ultimate cheat code for flavor. You don’t need to overthink this. You just need to know how to get that shiny, crinkly top that makes you feel like a professional baker, even if you’re just standing in your kitchen in sweatpants.
I’ve tested this recipe about twelve times in the last month alone. I’ve tried different ovens, different ramekins, and even different types of chocolate chips (though I stick to Nutella because, well, it’s Nutella). The version below is the winner. It’s rich, it’s fudgy, and those crackly tops? They’re not an accident. They’re science. And I’m going to show you exactly how to get them every single time.
Why You’ll Love These Small-Batch Nutella Brownie Bites
Look, I make a lot of desserts. If I didn’t taste-test, I’d probably gain fifty pounds just from the effort. But these bites are different. They’re the kind of recipe that solves a problem. The problem being: I want chocolate, I want hazelnut, I want it now, and I don’t want to clean up a big mixing bowl.
Here’s why these have taken over my weeknight routine:
- Zero Waste Baking — Seriously. If you’re baking for one or two people, a full pan of brownies feels excessive. These are made in individual ramekins or muffin tins. You make exactly what you need. No freezer burns, no stale edges.
- Under 10 Minutes Active Time — You can whisk these together while your coffee brews. The hardest part is waiting for the oven to preheat. I’ve made these while helping my kid with homework, and they turned out fine. (Don’t judge me.)
- The Crackly Top Factor — There is nothing more satisfying than biting into a brownie and hearing that slight crisp crack before you hit the fudgy center. It’s textural heaven. And yes, you can get it every time.
- Ingredient Simple — You probably have half of this in your pantry right now. Nutella, butter, sugar, eggs, flour, cocoa. If you have these, you’re golden. No fancy specialty stores needed.
- Perfect for Gifting — Because they’re small, I often make a batch to put in a nice tin for neighbors or coworkers. They look fancy and artisanal, but they’re basically just “I dumped stuff in a bowl.” It’s my secret weapon for looking like a good friend.
These aren’t just snacks; they’re mood lifters. When life feels heavy, a warm, gooey Nutella brownie bite fixes everything. My husband calls them “emergency comfort food,” and I think he’s right.
Ingredients You’ll Need
Before we get into the “how,” let’s talk about the “what.” I’m particular about a few things here because with such a small batch, every ingredient carries a lot of weight. You can’t hide bad butter behind a pound of flour.
For the Brownie Base:
Nutella (or hazelnut spread) (3/4 cup / 210g) — This is the star. Don’t skimp on quality. I use the standard jar. If you use a cheap knock-off, it won’t have that rich hazelnut depth. Also, make sure it’s at room temperature. Cold Nutella is hard to mix evenly.
Unsalted Butter (1/2 cup / 113g) — Yes, a whole stick. You want these rich and fudgy, not cakey. If you’re worried about the fat, think about it this way: these are small bites. You’re not eating a pan. Use good butter. I use Kerrygold or Land O’Lakes. Salted butter works, but you’ll need to reduce the added salt in the recipe.
Granulated Sugar (1 cup / 200g) — This is key for the crackly top. The sugar creates that shiny crust when it melts and recrystallizes. Don’t use brown sugar if you want that specific crackly texture; it makes them chewier and denser in a different way. White sugar is your friend here.
Eggs (2 large) — Room temperature eggs mix better. Cold eggs can seize up your butter mixture. Crack them into a small bowl first to check for shells, then add them.
All-Purpose Flour (1/2 cup / 65g) — Just regular flour. Spoon it into the cup and level it off. Don’t scoop and pack, or you’ll end up with a dry brick. If you’re using gluten-free flour, a 1:1 blend works here.
Cocoa Powder (2 tablespoons / 10g) — Unsweetened cocoa. I use Hershey’s or Ghirardelli. This deepens the chocolate flavor so it doesn’t just taste like hazelnuts.
Salt (1/4 teaspoon) — Even though Nutella is sweet, a pinch of salt balances it out. It makes the chocolate taste more like chocolate. Don’t skip it.
Vanilla Extract (1 teaspoon) — Pure vanilla. The fake stuff tastes chemical. If you have it, use it.
For the Topping (Optional but Recommended):
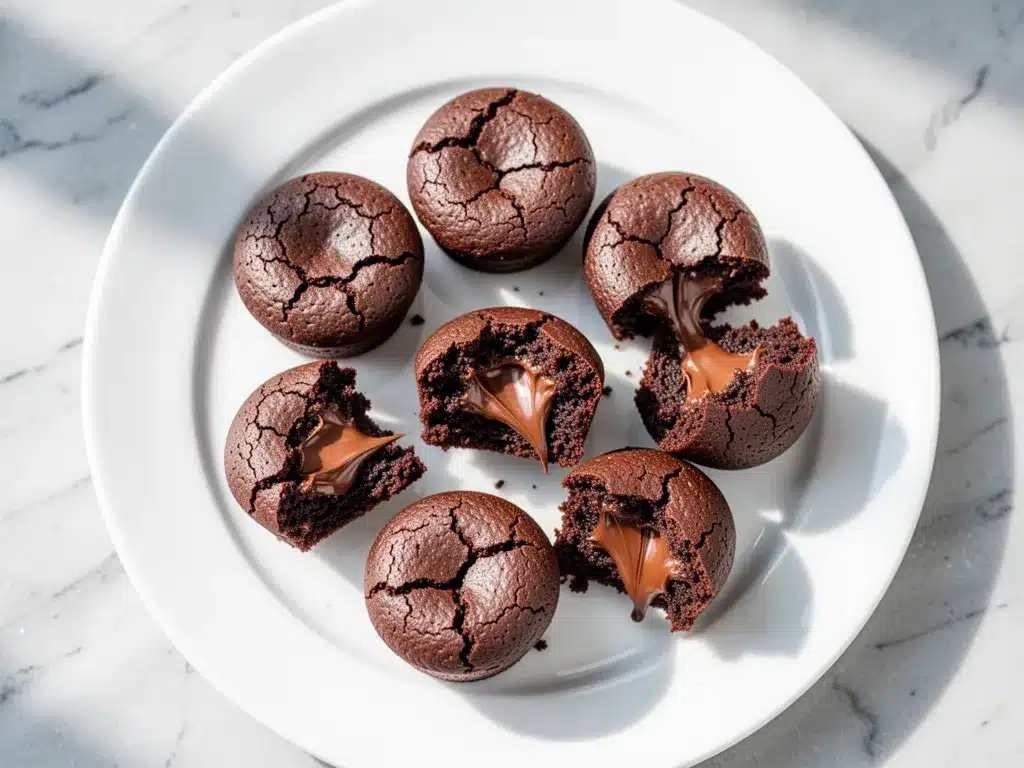
Extra Nutella (1-2 tablespoons per bite) — Swirled in for a gooey center. I love a molten core.
Sea Salt Flakes — A tiny sprinkle on top right after baking. It’s the gourmet touch that makes people ask, “Where did you buy these?”
White Chocolate Chips — Sometimes I swap half the Nutella swirl for white chocolate chips for a different flavor profile. It’s like a s’mes-adjacent thing. Good stuff.
Equipment Needed
You don’t need a lot of fancy gear. Here’s what I actually use:
Medium Saucepan — For melting the butter and Nutella together. I use a small 2-quart saucepan. It fits perfectly on my burner. A microwave-safe bowl works too, but the stove gives you more control.
Whisk — A small balloon whisk is best for these small quantities. A fork works, but a whisk incorporates air, which helps with that crackly top.
Mixing Bowl — A medium bowl is fine. Don’t use a giant one; you want to see the batter clearly.
Ramekins or Muffin Tin — I use 6-ounce ramekins for a taller, cake-like bite. Or a standard muffin tin lined with paper cups for easier cleanup. Both work. I prefer ramekins because they look prettier.
Offset Spatula — For swirling in the extra Nutella. If you don’t have one, a butter knife works.
Oven Thermometer — Not strictly necessary, but I recommend it. If your oven runs hot (and most do), your bites might burn before they cook. Knowing your actual oven temp saves you from charcoal.
How to Make It: Step-by-Step
Alright, let’s make these! I’m walking you through exactly how I do it, including the little tricks I’ve picked up to ensure that perfect texture.
Step 1: Preheat and Prep (5 minutes)
Preheat your oven to 350°F (175°C). This is crucial. If the oven isn’t hot enough, you won’t get that initial “jump” that creates the crackly top. Meanwhile, grease your ramekins or line your muffin tin with paper liners. I usually spray them with non-stick spray just to be safe.
Step 2: Melt the Fats (2-3 minutes)
In your saucepan over low heat, combine the butter and Nutella. Stir constantly until smooth and melted. Do not boil this. You just want it melted. If you burn the Nutella, it turns bitter. Low and slow. Once it’s smooth, remove it from the heat and let it cool for about 2 minutes. You don’t want to cook the eggs with hot chocolate.
Step 3: Whisk the Sugar and Eggs (1 minute)
In your mixing bowl, whisk the granulated sugar and eggs together vigorously. This is the secret step. Whisk for about 30-60 seconds until the mixture looks slightly pale and glossy. This incorporates air and dissolves the sugar, which is essential for the crackly crust. If you skip this, you’ll just get a flat, matte top.
Step 4: Combine Wet Ingredients (1 minute)
Pour the warm Nutella-butter mixture into the egg-sugar mixture. Whisk until combined. It will look glossy and rich. Add the vanilla extract and salt. Whisk again.
Step 5: Add Dry Ingredients (1 minute)
Sift the flour and cocoa powder into the wet mixture. (Sifting is nice, but if you’re lazy, just sprinkle it in and whisk gently). Stir until *just* combined. Do not overmix! If you see a little streak of flour, stop. Overmixing develops gluten, and you want tender, fudgy brownies, not bread.
Step 6: Add the Swirl (2 minutes)
Divide the batter evenly among your ramekins or muffin cups. They should be about 2/3 full. Now, take a teaspoon of extra Nutella and drop it onto the center of each batter mound. Use a knife or skewer to gently swirl it into the batter. Don’t mix it all the way in; you want pockets of pure hazelnut.
Step 7: Bake (12-14 minutes)
Place them in the oven. Bake for 12-14 minutes. Here’s the visual cue: The tops should look set and shiny, with those characteristic cracks. The edges might pull away slightly from the ramekin. The center should still look slightly soft and undercooked. This is important. They continue to cook on the hot plate after you take them out. If you bake them until the center is firm, they’ll be dry.
Step 8: Cool and Serve (10 minutes)
Let them cool in the pan for at least 10 minutes. They are extremely delicate when hot. The structure sets as they cool. Once cool, dust with sea salt flakes if using. Serve warm. They are best eaten within an hour of baking, honestly.
Expert Tips & Tricks for Perfect Crackly Tops
Here’s everything I’ve learned from making these dozens of times. These tips will save you from my mistakes.
The Sugar Whisk is Non-Negotiable
I cannot stress this enough. The crackly top comes from the sugar dissolving into the eggs and fats, then recrystallizing on the surface as it bakes. If you just dump the sugar in and stir once, it won’t happen. Whisk that sugar and eggs until they look almost like a mayonnaise emulsion. It takes effort, but it’s worth it.
Don’t Overbake
Small batches bake fast. I have a habit of leaving things in the oven “just to be sure,” but with these, that’s a disaster. Pull them when they look slightly gooey in the middle. The residual heat will finish the job. If you wait for the center to look done in the oven, you’ll get a cakey brownie, not a fudgy one.
Room Temperature Ingredients
I know it’s annoying, but cold eggs and cold butter create a lumpy batter. A lumpy batter doesn’t mix evenly, and uneven mixing leads to uneven baking. Take your eggs out of the fridge 15 minutes before you start. If you forget, run them under warm water for a minute.
The Oven Door
Do not open the oven door for the first 10 minutes. The sudden drop in temperature can cause the tops to collapse instead of cracking. Set a timer and stay away from the oven. Trust the process.
High Altitude?
If you live above 3,000 feet, increase the oven temp by 15°F and add 1 tablespoon of flour. The lower air pressure affects how these rise and set.
Variations & Substitutions
Once you’ve nailed the basic version, here’s how you can mix it up. I’ve tried all of these.
Double Chocolate Version
Add 1/4 cup mini chocolate chips to the batter. Or swap the Nutella swirl for a chunk of dark chocolate. This is for when you want maximum chocolate intensity. My kids love this version.
Peanut Butter Swirl
Swap the Nutella for peanut butter or almond butter. It’s similar in texture and makes a fantastic salty-sweet combo. I use natural peanut butter, but regular Skippy works too if you want that processed sweetness.
Gluten-Free
Use a 1:1 gluten-free flour blend. These work beautifully with GF flour. In fact, some people find GF brownies are fudgier because there’s no gluten to develop. I use Bob’s Red Mill.
Vegan
This is trickier because Nutella contains dairy and eggs. You’d need to use a vegan hazelnut spread (like NOOD or homemade) and replace the eggs with flax eggs (1 tbsp ground flax + 3 tbsp water per egg). It changes the texture significantly, making it more dense, but it’s still tasty.
Mini Cupcake Version
Use a mini muffin tin. Bake time drops to 8-10 minutes. These are perfect for parties because they’re bite-sized. I serve these at holiday gatherings and they disappear in minutes.
Serving & Storage
How to serve these so they look amazing:
Warm and Gooey: Microwave for 10 seconds before serving. The center turns molten. This is my favorite way to eat them.
With Coffee: These pair perfectly with a strong black coffee or espresso. The bitterness cuts through the sweetness.
With Ice Cream: A small scoop of vanilla ice cream on top is classic. The contrast of hot brownie and cold ice cream is chef’s kiss.
Storage: If you have leftovers (unlikely), store them in an airtight container at room temperature for up to 3 days. They actually get fudgier after a day. Do not refrigerate them; the cold makes the Nutella hard and the texture unpleasant. If you must store them longer, freeze them for up to a month. Thaw at room temperature.
Reheating: Never microwave for more than 10 seconds. They can go from perfect to lava in seconds.
Nutrition Information
I’m not a nutritionist, but here’s the breakdown if you’re tracking. Keep in mind these are rich treats.
Per Bite (makes 6):**
- Calories: ~320
- Protein: 5g
- Carbs: 42g
- Fat: 16g
- Sugar: 34g
Look, this is dessert. It’s not a salad. But compared to a slice of sweet potato pie bars, it’s actually not too bad on the protein front thanks to the eggs. Just enjoy a reasonable portion. One or two bites is plenty because they’re so dense and sweet.
Final Thoughts
So that’s my go-to small-batch Nutella brownie bites! I’ve probably talked your ear off at this point, but when you make a recipe this often, you have a lot to say about it.
This has saved me from takeout more times than I can count. It’s my answer to “I want something sweet” when I don’t want to order a whole cake or deal with the guilt of a big batch. My kids are happy, my husband’s happy, and I’m happy because I’m not stressed about cooking.
Make it yours! Try different swirls, add nuts, or just enjoy them plain. The best recipes are the ones you adapt to your family’s tastes. If you make this, drop a comment and let me know what you think! I love hearing how recipes turn out in your kitchen. And if something doesn’t work, tell me that too—I’m here to help troubleshoot.
Happy baking! And I hope your kitchen smells half as good as mine does right now.
Frequently Asked Questions
Can I use a microwave instead of an oven?
You can, but you won’t get the crackly top. A microwave mug brownie is convenient, but the texture is more like a cake. If you must use the microwave, cook on high for 60-90 seconds. Check every 15 seconds. It’ll be soft and gooey, not crackly.
Why didn’t my brownies crack?
Usually, this means you didn’t whisk the sugar and eggs enough. Or your oven wasn’t hot enough. Or you used brown sugar instead of white. The crack is a chemical reaction between the sugar, eggs, and high heat. Double-check your whisking time and oven temp.
Can I double this recipe?
Absolutely! Double everything and use a full muffin tin or 12 ramekins. The cooking time stays the same, maybe add 1 minute if the batter is deeper. I do this when I have guests over.
Can I make these ahead of time?
Yes, but they’re best fresh. You can bake them the day before and store them at room temperature. Reheat for 10 seconds in the microwave before serving. They will lose some of their fresh-baked warmth, but they’re still good.
What if I don’t have Nutella?
You can use any hazelnut spread, or even peanut butter. The flavor will change, but the texture will be similar. You could also just make chocolate brownie bites and add a swirl of caramel or jam.
Are these gluten-free?
The base recipe contains flour, so no. But if you swap in a gluten-free flour blend, yes, they are naturally gluten-free (assuming your Nutella is GF, which it is).
How do I know when they’re done?
The tops should be shiny and cracked. The edges should be set. The center should look slightly soft. If you insert a toothpick, it should come out with a few moist crumbs, not wet batter, and not completely clean. Clean toothpick = dry brownie.
Pin This Recipe!
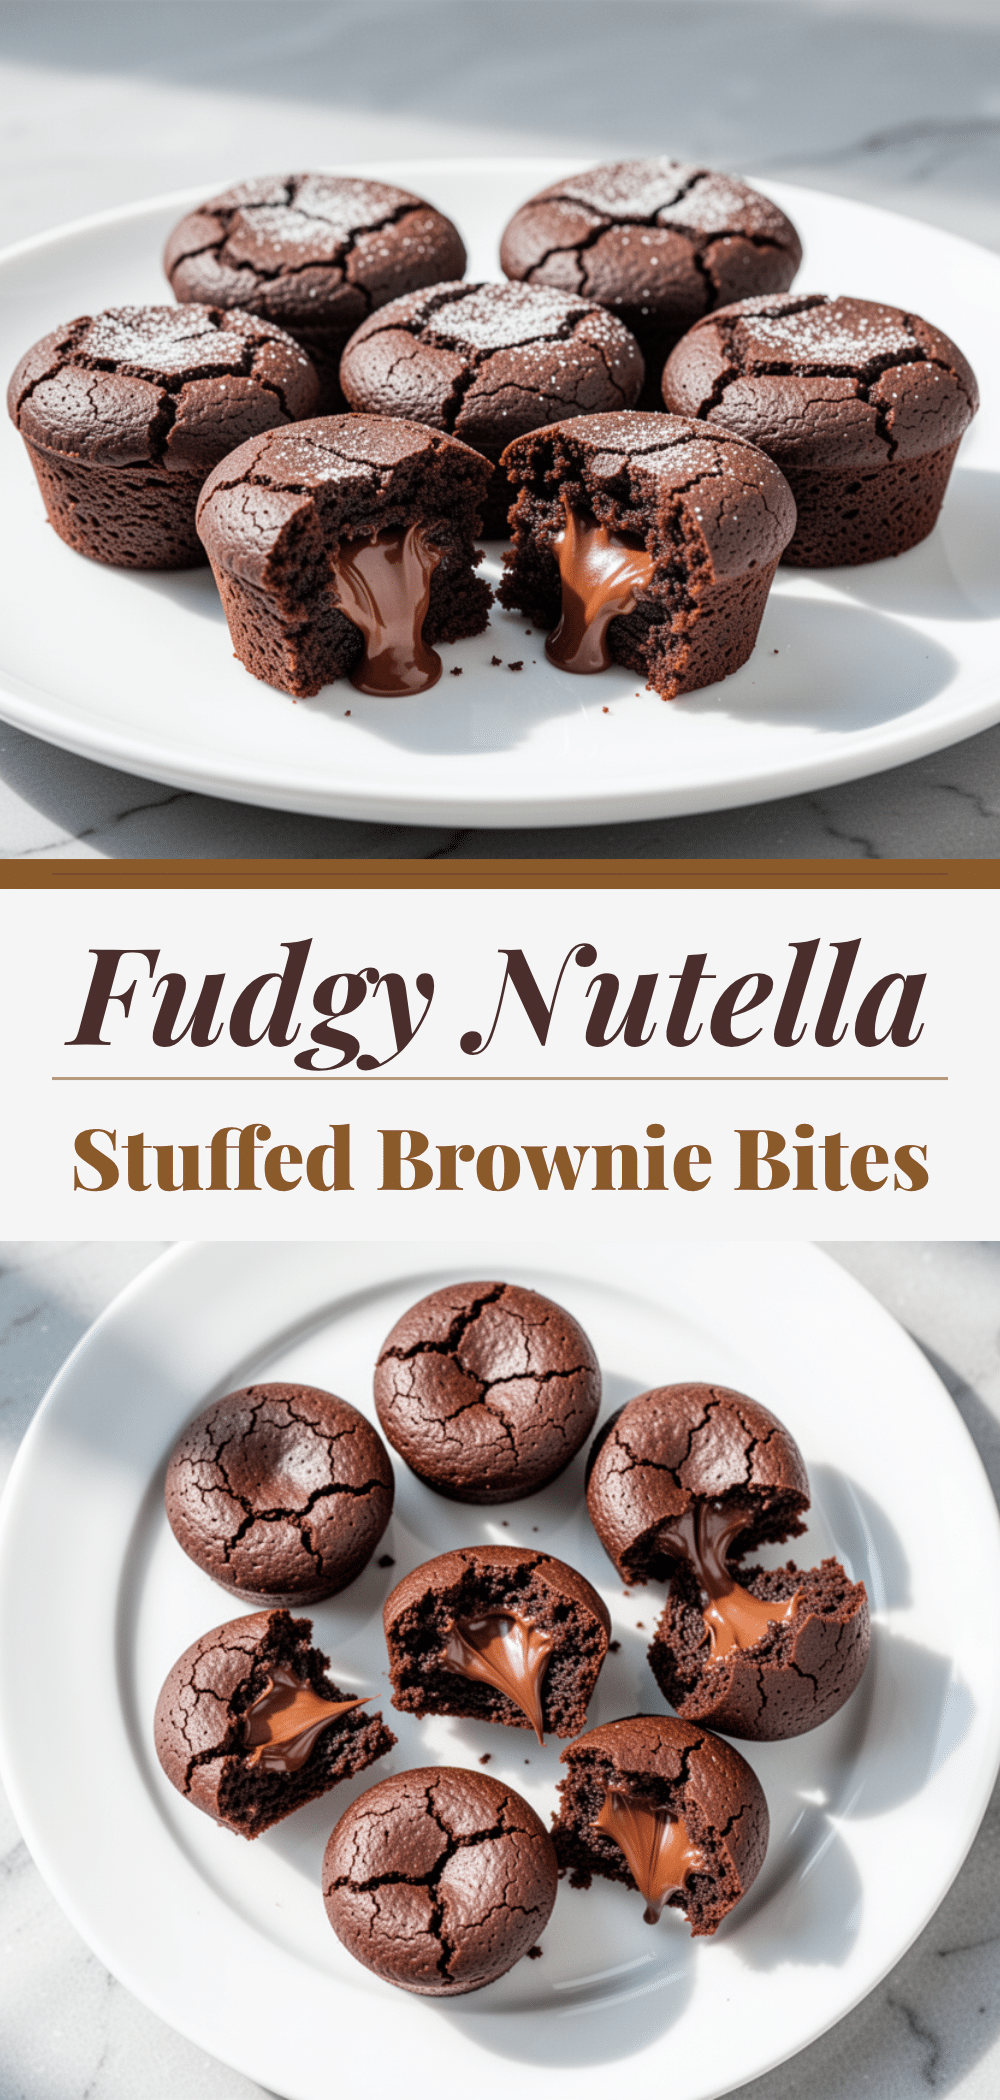
Small-Batch Nutella Brownie Bites
- Total Time: 17-19 minutes
- Yield: 6 servings 1x
Description
Rich, fudgy, single-serving brownie bites with a signature crackly top, made with Nutella, butter, and sugar in individual ramekins or muffin tins.
Ingredients
- 3/4 cup (210g) Nutella (hazelnut spread), room temperature
- 1/2 cup (113g) unsalted butter
- 1 cup (200g) granulated sugar
- 2 large eggs, room temperature
- 1/2 cup (65g) all-purpose flour
- 2 tablespoons (10g) unsweetened cocoa powder
- 1/4 teaspoon salt
- 1 teaspoon vanilla extract
- 1–2 tablespoons extra Nutella (for swirling)
- Sea salt flakes (optional, for topping)
Instructions
- Preheat oven to 350°F (175°C). Grease 6-ounce ramekins or line a standard muffin tin with paper liners.
- In a medium saucepan over low heat, melt the butter and Nutella together, stirring constantly until smooth. Remove from heat and let cool for 2 minutes.
- In a mixing bowl, whisk the granulated sugar and eggs vigorously for 30-60 seconds until the mixture is pale, glossy, and emulsified.
- Pour the warm Nutella-butter mixture into the egg-sugar mixture. Whisk until combined, then add vanilla extract and salt; whisk again.
- Sift the flour and cocoa powder into the wet mixture. Stir gently until just combined. Do not overmix.
- Divide the batter evenly among the prepared ramekins or muffin cups (fill about 2/3 full).
- Drop a teaspoon of extra Nutella onto the center of each batter mound. Use a knife or skewer to gently swirl it in, leaving pockets of hazelnut spread.
- Bake for 12-14 minutes. The tops should look set and shiny with cracks, and the edges may pull away slightly. The center should still look slightly soft.
- Let cool in the pan for at least 10 minutes to set. Dust with sea salt flakes if desired. Serve warm.
Notes
Ensure ingredients are at room temperature for best emulsion. Do not overbake; the center should remain slightly soft as it continues to cook after removal from the oven. Store in an airtight container at room temperature for up to 3 days. Do not refrigerate.
- Prep Time: 5 minutes
- Cook Time: 12-14 minutes
- Category: Dessert
- Cuisine: American
Nutrition
- Serving Size: 1 brownie bite
- Calories: 320
- Sugar: 34
- Sodium: 150
- Fat: 16
- Saturated Fat: 8
- Carbohydrates: 42
- Fiber: 2
- Protein: 5
Keywords: Nutella brownies, small batch dessert, fudgy brownies, crackly top brownies, easy dessert, hazelnut brownies, ramekin brownies


