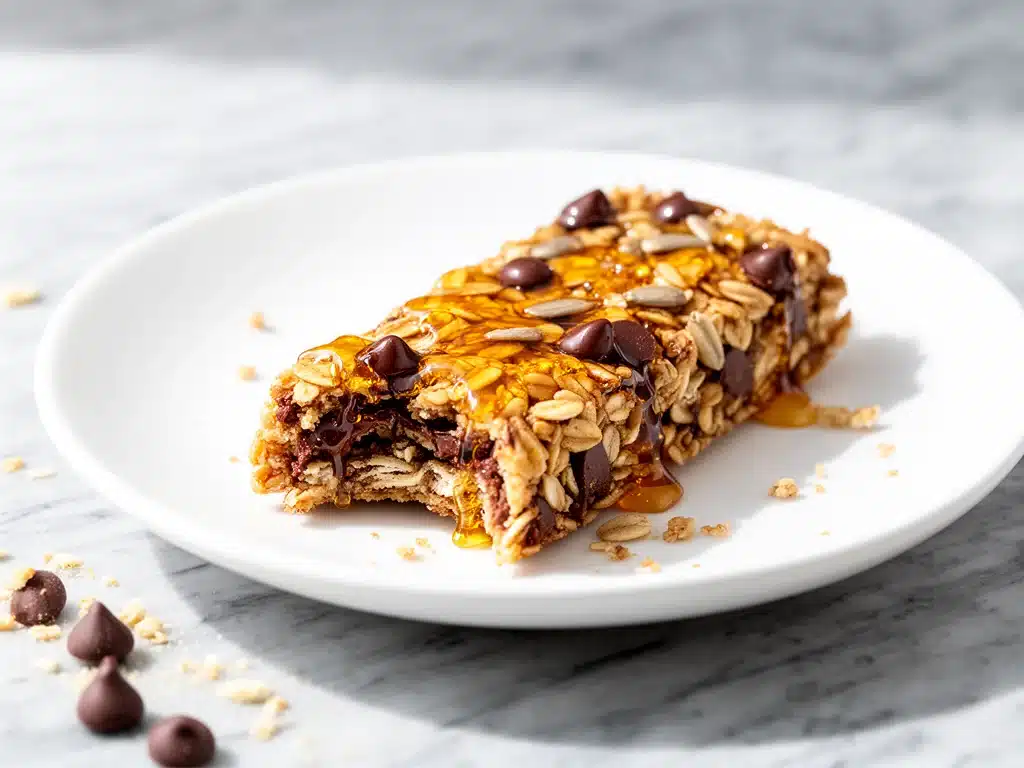
One afternoon last fall, I found myself staring at a growing pile of half-eaten granola bars in my pantry and a very unimpressed kiddo who declared, “Mom, these bars taste like cardboard.” Ouch. I knew I had to do better—not just for the snack time sanity, but because after-school hunger strikes are real and relentless. That’s when I decided to create these After School Chewy Honey Granola Bars with Chocolate Chips that quickly became our snack-time MVP.
After testing and tweaking the recipe more times than I can count (and yes, some batches were too crumbly, others too sweet), I finally nailed the perfect balance: chewy, honey-sweetened bars with just enough chocolate chips to feel like a treat without going overboard. These granola bars are sturdy enough to survive backpacks and lunchboxes, but soft enough that my kiddo actually asks for seconds. I’ve made these bars over and over, and let me tell you—they’re worth every minute of prep.
What really sold me on these bars? The simple, wholesome ingredients and the fact that I can whip them up in under 30 minutes. Seriously. Plus, they freeze beautifully, so I always have a stash ready for those “I’m starving” moments. If you’re tired of store-bought snacks that don’t satisfy, this recipe is about to become your new best friend.
Why You’ll Love This Recipe
If you’re anything like me, you want snacks that check several boxes: quick to make, kid-approved, and made from ingredients you can actually pronounce. These granola bars hit all those marks and then some.
- Super Chewy Texture — Forget those dry, crumbly bars that fall apart. These stay soft and chewy thanks to a combo of honey and brown sugar that locks in moisture. Even after a day or two, they’re still perfect.
- Balanced Sweetness — The honey provides natural sweetness, and the chocolate chips add just the right touch of indulgence without making the bars overly sugary. I’ve made these for my health-conscious friends, and they love the subtle sweetness.
- Simple, Real Ingredients — No weird additives or preservatives here. You’ll find oats, nuts, seeds, honey, and chocolate chips—ingredients I trust and keep in my pantry.
- Kid-Approved — My picky eater gobbles these up like candy, and I feel good knowing they’re getting something wholesome. Plus, making them together is a fun after-school activity.
- Make-Ahead Friendly — These bars freeze like a dream. I slice a batch, stash them in freezer bags, and pull them out whenever the snack drawer looks bare.
Honestly, these bars have saved me on more than one hectic afternoon. They’re the snack I reach for when I want something homemade, wholesome, and loved by everyone in the family.
Ingredients You’ll Need
Here’s the cool thing: you probably have most of these ingredients chilling in your pantry or fridge right now. I’m pretty picky about three of them, so I’ll explain why.
- Old-fashioned rolled oats (2 ½ cups / 225g) — The base of any good granola bar. Rolled oats give that chewy texture. Avoid quick oats; they get mushy.
- Honey (⅓ cup / 113g) — The natural sweetener and binder. I always use raw or pure honey for its rich flavor. It keeps these bars moist and chewy.
- Brown sugar (¼ cup packed / 50g) — Adds caramel notes and helps with chewiness. Use light brown sugar for a milder flavor.
- Unsalted butter (6 tablespoons / 85g) — Melted to help everything stick together. I like unsalted so I can control salt levels better.
- Vanilla extract (1 teaspoon / 5ml) — Just a splash to deepen the flavor. Pure vanilla is always best.
- Salt (½ teaspoon / 3g) — Balances the sweetness and enhances flavor.
- Mini chocolate chips (¾ cup / 135g) — These little guys are the star indulgence. I use mini chips so they distribute evenly without overpowering each bite.
- Chopped nuts (½ cup / 60g) — Optional but adds great crunch. Almonds, walnuts, or pecans all work. Toasted nuts bring extra flavor.
- Chia or flax seeds (2 tablespoons / 20g) — Optional boost of nutrition and texture. I toss these in for a little extra fiber and omega-3s.
- Cinnamon (1 teaspoon / 2g) — A warm spice that adds subtle depth. Feel free to skip if you’re not a cinnamon fan.
Quick note: If you want to switch up the chocolate chips, dark chocolate chunks or even white chocolate chips work beautifully. For a nut-free version, just omit the nuts and double the seeds.
Equipment Needed
You won’t need anything fancy to get these bars made. Here’s what I actually use:
- Large mixing bowl — For combining everything. I use a big glass bowl that’s easy to stir in.
- Small saucepan — To melt the butter with honey and brown sugar. You can also microwave it carefully, but I prefer stovetop for better control.
- Wooden spoon or silicone spatula — For stirring the sticky mixture without scratching bowls.
- 8×8-inch baking pan — This size works perfectly for chewy bars. I line it with parchment paper so lifting out the bars is a breeze.
- Measuring cups and spoons — Standard tools. Accuracy helps with the right texture.
- Sharp knife — For slicing the bars once cooled.
Bonus gear: a food processor if you want finely chopped nuts fast, but it’s not necessary.
How to Make After School Chewy Honey Granola Bars with Chocolate Chips: Step-by-Step
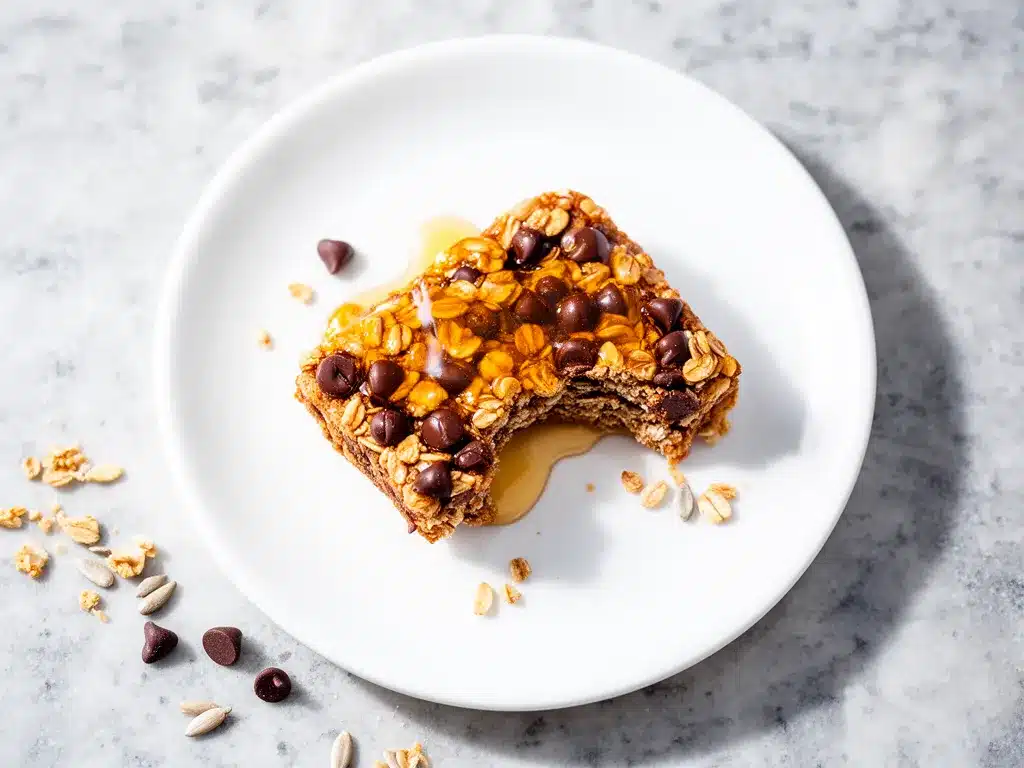
Alright, let’s get these bars going! I’m walking you through every step, including the little tricks I swear by.
Step 1: Prep Your Pan and Ingredients (5 minutes)
Line your 8×8-inch pan with parchment paper, leaving an overhang on two sides. This makes lifting the bars out easier later. Measure out your oats, nuts, chocolate chips, and seeds so everything’s ready to go.
Step 2: Melt the Butter, Honey, and Brown Sugar (3-4 minutes)
In a small saucepan over medium heat, melt the unsalted butter. Once melted, stir in the honey and brown sugar. Keep stirring until the sugar dissolves and the mixture is smooth and bubbly—about 2 minutes. Don’t let it boil too vigorously or burn.
Step 3: Add Vanilla and Salt (30 seconds)
Remove the pan from heat and stir in the vanilla extract and salt. This little step adds depth to the flavor, so don’t skip it.
Step 4: Combine Dry Ingredients (2 minutes)
In your large mixing bowl, toss together the oats, cinnamon, chopped nuts, seeds, and mini chocolate chips. Once mixed, pour the warm butter-honey mixture over the dry ingredients.
Step 5: Mix Until Everything is Coated (1-2 minutes)
Use a wooden spoon or spatula to stir until every oat and nut is evenly coated. The mixture will be sticky—that’s exactly what you want.
Step 6: Press Into the Pan (5 minutes)
Transfer the mixture to your prepared pan. This is a key step: press the mixture down firmly and evenly. I use the bottom of a glass or a piece of parchment paper to really pack it in tight. This helps the bars hold together and stay chewy.
Step 7: Chill Until Set (at least 2 hours)
Pop the pan into the fridge for a couple of hours. This wait time is crucial—it lets the bars firm up so they don’t crumble when you slice them.
Step 8: Slice and Serve
Once chilled, use the parchment paper overhang to lift the whole slab out of the pan. Place it on a cutting board and slice into bars or squares. I usually get 12 decent-sized bars.
Step 9: Store or Freeze
Store the bars in an airtight container at room temperature for up to 3 days, or freeze for up to 2 months. If freezing, wrap each bar individually in plastic wrap before placing in a freezer bag.
Expert Tips & Tricks
- Press firmly and evenly: I can’t stress this enough. Pressing tightly ensures the bars stay together and have that perfect chewy texture. Use the bottom of a glass for even pressure.
- Don’t skip chilling: If you try to cut these bars warm, they’ll fall apart. Patience here pays off.
- Customize your nuts and seeds: Toasting nuts before adding brings out a deeper flavor. I love almonds toasted in a dry pan for 3-4 minutes.
- Use mini chocolate chips: They distribute better and melt just enough to be gooey without turning into a chocolate puddle.
- Keep your honey runny: If your honey is crystallized, warm it gently before mixing. It helps everything blend smoothly.
- Make it nut-free: Double the seeds or add dried fruit for chewiness. My niece is allergic, and this swap works perfectly.
- Don’t overbake: If you decide to bake for a slightly crispier edge, watch closely. Overbaking dries out the bars, and that defeats the chewy goal.
Variations & Substitutions
Once you’ve mastered the basic recipe, feel free to get creative. Here are some ideas I’ve tested and loved:
- Peanut Butter Swirl — Warm ½ cup peanut butter with the honey mixture for a nutty twist that’s pure comfort.
- Fruit & Nut — Add ½ cup dried cranberries or chopped apricots for a chewy, fruity surprise.
- Seed Power — Swap nuts for sunflower and pumpkin seeds for a nut-free, crunchy version.
- Spiced Up — Add ½ teaspoon ground ginger or nutmeg for a cozy fall flavor.
- Vegan Version — Replace butter with coconut oil and use maple syrup instead of honey. I’ve made this swap for vegan friends, and it’s still delicious.
- Chocolate Overload — Mix in ¼ cup cocoa nibs or swirl in melted dark chocolate before pressing.
Serving & Storage
These chewy honey granola bars are perfect straight out of the fridge or at room temperature. I like to pack them in lunchboxes or serve them alongside a glass of cold milk for afternoon fuel.
For variety, try pairing the bars with fresh fruit or a dollop of Greek yogurt. The combo makes a balanced snack that keeps hunger at bay until dinner.
Storage: Keep the bars in an airtight container at room temperature for up to 3 days. After that, move them to the fridge for up to a week or freeze for up to 2 months. To thaw frozen bars, leave them at room temperature for 30 minutes or warm gently in the microwave for 10 seconds.
Pro tip: If your bars get a little too firm in the fridge, let them sit out a few minutes before eating for that perfect chewy bite.
Nutrition Information
| Per Bar (based on 12 bars) | Amount |
|---|---|
| Calories | 210 |
| Protein | 4g |
| Carbohydrates | 28g |
| Fiber | 3g |
| Sugars | 12g |
| Fat | 9g |
| Saturated Fat | 4g |
| Cholesterol | 20mg |
| Sodium | 70mg |
| Calcium | 30mg |
Look, these bars aren’t health food—they’re a sweet, satisfying snack made with real ingredients. The oats and nuts give you fiber and protein, and the honey is a natural sweetener. If you want to boost nutrition, toss in extra seeds or swap chocolate chips for dried fruit. Either way, they beat store-bought bars for taste and ingredient quality every time.
Final Thoughts
So there you have it—my After School Chewy Honey Granola Bars with Chocolate Chips recipe that I promise you’ll make on repeat. I’ve probably talked your ear off, but when you find a snack that works for your family this well, you tend to get excited.
This recipe has saved me countless afternoons from hanger-induced meltdowns. It’s quick enough to make when you remember at 3 pm, and tasty enough that no one complains (not even the pickiest eaters). Plus, it’s versatile, so you can make it your own with whatever nuts, seeds, or add-ins you love.
Give it a try, and please share how it goes! I love hearing your tweaks and stories—because every kitchen has a little magic of its own.
Happy snacking (and happy cooking)!
Frequently Asked Questions
Q: Can I substitute maple syrup or agave for honey?
A: You totally can! I’ve swapped in maple syrup before, and while it changes the flavor slightly, the bars are still chewy and delicious. Just use the same amount and melt it with the butter and brown sugar as usual.
Q: How do I keep the bars from sticking to the pan?
A: Lining the pan with parchment paper with an overhang is key. It makes lifting the whole batch out a breeze. If you don’t have parchment, grease the pan really well and let the bars cool completely before slicing.
Q: Can I bake these bars instead of no-bake?
A: This recipe is designed to be no-bake for ease and chewiness. If you want a baked version, you can try pressing the mixture into the pan and baking at 325°F (160°C) for about 20 minutes, but watch closely. Baking usually makes bars less chewy and more brittle.
Q: How long do these bars last?
A: At room temperature in an airtight container, they last about 3 days. You can keep them in the fridge for up to a week or freeze them for up to 2 months.
Q: Can I use quick oats instead of rolled oats?
A: I don’t recommend it because quick oats tend to get mushy and don’t provide that satisfying chew. Rolled oats hold up better in bars like these.
Q: What’s the best way to chop nuts quickly?
A: A quick pulse in a food processor works great, but if you don’t have one, just use a sharp knife and chop on a cutting board. Toasting nuts before chopping adds a nice flavor boost too.
Q: Can I add protein powder to this recipe?
A: Yes, but start with a small amount (¼ cup) and adjust the dry ingredients accordingly. Adding too much protein powder can make the bars dry, so you might need to increase the honey or butter slightly to keep that chewy texture.
By the way, if you’re looking for other easy homemade snacks, I’ve had great success with my crispy garlic chicken for quick dinners, and these bars pair perfectly with a simple green salad or fresh fruit for a balanced afternoon meal.
Pin This Recipe!
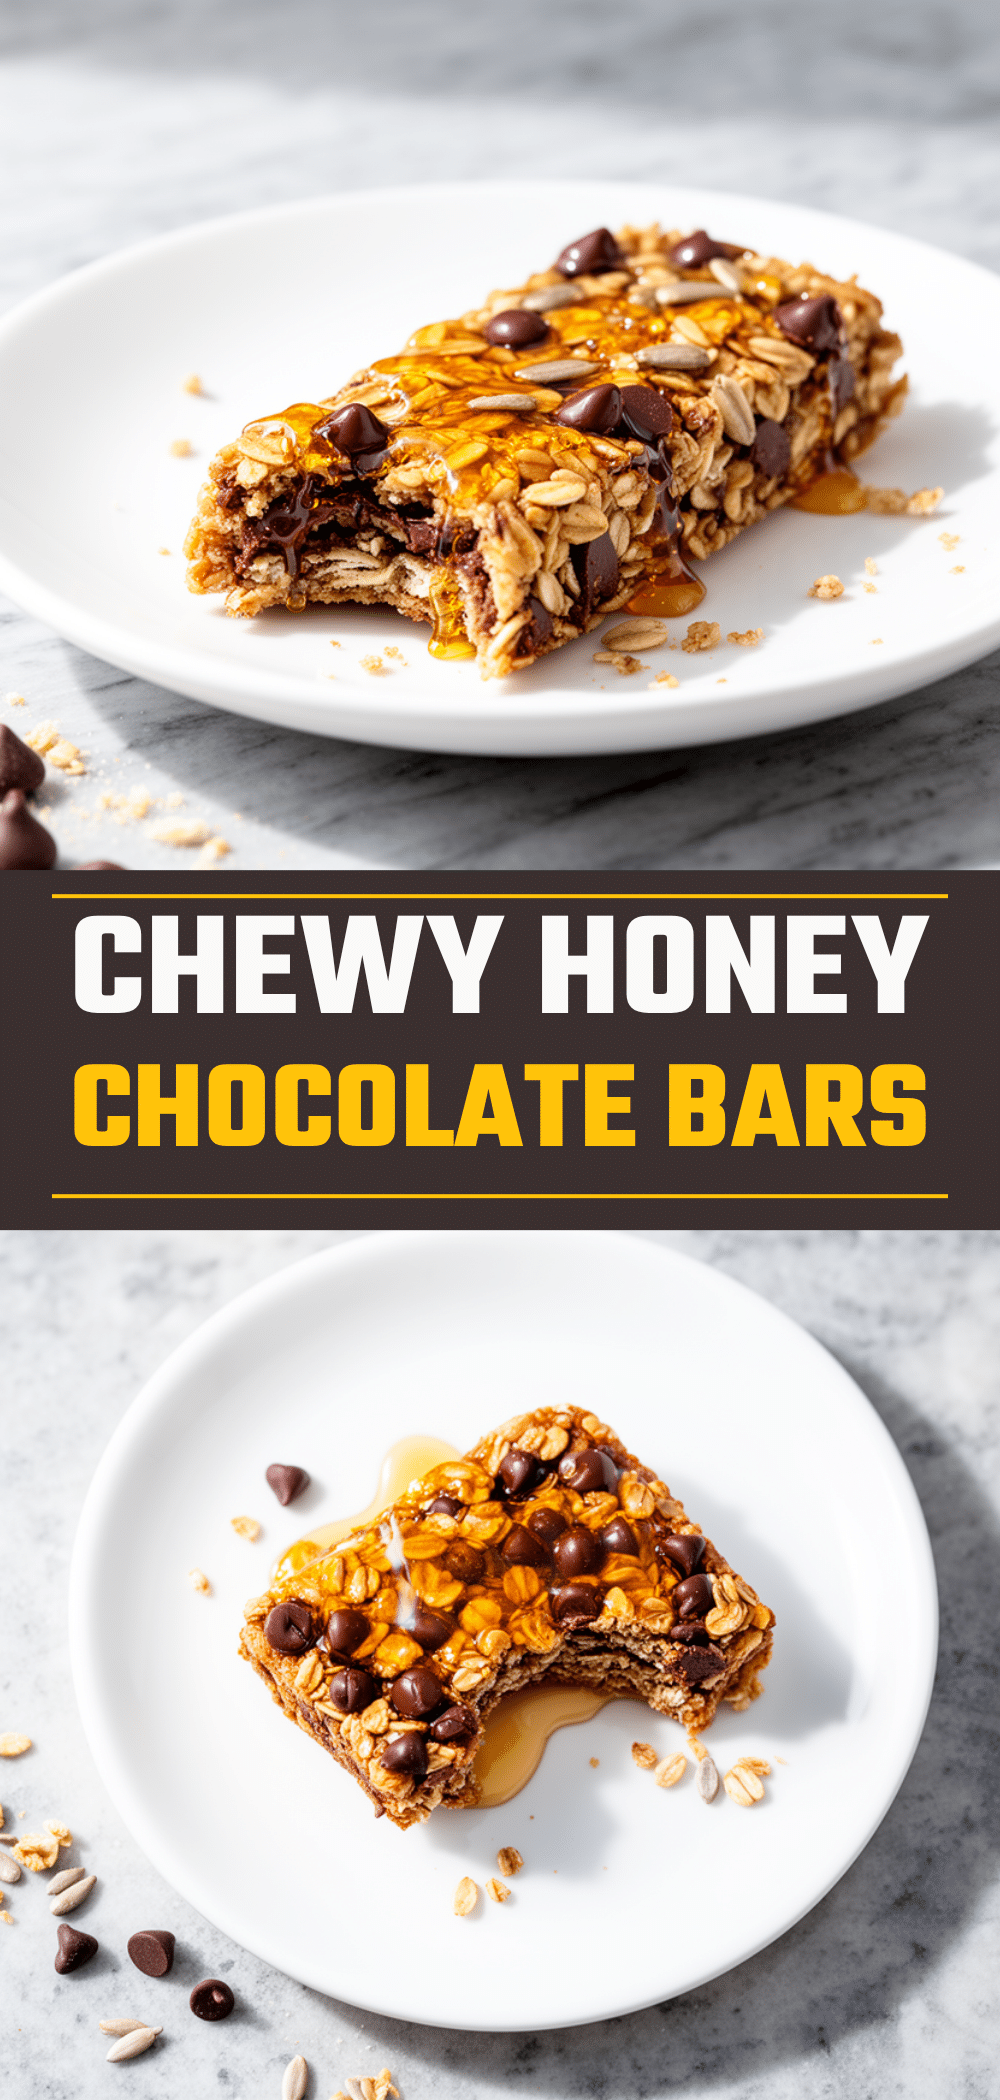
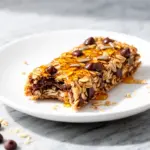
After School Chewy Honey Granola Bars with Chocolate Chips
- Total Time: 2 hours 15 minutes
- Yield: 12 bars 1x
Description
These chewy honey granola bars with chocolate chips are a kid-approved, wholesome snack perfect for after school. Made with simple ingredients, they are quick to prepare and freeze beautifully for later.
Ingredients
- 2 ½ cups old-fashioned rolled oats (225g)
- ⅓ cup honey (113g)
- ¼ cup packed light brown sugar (50g)
- 6 tablespoons unsalted butter (85g), melted
- 1 teaspoon vanilla extract (5ml)
- ½ teaspoon salt (3g)
- ¾ cup mini chocolate chips (135g)
- ½ cup chopped nuts (almonds, walnuts, or pecans) (60g) – optional
- 2 tablespoons chia or flax seeds (20g) – optional
- 1 teaspoon cinnamon (2g)
Instructions
- Line an 8×8-inch baking pan with parchment paper, leaving an overhang on two sides.
- Measure out oats, nuts, chocolate chips, and seeds.
- In a small saucepan over medium heat, melt the unsalted butter.
- Stir in honey and brown sugar until sugar dissolves and mixture is smooth and bubbly, about 2 minutes. Avoid boiling vigorously.
- Remove from heat and stir in vanilla extract and salt.
- In a large mixing bowl, combine oats, cinnamon, chopped nuts, seeds, and mini chocolate chips.
- Pour the warm butter-honey mixture over the dry ingredients and stir with a wooden spoon or silicone spatula until everything is evenly coated and sticky.
- Transfer the mixture to the prepared pan and press firmly and evenly using the bottom of a glass or parchment paper.
- Chill in the refrigerator for at least 2 hours until set.
- Lift the slab out using the parchment overhang and slice into 12 bars.
- Store bars in an airtight container at room temperature for up to 3 days or freeze for up to 2 months.
Notes
Press the mixture firmly and evenly to ensure bars hold together and stay chewy. Chill bars for at least 2 hours before slicing to prevent crumbling. Use mini chocolate chips for even distribution. For nut-free version, omit nuts and double seeds. Bars freeze well for up to 2 months.
- Prep Time: 10 minutes
- Cook Time: 5 minutes
- Category: Snack
- Cuisine: American
Nutrition
- Serving Size: 1 bar
- Calories: 210
- Sugar: 12
- Sodium: 70
- Fat: 9
- Saturated Fat: 4
- Carbohydrates: 28
- Fiber: 3
- Protein: 4
Keywords: granola bars, honey granola bars, chewy granola bars, chocolate chip granola bars, kid-friendly snacks, homemade granola bars, after school snack