It’s 7:15 AM on a Tuesday. The sun is barely up, the dog is barking at a squirrel, and I am staring into the refrigerator like it holds the secrets to the universe. It doesn’t. It holds half a jar of peanut butter, three bananas that are starting to look a little brown, and a bag of oats that’s been sitting in the pantry for three weeks.
My kids are already in the car seats, whining about being hungry, and my husband is halfway out the door, shouting that he’s going to be late. The last thing I want to do is spend twenty minutes making pancakes or frying eggs. And I certainly don’t want to buy those $6 boxes of granola bars that are mostly sugar and air.
So, I did what I always do: I threw stuff together. I mashed those bananas, mixed in the peanut butter, tossed in some oats, and rolled them into little balls. I stuck them in the freezer for ten minutes while I wrestled the kids into their shoes. By the time we hit the highway, they were ready to eat. And you know what? They actually stopped complaining.
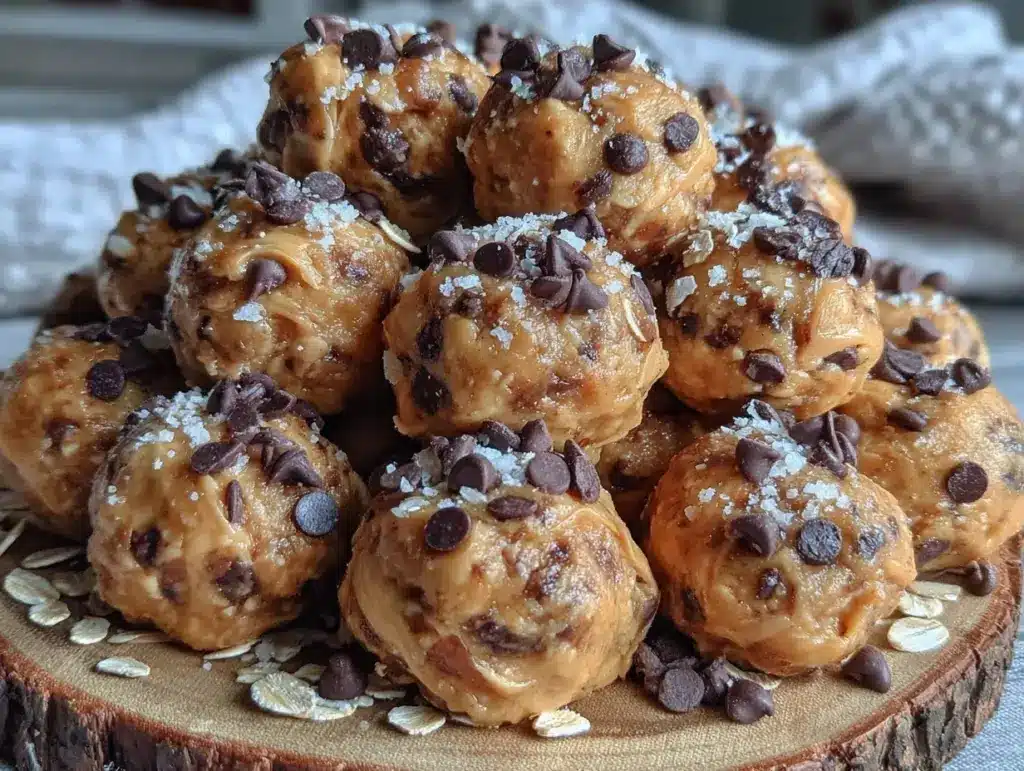
That’s how I found my go-to Back to School Peanut Butter Banana Energy Bites. What started as a desperate 5-minute hack has become our weekly routine. We make a batch on Sunday night, stash them in the fridge, and they’re there when the morning chaos hits. They’re cheap, they’re healthy(ish), and best of all, they require zero cooking. Just five ingredients, a bowl, and about 10 minutes of your time. If you’re drowning in the back-to-school rush, this is your lifeline.
Why You’ll Love This Recipe
I’ve made these energy bites probably fifty times in the last two months. That’s not an exaggeration. When school starts, my kitchen transforms into a command center, and I need recipes that are fast, forgiving, and don’t require a degree in culinary arts to execute. Here’s why this 5-Ingredient Budget Meal Prep has earned a permanent spot in my rotation:
- Stupid Simple — Seriously, if you can mash a banana, you can make these. There’s no baking, no heating, no complicated techniques. I’ve made these while helping my middle child with homework. It’s that easy.
- Pantry-Friendly — You probably have every single ingredient right now. Peanut butter, bananas, oats, honey, maybe some chocolate chips. I don’t need to run to the store because I already have everything. It’s the ultimate “I forgot to shop” dinner-and-snack solution.
- Lightning Fast Prep — The actual mixing takes 5 minutes. The rest is just chilling time. I can have a dozen snacks ready before my coffee gets cold. That’s efficiency I can get behind.
- Budget-Smart — Let’s talk money. A box of name-brand energy bars costs about $5 for 6 bars. This recipe makes about 20 bites for under $3. That’s less than 15 cents per snack. My kids think they’re getting a treat, but I’m saving enough for a movie night by the end of the month.
- Kid-Approved — This is the hardest part with most “healthy” snacks. But the peanut butter and banana flavor is sweet and familiar. They’re not going to complain about eating something green. In fact, they’ll ask for “more of the peanut butter balls.”
- Make-Ahead Magic — These keep for a week in the fridge or months in the freezer. I make a double batch on Sunday, and my lunchbox game is sorted for the entire week without me thinking about it.
This isn’t gourmet food. It’s practical food. It’s the kind of recipe that saves your sanity when the morning routine feels like a war zone. And honestly? That’s worth more than any fancy ingredient list.
Ingredients You’ll Need
Here’s the best part: this list is so short it almost feels like a trick. But don’t let the simplicity fool you—these ingredients work together to create something satisfying, chewy, and naturally sweet. I’m particular about a couple of things here, so listen up.
The Base
Ripe Bananas (2 medium / about 200g) — This is non-negotiable. You need bananas that are spotted with brown. The riper they are, the sweeter they are, and the easier they mash. If your bananas are green, you’ll end up with hard, bland bites. Wait for the brown spots. I keep a bag of bananas on the counter specifically for this.
Old-Fashioned Rolled Oats (1 cup / 80g) — I use rolled oats, not instant. Instant oats turn to mush and make the texture weird. Rolled oats give that nice chew. If you need gluten-free, make sure you buy certified gluten-free oats. I love Bob’s Red Mill for this.
Peanut Butter (½ cup / 128g) — Use creamy peanut butter. Crunchy creates uneven bites and can be tricky to roll. Natural peanut butter works, but it can be runnier, so you might need extra oats. I stick with Jif or Skippy because they have a consistent texture and my kids prefer the taste. If you have a nut allergy, sunflower seed butter is a great swap.
The Binders & Flavor
Honey (2 tablespoons / 30ml) — This adds a little extra stickiness to help everything hold together and boosts the sweetness. Maple syrup works too if you want it vegan, but honey just feels more “normal” to my family. Don’t skip this; it helps the oats absorb the moisture.
Vanilla Extract (1 teaspoon) — Just a splash. It makes the banana and peanut butter taste more like a dessert. It’s a small detail, but it makes a big difference in flavor depth.
Optional Add-ins: I keep these in the pantry for variety. Mini chocolate chips (½ cup) — For when the kids need a little extra sugar. Flax seeds (2 tablespoons) — For a bit of extra nutrition without changing the taste. Semi-sweet chocolate chips — Sometimes I mix these in for a cookie-like vibe.
That’s it. Five ingredients. Maybe six if you count the optional extras. I don’t buy fancy superfoods for this. I buy what’s on sale and what my family actually eats.
Equipment Needed
You don’t need any fancy gadgets for this. Here’s what I actually use in my chaotic morning kitchen:
Medium Mixing Bowl — I use a ceramic bowl because it’s heavy and doesn’t slide around when I’m mashing. Any bowl works, just make sure it’s big enough to hold all the ingredients.
Fork — For mashing the bananas. I don’t bother with a masher for two bananas; a fork is faster and easier to clean. Just mash them until they’re mostly smooth with a few small lumps.
Spoons — A couple of sturdy spoons for mixing. One to mix the wet ingredients, one to fold in the oats. Plastic spoons work fine here.
Baking Sheet or Plate — To line with parchment paper. Parchment paper makes cleanup a breeze. You can also use wax paper, but parchment is better for sticking. I just use a large dinner plate if I’m in a rush.
Measuring Cups and Spoons — Standard stuff. I’m not being precise to the gram, but getting the ratios roughly right matters. 1 cup oats, ½ cup peanut butter, 2 bananas.
Refrigerator — The most important tool. These need time to chill and set. If you skip this step, they’ll be too sticky to handle.
How to Make It: Step-by-Step
Alright, let’s make these. I’m walking you through exactly how I do it, including the little tricks that keep my sanity intact.
Step 1: Mash the Bananas (2 minutes)
Peel your bananas and put them in the mixing bowl. Use your fork to mash them until they’re mostly smooth. I like to leave a few small chunks for texture, but don’t go overboard. You want a creamy base. If the bananas are super ripe, they’ll mash almost into a paste on their own.
Step 2: Add the Wet Ingredients (1 minute)
Add the peanut butter, honey, and vanilla extract to the mashed bananas. Stir this together vigorously. You want the peanut butter and honey to fully incorporate into the banana. It might look a little weird and separated at first, but keep stirring. It’ll come together. This step is crucial for even flavor distribution.
Step 3: Mix in the Oats (2 minutes)
Pour in the rolled oats. Stir until everything is well combined. The mixture should look like a thick, sticky dough. If it’s too runny, add a little more oatmeal, one tablespoon at a time. If it’s too dry and crumbly, add a splash more honey or a tiny bit more peanut butter. You’re looking for a consistency that holds together when you pinch it.
Step 4: Chill the Mixture (15-30 minutes)
Here’s the step most people skip, and I tell you: don’t skip it. Cover the bowl with plastic wrap or a plate and put it in the fridge for at least 15 minutes. This firms up the peanut butter and hydrates the oats, making the mixture much easier to handle. If you’re in a huge rush, you can put it in the freezer for 10 minutes, but the fridge is safer so you don’t freeze the banana solid.
Step 5: Roll the Bites (5 minutes)
Take the bowl out of the fridge. Using a tablespoon or a small cookie scoop, portion out the mixture. Roll each portion between your palms to form a ball. Your hands might get a little sticky, so keep a damp paper towel nearby to wipe them off. Roll them into balls about 1 inch in diameter. Don’t worry about them being perfectly round; they’re energy bites, not jewelry.
Step 6: Store and Serve
Place the finished bites on a parchment-lined plate or baking sheet. You can eat them right away, but they taste better after a few more hours in the fridge. Store them in an airtight container. They’ll keep in the fridge for up to a week or in the freezer for up to three months.
Total time: About 10 minutes of active work. The rest is just waiting.
Expert Tips & Tricks
Here’s everything I’ve learned from making these dozens of times. These tips will save you from my mistakes and make your life easier.
Don’t Skip the Chill Time
I know you’re hungry. I get it. But if you try to roll these immediately after mixing, they will be a sticky mess. The oats need time to absorb the liquid from the banana and peanut butter. The chill time is what turns a sticky mush into a firm, rollable dough. 15 minutes is the minimum. 30 minutes is the sweet spot.
Use a Cookie Scoop
If you have a small ice cream scoop or a cookie scoop, use it. It ensures all your bites are the same size, which means they chill evenly and look uniform. Plus, it’s faster than trying to eyeball tablespoons. I bought one at the dollar store years ago, and it’s still my favorite kitchen tool.
Double the Batch
Make two batches at once. Seriously. These freeze beautifully. I make a big batch on Sunday, put half in the fridge for the week, and freeze the rest. When I’m running low, I just pull a container out of the freezer. It takes 5 minutes to thaw, and suddenly I have snacks for the next three days. This is the ultimate meal prep hack.
Keep Your Hands Dry
If the mixture is sticking to your hands, wet them slightly with water or wipe them on a damp paper towel. A little moisture prevents sticking without making the bites soggy. I keep a small bowl of water next to me while I roll.
Customize the Texture
Want more crunch? Add some chopped nuts or seeds. Want it sweeter? Add more chocolate chips. Want it healthier? Add a scoop of protein powder (you might need extra liquid). I’ve made versions with chia seeds, hemp hearts, and even dried cranberries. All of them work.
Variations & Substitutions
Once you’ve nailed the basic version, here’s how you can mix it up. I’ve tried all of these, and they’re all winners.
Almond Butter Version
Swap the peanut butter for almond butter. It tastes a bit more sophisticated and is great if you’re trying to avoid peanuts. Just note that almond butter can be thicker, so you might need a teaspoon more honey.
Seed-Free (Nut-Free) School Safe
Use sunflower seed butter (SunButter) instead of peanut butter. It has a similar texture and taste. This is perfect for schools with nut-free policies. My friend’s school is strictly nut-free, so I always make this version for her kids.
Chocolate Chip Cookie Dough
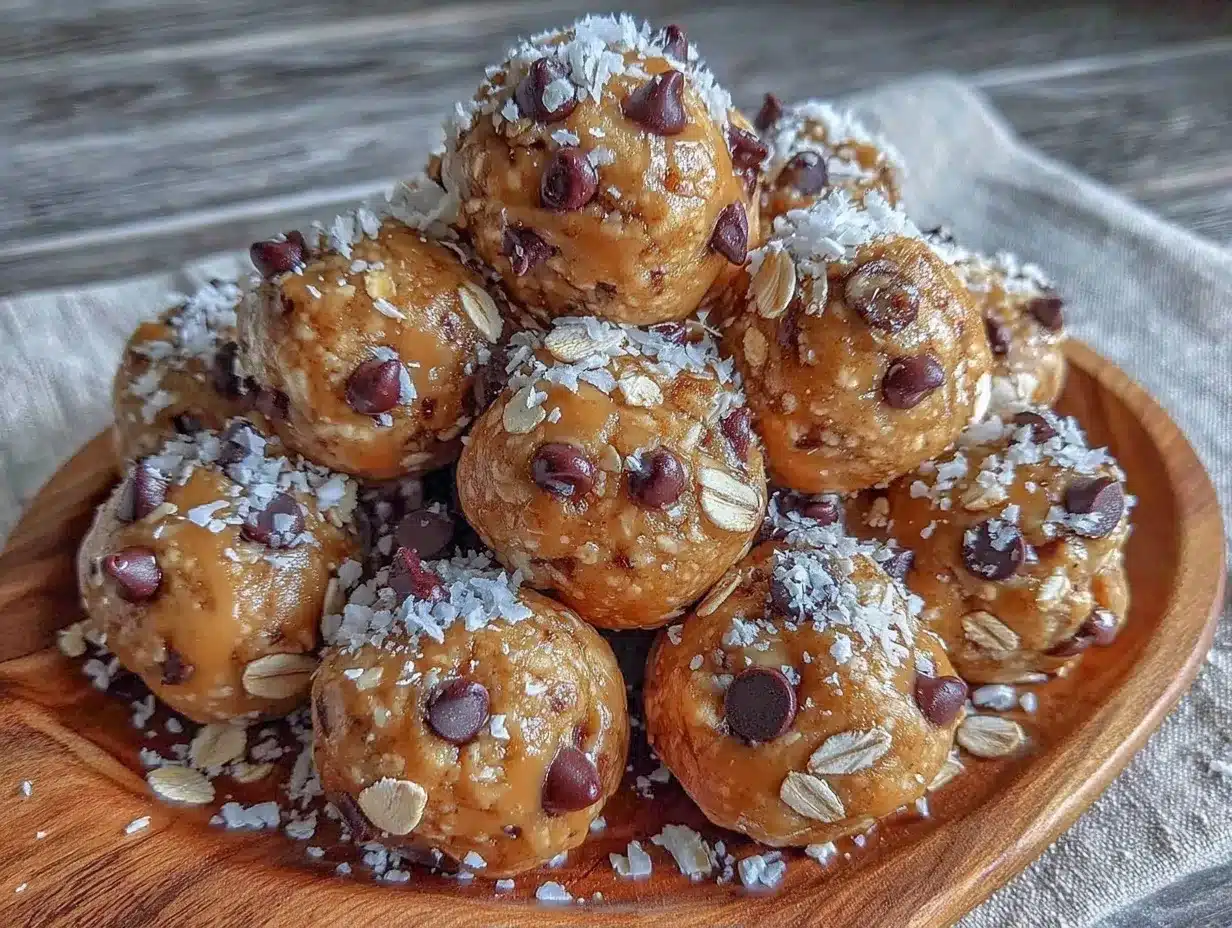
Add ½ cup of mini chocolate chips to the mixture. This turns them into little cookie dough bites. The kids go crazy for this version. It’s basically dessert, but with oats.
Protein Boost
Add 1 scoop of vanilla protein powder. You might need to add a splash more honey or milk to make up for the dryness of the powder. This is great for post-practice snacks or for my husband who needs more protein in his morning.
Vegan Version
Use maple syrup instead of honey. Everything else is naturally vegan. Simple swap.
Gluten-Free
Use certified gluten-free oats. The rest of the ingredients are naturally gluten-free, but cross-contamination in oats is real, so check the label.
Serving & Storage
How do I actually use these? Here’s my real-life strategy.
How to Serve:
I serve these straight from the fridge. They’re cold, firm, and satisfying. I put 2-3 in each lunchbox. They don’t melt like chocolate bars do in hot cars. They’re sturdy. I also keep them on the counter for a quick grab when we’re leaving for soccer practice or piano lessons.
Side Dishes:
These are snacks, not meals. But I pair them with a piece of fruit or a yogurt tube for a more substantial snack. For breakfast, I eat one with a glass of milk and a piece of toast.
Storage Instructions:
Refrigerator: Store in an airtight container for up to 5 days. They might get a little softer in the fridge, but they’re still good. If they get too soft, eat them sooner.
Freezer: This is where these shine. Store them in a freezer-safe bag or container for up to 3 months. They freeze perfectly. When you’re ready to eat, just leave them on the counter for 10 minutes. They thaw quickly.
Pro Tip: Label your freezer bag with the date. I’ve had moments where I couldn’t remember if that bag was from last week or last month. Write it down. It’s a small step that saves confusion.
Nutrition Information
I’m not a nutritionist, but here’s the breakdown if you’re tracking. Keep in mind that these are estimates based on standard ingredients.
Per Bite (makes approx. 20 bites):
- Calories: 90-100
- Protein: 3g
- Carbs: 12g
- Fiber: 1-2g
- Fat: 4g
- Sugar: 6g (natural from banana and honey)
What’s Good:
They’re relatively low in sugar compared to store-bought bars. The oats provide fiber, and the peanut butter offers healthy fats and protein. They’re a balanced snack that keeps energy levels steady.
What to Know:
They are calorie-dense because of the peanut butter and oats. A few bites are enough to satisfy a craving. They’re not a “diet” food, but they’re a better choice than a candy bar.
Final Thoughts
So, that’s my Back to School Peanut Butter Banana Energy Bites. It’s simple, it’s cheap, and it’s a lifesaver during the morning rush. I’ve probably talked your ear off at this point, but when you make a recipe this often, you have a lot to say about it.
This has saved my sanity more times than I can count. It’s my answer to “what’s for snack?” when I’m tired, don’t want to cook, and still want something that tastes good. My kids are happy, I’m saving money, and I’m not stressed about making something complicated.
Make it yours! Try different add-ins, swap in your favorite nut butter, or adjust the sweetness to your liking. The best recipes are the ones you adapt to your family’s tastes. If you make this, drop a comment and let me know what you think! I love hearing how recipes turn out in your kitchen. And if something doesn’t work, tell me that too—I’m here to help troubleshoot.
Happy snacking! And I hope your mornings are half as calm as mine are now.
Frequently Asked Questions
Can I use crunchy peanut butter?
You can, but the texture will be different. The bites will have chunks of peanut butter in them, which some people like and some don’t. If you use crunchy, make sure your banana mash is very smooth so the textures blend well. I prefer creamy for a uniform bite, but crunchy is fine if you don’t mind the variation.
Why are my energy bites too sticky?
This usually happens if the bananas were too wet or if you didn’t chill the mixture long enough. Next time, use slightly less ripe bananas (fewer brown spots) or add an extra tablespoon of oats. Also, make sure you chill for at least 15 minutes. The cold helps firm up the peanut butter.
Can I freeze these?
Yes! These freeze beautifully. Place them in a single layer on a baking sheet in the freezer for an hour, then transfer them to a freezer bag. They’ll keep for up to 3 months. Thaw them on the counter for 10 minutes before eating.
Can I make these ahead for the week?
Absolutely. That’s the point! Make them on Sunday, store them in the fridge in an airtight container. They’ll last for 5-7 days. I make a double batch so I have enough for the whole week and some extras for the freezer.
Are these safe for nut-free schools?
Not if you use peanut butter. But you can easily swap the peanut butter for sunflower seed butter or almond butter. Sunflower seed butter is the most common nut-free alternative and has a similar taste and texture. Just check with your school’s policy on tree nuts.
Can I add protein powder?
Yes, but you’ll need to adjust the liquid. Protein powder is dry, so add it gradually and see if you need more honey or a splash of milk. Start with 1 scoop and see how the consistency changes. It makes them more filling, which is great for active kids.
How do I reheat leftovers?
You don’t need to reheat these. They’re meant to be eaten cold or at room temperature. In fact, heating them might make them too soft or melt any chocolate chips inside. Just eat them straight from the fridge or freezer.
Pin This Recipe!
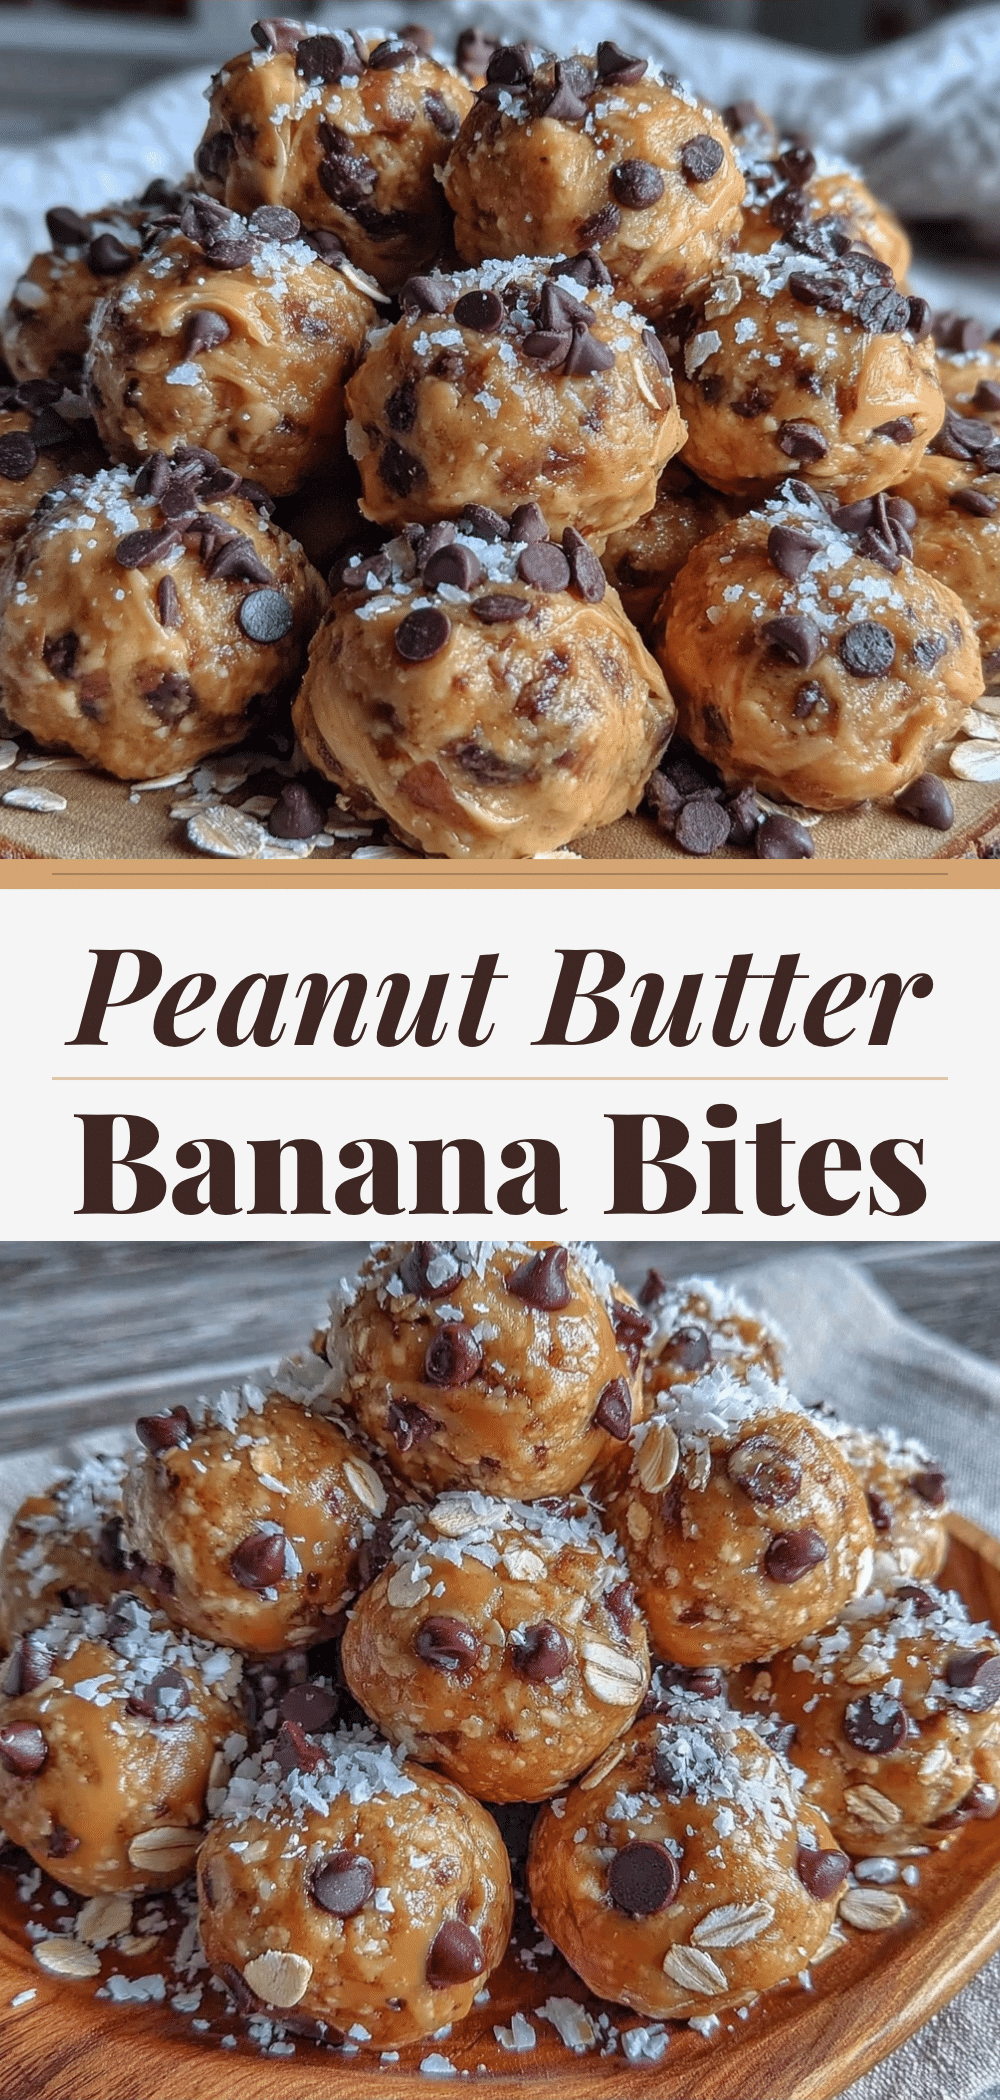
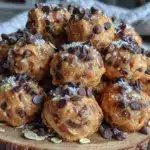
Back to School Peanut Butter Banana Energy Bites
- Total Time: 25 minutes
- Yield: 20 servings 1x
Description
A simple, no-bake 5-ingredient snack made with ripe bananas, peanut butter, and oats. These energy bites are perfect for busy mornings, budget-friendly meal prep, and kid-approved snacking.
Ingredients
- 2 medium ripe bananas (about 200g)
- 1 cup old-fashioned rolled oats (80g)
- 1/2 cup creamy peanut butter (128g)
- 2 tablespoons honey
- 1 teaspoon vanilla extract
- Optional: 1/2 cup mini chocolate chips, 2 tablespoons flax seeds, or protein powder
Instructions
- Peel the bananas and mash them in a medium mixing bowl until mostly smooth, leaving a few small chunks for texture.
- Add the peanut butter, honey, and vanilla extract to the mashed bananas. Stir vigorously until fully incorporated and the mixture looks uniform.
- Pour in the rolled oats and stir until everything is well combined. The mixture should resemble a thick, sticky dough. Adjust consistency with extra oats or honey if needed.
- Cover the bowl and chill in the refrigerator for at least 15-30 minutes to firm up the mixture.
- Using a tablespoon or cookie scoop, portion out the mixture. Roll each portion between your palms to form 1-inch balls. Wipe hands with a damp paper towel if the mixture is sticky.
- Place the finished bites on a parchment-lined plate or baking sheet. Store in an airtight container in the fridge for up to a week or in the freezer for up to three months.
Notes
Use very ripe bananas with brown spots for natural sweetness and easier mashing. Do not skip the chilling step, as it helps the oats absorb moisture and makes the mixture easier to roll. For nut-free schools, substitute peanut butter with sunflower seed butter. These freeze well; thaw on the counter for 10 minutes before eating.
- Prep Time: 10 minutes
- Cook Time: 0 minutes
- Category: Snack
- Cuisine: American
Nutrition
- Serving Size: 1 energy bite
- Calories: 95
- Sugar: 6
- Sodium: 50
- Fat: 4
- Saturated Fat: 0.5
- Carbohydrates: 12
- Fiber: 1.5
- Protein: 3
Keywords: energy bites, no bake snacks, peanut butter banana, meal prep, back to school snacks, budget meals, healthy snacks, kid friendly