There is a specific kind of misery that only happens in mid-July. You’re standing in line at a coffee shop, the air conditioning is blasting at a temperature that could freeze water, and you’re sweating through your shirt just waiting for your turn to order. When you finally get to the counter, you look at the menu, realize an iced latte costs more than a decent lunch, and wonder if you can just survive on tap water until you get home.
I’ve been there. More times than I care to admit.
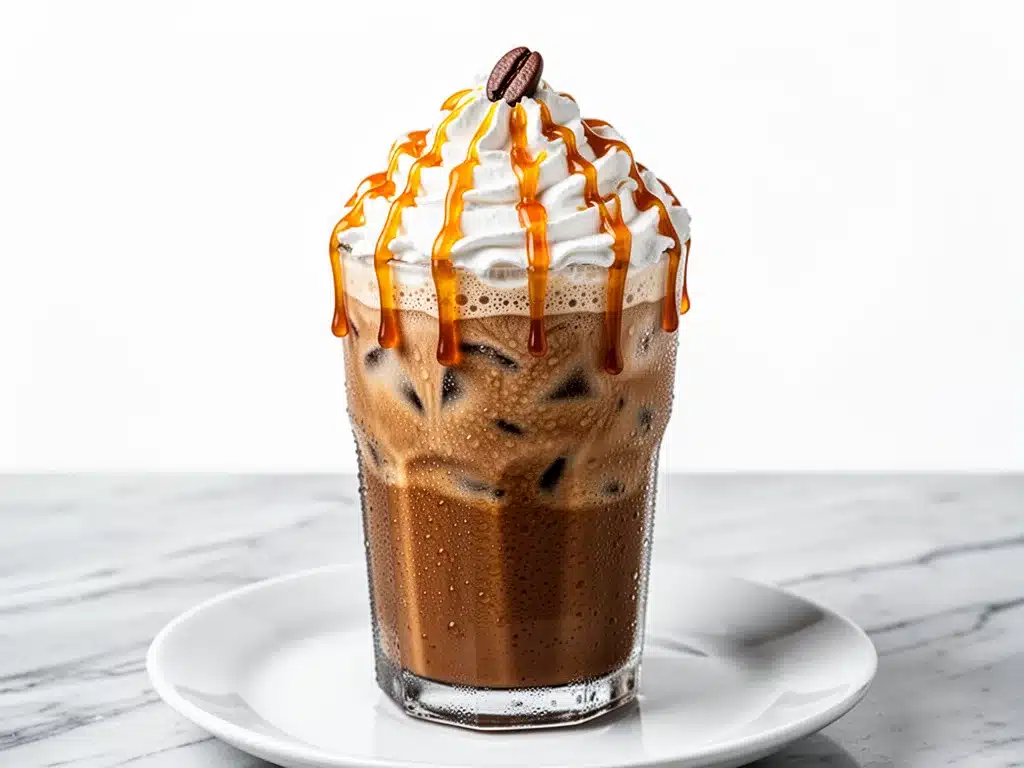
Last summer, I hit my breaking point. I had spent $18 on a giant, syrupy iced drink that tasted mostly like sugar and regret. I got home, drank half of it, and realized I was exhausted before noon because of the caffeine crash, but still hungry because it wasn’t actually food. That’s when I decided to stop outsourcing my morning fuel. I bought a cheap blender, grabbed some ice, and made what I now call my blended espresso frappe. It’s creamy, it’s cold, it hits that sweet spot between dessert and breakfast, and it costs about $1.50 to make at home.
This isn’t just about saving money (though I love saving money). It’s about control. When you make your own blended espresso frappe, you decide how sweet it is. You decide what kind of milk goes in. You decide if you want it to taste like a vacation or just like caffeine. After testing this recipe about fifty times—yes, I’m serious, I’ve had a lot of weird, separated, or icy drinks in my kitchen—I’ve perfected the ratio. It’s thick like a milkshake, smooth as silk, and keeps you awake without the jitters.
If you’re tired of paying coffee shop prices or dealing with watery iced coffee that turns to soup in your cup, you need to try this. It’s the ultimate summer hack, and once you make it, you’ll never go back to store-bought cold brew. Trust me on this.
Why You’ll Love This Blended Espresso Frappe
Okay, so I’m biased. I probably drink this every single day during July and August. But there are actual, tangible reasons why this recipe has earned a permanent spot in my kitchen rotation. It’s not just “coffee with ice.” It’s an experience.
- It’s Faster Than Driving to a Coffee Shop — Seriously. From hitting the blender button to taking that first sip, it takes about 3 minutes. No waiting in line, no waiting for the barista to steam milk, no driving around looking for parking. I make this while my toast is popping. It’s the ultimate efficiency hack for busy mornings.
- It Actually Tastes Like a Treat — Most homemade iced coffee tastes like… well, iced coffee. This tastes like a dessert. The blending process aerates the coffee and creates this incredible, frothy texture that feels luxurious. It’s thick enough to drink with a spoon. If you’re a fan of things like fluffy Japanese soufflé pancakes, you’ll appreciate this texture. It’s all about that airy, light mouthfeel.
- Customizable to Your Exact Cravings — Do you love vanilla? Add a splash. Want it chocolatey? Stir in some cocoa powder. Preferring it dairy-free? No problem. I’ve made this with oat milk, almond milk, and coconut milk, and it all works. Unlike a coffee shop where you’re limited to their specific syrups, your kitchen is your playground. It’s like having your own personal barista who never judges your sugar choices.
- It’s Surprisingly Satisfying — Because it’s blended with milk (or a creamy alternative), it feels substantial. It’s not just a liquid caffeine hit; it has body. I often drink this as a breakfast replacement on mornings when I don’t have time for a full meal. It keeps me full longer than a black coffee because of the fats and proteins in the milk. It’s fuel, disguised as a treat.
- Zero Waste — No paper cups, no plastic lids, no straws that end up in the ocean. Just your favorite reusable mug. It feels good to sip something cold on a hot day knowing you’re not contributing to the landfill. Plus, cleanup is a breeze—rinse the blender, done.
Bottom line? This is my go-to when I need a pick-me-up that doesn’t involve leaving the house. It’s reliable, delicious, and makes even the hottest days feel a little more bearable.
Ingredients You’ll Need for the Perfect Frappe
Here’s the best part: you probably already have most of this stuff in your kitchen. You don’t need fancy equipment or obscure ingredients. Just a few simple items to create that café-quality experience at home.
For the Base:
Strong Coffee or Espresso (2 shots / 60ml) — This is the heart of your blended espresso frappe. You can use freshly brewed espresso, strong cold brew concentrate, or even instant coffee dissolved in hot water. I prefer a dark roast because it stands up well to the ice and milk. If you’re using instant, use about 2 teaspoons per shot. Don’t skimp on the coffee strength; it will get diluted by the ice.
Ice Cubes (1 cup / 120g) — Yes, a full cup. You need enough ice to make the drink cold and slushy, but not so much that it waters down the flavor. Use fresh, clean ice. If your ice tastes like the freezer, your frappe will too. Pro tip: Freeze some coffee in ice cube trays instead of water. As the ice melts, it adds more coffee flavor instead of diluting it. Game changer.
Milk (½ cup / 120ml) — This is what gives the frappe its creamy texture. Whole milk is traditional and richest, but you can use whatever you prefer. Oat milk is my favorite for a vegan version because it froths beautifully. Almond milk works too, but the drink will be lighter. Dairy-free milks with higher fat content (like coconut milk) work best for that creamy mouthfeel.
For the Flavor:
Sweetener (1-2 tablespoons / 15-30g) — Sugar, simple syrup, honey, or maple syrup. Simple syrup is easiest because it dissolves instantly in cold liquid. Granulated sugar might not dissolve fully in a cold drink, leaving you with crunchy bits at the bottom. If you’re using honey, warm it up slightly with a teaspoon of hot coffee first to make it pourable. I usually start with 1 tablespoon and taste as I go.
Vanilla Extract (½ teaspoon) — Optional, but highly recommended. It adds that classic coffee shop depth. Use real vanilla extract, not imitation. It makes a noticeable difference in the aroma and taste.
Cocoa Powder (1 tablespoon) — Only if you want a mocha frappe. Unsweetened cocoa powder adds a rich chocolate note without adding extra sugar. I love this version when I’m craving something dessert-like. It pairs beautifully with the espresso.
For the Topping:
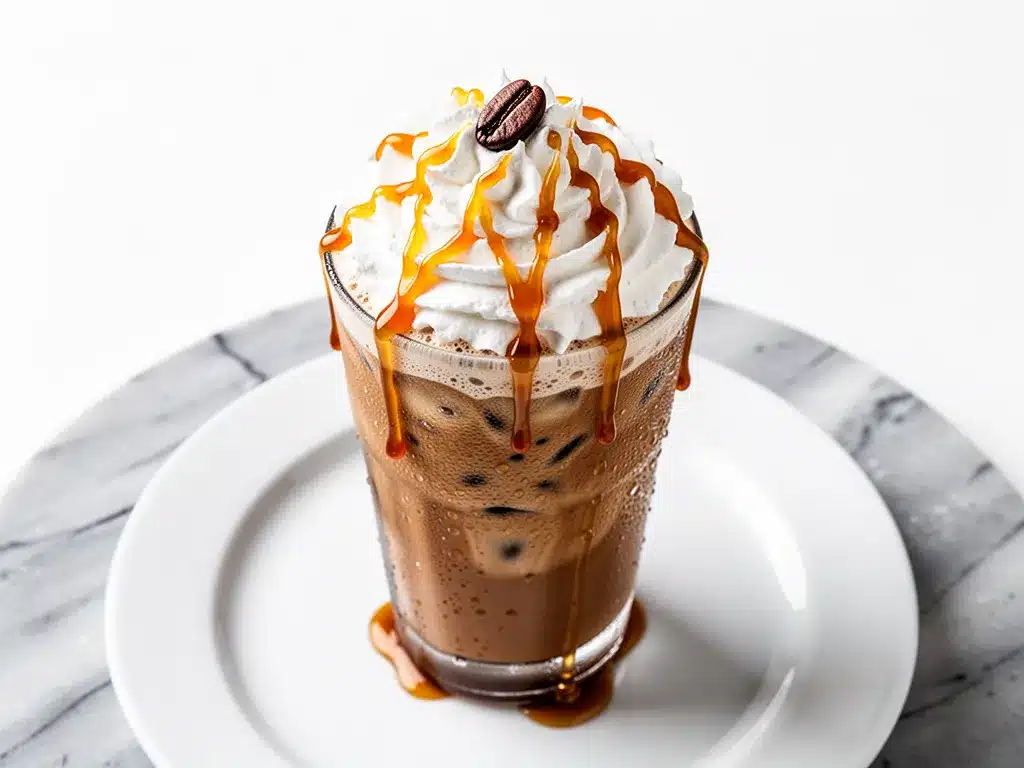
Whipped Cream — A dollop on top makes it feel fancy. You can use canned whipped cream, homemade whipped cream, or even coconut whipped cream for dairy-free. It’s not necessary, but it’s fun.
Cocoa Powder or Cinnamon — A light dusting on top of the whipped cream adds visual appeal and an extra layer of flavor.
Personal Tips: I always keep a bottle of simple syrup in my fridge for quick sweetening. It saves time and ensures no gritty sugar at the bottom of your glass. Also, if you’re sensitive to caffeine, you can use decaf espresso beans to brew your base. The flavor is the same, just without the kick.
Equipment Needed
You don’t need fancy equipment for this. Here’s what I actually use.
High-Speed Blender — I use a Vitamix, but any blender that can crush ice will work. A standard blender might struggle with large ice cubes, so consider pulsing first. If you don’t have a powerful blender, crush the ice in a bag with a rolling pin before adding it to the blender.
Measuring Cups and Spoons — Standard stuff. Dollar store versions work fine.
Mason Jars or Tall Glasses — I like serving this in a mason jar because it looks rustic and cool. Tall glasses work too, especially if you’re adding whipped cream on top.
Small Saucepan — Only needed if you’re making simple syrup from scratch. Otherwise, skip this.
Optional but nice: A milk frother if you want to foam your milk before blending for extra creaminess. It’s not necessary, but it’s a fun touch.
Tool Tips: Don’t have a blender? You can make a shaken iced espresso by shaking coffee, milk, and ice in a jar with a tight lid. It won’t be as thick, but it’s still refreshing. I do this when I’m camping or traveling.
How to Make It: Step-by-Step
Alright, let’s make this! I’m walking you through exactly how I do it, including the little tricks I’ve picked up.
Step 1: Brew Your Coffee
If you’re using fresh coffee, brew a strong cup or two shots of espresso and let it cool to room temperature. You don’t need to chill it in the fridge, but hot coffee will melt the ice too quickly. If you’re using instant coffee, dissolve 2 teaspoons in ¼ cup hot water and let it cool. Set aside.
Step 2: Prep Your Sweetener
If you’re using granulated sugar, consider making a quick simple syrup. Combine equal parts sugar and water in a small saucepan, heat until dissolved, and let cool. This ensures your drink is smooth. If you’re using honey or maple syrup, measure it out now.
Step 3: Combine Ingredients in Blender
Add the cooled coffee, ice cubes, milk, and sweetener to your blender. If you’re adding vanilla or cocoa powder, toss them in now. Start with less sweetener than you think you need—you can always add more.
Step 4: Blend Until Smooth
Secure the lid tightly. Start the blender on low speed to break up the ice, then gradually increase to high. Blend for 30-45 seconds until the mixture is smooth, frothy, and has a consistent slushy texture. If it’s too thick, add a splash more milk. If it’s too thin, add more ice. You want it to be pourable but thick enough to hold its shape.
Step 5: Taste and Adjust
Pour a little into a spoon and taste. Need more sweetness? Add a bit more syrup. Need more coffee kick? Add another splash of espresso. Blend for 10 more seconds to incorporate.
Step 6: Serve
Pour into a tall glass. Top with whipped cream if you’re feeling fancy, and dust with cocoa powder or cinnamon. Serve immediately with a straw and a spoon. The foam on top is meant to be enjoyed!
Total Time: About 5 minutes (2 minutes prep, 3 minutes blending)
Built-in Troubleshooting:
– Too icy? Blend longer or add a splash of milk.
– Too watery? You used too much ice or your coffee was too weak. Next time, use less ice or stronger coffee.
– Sweetener not dissolving? Use simple syrup or warm the sweetener slightly before adding.
Expert Tips & Tricks
Here’s everything I’ve learned from making this dozens of times. These tips will save you from my mistakes.
Coffee Ice Cubes are a Game-Changer
I can’t stress this enough. Freeze leftover coffee in ice cube trays. When you blend them, they chill the drink without watering it down. It’s the single best trick for a strong, flavorful frappe. I make a batch every Sunday and keep them in my freezer.
Don’t Overfill the Blender
Ice takes up a lot of space. If you fill the blender to the top, the motor will struggle, and you’ll get uneven blending. Leave some room at the top for the ice to move around. I usually blend in two batches if I’m making multiple drinks.
Use Cold Milk
Straight from the fridge. Warm milk will melt the ice faster and result in a thinner drink. Keep everything cold for the best texture.
Blend in Pulses First
If your blender is powerful, you might not need to pulse. But if it’s weaker, start with short pulses to crush the ice, then blend continuously. This prevents your motor from burning out.
Customize Your Sweetness
Start with 1 tablespoon of sweetener. Taste. Add more if needed. Different milks have different natural sweetness levels, so adjust accordingly. Oat milk is naturally sweeter, so you might need less added sugar.
Common Mistakes (and how to avoid them):
– Mistake: Drink is too thin
Fix: Add more ice or less milk. The ratio is key.
– Mistake: Drink is too thick
Fix: Add a splash of milk or coffee. Blend again.
– Mistake: Sweetener is gritty
Fix: Use simple syrup or dissolve sweetener in a little hot coffee first.
Variations & Substitutions
Once you’ve nailed the basic version, here’s how you can mix it up. I’ve tried all of these.
Mocha Frappe
Add 1 tablespoon of unsweetened cocoa powder to the blender. It adds a rich chocolate flavor without making it too sweet. Perfect for chocolate lovers.
Caramel Frappe
Swap the vanilla syrup for caramel syrup. Drizzle caramel on the inside of the glass before pouring, and top with whipped cream and a caramel drizzle. It’s like a vacation in a glass.
Vanilla Bean Frappe
Use vanilla bean paste instead of extract for visible specks and a more intense vanilla flavor. It looks beautiful and tastes amazing.
Coconut Coffee Frappe
Use full-fat coconut milk instead of dairy milk. Add a teaspoon of coconut extract. It’s tropical, creamy, and dairy-free. I love this when I’m feeling adventurous.
Dietary Modifications:
– Vegan: Use oat milk or coconut milk, and maple syrup or agave.
– Dairy-Free: Same as vegan, just use your preferred non-dairy milk.
– Low-Sugar: Use stevia or monk fruit sweetener, or skip sweetener entirely and rely on the natural sweetness of the milk.
Flavor Boosters:
– Spiced: Add a pinch of cinnamon or nutmeg.
– Herbal: Add a drop of lavender extract for a floral note.
– Nutty: Add a tablespoon of almond butter for a rich, nutty flavor.
Serving & Storage
How to Serve:
I usually serve this immediately in a tall glass with a straw. It’s best enjoyed fresh, while the foam is still on top. If you’re having guests, set up a frappe station with different syrups and toppings. It’s a fun way to customize your drink.
Side Dishes:
This pairs well with light breakfast items like Greek yogurt berry breakfast parfait or a simple piece of toast. It’s also great with a side of fruit like berries or banana slices.
Storage Instructions:
This drink is best made fresh. The foam settles quickly, and the ice melts, changing the texture. If you must store it, keep it in an airtight container in the fridge for up to 2 hours. Stir well before drinking. It won’t be as frothy, but it’ll still be cold and delicious.
Freezing:
You can freeze the coffee mixture (without ice) in ice cube trays for later use. Just blend with fresh milk and ice when ready to drink.
Pro tip: If you’re meal-prepping, brew a large batch of coffee and freeze it in portions. Then, when you want a frappe, just grab a coffee cube, add milk and ice, and blend. It saves so much time on busy mornings.
Nutrition Information
I’m not a nutritionist, but here’s the breakdown if you’re tracking. Note that this varies based on milk and sweetener choices.
Per Serving (based on 1 drink):
– Calories: 150-250 (depending on milk and sugar)
– Protein: 4-8g
– Carbs: 15-25g
– Fiber: 0g
– Sugar: 10-20g
– Fat: 6-10g
– Caffeine: 95mg (approx.)
What’s Good:
– Provides a caffeine boost
– Can be made low-sugar
– Contains protein from milk
What to Know:
– Higher in calories if using full-fat milk and sugar
– Contains dairy (unless modified)
– Moderate caffeine content
My Take:
Look, this is a treat. It’s not a health food. But it’s better than a $6 sugary drink from a coffee shop, and you control the ingredients. When I want to make it lighter, I use almond milk and skip the added sugar. But usually? I just enjoy it as a special morning ritual.
Final Thoughts
So that’s my blended espresso frappe! I’ve probably talked your ear off at this point, but when you make a recipe this often, you have a lot to say about it.
This has saved my mornings more times than I can count. It’s my answer to “I need caffeine” when I’m tired, don’t want to leave the house, and still want something that tastes really good. My kids love it too, especially when we add whipped cream. It’s happy in a glass.
Make it yours! Try different milks, play with flavors, adjust the sweetness to your liking. The best recipes are the ones you adapt to your tastes. If you make this, drop a comment and let me know how you like it! I love hearing how recipes turn out in your kitchen. And if something doesn’t work, tell me that too—I’m here to help troubleshoot.
Happy blending! And I hope your kitchen smells half as good as mine does right now.
Frequently Asked Questions
Can I use instant coffee instead of espresso?
Absolutely! Instant coffee is a great shortcut. Use about 2 teaspoons of instant coffee per shot of espresso, dissolved in a small amount of hot water. Let it cool before blending. It won’t be exactly the same as fresh espresso, but it’s still delicious and convenient. I use this method when I’m in a rush.
Why is my frappe too watery?
This usually means you used too much ice or not enough milk. The ice melts during blending, adding water to the drink. Next time, use less ice or stronger coffee. Also, ensure your blender is powerful enough to crush the ice quickly, so it doesn’t melt before blending. If it’s already watery, you can’t really fix it, but you can add more ice and blend again.
Can I make this ahead of time?
Not really. The foam settles quickly, and the ice melts, changing the texture. It’s best made fresh. However, you can prep the coffee and sweetener ahead of time and store them in the fridge. Then, just add ice and milk when you’re ready to blend.
How do I make this dairy-free?
Simply swap the dairy milk for a dairy-free alternative like oat milk, almond milk, or coconut milk. Oat milk is my favorite because it’s creamy and froths well. Coconut milk adds a nice tropical flavor. Just keep in mind that some dairy-free milks are thinner, so you might need to adjust the ratio.
Can I use frozen coffee instead of ice?
Yes! In fact, I recommend it. Freeze coffee in ice cube trays, then use those cubes instead of regular ice. This prevents the drink from becoming watery as the ice melts. It’s a simple trick that makes a huge difference in flavor.
What kind of blender do I need?
Any blender that can crush ice will work. A high-speed blender like a Vitamix or Ninja is ideal because it creates a smoother, frothier texture. But a standard blender will work too, especially if you pulse the ice first. Just be patient and blend until smooth.
Can I make this sugar-free?
Yes! Use a sugar-free sweetener like stevia or monk fruit. Or, skip the sweetener entirely and rely on the natural sweetness of the milk. Some people find that the coffee’s natural bitterness is balanced by the milk’s creaminess. It’s a matter of personal preference.
Pin This Recipe!
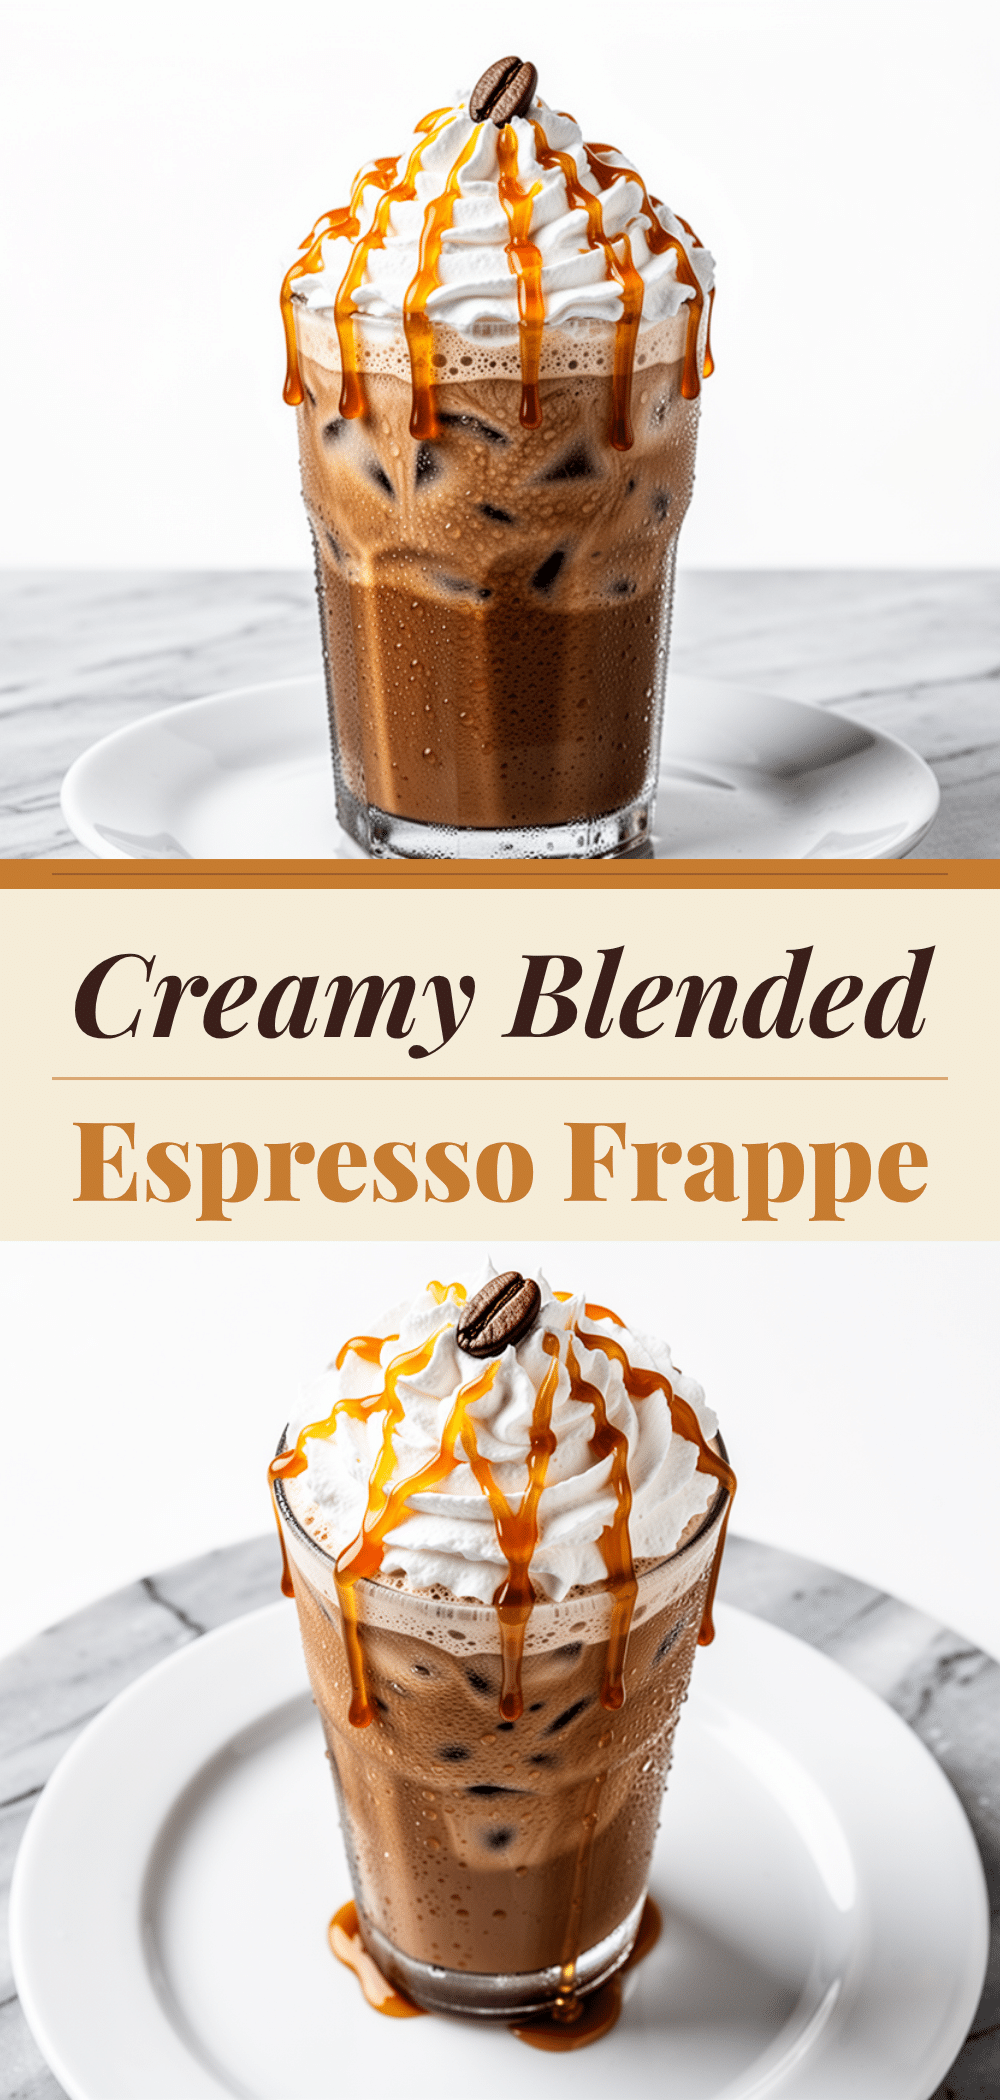
Blended Espresso Frappe: Easy Summer Iced Coffee
- Total Time: 5 minutes
- Yield: 1 serving 1x
Description
A creamy, cold, and customizable blended espresso frappe that tastes like a milkshake but fuels you like coffee. This easy summer drink is faster and cheaper than coffee shop versions.
Ingredients
- 2 shots (60ml) strong coffee or espresso, cooled
- 1 cup (120g) ice cubes
- 1/2 cup (120ml) milk (dairy or non-dairy like oat, almond, or coconut)
- 1–2 tablespoons (15-30g) sweetener (sugar, simple syrup, honey, or maple syrup)
- 1/2 teaspoon vanilla extract (optional)
- 1 tablespoon unsweetened cocoa powder (optional, for mocha version)
- Whipped cream for topping (optional)
- Cocoa powder or cinnamon for dusting (optional)
Instructions
- Brew strong coffee or espresso and let it cool to room temperature. If using instant coffee, dissolve 2 teaspoons in 1/4 cup hot water and cool.
- Prepare sweetener if using granulated sugar by making a simple syrup (equal parts sugar and water heated until dissolved) or measure out honey/maple syrup.
- Add cooled coffee, ice cubes, milk, and sweetener to a high-speed blender. Add vanilla extract or cocoa powder if desired.
- Secure the lid and start blending on low speed to break up ice, then gradually increase to high speed.
- Blend for 30-45 seconds until the mixture is smooth, frothy, and has a consistent slushy texture.
- Taste and adjust sweetness or coffee strength if needed, blending for 10 more seconds to incorporate.
- Pour into a tall glass or mason jar.
- Top with whipped cream and dust with cocoa powder or cinnamon if desired. Serve immediately with a straw and spoon.
Notes
For best results, use cold milk and freeze coffee in ice cube trays to prevent dilution. If your blender is not high-speed, pulse the ice first. This drink is best served immediately as the foam settles quickly.
- Prep Time: 2 minutes
- Cook Time: 3 minutes
- Category: Beverage
- Cuisine: American
Nutrition
- Serving Size: 1 tall glass
- Calories: 200
- Sugar: 15
- Sodium: 50
- Fat: 8
- Saturated Fat: 5
- Carbohydrates: 20
- Protein: 6
Keywords: iced coffee, espresso frappe, blended coffee, summer drink, coffee shop copycat, vegan coffee, dairy-free coffee, quick breakfast


