I still remember the exact moment I realized my breakfast game was about to change forever. It was a lazy Saturday morning, the kind where the kids are still asleep, the house is quiet, and I’m running on three hours of sleep and sheer willpower. I had a bag of eggs going bad in the fridge, some milk that was *just* past its prime, and a desperate need to make something that felt special without costing a fortune or taking two hours. So, I did what any budget-conscious mom would do: I raided the pantry for flour, baking powder, and a bit of sugar, and decided to try that weird viral trend I’d seen on my phone. You know the one. The ones that look like clouds.
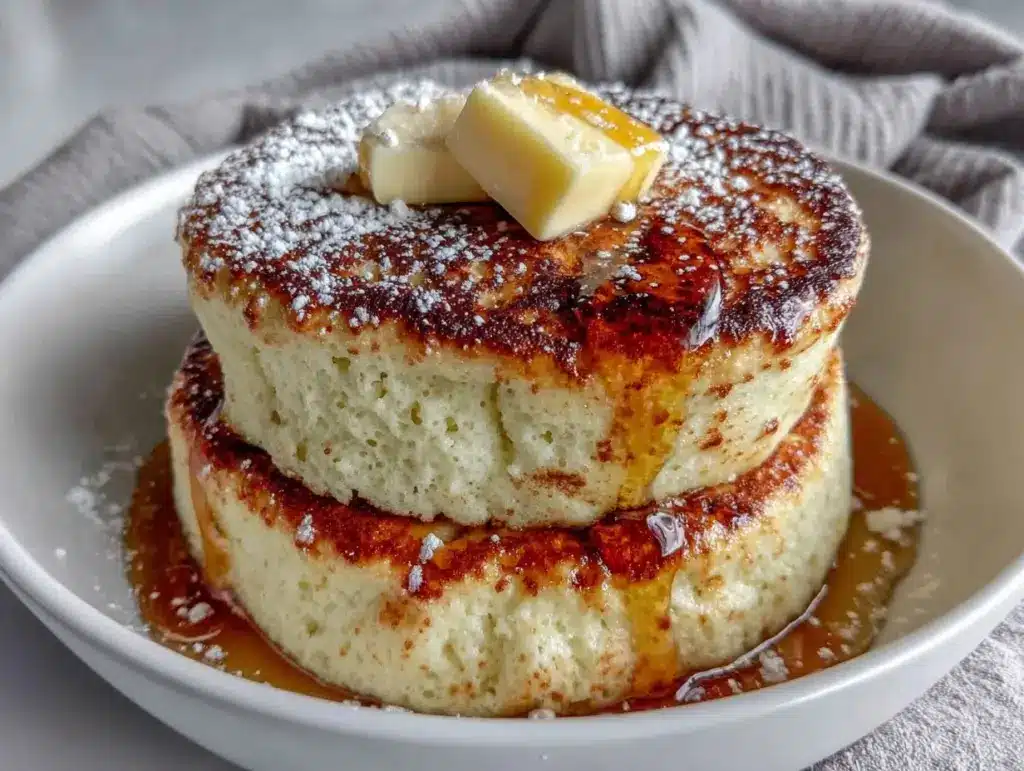
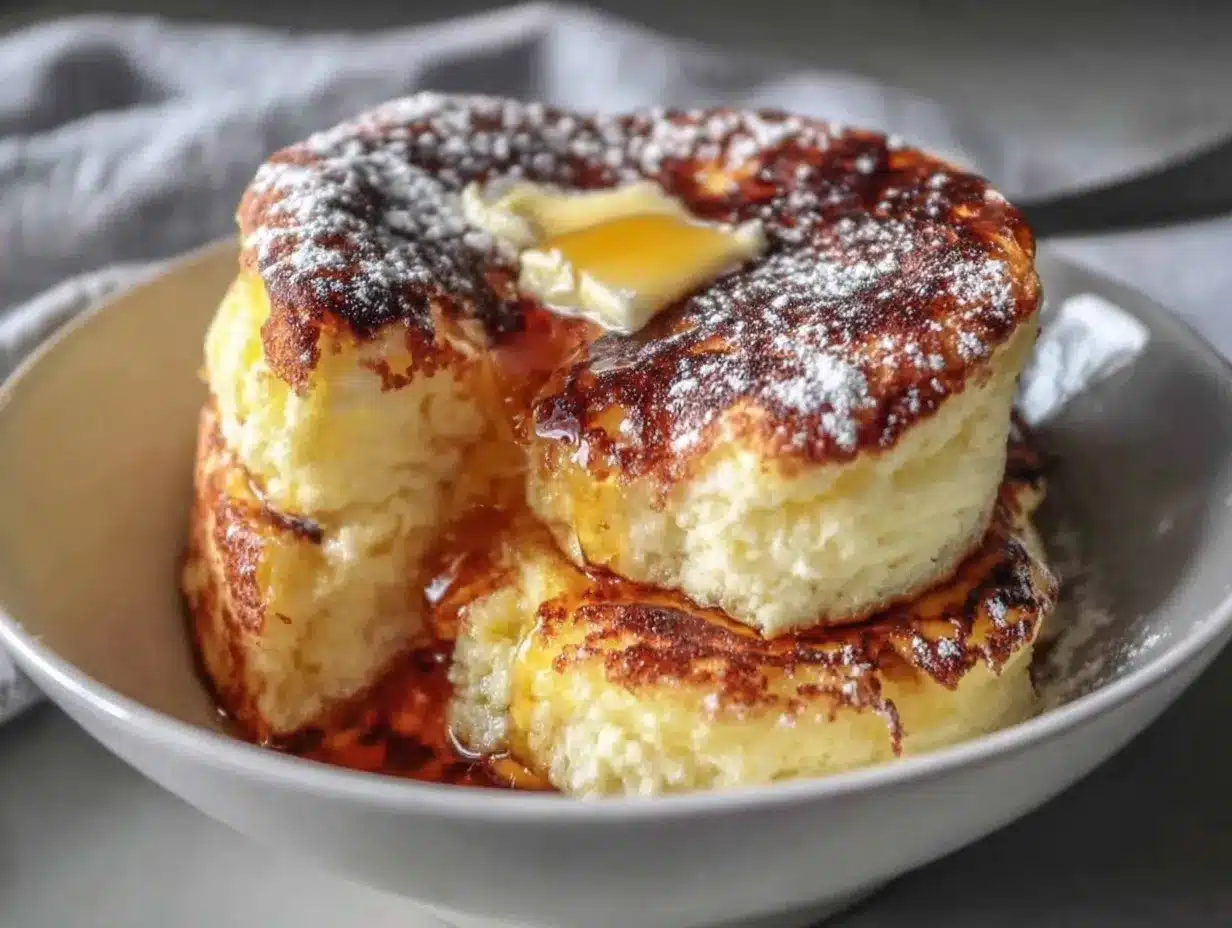
I wasn’t expecting much. I expected flat, rubbery discs that would taste like cardboard. Instead, what came out of my tiny saucepan were these towering, jiggly, impossibly fluffy pancakes that looked like they belonged in a high-end Japanese café, not my chipped enamelware kitchen. My kids came downstairs, rubbed the sleep from their eyes, and actually gasped. One bite, and my son said, “Mom, these taste like dessert.”
That was six months ago. Now, these Ultra-Fluffy Japanese Soufflé Pancakes are a weekend staple. And the best part? They don’t require expensive specialty ingredients. No matcha, no rare flours, no fancy equipment. Just simple pantry staples and a little bit of patience. I’ve tested this recipe over a dozen times, tweaking the heat and the folding technique until I got it right. I’ve also figured out how to make them in bulk so I can feed my hungry crew without spending half the morning in the kitchen. If you’ve been intimidated by the idea of making soufflé pancakes, let me tell you: it’s easier than you think. And once you try them, you’ll never go back to your old, flat griddle cakes.
Why You’ll Love This Recipe
There are a few reasons these pancakes have completely taken over our weekend mornings, but I’ll keep it real with you. It’s not just about the Instagram-worthy height. It’s about the experience.
- They Taste Like Clouds — Seriously. The texture is light, airy, and slightly custardy in the center. It’s not dense like a buttermilk pancake or crispy like a crepe. It’s soft. So soft. My kids describe them as “pillows.” I’m not sure I’ve ever been so proud of my cooking.
- Stupid Simple Ingredients — You likely have everything in your kitchen right now. Eggs, milk, flour, sugar, baking powder, and butter. That’s it. No fancy imports, no trip to a specialty Asian market. It’s the ultimate budget-friendly breakfast that feels gourmet.
- Kid-Approved (Even the Picky Ones) — I have a son who refuses to eat anything yellow unless it’s fries. He loved these. The mild sweetness and soft texture are perfect for little hands. Plus, they’re fun to eat. You can pile them high and watch them jiggle. It’s like a game.
- Perfect for Doubling — Because they cook in batches, I’ve learned to double the batter. While one batch cooks, I keep the finished ones warm in the oven. This way, I can feed four people without spending forty-five minutes standing over the stove. It’s a game-changer for busy mornings.
- Super Affordable — Compared to buying a box of expensive mix or taking the family out to brunch (which can easily run $50+ for four people), this costs about $2 to make. That’s pennies per serving for a breakfast that feels like a treat.
These pancakes are my answer to “What’s for breakfast?” when I want to spoil my family without breaking the bank. They’re comforting, fun, and surprisingly easy to master.
Ingredients You’ll Need
Here’s the good news: you don’t need a specialty store for this. I’m particular about a few things, but mostly, this is a pantry-friendly recipe. Here’s what you need to make the fluffiest pancakes you’ve ever seen.
For the Batter
Eggs (3 large, room temperature) — This is crucial. Room temperature eggs whip up to a higher volume than cold ones. I take them out of the fridge when I start prepping. Don’t skip this step if you want maximum fluff.
Granulated Sugar (3 tablespoons / 40g) — Just enough to sweeten the batter and help stabilize the egg whites. You don’t want them too sweet, just a gentle hint. You can reduce to 2 tablespoons if you’re watching sugar, but 3 is the sweet spot for texture.
Milk (3 tablespoons / 45ml) — Whole milk is best for richness, but 2% works fine. Avoid skim milk; you need that fat for a tender crumb. If you’re dairy-free, oat milk works surprisingly well here.
Vegetable Oil (1 tablespoon / 15ml) — I use a neutral oil like canola or vegetable. Olive oil is too strong and will clash with the delicate egg flavor. Melted butter works too, but oil keeps them softer longer.
Vanilla Extract (1 teaspoon) — Pure vanilla, please. I know it’s tempting to use the cheap imitation stuff, but in a recipe with so few ingredients, the vanilla really shines. It adds that warm, homey smell.
All-Purpose Flour (3 tablespoons / 25g) — Yes, that’s it. Just three tablespoons. Don’t use cake flour unless you have it, but AP works perfectly. Sift it to remove lumps. Lumpy batter means lumpy pancakes.
Baking Powder (½ teaspoon) — This is your leavening agent. Make sure it’s fresh! If your baking powder is older than six months, it won’t rise properly. I keep a fresh tin specifically for baking.
For the Meringue
Cream of Tartar (¼ teaspoon) — This is the secret weapon. It stabilizes the egg whites so they don’t deflate. You can skip it if you have to, but your pancakes will be less stable. It costs pennies and lasts forever.
Pinch of Salt — Just a tiny pinch to balance the sweetness and enhance the egg flavor.
Equipment Needed
You don’t need fancy gadgets. Here’s what I actually use in my everyday kitchen.
Small Saucepan (5-6 inch) — This is the most important tool. I use a small stainless steel saucepan. You need something narrow so the pancakes stack up high instead of spreading out. A 5-inch pan is ideal. If you don’t have one, a small oven-safe ramekin can work, but a saucepan is easier to manage on the stove.
Electric Hand Mixer — While you *can* whisk by hand, it takes forever and you’ll get tired. An electric mixer is worth every penny. I use a cheap one from Target and it works fine. Just make sure it’s clean and dry.
Rubber Spatula — For folding. You need a flexible spatula to gently fold the meringue into the batter without deflating it. A wooden spoon is too stiff.
Baking Sheet + Parchment Paper — I cook the pancakes in the pan, then transfer them to a baking sheet to finish in the oven. Parchment paper keeps cleanup easy.
Aluminum Foil — You’ll need this to cover the pan while they steam. I use a double layer to keep the heat in.
Non-Stick Spray or Butter — To grease the pan. Don’t skip this, or you’ll be scraping forever.
How to Make It: Step-by-Step
Alright, let’s make these! I’m walking you through exactly how I do it. It’s a two-part process: making the batter and making the meringue. Don’t panic if it sounds technical; it’s really just mixing and folding.
Step 1: Prep Your Station (5 minutes)
Separate your eggs. Put the yolks in one bowl and the whites in a larger, completely clean and dry bowl. Any trace of yolk in the whites will stop them from whipping up. Grease your small saucepan generously with butter or oil. Set it aside.
Step 2: Make the Base Batter (3 minutes)
To the bowl with the egg yolks, add the sugar, milk, oil, and vanilla extract. Whisk together until smooth and well combined. Sift the flour and baking powder into the yolk mixture. Whisk gently until just combined. It’s okay if there are a few small lumps. Set this aside.
Step 3: Whip the Meringue (5-7 minutes)
This is the magic step. Add the cream of tartar and salt to the egg whites. Using your electric mixer on medium-high speed, beat the whites until they form soft peaks. This means when you lift the beaters, the peaks curl over slightly. Slowly add the sugar (if you want extra stability, you can add it gradually, but for this recipe, I just dump it in once the whites are foamy) and continue beating until you have stiff, glossy peaks. When you lift the beaters, the peak should stand straight up like a stiff peak of snow. Do not overbeat, or the whites will become grainy.
Step 4: Fold the Batter (2 minutes)
Add about one-third of the meringue to the yolk batter. Whisk vigorously to lighten the batter. Then, add the rest of the meringue. Using your rubber spatula, gently fold the mixture. Cut down through the center, scrape the bottom, and fold over the top. Rotate the bowl and repeat. You’re looking for a uniform pale yellow color. Stop as soon as it’s mixed. Overmixing deflates the air, and we need that air for the fluff.
Step 5: Cook the Pancakes (10 minutes)
Heat your greased saucepan over **low** heat. Pour the batter into the pan, filling it about ¾ full. It should look like a tall mound. Immediately cover the pan with aluminum foil. The foil traps the steam, which cooks the inside without burning the bottom. Let it cook for 7-8 minutes. Do not peek! You’ll lose the heat.
Step 6: The Oven Finish (5 minutes)
Remove the foil. The top should look set but still jiggly. Transfer the entire saucepan (if it’s oven-safe) to a preheated 350°F (175°C) oven. Bake for 5 minutes. This sets the top and gives that beautiful golden color. If your pan isn’t oven-safe, just leave the foil on for another 2-3 minutes on low heat until the top is set.
Step 7: Serve Immediately
Slide the pancake out of the pan onto a plate. It will be tall and jiggly. Serve right away. They deflate slightly as they cool, but they’re still delicious. Top with maple syrup, fresh berries, or whipped cream.
Total Time: About 20-25 minutes for a batch of 2-3 pancakes.
Expert Tips & Tricks
Here’s everything I’ve learned from making these dozens of times. These tips will save you from my mistakes.
Room Temperature Eggs are Non-Negotiable
I can’t stress this enough. Cold eggs do not whip to the same volume. If you forgot to take them out, soak the eggs in warm water for 10 minutes. It makes a huge difference in height.
Clean Bowl, Clean Whisk
Any grease in your egg white bowl will prevent whipping. Wipe your bowl and beaters with a little vinegar or lemon juice before you start. It sounds fancy, but it works.
Low and Slow Heat
This is the biggest mistake people make. If your heat is too high, the bottom burns before the inside is cooked. Keep it on the lowest setting. If you’re unsure, test the heat by putting a drop of water in the pan—it should sizzle gently, not roar.
Don’t Skip the Oven
The stovetop cooks the bottom, but the oven finishes the top. Without the oven, you might end up with a raw center or a burnt bottom. The oven ensures even cooking.
Double the Batch Strategy
Since these cook in small batches, I double the recipe. While one batch is in the oven, I start the next batter. I keep the finished pancakes on a baking sheet in a 200°F oven. They stay warm and fluffy for up to 15 minutes. This way, I can serve 6-8 pancakes without stress.
How to Know When They’re Done
Give the pan a gentle shake. The pancake should jiggle like Jell-O in the center but hold its shape on the edges. If it’s liquid, give it more time. If it’s firm, it’s done.
Variations & Substitutions
Once you’ve nailed the basic version, here’s how you can mix it up. I’ve tried all of these.
Berry Bliss
Before putting the foil on, sprinkle fresh blueberries or raspberries into the batter. They get warm and juicy, bursting with flavor. My kids love this version.
Chocolate Chip
Stir in a handful of chocolate chips after folding in the meringue. It’s like a pancake cookie. Warning: these are dangerous. You’ll eat them all.
Pandan Flavor
Add ½ teaspoon of pandan extract to the yolk mixture. This gives them that authentic green color and nutty, vanilla-like aroma found in Japanese cafes. You can find it at Asian markets or online.
Gluten-Free
Use a 1:1 gluten-free flour blend. The texture is slightly different but still very fluffy. I’ve used Bob’s Red Mill and it works great.
Dairy-Free
Swap the milk for oat or almond milk, and use coconut oil instead of vegetable oil. They’re still delicious, just slightly less rich.
Mini Pancakes
If you don’t have a small saucepan, you can use a muffin tin! Grease the cups, pour in the batter, and bake at 350°F for 12-15 minutes. They’re cute and perfect for kids.
Serving & Storage
How to Serve
I usually serve these straight from the pan, piled high on a plate. They look rustic and homemade. Top with:
- Warm maple syrup (the classic choice)
- Fresh strawberries or blueberries
- A dollop of whipped cream
- A dusting of powdered sugar
They pair beautifully with a strong cup of coffee or tea. I also like them with a side of easy bacon ranch potato salad if I’m making a big brunch spread.
Storage
Honestly, these are best eaten fresh. They deflate after sitting for more than 10 minutes. But if you have leftovers:
- Refrigerator: Store in an airtight container for up to 2 days.
- Reheating: Reheat in a toaster oven or regular oven at 350°F for 5 minutes. The microwave makes them rubbery, so avoid it if you can.
Freezing
You can freeze them, but the texture changes. They become softer and lose some of their springiness. If you must freeze, wrap them individually in plastic wrap and freeze for up to 1 month. Reheat in the oven.
Nutrition Information
I’m not a nutritionist, but here’s the breakdown if you’re tracking. This is per pancake (makes 2-3 per batch).
Per Serving (1 Pancake):
- Calories: 180
- Protein: 6g
- Carbs: 22g
- Fiber: 1g
- Sugar: 10g
- Fat: 8g
These are lighter than traditional buttermilk pancakes because they use less flour and no heavy buttermilk. They’re a great treat, but remember they’re still made with eggs and sugar. I usually limit myself to two or three and share the rest with the family. It’s a balanced way to enjoy a sweet breakfast.
Final Thoughts
So that’s my go-to ultra-fluffy Japanese soufflé pancake recipe! I know it sounds complicated, but I promise you, it’s just mixing and folding. The hardest part is waiting for them to cook.
These pancakes have brought so much joy to our mornings. They’re a project, yes, but a fun one. My kids love helping me whip the egg whites (they think it’s magic), and we all love eating the result. They’re affordable, simple, and absolutely delicious.
Make them yours! Try different toppings, add some fruit, or just enjoy them plain with syrup. The best recipes are the ones you adapt to your family’s tastes. If you make these, I’d love to hear how they turn out. Drop a comment and let me know if your family loved them as much as mine did.
Happy cooking! And I hope your kitchen smells as good as mine does right now.
Frequently Asked Questions
Why did my pancakes deflate immediately?
This usually happens if the meringue was overmixed or deflated during folding. Make sure you fold gently and stop as soon as the batter is combined. Also, ensure your eggs were room temperature. Cold eggs don’t hold air as well. Another reason could be the heat was too high, cooking the outside too fast and trapping steam that then escaped.
Can I make these ahead of time?
Not really. These pancakes are best eaten fresh off the griddle. They lose their height and texture if they sit. However, you can prep the batter ahead. Whip the meringue, mix the yolk batter, and keep them separate. Just before cooking, fold them together. This saves you about 10 minutes of active time.
Why are my pancakes dense and not fluffy?
Density usually means the meringue wasn’t stiff enough. Make sure you beat the egg whites until they form stiff, glossy peaks. Also, check your baking powder. If it’s old, it won’t help the rise. And don’t skip the cream of tartar—it helps stabilize the whites.
Can I use a regular frying pan?
You can, but you need a small one (5-6 inches). If you use a large skillet, the batter will spread out and you’ll get thin, crepe-like pancakes instead of tall soufflés. A small pan forces the batter to stack up. If you only have a large pan, make smaller individual pancakes.
How do I keep them warm for my family?
Place the cooked pancakes on a baking sheet and put them in a 200°F (95°C) oven while you cook the next batch. They’ll stay warm and fluffy for up to 15 minutes. This is perfect for feeding a family of four or more.
Can I double the recipe?
Yes! I often double it. Just make sure you have a large enough bowl for the egg whites. You can whip them in batches if needed. Cook the pancakes in batches, keeping the finished ones warm in the oven.
What if I don’t have cream of tartar?
You can substitute with ½ teaspoon of lemon juice or white vinegar. It won’t be quite as stable, but it will still work. Or, just skip it and beat the whites until very stiff. It’s not ideal, but it’s doable in a pinch.
Pin This Recipe!
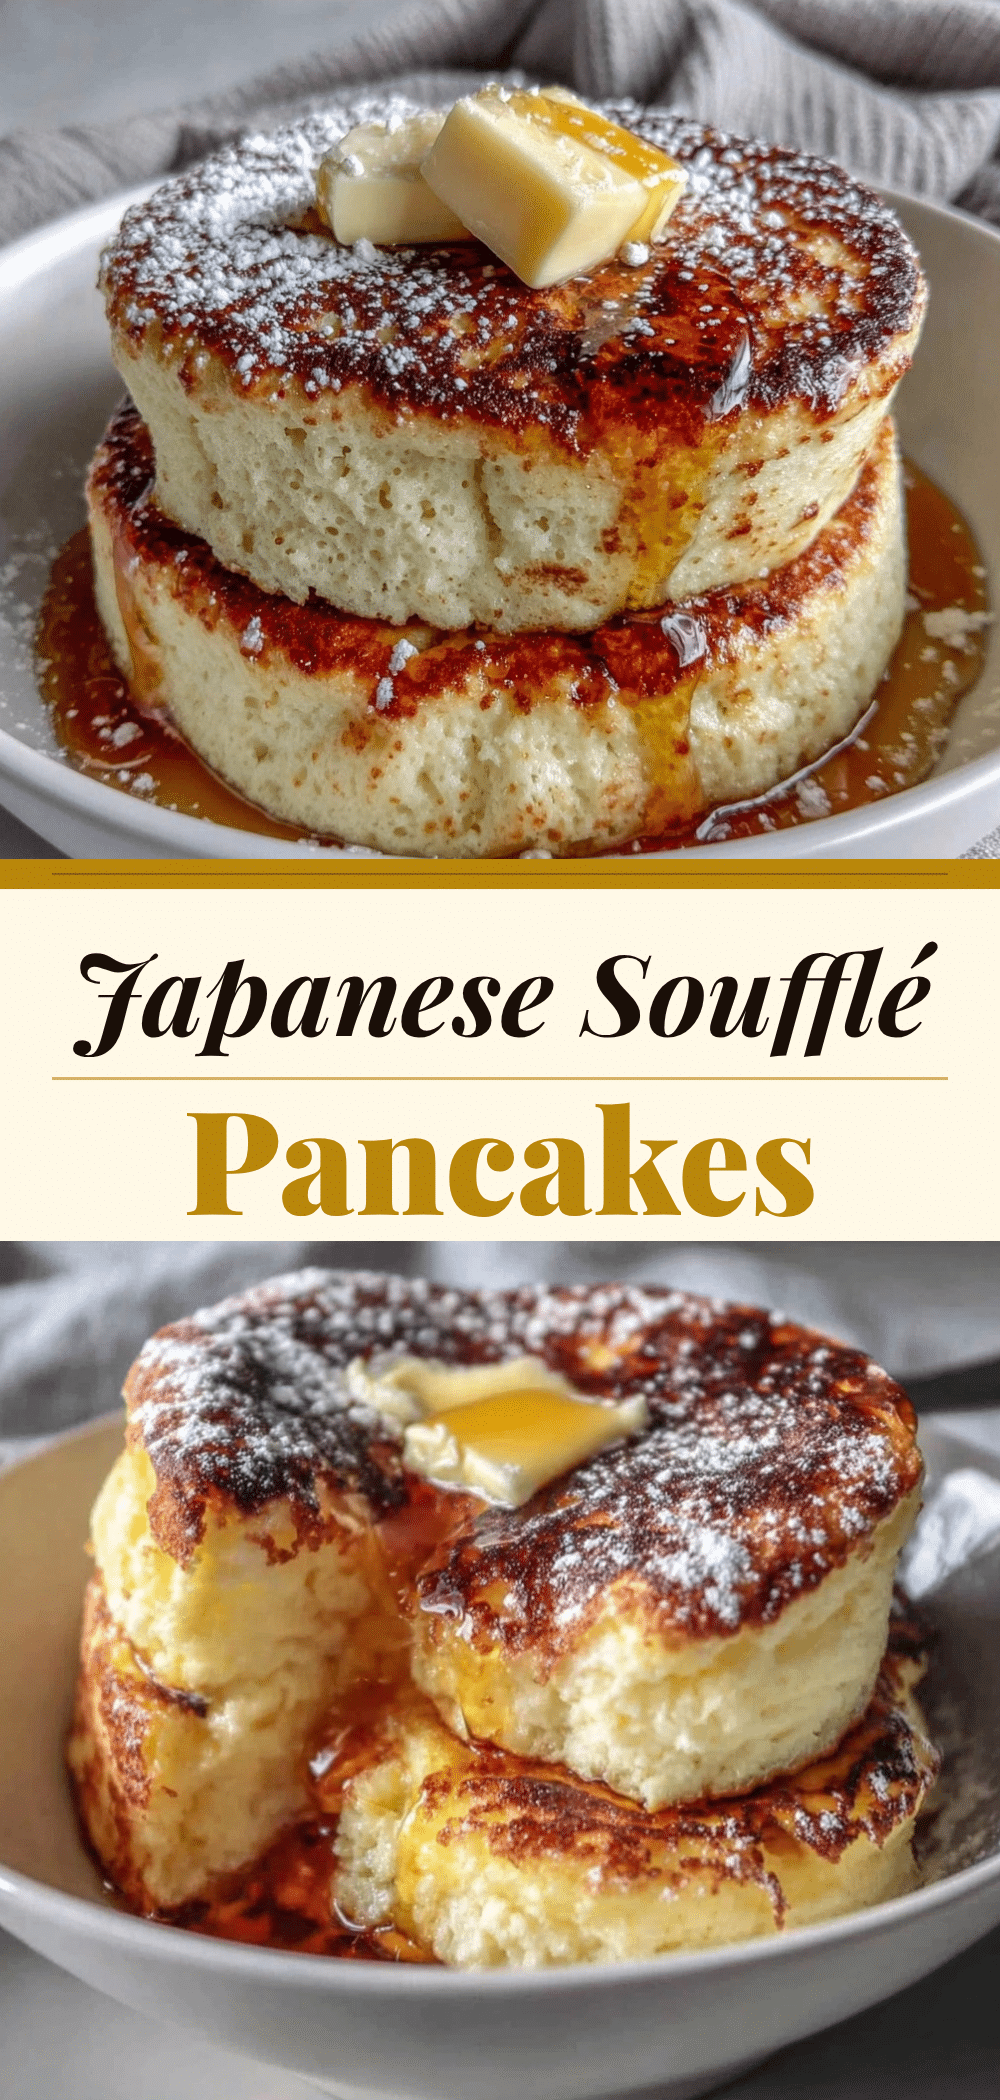
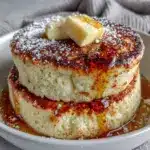
Ultra-Fluffy Japanese Soufflé Pancakes: Easy Budget Family Recipe
- Total Time: 30 minutes
- Yield: 2-3 servings 1x
Description
These ultra-fluffy Japanese soufflé pancakes are light, airy, and custardy, made with simple pantry staples for a budget-friendly breakfast that feels gourmet.
Ingredients
- 3 large eggs, room temperature (separated)
- 3 tablespoons granulated sugar (divided)
- 3 tablespoons whole milk
- 1 tablespoon vegetable oil
- 1 teaspoon vanilla extract
- 3 tablespoons all-purpose flour
- 1/2 teaspoon baking powder
- 1/4 teaspoon cream of tartar
- Pinch of salt
Instructions
- Prep your station: Separate eggs, placing yolks in one bowl and whites in a clean, dry bowl. Grease a 5-6 inch small saucepan generously with butter or oil.
- Make the base batter: Whisk egg yolks with sugar, milk, oil, and vanilla until smooth. Sift in flour and baking powder, whisking gently until just combined.
- Whip the meringue: Add cream of tartar and salt to egg whites. Beat with an electric mixer on medium-high until soft peaks form. Add remaining sugar and beat until stiff, glossy peaks form.
- Fold the batter: Whisk one-third of the meringue into the yolk batter to lighten it. Gently fold in the rest of the meringue with a rubber spatula until uniform in color, being careful not to deflate the air.
- Cook the pancakes: Heat the greased saucepan over low heat. Pour in batter (filling 3/4 full). Cover immediately with aluminum foil and cook for 7-8 minutes without peeking.
- Finish in the oven: Remove foil. If the pan is oven-safe, transfer to a 350°F (175°C) oven for 5 minutes to set the top. If not, cover and cook on low heat for another 2-3 minutes.
- Serve immediately: Slide pancake onto a plate and serve with toppings like maple syrup, berries, or whipped cream.
Notes
Room temperature eggs are crucial for maximum fluff. Ensure the bowl for egg whites is completely clean and dry to prevent deflation. Cook on low heat to avoid burning the bottom before the inside is set. These are best eaten fresh but can be kept warm in a 200°F oven for up to 15 minutes.
- Prep Time: 15 minutes
- Cook Time: 15 minutes
- Category: Breakfast
- Cuisine: Japanese
Nutrition
- Serving Size: 1 Pancake
- Calories: 180
- Sugar: 10
- Sodium: 100
- Fat: 8
- Saturated Fat: 2
- Carbohydrates: 22
- Fiber: 1
- Protein: 6
Keywords: Japanese pancakes, soufflé pancakes, fluffy pancakes, budget breakfast, easy recipe, kid-friendly breakfast