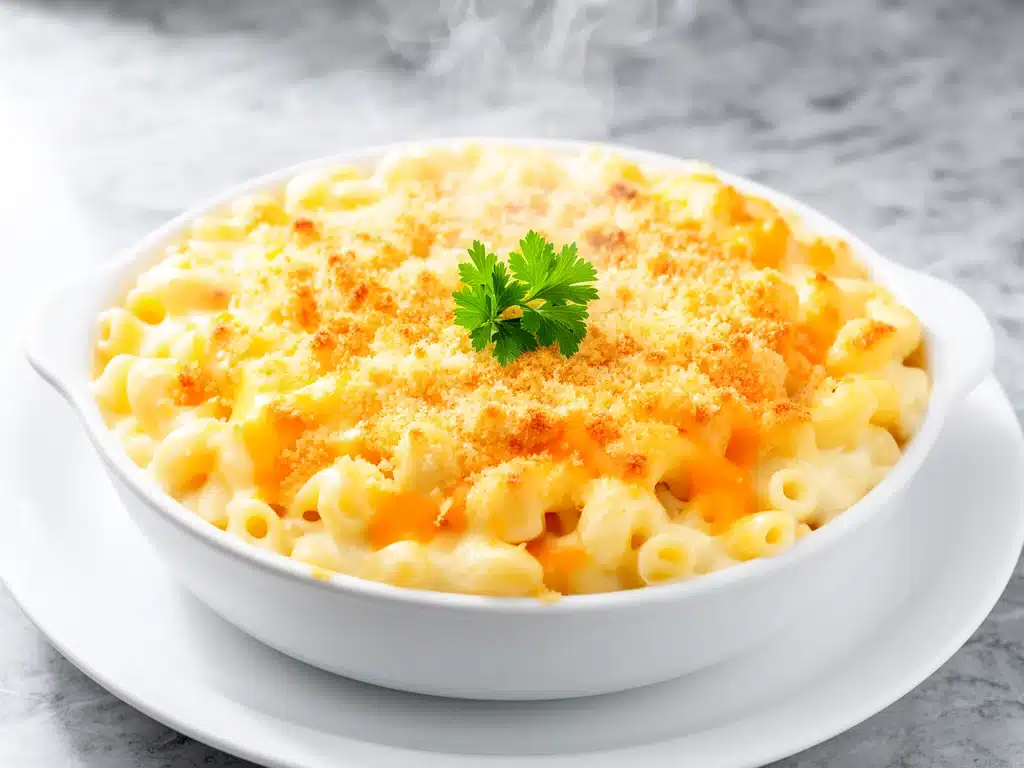
There is a specific kind of magic that happens when you pull a casserole dish out of the oven and the cheese pulls away from the sides in long, gooey strands. I remember the first time I made this creamy baked mac and cheese with three cheeses, my three-year-old stopped mid-scream, looked at me with wide eyes, and whispered, “Is this heaven?” It wasn’t just the cheese (though it was definitely the cheese). It was the comfort. It was the knowledge that for the next twenty minutes, no one was asking for anything else, no one was complaining about homework, and we were just eating together.
But here’s the honest truth: I didn’t get it right on the first try. In fact, I made this three-cheese mac recipe about a dozen times in the last year alone. I tried using only cheddar and ended up with a grainy, oily mess. I tried adding too much flour and created a doughy paste. I even tried using milk instead of cream and was left with a sad, watery soup. But then I found the sweet spot. The ratio of roux to liquid was perfect. The blend of sharp cheddar, Gruyère, and Parmesan created a depth of flavor that made my husband ask for seconds without being asked. And the breadcrumb topping? Crispy, buttery, and absolutely essential.
This isn’t just another mac and cheese recipe. It’s the one that has replaced pizza night, it’s the one I make when I need to feed a crowd on a budget, and it’s the one that gets scraped clean with a fork because it’s so good. If you’re looking for a dish that brings everyone to the table, this creamy baked mac and cheese with three cheeses is it. It’s rich, it’s indulgent, and it’s surprisingly easy to make if you know the tricks. Let me walk you through exactly how to make it so you can experience that same “heaven” moment in your own kitchen.
Why You’ll Love This Recipe
I’ve been making this three-cheese mac recipe for years, and it never gets old. There are about ten reasons I keep coming back to it, but here are the big ones that make it a staple in our home:
- Three Cheeses, One Perfect Flavor — Using just one cheese (usually cheddar) gives you a good flavor, but using three gives you an amazing one. The sharp cheddar provides the punch, the Gruyère adds that nutty, sophisticated depth, and the Parmesan brings the salty umami. Together, they create a flavor profile that is way better than anything from a box.
- Creamy Without Being Heavy — A lot of baked mac and cheese recipes can feel like a brick after you eat two bowls. This version is luxuriously creamy but light enough that you can eat a full serving and still feel good about it. The secret? We don’t overcook the pasta, and we balance the richness with a bit of mustard powder and white pepper.
- Makes Amazing Leftovers — I know, I know. Some people say mac and cheese doesn’t reheat well. They’re wrong. If you store it properly (and we’ll get to that), it tastes even better the next day as the flavors meld. I deliberately make extra for lunch on Tuesday because it’s ready in the microwave and tastes like fresh comfort food.
- Family-Proof — Picky eaters, cheese lovers, and even the kids who usually only eat chicken nuggets will devour this. I’ve served this to my vegetarian sister, my meat-eating dad, and my neighbor’s toddler. Everyone loves it. It’s a universal crowd-pleaser.
- Customizable Toppings — The breadcrumb topping is where you can get creative. I like buttery panko, but you can add crispy fried onions, cooked bacon bits, or even some herbs. It keeps the dish from feeling repetitive and lets you change it up depending on your mood.
This is my go-to when I need dinner to just work. No complicated techniques, no weird ingredients, just reliable, delicious food that makes everyone happy. It’s the kind of meal that feels like a hug on a plate.
Ingredients You’ll Need
Here’s the best part: you probably have most of this already in your pantry or fridge. This looks like a standard mac and cheese list, but the quality of your ingredients makes a huge difference. I’m particular about three things here, and I’ll tell you exactly why.
For the Pasta
Elbow macaroni or cavatappi (1 pound / 450g) — I use cavatappi (corkscrew pasta) because the curves hold more sauce. But elbow macaroni is traditional and works perfectly too. Whatever you use, make sure it’s a sturdy pasta that won’t get mushy in the oven. Save some pasta water before draining!
For the Roux (The Base)
Unsalted butter (½ cup / 115g) — This adds richness and helps create the roux. I use unsalted so I can control the sodium. If you’re out, margarine works in a pinch, but butter tastes way better.
All-purpose flour (½ cup / 60g) — This is what thickens the sauce. Don’t skip it, or you’ll have cheese soup. Measure it carefully—too much flour makes the sauce gummy.
Whole milk (2 cups / 480ml) — I use whole milk for the best creaminess. Skim milk will make the sauce thin and watery. If you want it extra rich, swap half the milk for heavy cream.
Heavy cream (1 cup / 240ml) — This is the secret to that luxurious texture. It stabilizes the cheese and prevents the sauce from breaking. Don’t use half-and-half; it doesn’t have enough fat.
For the Cheese Blend
Sharp cheddar cheese (2 cups / 200g, freshly grated) — Buy the block and grate it yourself. Pre-shredded cheese has anti-caking agents (like cellulose) that prevent it from melting smoothly. You’ll end up with a grainy sauce. Freshly grated cheddar melts into silky perfection.
Gruyère cheese (1 cup / 100g, freshly grated) — This is the fancy cheese that elevates the dish. It’s nutty and salty and melts beautifully. If you can’t find Gruyère, Swiss cheese or fontina are good substitutes.
Parmesan cheese (½ cup / 50g, freshly grated) — This adds a salty, savory kick that balances the richness of the cheddar and cream. Again, grate it fresh. The little shavings you buy in the green canister don’t melt the same way.
For Flavor and Topping
Dijon mustard (1 teaspoon) — You won’t taste the mustard directly, but it enhances the cheese flavor. It’s a classic trick in cheese sauces.
Garlic powder (½ teaspoon) — Adds a subtle background note. Fresh minced garlic can burn in the oven, so powder is safer and more consistent.
White pepper (¼ teaspoon) — Black pepper leaves visible specks, which some people don’t like in a creamy white sauce. White pepper gives you the heat without the visual clutter.
Panko breadcrumbs (1 cup / 80g) — These are lighter and crispier than regular breadcrumbs. They get golden and crunchy in the oven.
Melted butter (2 tablespoons) — Toss the panko with this butter before sprinkling it on top. It ensures the crumbs brown evenly and stay crispy.
Equipment Needed
You don’t need fancy equipment for this. Here’s what I actually use:
- Large Dutch oven or stockpot — I use a 6-quart pot. Needs to fit a pound of pasta comfortably with room for stirring. My heavy-bottomed pot heats evenly, which prevents hot spots.
- Large skillet or saucepan — 12-inch works best for the sauce. I prefer stainless steel or enameled cast iron, but a heavy non-stick pan works too. You need enough surface area to whisk the roux easily.
- Whisk — Essential for the roux. A wire whisk breaks up lumps better than a spoon. Don’t skip this step.
- 9×13-inch baking dish — Standard size. Glass or ceramic works best because it heats evenly. Metal pans can get too hot on the bottom and burn the cheese.
- Box grater or microplane — For grating your cheeses. A microplane makes short work of the Parmesan, but a box grater is fine for the cheddar and Gruyère.
- Colander — For draining the pasta. Or just use the lid to drain—I do this when I’m lazy.
That’s it. No special gadgets needed. Just good, basic kitchen tools that you probably already own.
How to Make It: Step-by-Step
Alright, let’s make this! I’m walking you through exactly how I do it, including the little tricks I’ve picked up over the years.
Step 1: Prep Your Ingredients (10 minutes)
Before you start cooking, grate all your cheeses. This is the most important prep step. Once you start making the sauce, things move fast, and you don’t want to be rushing to grate cheese while the roux is burning. Measure out your panko breadcrumbs and mix them with the melted butter in a small bowl. Set it aside. Have your pasta water ready (you’ll need about 1 cup for adjusting consistency).
Step 2: Cook the Pasta (10 minutes)
Bring a large pot of salted water to a boil—it should taste like the ocean. Add pasta and cook according to package directions until al dente (usually 1-2 minutes less than the package says). It will finish cooking in the oven, so undercook it slightly. IMPORTANT: Before draining, scoop out 1 cup of pasta water and set it aside. This starchy water is magic for the sauce. Drain the pasta and set aside. Do not rinse it!
Step 3: Make the Roux (3-4 minutes)
While the pasta cooks, melt the butter in your large skillet over medium heat. Once the butter is foamy, add the flour. Whisk constantly for about 1-2 minutes. You’re cooking out the raw flour taste. The mixture should turn a light golden color and smell nutty. Don’t let it burn—if it gets too dark, your sauce will taste bitter.
Step 4: Build the Sauce (5-6 minutes)
Gradually pour in the milk and heavy cream, whisking constantly to prevent lumps. Keep whisking as the mixture heats up and thickens. This takes about 5 minutes. The sauce is ready when it coats the back of a spoon and leaves a clear path when you run your finger through it. If it’s too thick, add a splash of the reserved pasta water. If it’s too thin, let it simmer a bit longer.
Step 5: Add the Cheese (2 minutes)
Remove the skillet from heat. This is crucial. High heat makes cheese grainy. Stir in the Dijon mustard, garlic powder, and white pepper. Then, add the grated cheeses gradually, stirring constantly. The sauce will thicken as the cheese melts. If it gets too thick, add pasta water a tablespoon at a time. The sauce should be creamy and smooth, not clumpy. Taste and adjust salt if needed.
Step 6: Combine and Assemble (2 minutes)
Add the drained pasta to the sauce. Toss everything together until the pasta is well coated. Pour the mixture into your prepared 9×13-inch baking dish. Smooth the top with a spatula. Sprinkle the buttery panko breadcrumbs evenly over the top. You want full coverage for that crispy texture.
Step 7: Bake (20-25 minutes)
Preheat your oven to 350°F (175°C). Place the baking dish in the center rack and bake for 20-25 minutes. You’ll know it’s done when the topping is golden brown and the sauce is bubbling around the edges. If the topping is browning too fast, loosely tent it with foil for the last 10 minutes.
Step 8: Rest and Serve
Let the mac and cheese rest for 5-10 minutes after taking it out of the oven. This allows the sauce to set slightly so it doesn’t slide off the pasta when you scoop it. Serve immediately topped with fresh cracked black pepper if you like.
Total Time: About 45 minutes (15 minutes active, 30 minutes mostly hands-off)
Expert Tips & Tricks
Here’s everything I’ve learned from making this dozens of times. These tips will save you from my mistakes.
- Grate Your Own Cheese — I cannot stress this enough. Pre-shredded cheese is coated in potato starch or cellulose to prevent clumping. These additives stop the cheese from melting properly, leading to a gritty, separated sauce. Freshly grated cheese has no additives and melts into a silky smooth sauce. It takes 5 minutes, but it’s worth it.
- Don’t Overcook the Pasta — Since the pasta will bake in the oven for 20+ minutes, you need to undercook it in the boiling water. Aim for al dente, maybe even slightly under. If you cook it to perfect doneness in the pot, it will be mushy by the time it comes out of the oven.
- Reserve Pasta Water — That starchy water is liquid gold. If your sauce is too thick after adding the cheese, a splash of pasta water will thin it out without watering down the flavor. It also helps the sauce cling to the pasta better.
- Remove from Heat Before Adding Cheese — Cheese proteins tighten up and seize when exposed to high heat. Always remove the pan from the burner before adding the cheese. Stir it in off-heat, and the residual warmth will melt it perfectly. If you cook it on the heat, you’ll get clumps of cheese and oily sauce.
- Let It Rest — I know it’s hard to wait, but letting the mac and cheese rest for 5-10 minutes after baking makes a huge difference. It allows the sauce to thicken and set, so when you serve it, it holds its shape instead of sliding off the spoon.
Common Mistakes (and how to avoid them):
- Mistake: Sauce is too watery — Fix: Let it simmer longer to reduce, or add more cheese. Also, make sure you’re not adding too much pasta water at the end.
- Mistake: Sauce is grainy — Fix: The heat was too high when you added the cheese. Next time, remove from heat completely before stirring in the cheese.
- Mistake: Topping is burnt — Fix: Tent the dish with foil if the breadcrumbs are getting too dark before the cheese is bubbly.
Variations & Substitutions
Once you’ve nailed the basic version, here’s how you can mix it up. I’ve tried all of these.
Protein Add-Ins
Bacon Mac and Cheese — Cook 8 slices of bacon until crispy, crumble it, and mix it into the pasta before baking. Top with extra bacon bits. My husband loves this version.
Chicken Mac and Cheese — Add 2 cups of diced cooked chicken (rotisserie works great) when you add the pasta. Makes it a more filling main course.
Ham Mac and Cheese — Diced ham pairs beautifully with Gruyère. Add 1 cup of diced ham to the mixture.
Veggie-Loaded
Broccoli Mac — Toss in 2 cups of steamed broccoli florets in the last minute of baking. The broccoli adds color and nutrition, and the kids usually don’t even notice it’s there.
Spinach and Mushroom — Sauté 8oz sliced mushrooms and 2 cups fresh spinach until wilted, then mix into the pasta. Adds earthiness and makes it feel fancier.
Dietary Modifications
Gluten-Free — Use gluten-free pasta (Barilla or Tinkyada work well) and gluten-free breadcrumbs. Everything else is naturally gluten-free.
Dairy-Free — This is trickier because cheese is the star. Use dairy-free butter, oat milk, and dairy-free cheddar/Gruyère alternatives. Note: The melt and flavor will be different, but it’s still good. I’ve made this for my lactose-intolerant friend, and she loved it.
Lighter Version — Use half-and-half instead of heavy cream, and reduce the cheese by 25%. It’s thinner but still tasty. I make this when I’m trying to be “healthy.”
Serving & Storage
How to Serve
I usually serve this straight from the baking dish at the dinner table—it looks rustic and stays warm. But here are other ways I’ve enjoyed it:
- Garlic bread — Obviously. You need something to dip in the extra cheese.
- Simple green salad — A crisp salad with bals vinaigrette cuts through the richness of the mac.
- Roasted vegetables — Broccoli, green beans, or asparagus pair well.
Storage Instructions
Refrigerator: Store leftovers in an airtight container for up to 4 days. The sauce will thicken in the fridge—totally normal.
Reheating: Best method: Add to a skillet with a splash of milk or cream over low heat. Stir until heated through and creamy again. Microwave method: Heat in 30-second intervals, stirring between. Add a splash of milk if it’s too thick. Never works: Trying to reheat in the pot you cooked it in. It always burns on the bottom. Ask me how I know.
Freezing: Honestly, this doesn’t freeze well because of the dairy. The sauce separates when thawed. Make it fresh or store in the fridge for up to 4 days.
Nutrition Information
I’m not a nutritionist, but here’s the breakdown if you’re tracking. This is comfort food, so it’s rich!
Per Serving (based on 8 servings):
- Calories: 520
- Protein: 22g
- Carbs: 45g
- Fiber: 2g
- Sugar: 4g
- Fat: 28g
- Saturated Fat: 16g
- Cholesterol: 70mg
- Sodium: 650mg
It’s higher in calories from the cream and cheese, but it’s also filling and packed with protein. When I want to make it lighter, I use the half-and-half version and load up on vegetables. But usually? I just eat a reasonable portion and enjoy it.
Final Thoughts
So that’s my go-to creamy baked mac and cheese with three cheeses! I’ve probably talked your ear off at this point, but when you make a recipe this often, you have a lot to say about it. This has saved weeknight dinners more times than I can count. It’s my answer to “what’s for dinner” when I’m tired, don’t want takeout, and still want something that tastes really good. My kids are happy, my husband’s happy, and I’m happy because I’m not stressed about cooking.
Make it yours! Try different add-ins, swap in your favorite vegetables, or change up the breadcrumb topping. The best recipes are the ones you adapt to your family’s tastes. If you make this, drop a comment and let me know what you think! I love hearing how recipes turn out in your kitchen. And if something doesn’t work, tell me that too—I’m here to help troubleshoot.
Happy cooking! And I hope your kitchen smells half as good as mine does right now.
Frequently Asked Questions
Can I use milk instead of heavy cream?
You can, but the sauce will be much thinner and less rich. If you want to try it, use whole milk and add 2 tablespoons of flour to thicken it. Whisk the flour into the milk before adding to the pan. I’ve done this when I ran out of cream—it works okay, just not as good as the real thing. Half-and-half is a better middle ground.
Why did my sauce get grainy/lumpy?
The heat was too high when you added the cheese, which made it seize up. Parmesan and cheddar need gentle heat. Always remove the pan from the burner before adding cheese, then stir it in off heat. If it’s already grainy, try whisking in a splash of warm cream—sometimes you can save it.
Can I make this ahead for a dinner party?
Sort of. Assemble the mac and cheese up to 2 days ahead and store in the fridge (unbaked). When you’re ready to serve, let it sit at room temperature for 30 minutes, then bake as directed, adding 10-15 minutes to the cooking time. It won’t be quite as good as fresh, but it’s close and saves you stress during the party.
Can I use jarred garlic?
You can, but fresh tastes so much better in this recipe. Jarred garlic has a weird metallic taste that really shows up in cream sauces. If you must use it, use half the amount because it’s stronger. But honestly, mincing 6 cloves takes like 2 minutes. Buy pre-peeled garlic cloves if you want to save time.
How do I reheat leftovers without it getting dry?
Add a splash of milk or cream to a skillet, add your leftover pasta, and heat gently over low heat, stirring frequently. The extra liquid brings back the creamy texture. Microwave sort of works but tends to dry it out. If you do microwave, definitely add a splash of milk first and heat in short bursts, stirring between.
Can I double this recipe?
Absolutely! Double everything and use your biggest pot. The cooking times stay the same. I do this when I’m meal-prepping or feeding a crowd. Just make sure your baking dish is big enough for the sauce—you might need to use a 9×13 dish or even two smaller ones.
Pin This Recipe!
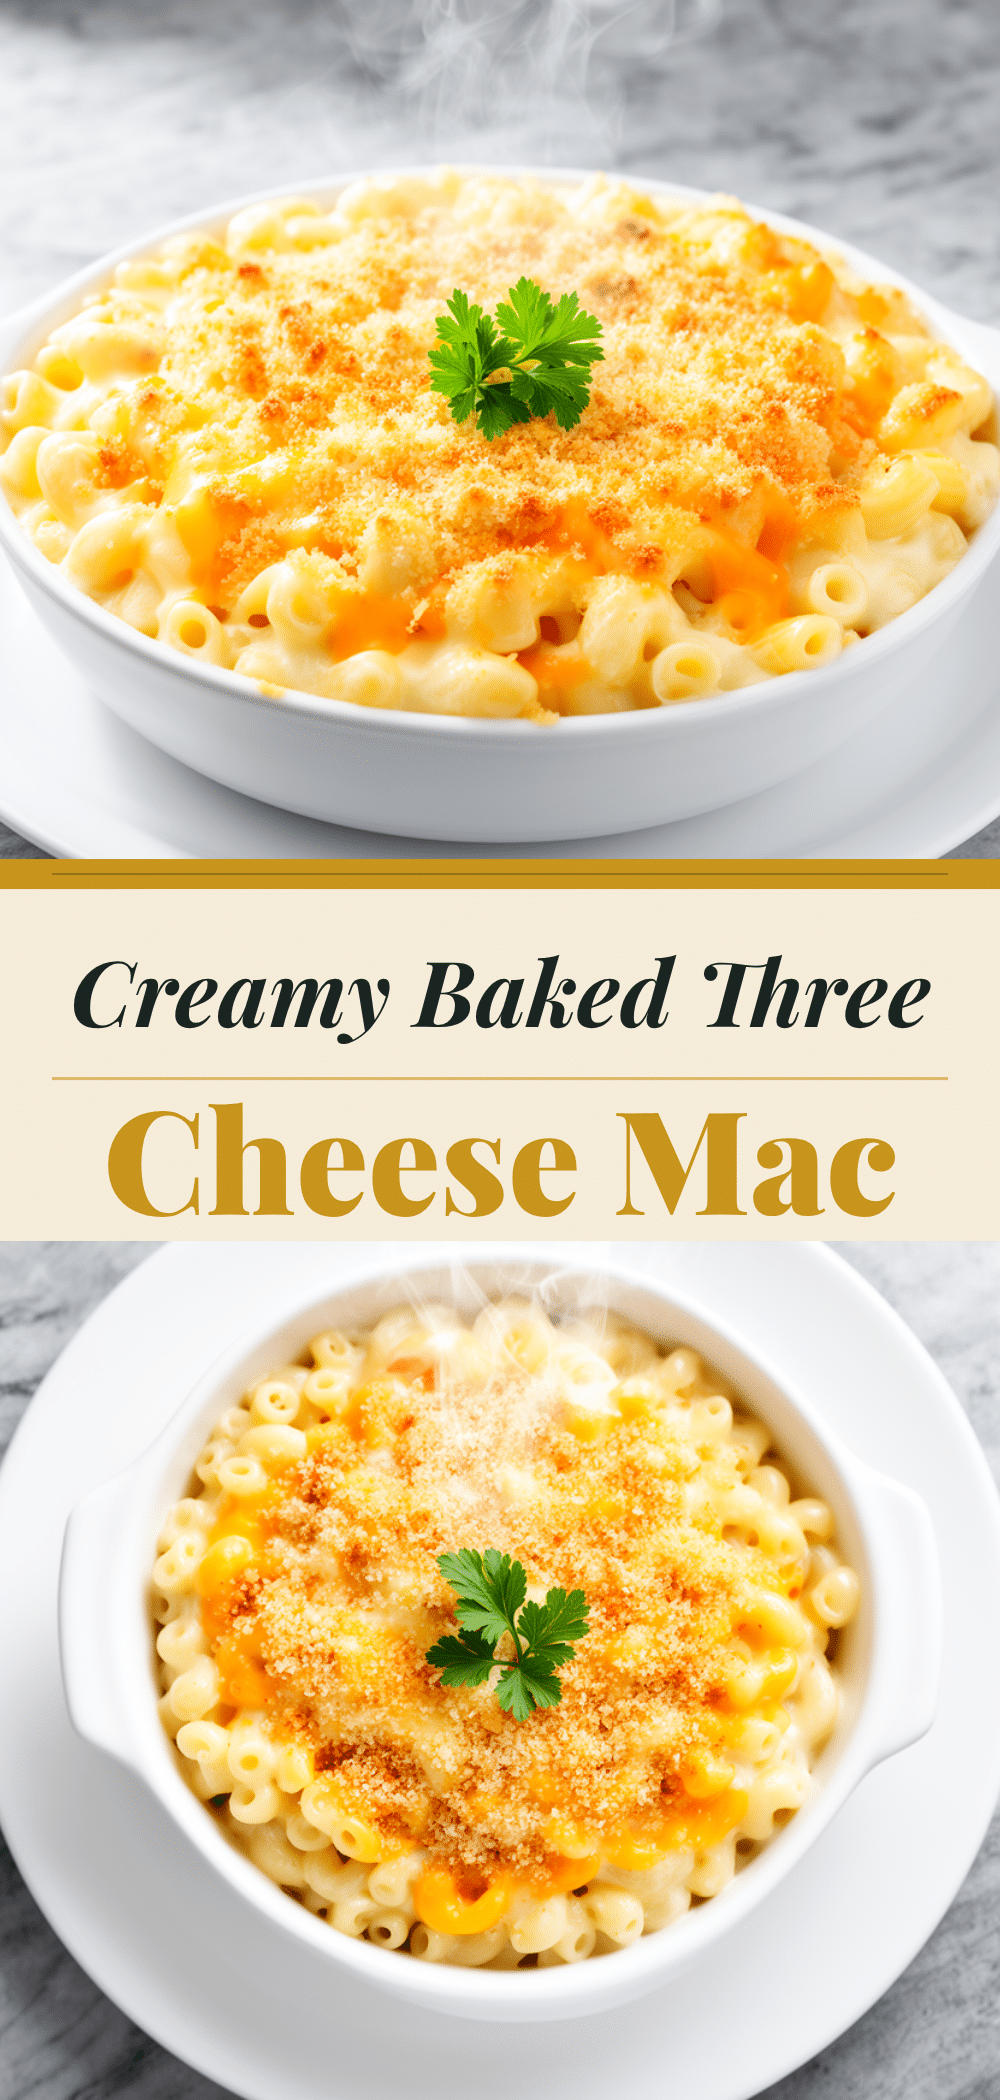

Creamy Baked Mac and Cheese: 3-Cheese Recipe
- Total Time: 45 minutes
- Yield: 8 servings 1x
Description
A rich, indulgent, and creamy baked mac and cheese featuring a perfect blend of sharp cheddar, Gruyère, and Parmesan cheeses with a crispy buttery panko topping.
Ingredients
- 1 pound elbow macaroni or cavatappi
- ½ cup unsalted butter
- ½ cup all-purpose flour
- 2 cups whole milk
- 1 cup heavy cream
- 2 cups sharp cheddar cheese, freshly grated
- 1 cup Gruyère cheese, freshly grated
- ½ cup Parmesan cheese, freshly grated
- 1 teaspoon Dijon mustard
- ½ teaspoon garlic powder
- ¼ teaspoon white pepper
- 1 cup panko breadcrumbs
- 2 tablespoons melted butter (for topping)
- Salt for pasta water
Instructions
- Preheat oven to 350°F (175°C).
- Grate all cheeses and mix panko breadcrumbs with 2 tablespoons melted butter in a small bowl; set aside.
- Bring a large pot of salted water to a boil. Cook pasta until al dente (1-2 minutes less than package directions).
- Before draining, reserve 1 cup of pasta water. Drain pasta and set aside (do not rinse).
- In a large skillet over medium heat, melt ½ cup butter. Add flour and whisk constantly for 1-2 minutes until light golden and nutty.
- Gradually whisk in milk and heavy cream. Cook, whisking constantly, until sauce thickens and coats the back of a spoon (about 5 minutes).
- Remove skillet from heat. Stir in Dijon mustard, garlic powder, and white pepper.
- Add grated cheeses gradually, stirring constantly until melted and smooth. Adjust consistency with reserved pasta water if needed.
- Add drained pasta to the sauce and toss to coat evenly.
- Pour mixture into a 9×13-inch baking dish and smooth the top.
- Sprinkle buttery panko breadcrumbs evenly over the top.
- Bake for 20-25 minutes until topping is golden brown and sauce is bubbling.
- Let rest for 5-10 minutes before serving.
Notes
Grate your own cheese to ensure smooth melting. Do not overcook the pasta as it will continue to cook in the oven. Remove the sauce from heat before adding cheese to prevent graininess. Reserve pasta water to adjust sauce consistency if needed.
- Prep Time: 15 minutes
- Cook Time: 30 minutes
- Category: Main Course
- Cuisine: American
Nutrition
- Serving Size: 1 serving
- Calories: 520
- Sugar: 4
- Sodium: 650
- Fat: 28
- Saturated Fat: 16
- Carbohydrates: 45
- Fiber: 2
- Protein: 22
Keywords: mac and cheese, baked mac and cheese, three cheese mac, comfort food, family dinner, creamy mac and cheese, cheddar, gruyere, parmesan