I have a confession to make. Last October, I spent exactly $42 on iced coffee from my local drive-thru in the span of three days. Three days. That’s a ridiculous amount of money for a drink that, technically, is just coffee and sugar. I was stressed, running on empty, and convinced that buying a fancy shaken drink was the only way to get through my morning meetings.
Then I came home, dumped the rest of the lukewarm cup in the sink, and decided I was done. I didn’t want to give up the caffeine, and I definitely didn’t want to give up the sweet, caramel-y comfort of a brown sugar espresso. But I wanted it better. I wanted it creamy, cold, and made with ingredients I actually recognize. So, I grabbed a shaker, some oat milk, and a handful of ice cubes, and I made what has now become my absolute favorite morning ritual: the creamy iced brown sugar shaken espresso with oat milk swirl.
It’s weirdly addictive, isn’t it? That specific combination of strong espresso, rich brown sugar, and cold, creamy oat milk hits a sweet spot that regular coffee just can’t touch. And the best part? It takes five minutes. Five. Minutes. I’ve made this drink so many times that my partner now expects it when I’m having a bad day. It’s become our version of a warm hug in a glass.
Before I started making this at home, I was skeptical. I thought homemade versions would always taste watery or weirdly separated. But after testing this recipe about a dozen times (yes, I drank that much coffee), I’ve figured out the exact ratio that creates that perfect, café-quality emulsion. The shaking process is the secret weapon—it aerates the coffee and mixes the sugar completely, creating a frothy head that looks like something from a high-end coffee shop but costs pennies to make.
If you’re tired of overpriced drinks and dry pastries (hello, fall apple cider doughnut cake is great, but it doesn’t replace your morning caffeine fix), this is the recipe you need. It’s simple, it’s customizable, and it tastes incredible. Let’s get into how to make the best iced brown sugar shaken espresso with oat milk swirl at home.
Why You’ll Love This Iced Brown Sugar Shaken Espresso
There are about ten reasons I keep making this drink, but here are the big ones that have kept me loyal to this simple recipe.
It’s Faster Than Brewing Regular Coffee — Seriously. If you have an espresso machine or pods, this takes less time than waiting for a drip machine to finish its cycle. I’m talking five minutes from start to sip. It’s the perfect solution for those mornings when you’re running late but still need your caffeine.
The Flavor is Complex and Rich — Regular iced coffee can taste flat or acidic. But shaking espresso with brown sugar? It caramelizes the sugar slightly and creates a smooth, velvety texture. The brown sugar adds those molasses notes that pair perfectly with the oat milk. It tastes indulgent without tasting like dessert.
Oat Milk Makes It Dreamy — I’ve tried this with almond milk, soy milk, and whole milk. Oat milk wins every time. It’s naturally sweeter and creamier than the others, which means you don’t need as much sugar. The oats also hold up well against the cold coffee without getting weirdly slimy or separating. It’s the perfect partner for this drink.
It’s Customizable to Your Mood — Want it sweeter? Add an extra tablespoon of brown sugar. Want it stronger? Use two shots instead of one. Want it dairy-free? It already is. This drink bends to your preferences. I usually make it with one shot on weekdays and two shots on weekends when I’m feeling particularly tired.
It Saves You Money — Let’s do the math. A similar drink at a coffee shop runs $6 to $8. At home, with store-brand espresso pods and a carton of oat milk, this costs about $0.75 per serving. That’s a huge difference over a month. I’m putting that savings toward ingredients for my one-bowl banana bread on weekends.
It’s a Mood Booster — There’s something satisfying about the physical act of shaking the drink. It’s rhythmic and fun. Plus, seeing that beautiful foam layer form at the top gives you a little dopamine hit before you even take a sip. It turns a mundane morning routine into a tiny moment of joy.
This is my go-to when I need a pick-me-up that doesn’t involve a drive-thru line. No complicated techniques, no weird ingredients, just reliable, delicious coffee that makes me feel put together even when I’m not.
Ingredients You’ll Need
Here’s the best part: you probably have most of this already in your kitchen. This isn’t a recipe with five obscure ingredients. It’s simple, accessible, and straightforward.
Espresso (2 shots / about 2 ounces / 60ml) — This is the base. You can use fresh ground beans pulled through a machine, or espresso pods (Nespresso works great). If you don’t have an espresso machine, you can use strong brewed coffee from a Moka pot or even very strong cold brew concentrate, but true espresso gives that authentic “shaken” taste. I use Lavazza pods because they have a nice chocolatey note that pairs well with brown sugar.
Brown Sugar (2 tablespoons / 25g) — Light or dark? I prefer dark brown sugar for this because it has more molasses, which gives that deep caramel flavor. But light brown works too if that’s what you have. Do not use white sugar—it won’t dissolve as well in the cold drink and lacks that rich flavor.
Oat Milk (1 cup / 240ml) — I recommend a barista-style oat milk if you can find it (like Oatly or Califia Farms) because it froths better and stays creamier. But regular oat milk works fine too. Just avoid the “light” versions as they’re too watery for this. The oat milk provides that silky texture that makes the drink feel luxurious.
Ice Cubes (1 cup / about 150g) — You’ll need ice for both the shaking part and the serving glass. Use fresh, cold ice cubes. If your ice tastes like freezer burn, your drink will too. I keep a separate bag of ice just for drinks so it stays crisp.
Vanilla Extract (½ teaspoon / 2.5ml) — Optional, but highly recommended. A good quality vanilla extract adds a layer of warmth that complements the brown sugar. I use Nielsen-Massey because it’s pure and potent. Just a drop goes a long way.
Optional Garnishes:
– Whipped Cream — If you’re feeling fancy, top it with a dollop of whipped cream.
– Cinnamon — A light dusting of cinnamon on top adds a nice aromatic touch.
– Caramel Drizzle — For the ultimate indulgence, drizzle some caramel sauce on the inside of the glass before pouring.
Shopping Tips:
– I always buy a large carton of oat milk because I use it for this drink and for my fluffy cinnamon roll baked oatmeal.
– If you’re buying espresso pods, look for a “dark roast” or “espresso roast” for the best flavor.
– Brown sugar hardens if it gets cold, so keep it in a cool, dry place. If it’s clumpy, microwave it for 10 seconds to soften.
Equipment Needed
You don’t need fancy equipment for this. Here’s what I actually use.
French Press or Espresso Machine — I use a French press for my morning espresso because it’s fast and doesn’t require electricity. But an espresso machine is traditional. If you use a French press, just brew it strong (use double the grounds you normally would). A Moka pot is another great option.
Cocktail Shaker or Large Jar — This is the most important tool. You need something that seals tightly so you can shake it vigorously. I use a metal cocktail shaker, but a mason jar with a tight lid works perfectly. Just make sure it’s clean and dry.
Measuring Spoons — For the brown sugar and vanilla. I have a basic set from the dollar store that works fine. Precision helps, but this is forgiving.
Guinness Glass or Tall Tumbler — A tall glass looks best for presentation. A pint glass or a simple tumbler works. I like using a glass that shows off the layers of the drink.
Long Spoon or Straw — For stirring the drink after you pour it. A metal straw is aesthetically pleasing and eco-friendly.
Optional but nice:
– Milk Frother — If you want extra foam on top, a handheld frother is fun.
– Kitchen Scale — For precise measuring, but spoons are easier for daily use.
Tool Tips:
– Don’t have a shaker? Use a jar. Just be careful when opening it—pressure builds up.
– I’m obsessed with my mason jar method—it’s cheap, easy to clean, and doesn’t take up drawer space.
How to Make It: Step-by-Step
Alright, let’s make this! I’m walking you through exactly how I do it, including the little tricks I’ve picked up.
Step 1: Brew Your Espresso (5 minutes)
Start by brewing two shots of espresso. If you’re using a French press, add about 2 tablespoons of finely ground coffee to the press. Pour in just enough hot water (just off the boil) to cover the grounds. Let it steep for 4 minutes, then press down slowly. You want it strong and concentrated. If you’re using pods, just pull two shots. Set the espresso aside for a minute—it should still be hot.
Step 2: Combine Espresso and Sugar (1 minute)
While the espresso is hot, add it directly to your shaker or jar. Immediately add the brown sugar and vanilla extract. The heat from the espresso helps dissolve the brown sugar quickly. If you wait for the coffee to cool, the sugar won’t mix in as well. Stir it briefly with a spoon to combine the sugar and coffee. It should look like a dark, thick syrup.
Step 3: Add Ice and Shake (30 seconds)
Fill your shaker or jar about halfway with ice cubes. This is the crucial step. Seal the lid tightly. Shake vigorously for 30 seconds. You’re not just mixing; you’re chilling and aerating the coffee. You’ll hear the ice crunching and the liquid sloshing. This process creates that signature frothy foam on top. If you’re using a jar, shake it like you mean it—your arm will get a workout.
Step 4: Prepare Your Glass (1 minute)
While you’re shaking, fill your serving glass with fresh ice cubes. If you want to be fancy, drizzle some caramel sauce on the inside walls of the glass before adding ice. This adds visual appeal and extra sweetness with every bite. Just don’t overdo it—you want the coffee flavor to shine.
Step 5: Pour and Swirl (1 minute)
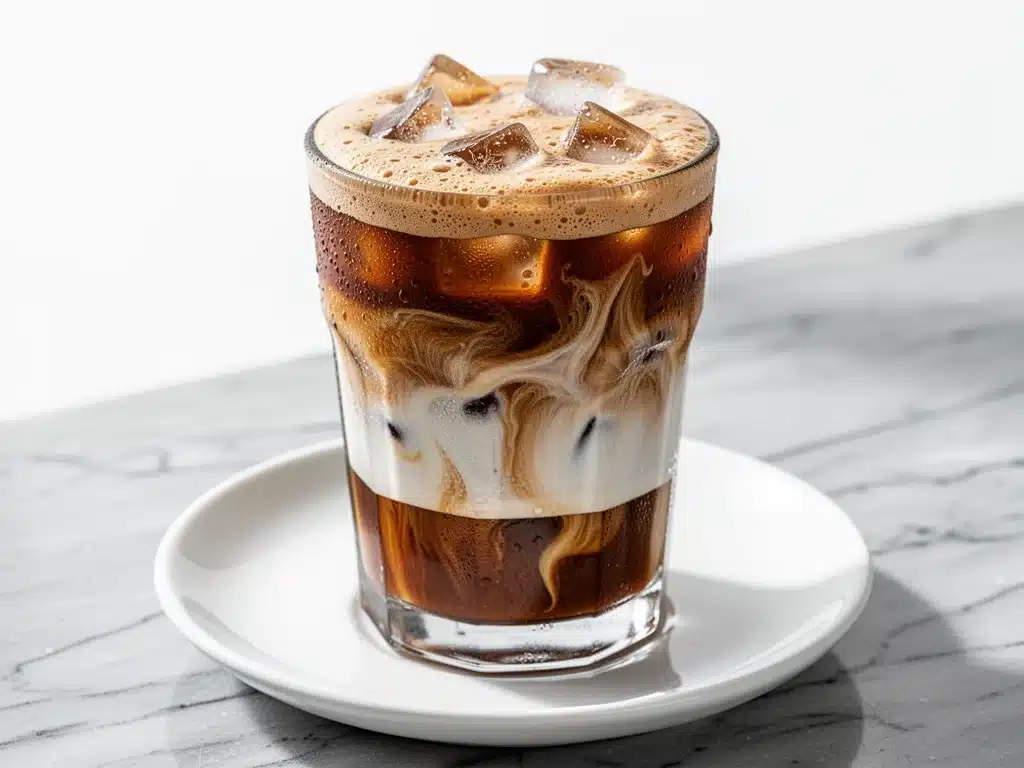
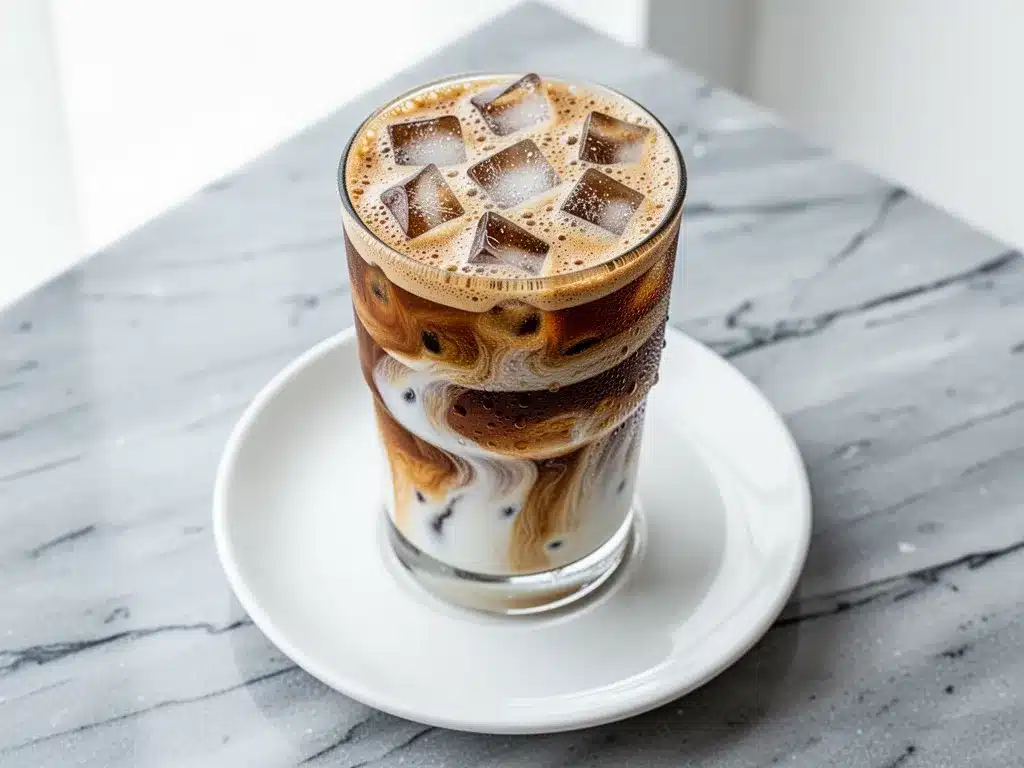
Open your shaker. You should see a thick, light-brown foam on top of the coffee. Strain the shaken espresso mixture into your prepared glass over the ice. The foam will rise to the top, creating a beautiful layer. Now, pour the oat milk slowly over the back of a spoon or directly into the center. It will swirl through the coffee, creating those gorgeous marbled patterns. Don’t stir it yet—let it sit and look pretty.
Step 6: Garnish and Serve
Top with a sprinkle of cinnamon or a dollop of whipped cream if you’re feeling indulgent. Insert a straw or long spoon and give it a gentle stir before drinking. The first sip should be cold, sweet, and creamy. Enjoy immediately while it’s still cold and frothy.
Total Time: About 5 minutes (2 minutes active, 3 minutes mostly hands-off)
Built-in Troubleshooting:
– Sugar didn’t dissolve? Make sure you added the sugar while the espresso was still hot. If it’s already cold, microwave the mixture for 15 seconds.
– No foam? You didn’t shake it long enough. Shake for a full 30 seconds. The ice and agitation are key.
– Too sweet? Reduce the brown sugar to 1 tablespoon next time. Oat milk is naturally sweet, so you might need less sugar.
Expert Tips & Tricks
Here’s everything I’ve learned from making this dozens of times. These tips will save you from my mistakes.
Use Hot Espresso
This is the #1 tip. The sugar needs heat to dissolve properly. If you use cold coffee, you’ll have gritty sugar at the bottom of your drink. Always combine the sugar with the hot espresso before adding ice.
Don’t Skimp on the Shake
I know it feels silly, but shaking is what makes this drink special. It creates tiny air bubbles that make the texture light and frothy. If you just stir it, it’ll taste like regular iced coffee. The shake is non-negotiable.
Chill Your Glass
For an extra cold drink, put your serving glass in the freezer for 10 minutes before making the drink. It keeps the coffee cold longer, especially if you’re drinking it slowly.
Fresh Oat Milk
Shake your oat milk carton before pouring. Oat milk can separate in the fridge, and you want it well-mixed for the best texture. Also, use cold oat milk straight from the fridge—it helps keep the drink chilled.
Common Mistakes (and how to avoid them):
Mistake: Drink is watery
Fix: You used too much ice in the shaker or not enough espresso. Use two strong shots, not one weak one. The coffee-to-ice ratio matters.
Mistake: Too sweet
Fix: Reduce the brown sugar. Start with 1 tablespoon and adjust. Remember, oat milk has natural sweetness, and caramel drizzle adds more sugar.
Mistake: Foam disappears quickly
Fix: This is normal. The foam will settle after a few minutes. Drink it quickly, or shake it again right before serving. It’s still delicious even without the foam.
Pro Tricks I’ve Learned:
For Extra Caffeine Kick
Add a second shot of espresso. I do this on weekends or when I have a big day ahead. It’s called a “double shaken” and it’s powerful.
For Flavor Variations
Try adding a pinch of cardamom or nutmeg to the sugar. It adds a warm, spicy note that’s perfect for fall. I love this with my fall pumpkin snickerdoodle cookies as a pairing.
For Better Presentation
Use a clear glass so you can see the layers. The contrast between the dark coffee foam, the white oat milk, and the clear ice is visually stunning.
Variations & Substitutions
Once you’ve nailed the basic version, here’s how you can mix it up. I’ve tried all of these.
Vanilla Oat Milk Swirl
Add 1 teaspoon of vanilla syrup instead of brown sugar. It’s sweeter and more floral. This is a classic café variation.
Caramel Brown Sugar
Add 1 tablespoon of caramel sauce to the shaker with the brown sugar. It creates a salted caramel vibe. My kids love this version.
Matcha Brown Sugar
Swap the espresso for 1 teaspoon of matcha powder whisked with hot water. Add the brown sugar and shake. It’s a green version with a similar sweet profile.
Decaf Version
Use decaf espresso pods. Everything else stays the same. I drink this in the evening when I want the ritual but not the jitters.
Dietary Modifications:
Vegan
This recipe is already vegan if you use oat milk and brown sugar (some brown sugars are processed with bone char, so check your label if you’re strict). I use organic brown sugar to be safe.
Lower Sugar
Reduce brown sugar to 1 tablespoon or use a sugar-free alternative like monk fruit sweetener. It won’t caramelize the same way, but it’s lighter.
Dairy-Free
It’s already dairy-free! Just ensure your oat milk is dairy-free (most are) and your espresso pods don’t contain dairy (they usually don’t).
Flavor Boosters:
– Espresso Beans — Rim the glass with crushed espresso beans for a bitter crunch.
– Sea Salt — A tiny pinch of sea salt enhances the sweetness.
– Chai Spice — Add a pinch of cinnamon, ginger, and cloves to the sugar.
Serving & Storage
How to Serve:
“I usually serve this straight from the shaker into a tall glass. It looks rustic and stays cold. But here are other ways I’ve enjoyed it:”
Pairing Suggestions:
– Avocado Toast — The acidity of the avocado balances the sweetness of the drink.
– Granola — A bowl of granola with berries is a perfect light breakfast.
– Pastry — A croissant or muffin works well. I love it with my small batch fudgy brownies for a sweet treat.
Storage Instructions:
Refrigerator:
You can’t store the finished drink. The foam will deflate and the ice will melt. Make it fresh each time. However, you can pre-mix the espresso and brown sugar and store it in a jar in the fridge for up to 3 days. Just shake with ice when you’re ready to drink.
Freezing:
Freezing isn’t recommended because the texture changes. The oat milk can separate, and the coffee loses its brightness. Make it fresh.
Pro tip:
If you’re making this for guests, prepare the espresso-sugar mixture in a large pitcher and keep it warm. Then shake individual portions with ice when guests arrive. It’s efficient and still tastes fresh.
Nutrition Information
I’m not a nutritionist, but here’s the breakdown if you’re tracking.
Per Serving (based on 1 drink):
– Calories: 120
– Protein: 2g
– Carbs: 18g
– Fiber: 1g
– Sugar: 16g
– Fat: 4g
– Saturated Fat: 0g
– Cholesterol: 0mg
– Sodium: 60mg
– Calcium: 80mg
What’s Good:
– Low calorie compared to café drinks
– Vegan and dairy-free
– Quick energy from caffeine and sugar
What to Know:
– Higher in sugar due to brown sugar
– Contains caffeine
– Moderate sodium from oat milk
My Take:
“Look, this is a sweet treat. It’s not a health drink. But it’s way better than sugary syrups from a chain store, and you control the sugar amount. When I want to make it lighter, I reduce the brown sugar to 1 tablespoon. But usually? I just enjoy it as a morning indulgence.”
Final Thoughts
So that’s my creamy iced brown sugar shaken espresso with oat milk swirl! I’ve probably talked your ear off at this point, but when you love a recipe this much, you have a lot to say about it.
This has saved my mornings more times than I can count. It’s my answer to “I need coffee” when I’m tired, don’t want to leave the house, and still want something that tastes really good. My partner is happy, my kids are happy (with less sugar), and I’m happy because I’m not spending $40 a month on coffee.
Make it yours! Try different sugars, different milks, different shakes. The best recipes are the ones you adapt to your tastes. If you make this, drop a comment and let me know what you think! I love hearing how recipes turn out in your kitchen. And if something doesn’t work, tell me that too—I’m here to help troubleshoot.
Happy sipping! And I hope your kitchen smells half as good as mine does right now.
Frequently Asked Questions
Can I use regular coffee instead of espresso?
You can, but the flavor won’t be as intense. Espresso is concentrated, which gives the drink its bold taste. If you use regular coffee, make it very strong—use double the grounds or brew it in a Moka pot. Cold brew concentrate also works well and is naturally smooth.
Why did my sugar not dissolve?
The sugar needs heat to dissolve. Make sure you add the brown sugar to the hot espresso immediately after brewing. If the coffee has cooled down, the sugar will sit at the bottom. Stir it well while it’s hot, then add ice.
Can I make this ahead of time?
Not the whole drink. The foam will disappear, and the ice will melt. However, you can pre-mix the espresso and brown sugar and store it in the fridge for up to 3 days. When you’re ready to drink, shake a portion with ice. It saves morning prep time.
Is this drink vegan?
Yes, if you use oat milk and brown sugar. Some brown sugars are processed with bone char, so check your label if you’re strict vegan. Most organic brown sugars are vegan. The espresso and ice are naturally vegan.
How much caffeine is in this drink?
It depends on your espresso. Two shots of espresso typically contain about 120-150mg of caffeine. This is similar to a standard cup of coffee but more concentrated. If you’re sensitive to caffeine, use decaf pods or reduce to one shot.
Can I use almond milk instead of oat milk?
You can, but the texture won’t be as creamy. Oat milk is thicker and naturally sweeter, which works better with brown sugar. Almond milk is thinner and less sweet, so you might need more sugar. I recommend sticking with oat milk for the best result.
Why does my drink taste watery?
You probably used too much ice in the shaker or not enough espresso. The ratio of coffee to ice matters. Use two strong shots of espresso for every cup of ice. Also, strain the mixture into a glass with fresh ice, not the melted ice from the shaker.
Pin This Recipe!
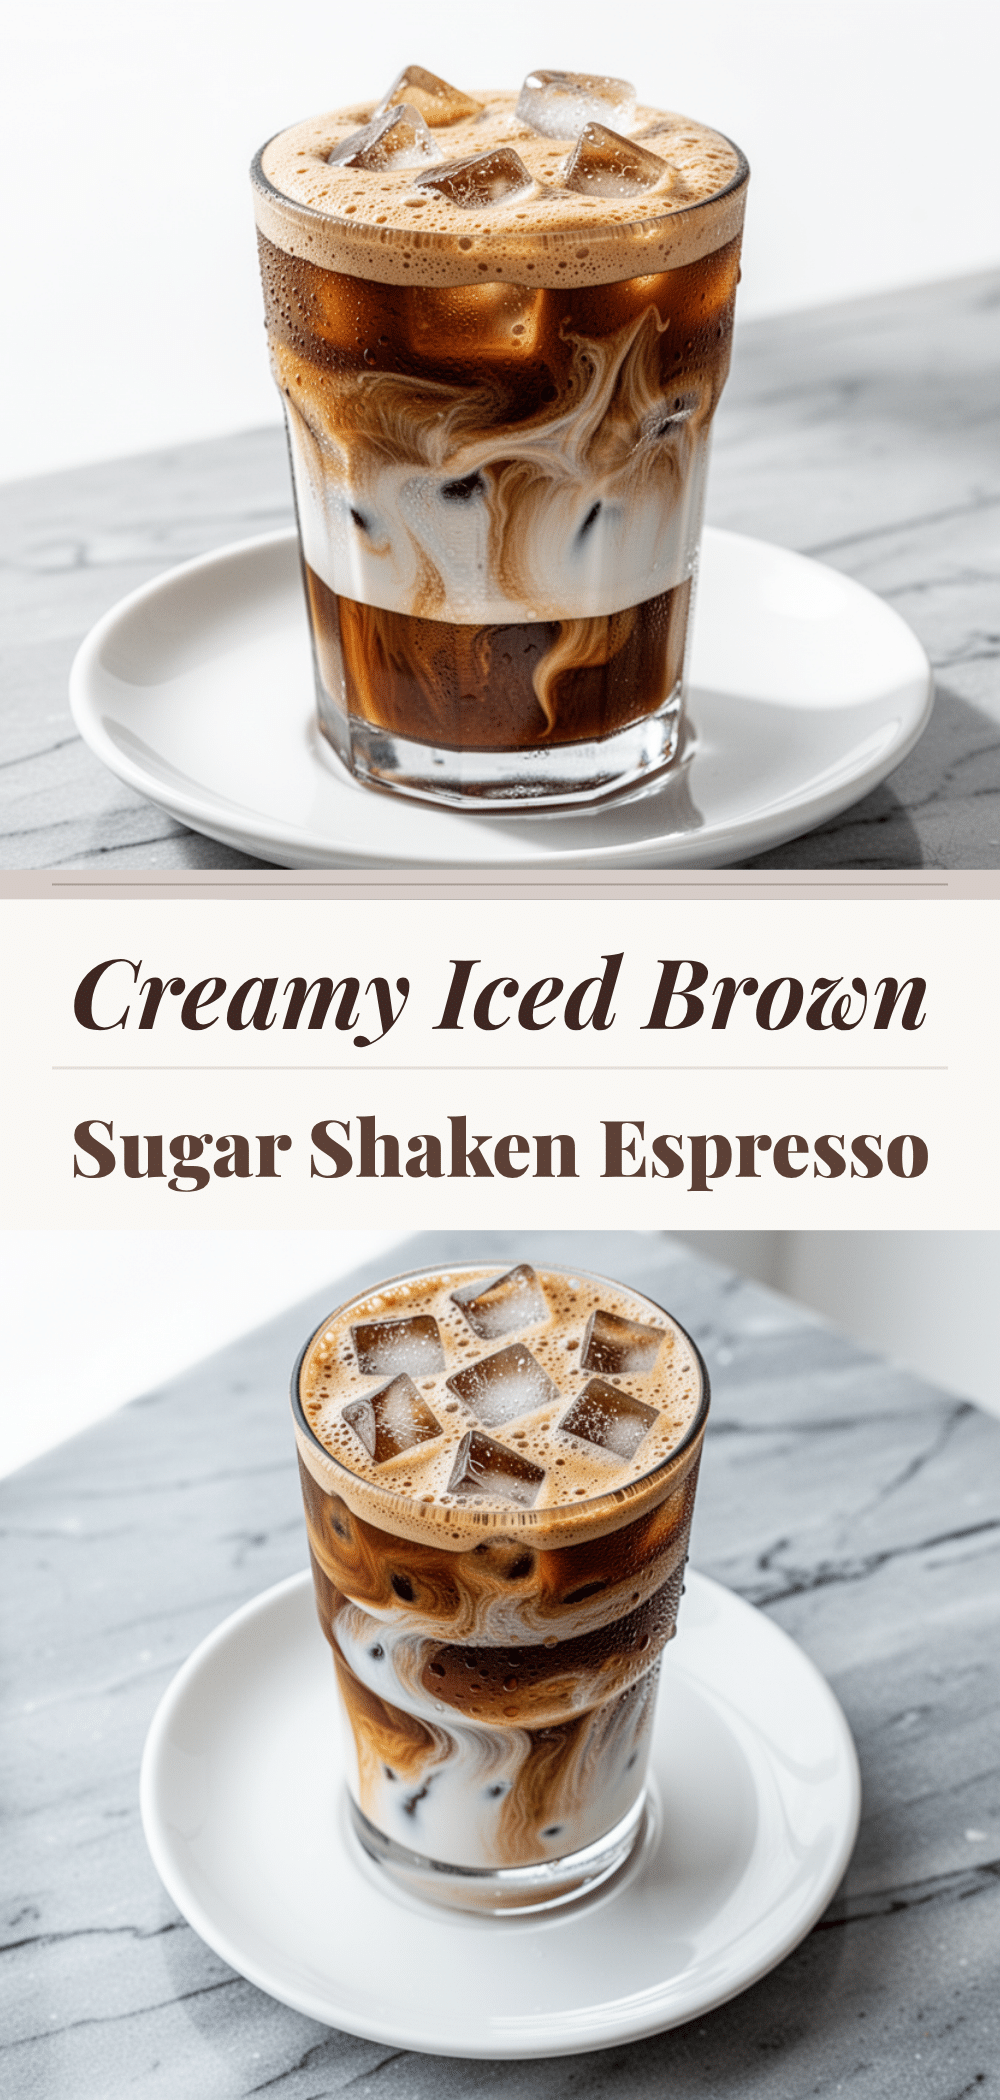
Creamy Iced Brown Sugar Shaken Espresso with Oat Milk
- Total Time: 5 minutes
- Yield: 1 serving 1x
Description
A quick, 5-minute homemade iced coffee drink featuring strong espresso, dissolved brown sugar, and creamy oat milk, shaken to create a frothy, café-quality emulsion.
Ingredients
- 2 shots espresso (about 2 ounces / 60ml)
- 2 tablespoons brown sugar (25g)
- 1 cup oat milk (240ml)
- 1 cup ice cubes
- 1/2 teaspoon vanilla extract (optional)
Instructions
- Brew two shots of espresso using an espresso machine, French press, or Moka pot. Ensure the coffee is hot.
- While the espresso is still hot, pour it into a cocktail shaker or large jar with a tight lid. Immediately add the brown sugar and vanilla extract. Stir briefly to help the sugar dissolve in the heat.
- Fill the shaker about halfway with ice cubes. Seal the lid tightly and shake vigorously for 30 seconds to chill and aerate the mixture, creating a frothy foam.
- Fill a serving glass (such as a Guinness glass or tall tumbler) with fresh ice cubes. Optionally, drizzle caramel sauce on the inside of the glass for presentation.
- Strain the shaken espresso mixture into the prepared glass over the ice. The foam should rise to the top.
- Slowly pour the cold oat milk over the back of a spoon or directly into the center to create a marbled swirl effect.
- Garnish with a sprinkle of cinnamon or whipped cream if desired. Insert a straw or spoon and stir gently before drinking immediately.
Notes
Ensure the espresso is hot when adding the brown sugar to help it dissolve completely. Shake vigorously for 30 seconds to create the signature foam. For best results, use barista-style oat milk. The drink is best served immediately while cold and frothy.
- Prep Time: 2 minutes
- Cook Time: 3 minutes
- Category: Beverage
- Cuisine: American
Nutrition
- Serving Size: 1 tall glass
- Calories: 120
- Sugar: 16
- Sodium: 60
- Fat: 4
- Carbohydrates: 18
- Fiber: 1
- Protein: 2
Keywords: iced coffee, shaken espresso, brown sugar, oat milk, vegan coffee, dairy-free drink, quick breakfast, homemade coffee shop drink


